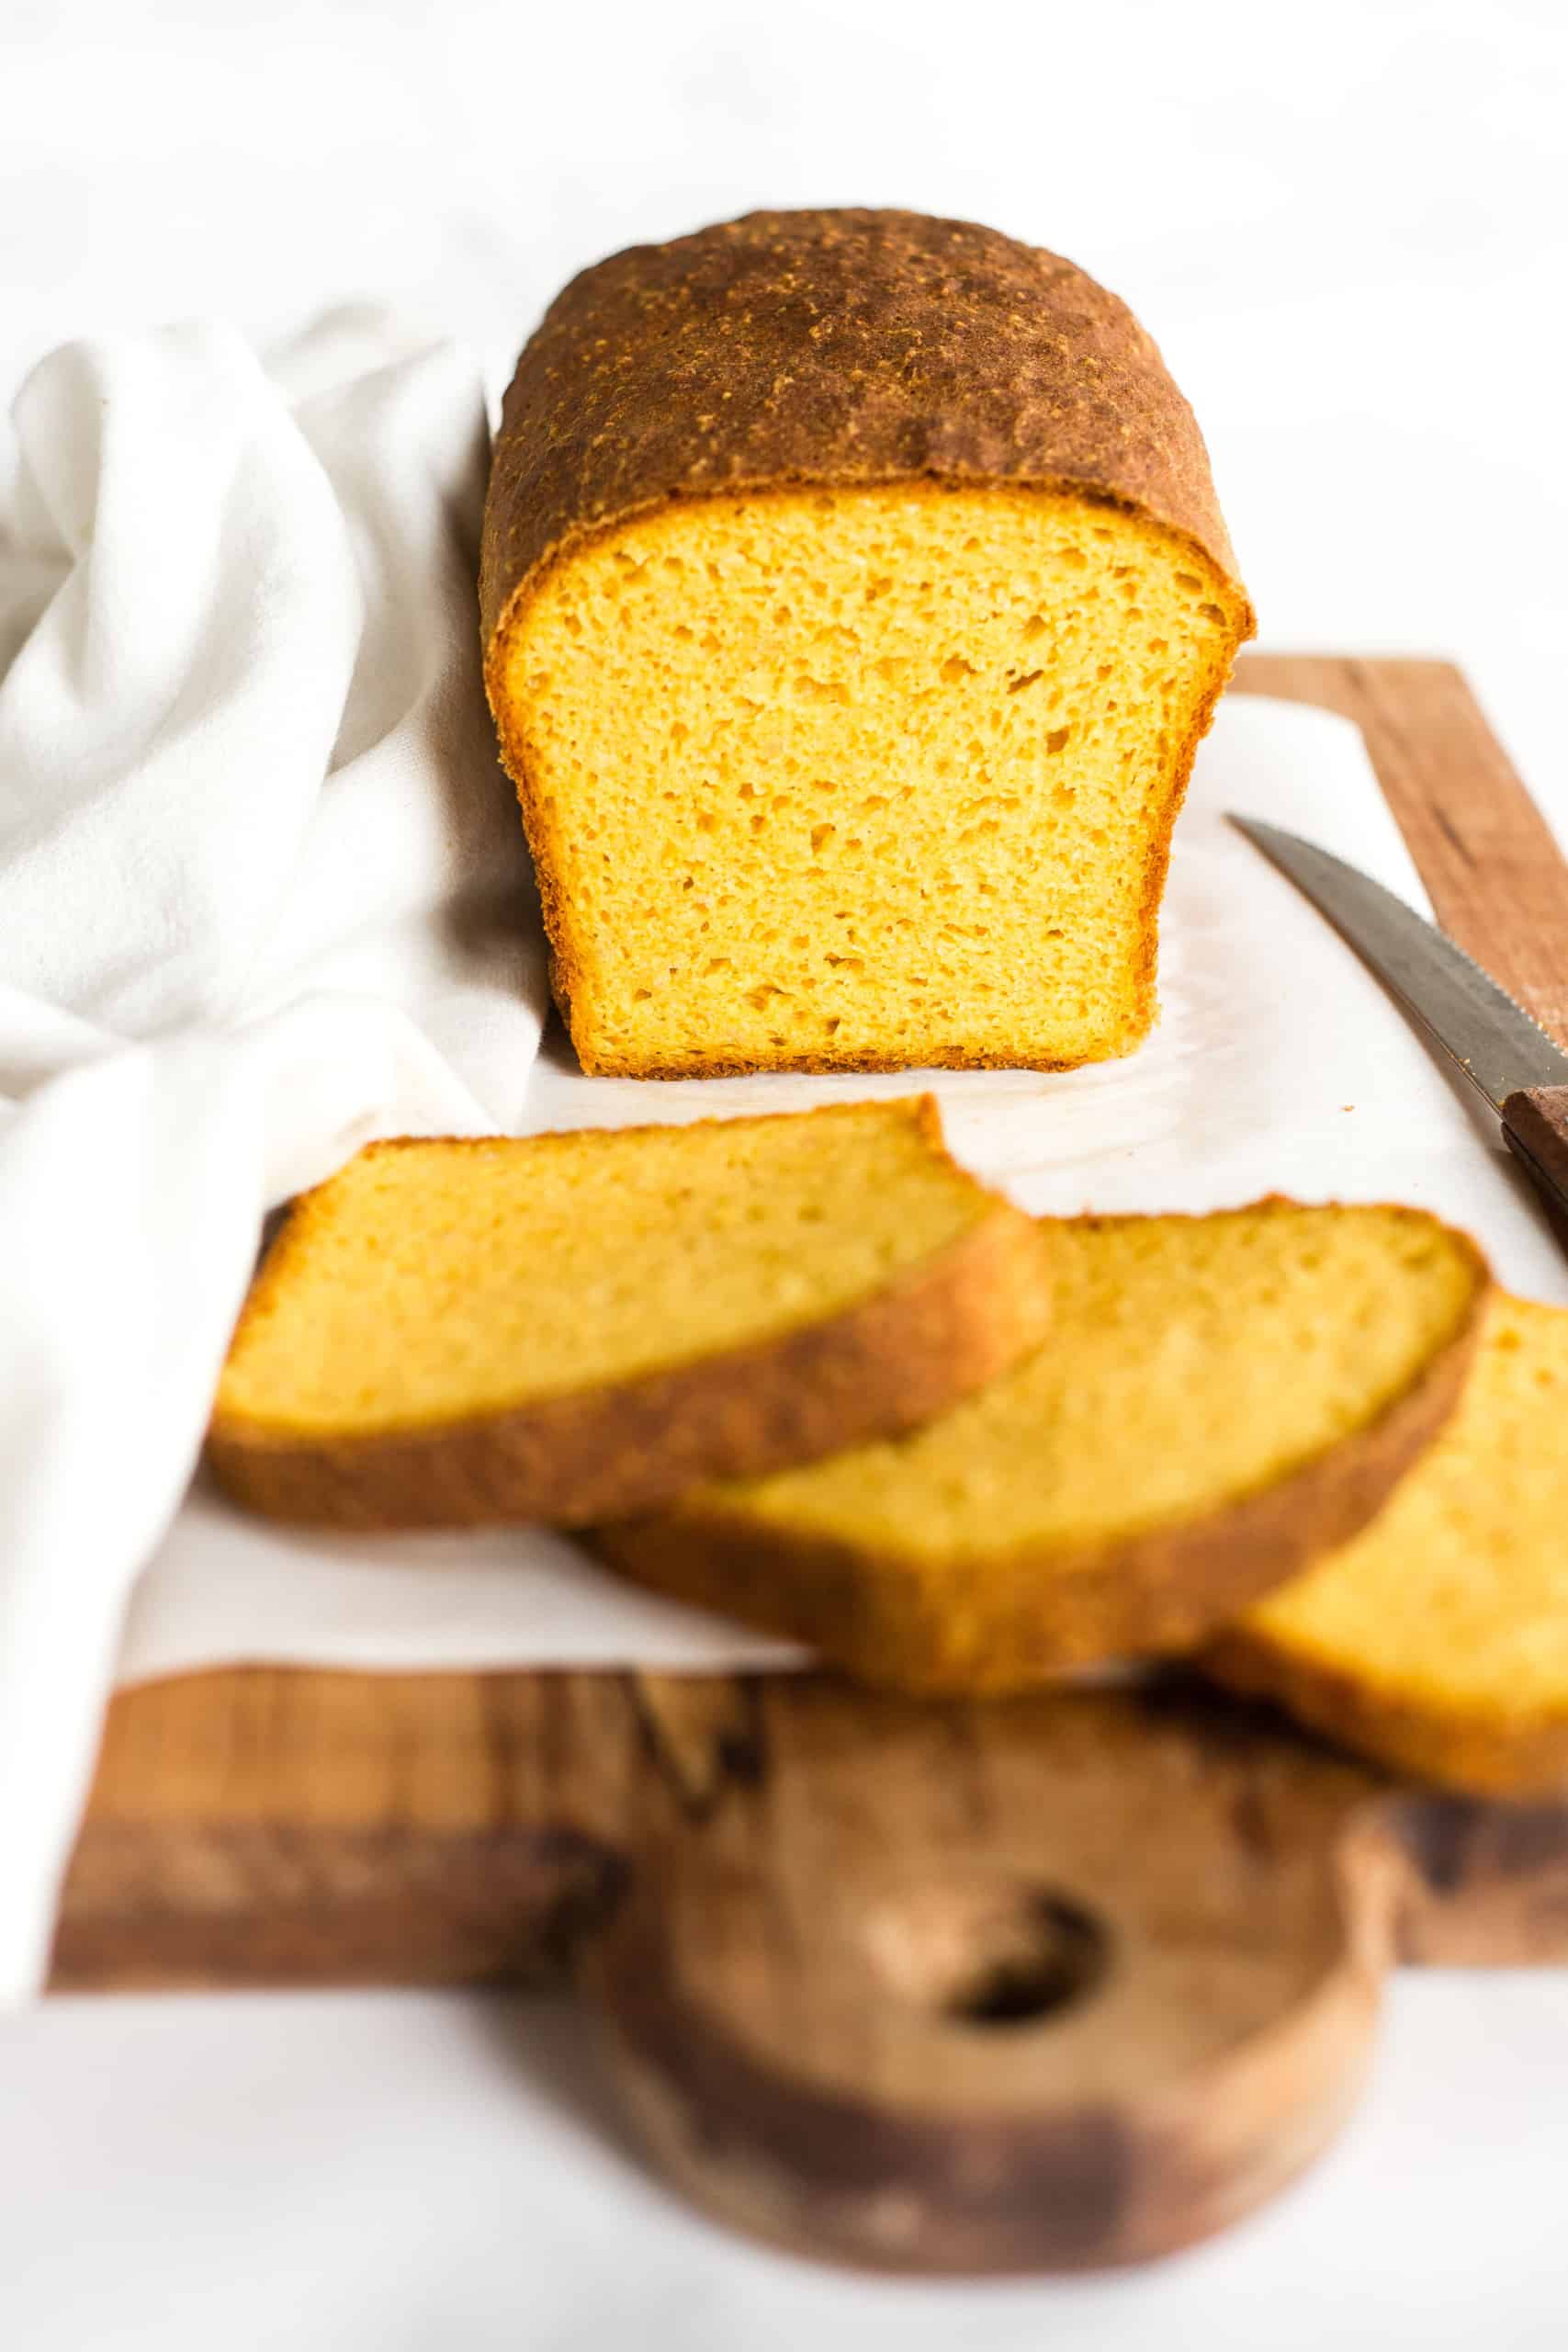
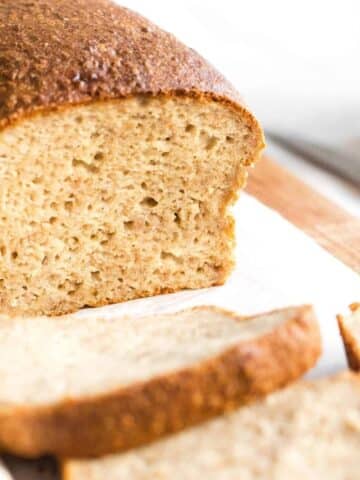
Moist, fluffy and tender, this delicious gluten-free pumpkin yeast bread is perfect for fall baking! Great for toasting and eating with pumpkin butter or jam, you’ll want to eat this all pumpkin season long. No kneading required, and totally dairy-free too, but no one would care! Bake a loaf of this pumpkin bread with yeast today and enjoy it for breakfast or an anytime snack!
Want to save this recipe?
Enter your email & I’ll send it to your inbox. Plus, get great new recipes from me every week!
Jump to:
- My Love for Homemade Bread
- It’s Finally Pumpkin Season!
- Fluffy, Tender Pumpkin Yeast Bread
- Why This Recipe Works:
- Ingredients You’ll Need:
- Recipe Notes/Substitutions:
- Make Your Own Pumpkin Puree
- How to Make Pumpkin Yeast Bread (Step by Step)
- Dish by Dish Tips/Tricks:
- Recipe FAQs:
- Other Pumpkin Recipes to Love:
- Gluten-Free Bread Recipes to Bake:
- Gluten-Free Pumpkin Yeast Bread (Dairy-Free)
My Love for Homemade Bread
If you’ve been following along this blog for any amount of time, you’ll know just how big a fan I am of homemade bread.
In fact, nothing makes my day better than preparing bread dough, watching it rise and then baking it, only to pull out the loaf from the oven, the aroma of fresh baked bread wafting around the kitchen.
Some of our favorite gluten-free breads include:
It’s Finally Pumpkin Season!
Now that it’s officially fall and pumpkin season, I’ve been diving deep into pumpkin recipes, and here are a few of our favorites during this time of year:
Fluffy, Tender Pumpkin Yeast Bread
Of course, fall also means baking pumpkin bread, but since I’ve already made the quick bread version before, this time I figured it was finally time to make a pumpkin bread with yeast.
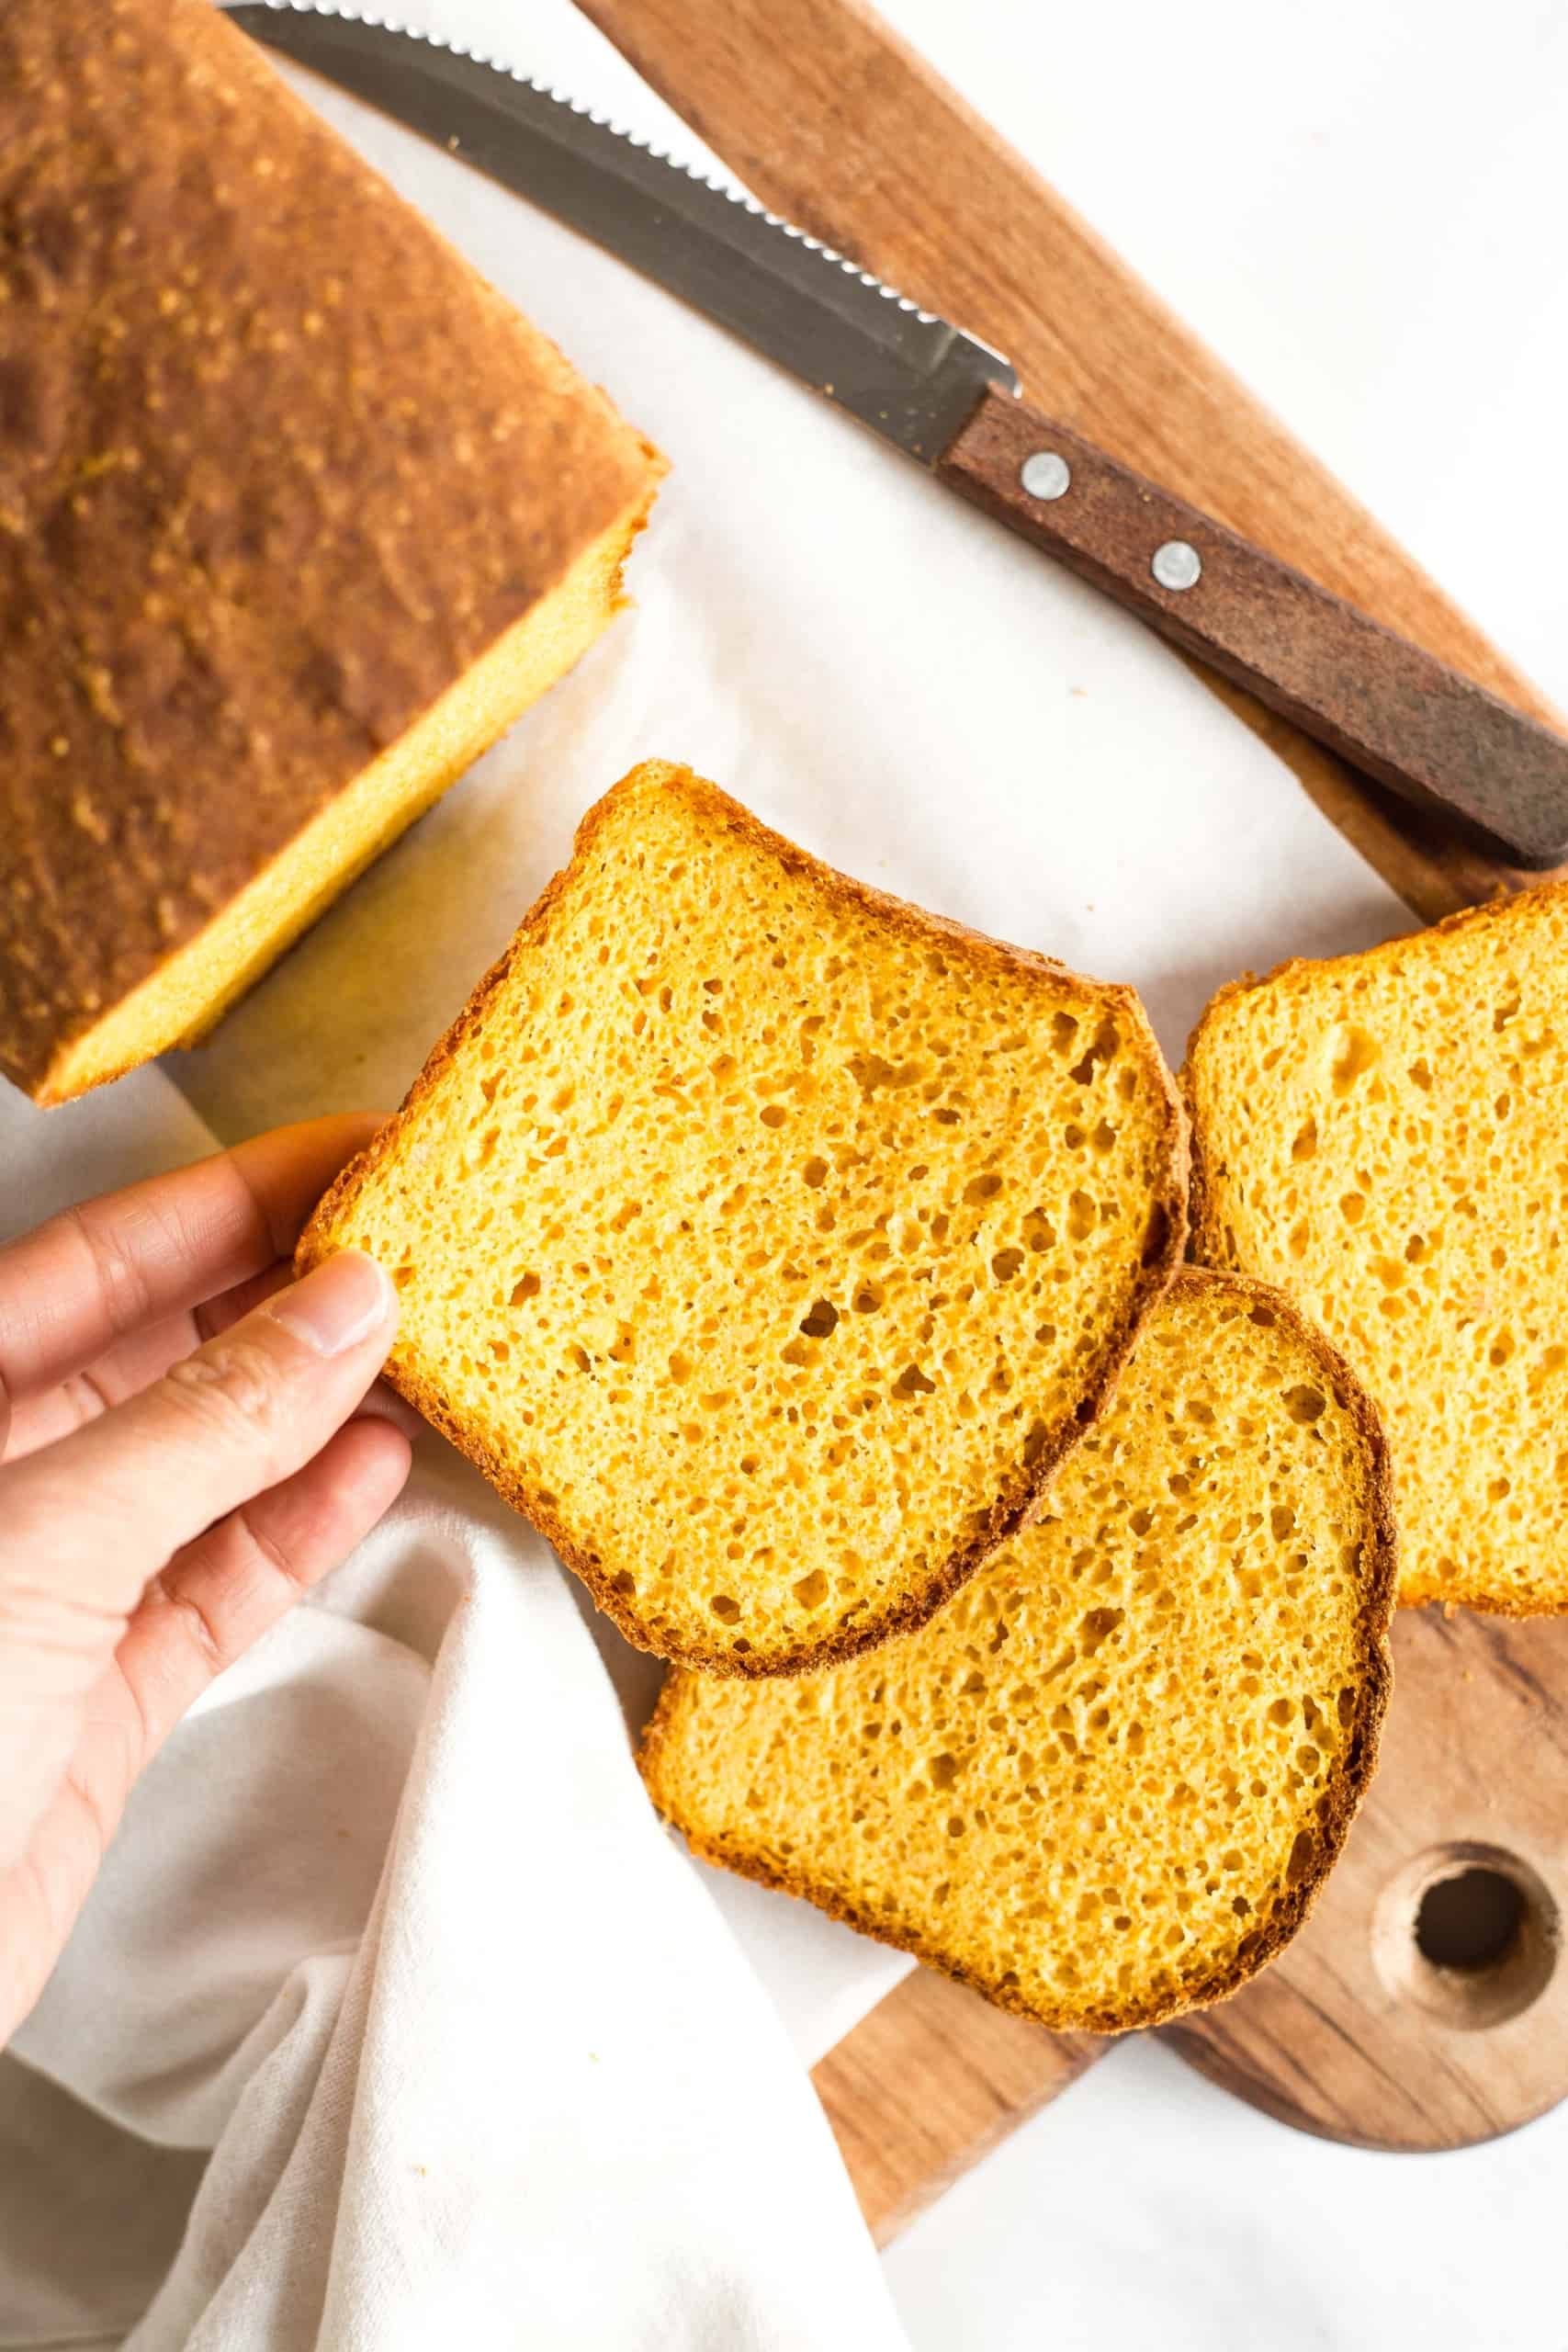
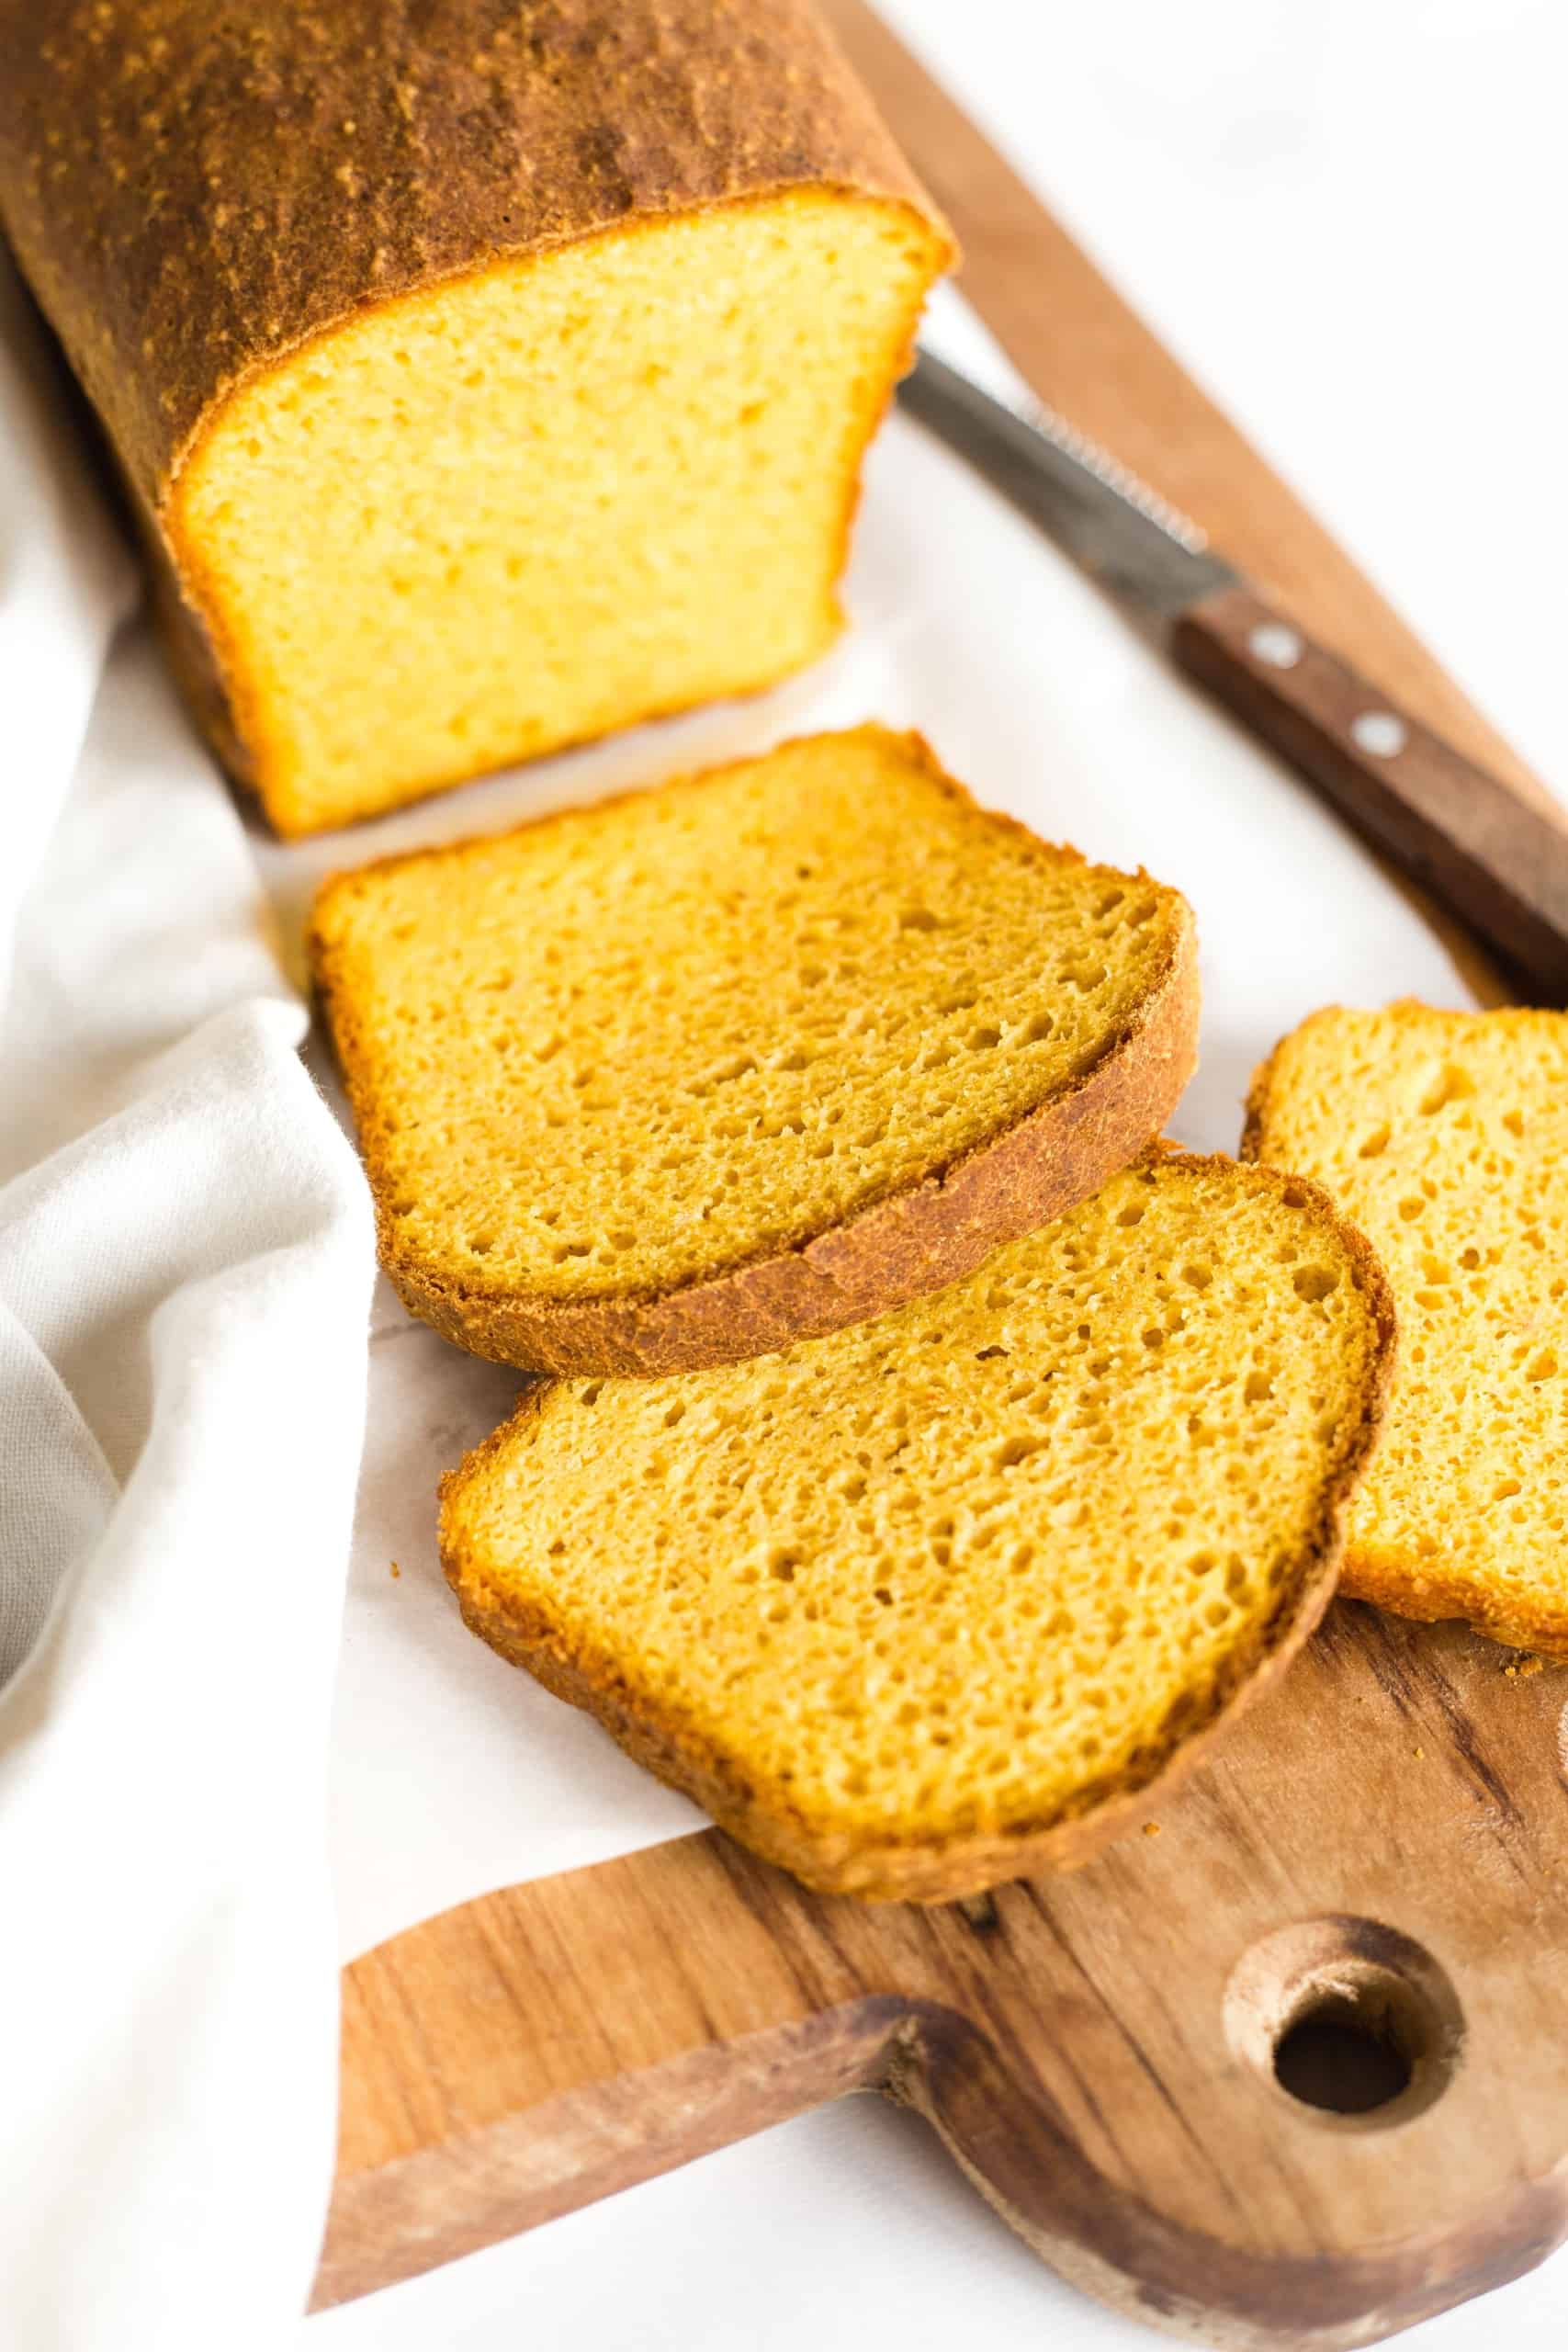
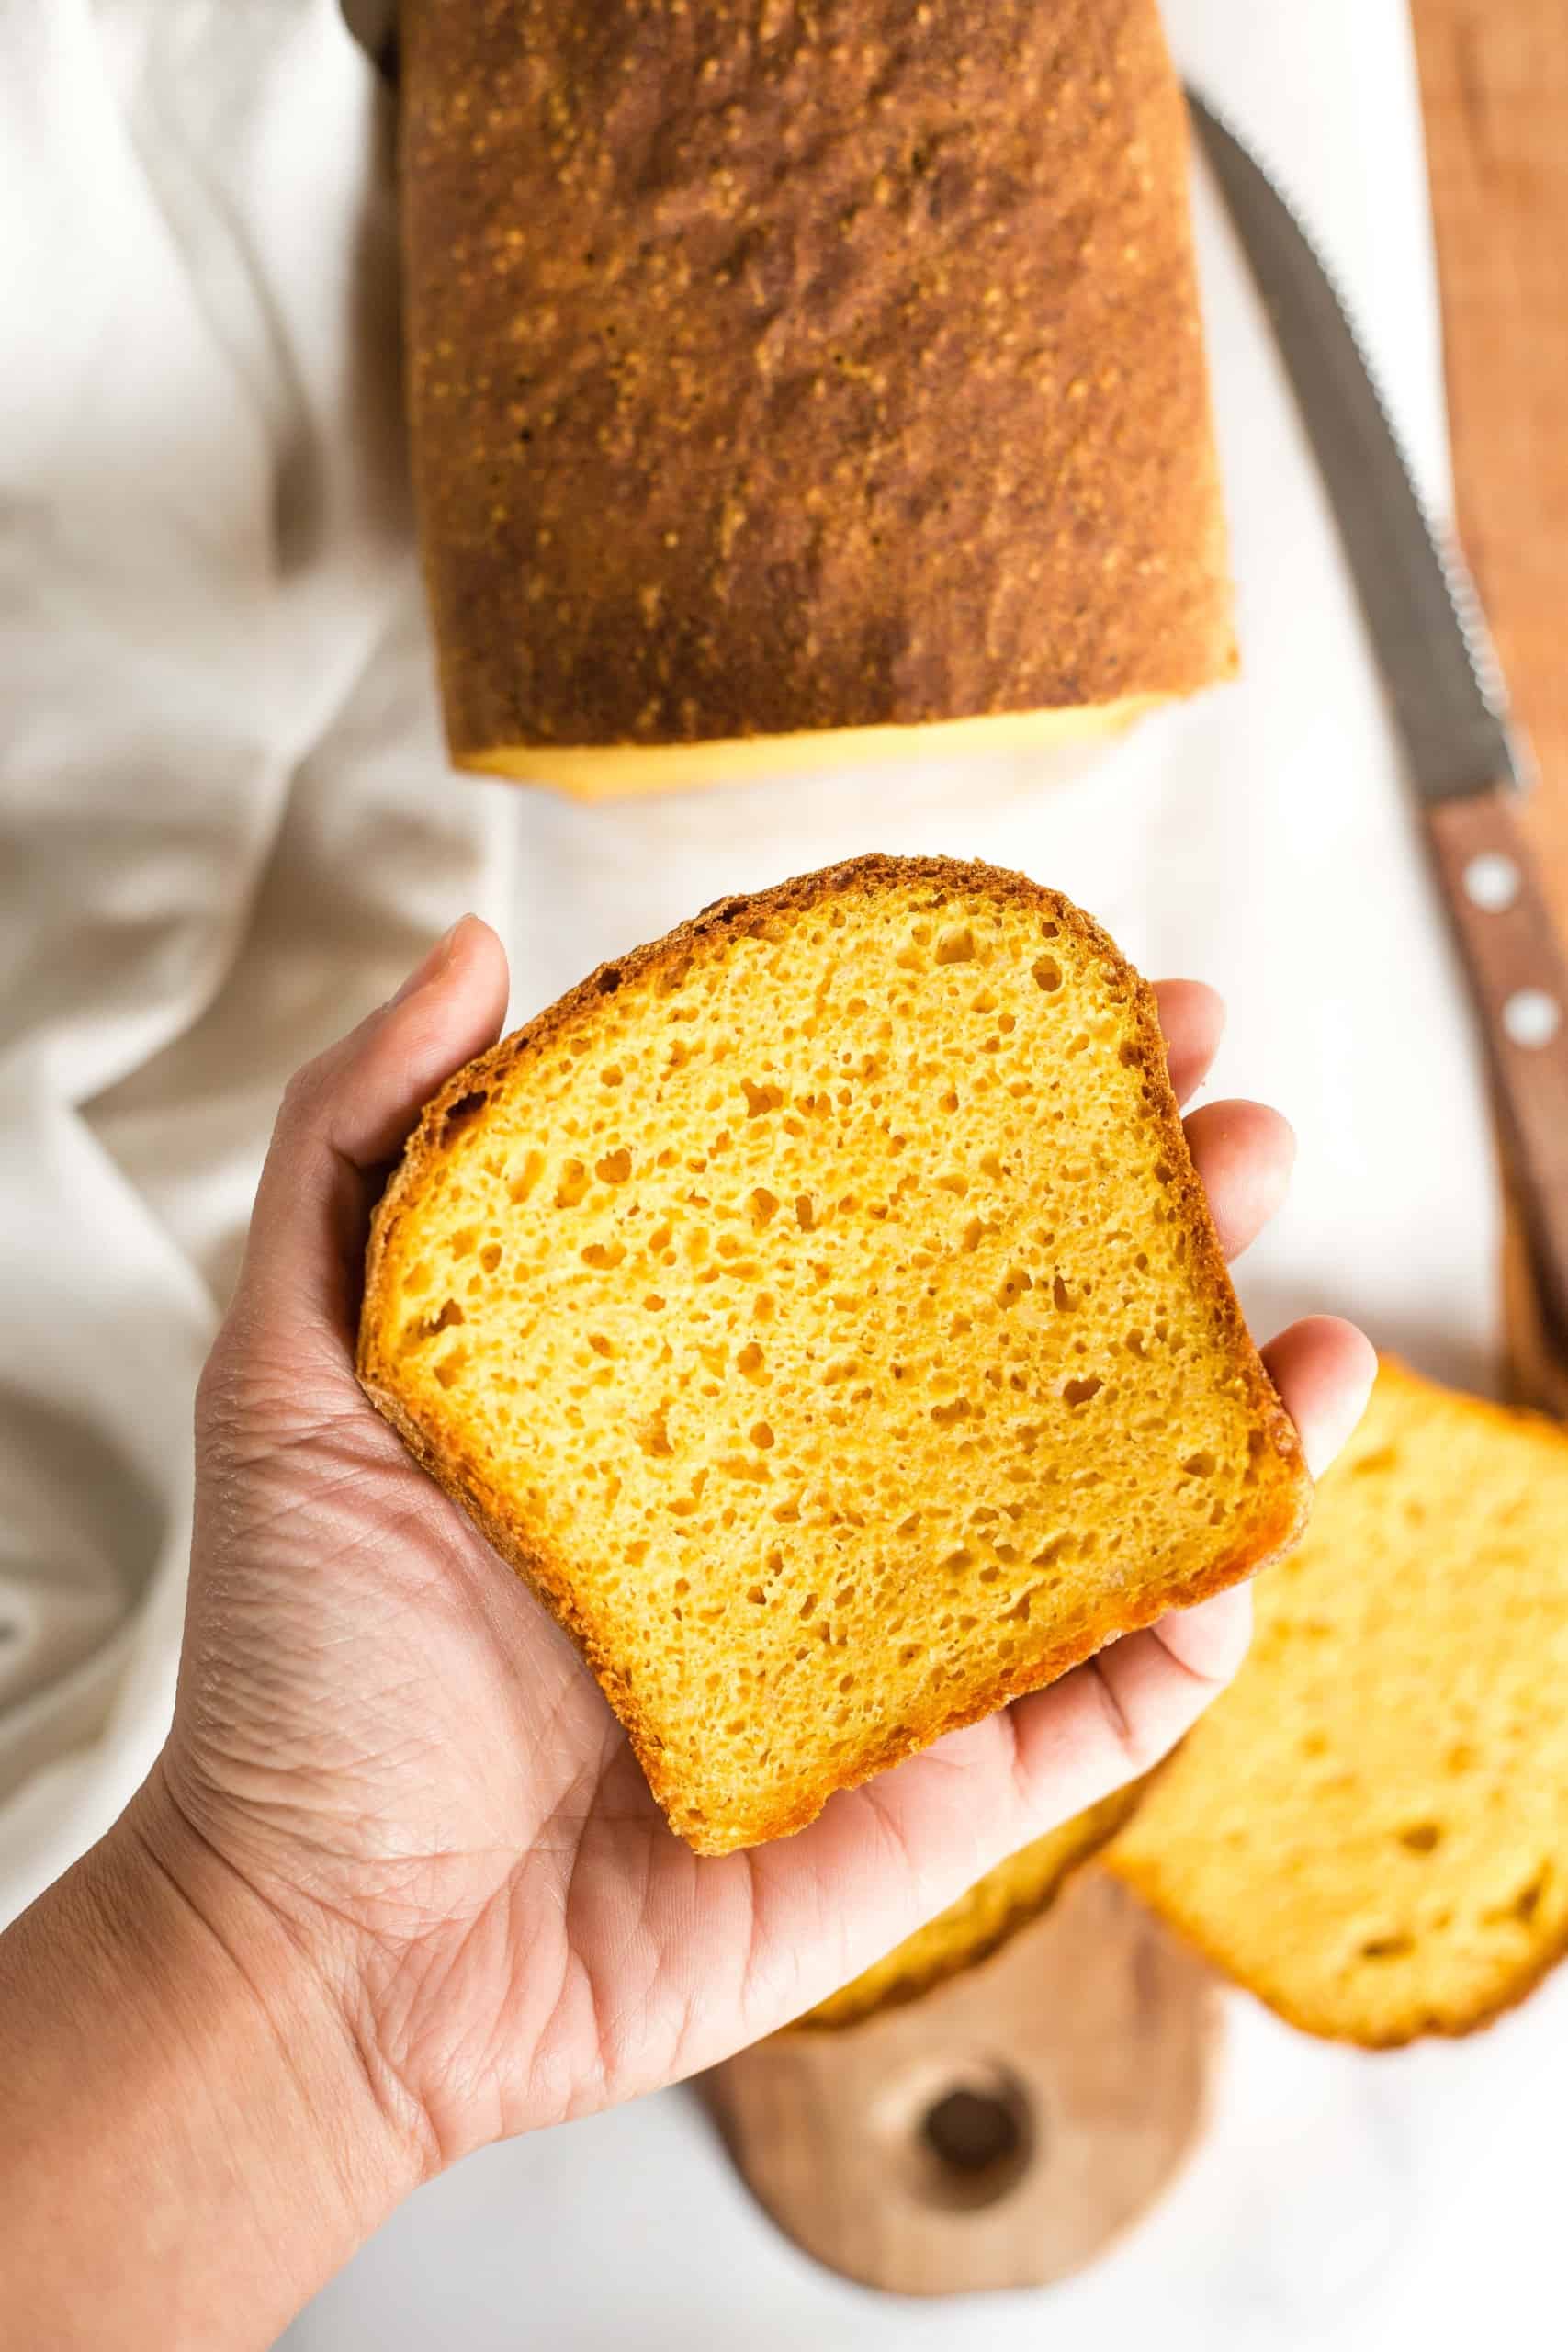
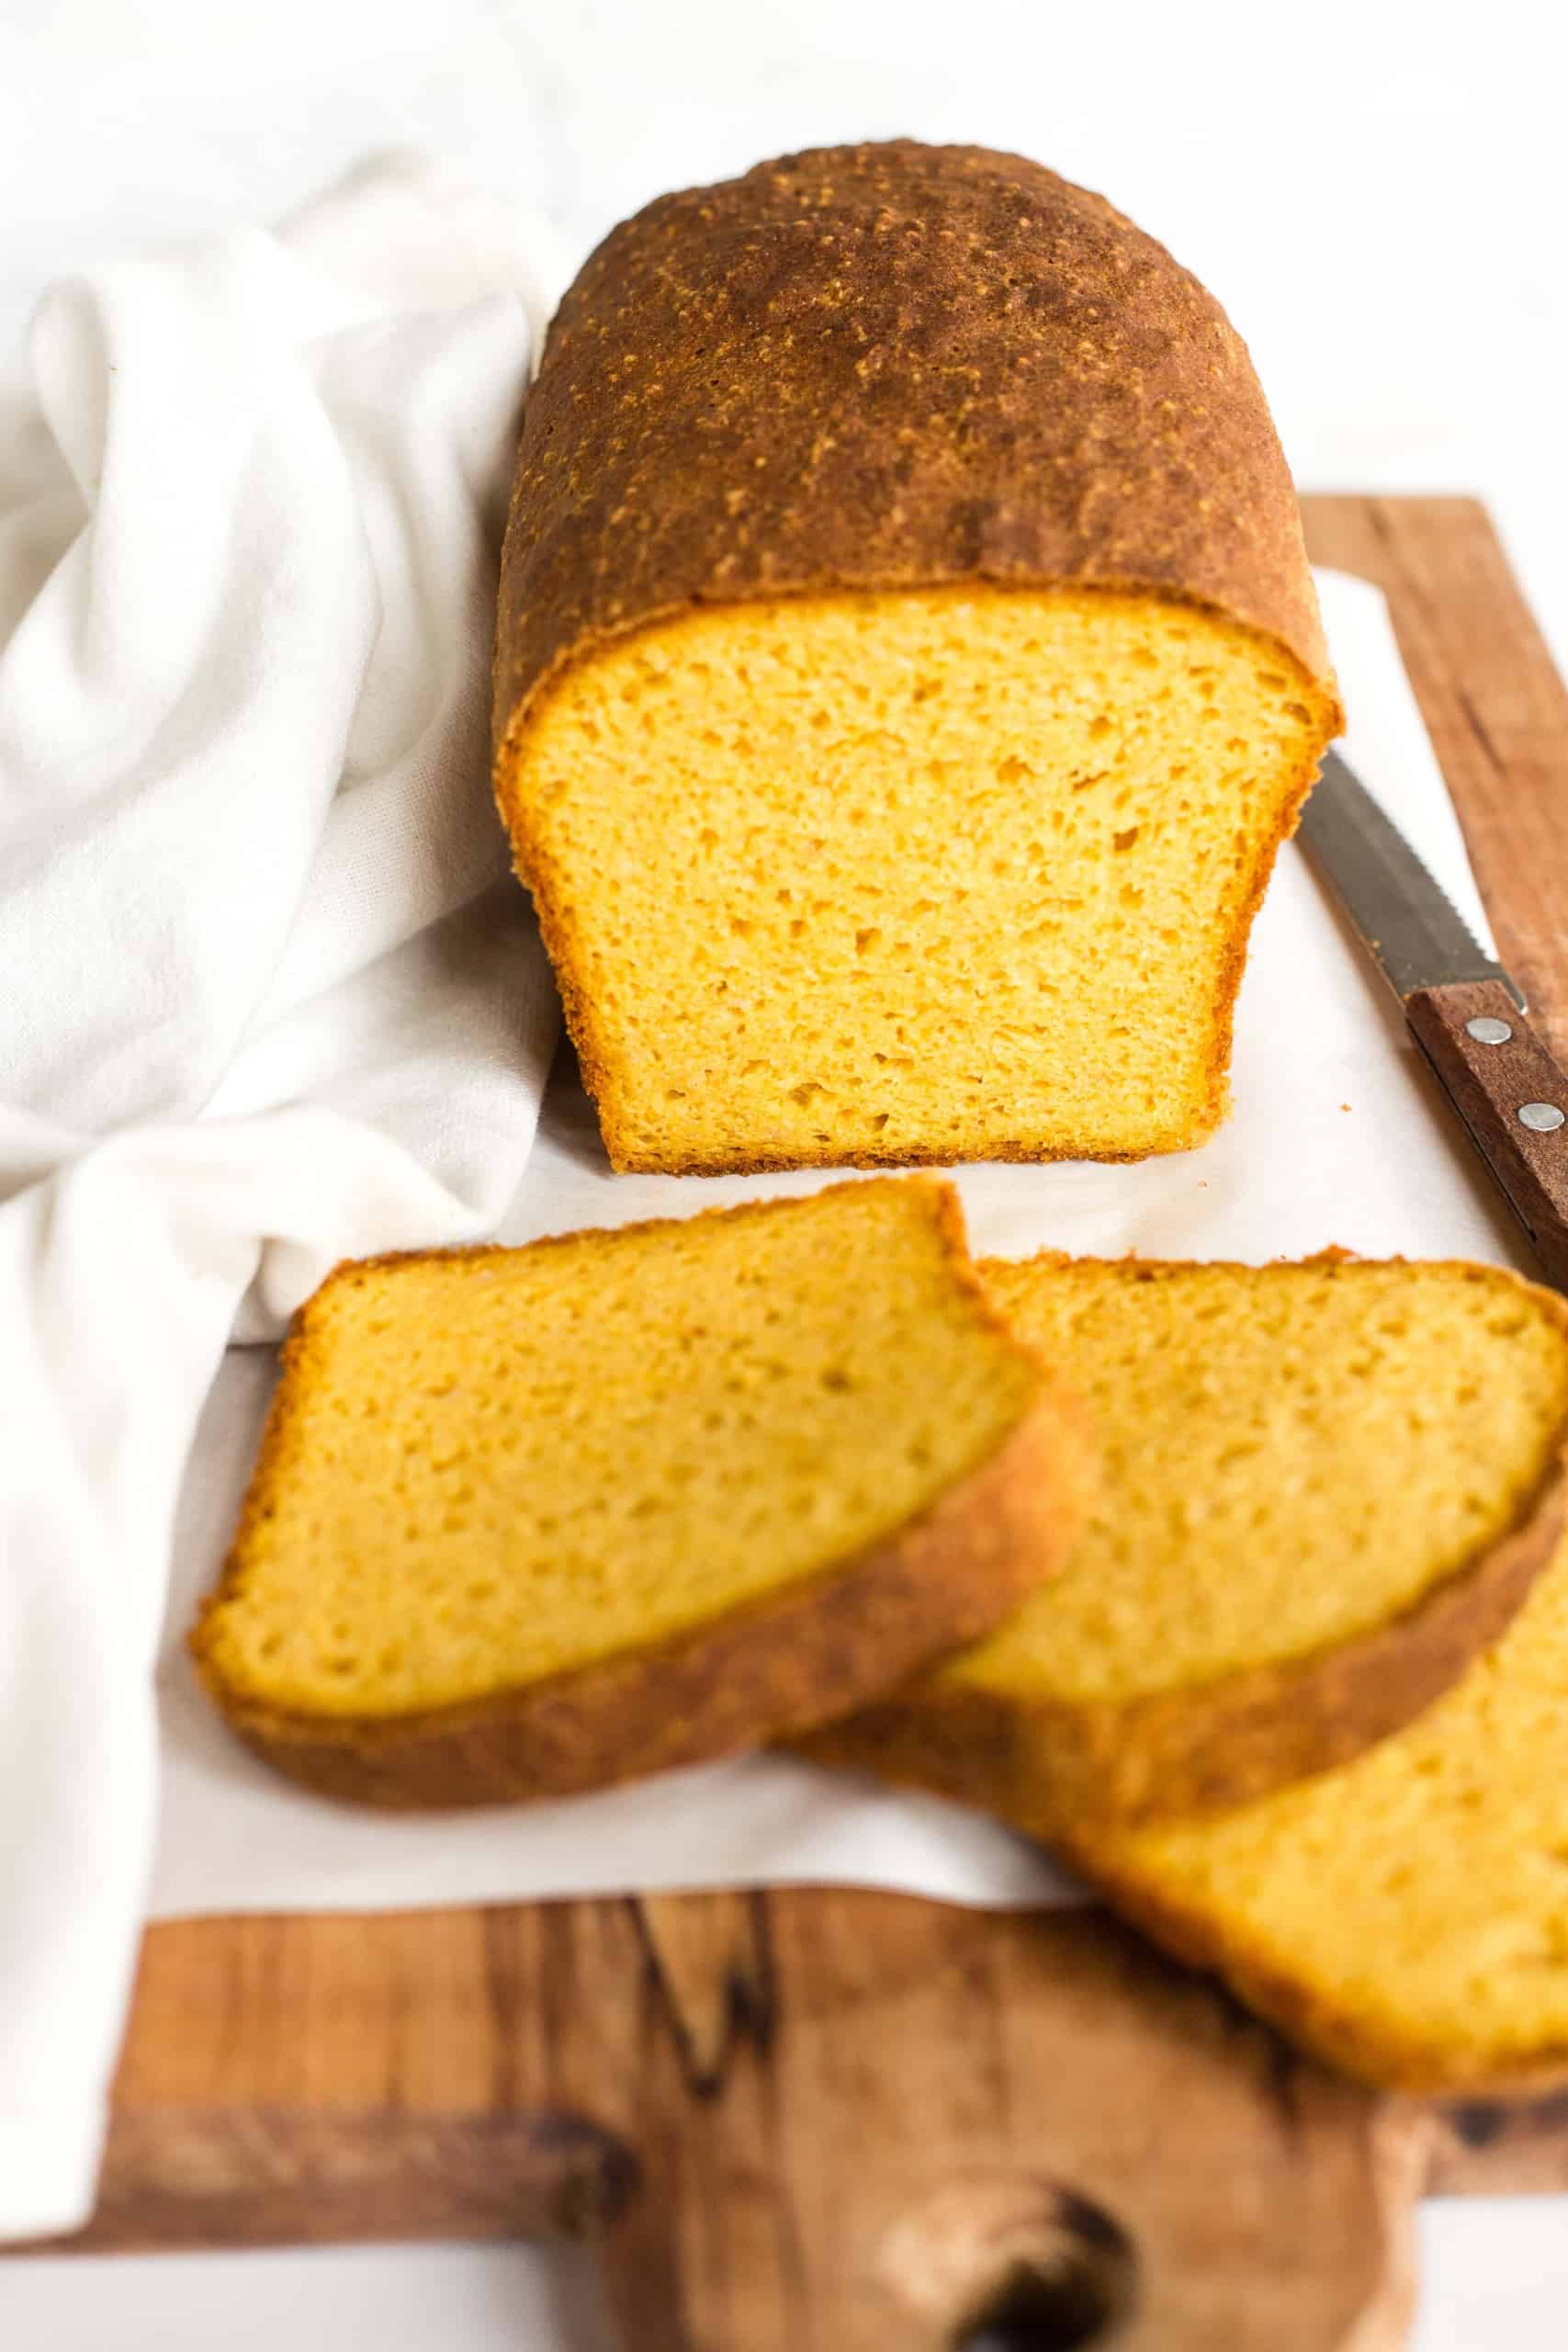
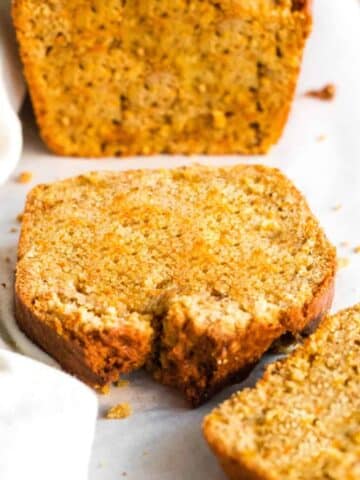
And you guys, this loaf is simply perfect. The color is vibrant and beautiful thanks to the fresh pumpkin puree, the texture is just amazing, and I know you’ll want to feast on this gorgeous pumpkin yeast bread all fall season long.
Why This Recipe Works:
- Simple Ingredients: The ingredients required for this delicious gluten-free pumpkin bread recipe are easily accessible at the local grocery store (nothing fancy required!).
- Easy to Make: Making this pumpkin yeast loaf is as easy to mixing the dry ingredients with the wet ingredients to get the dough, then letting the dough rise before baking until golden! There’s no kneading required in this uncomplicated homemade bread recipe.
- Amazing Texture: Soft, fluffy and tender, this delicious pumpkin bread can be eaten on its own, or toasted and spread with jam.
- Totally Gluten-Free and Dairy-Free: The best part is that this healthy pumpkin bread recipe is 100% gluten-free and dairy-free, which means that even those with Celiac disease or gluten or lactose intolerances, or those simply on a gluten-free diet can enjoy it without worries!
Ingredients You’ll Need:
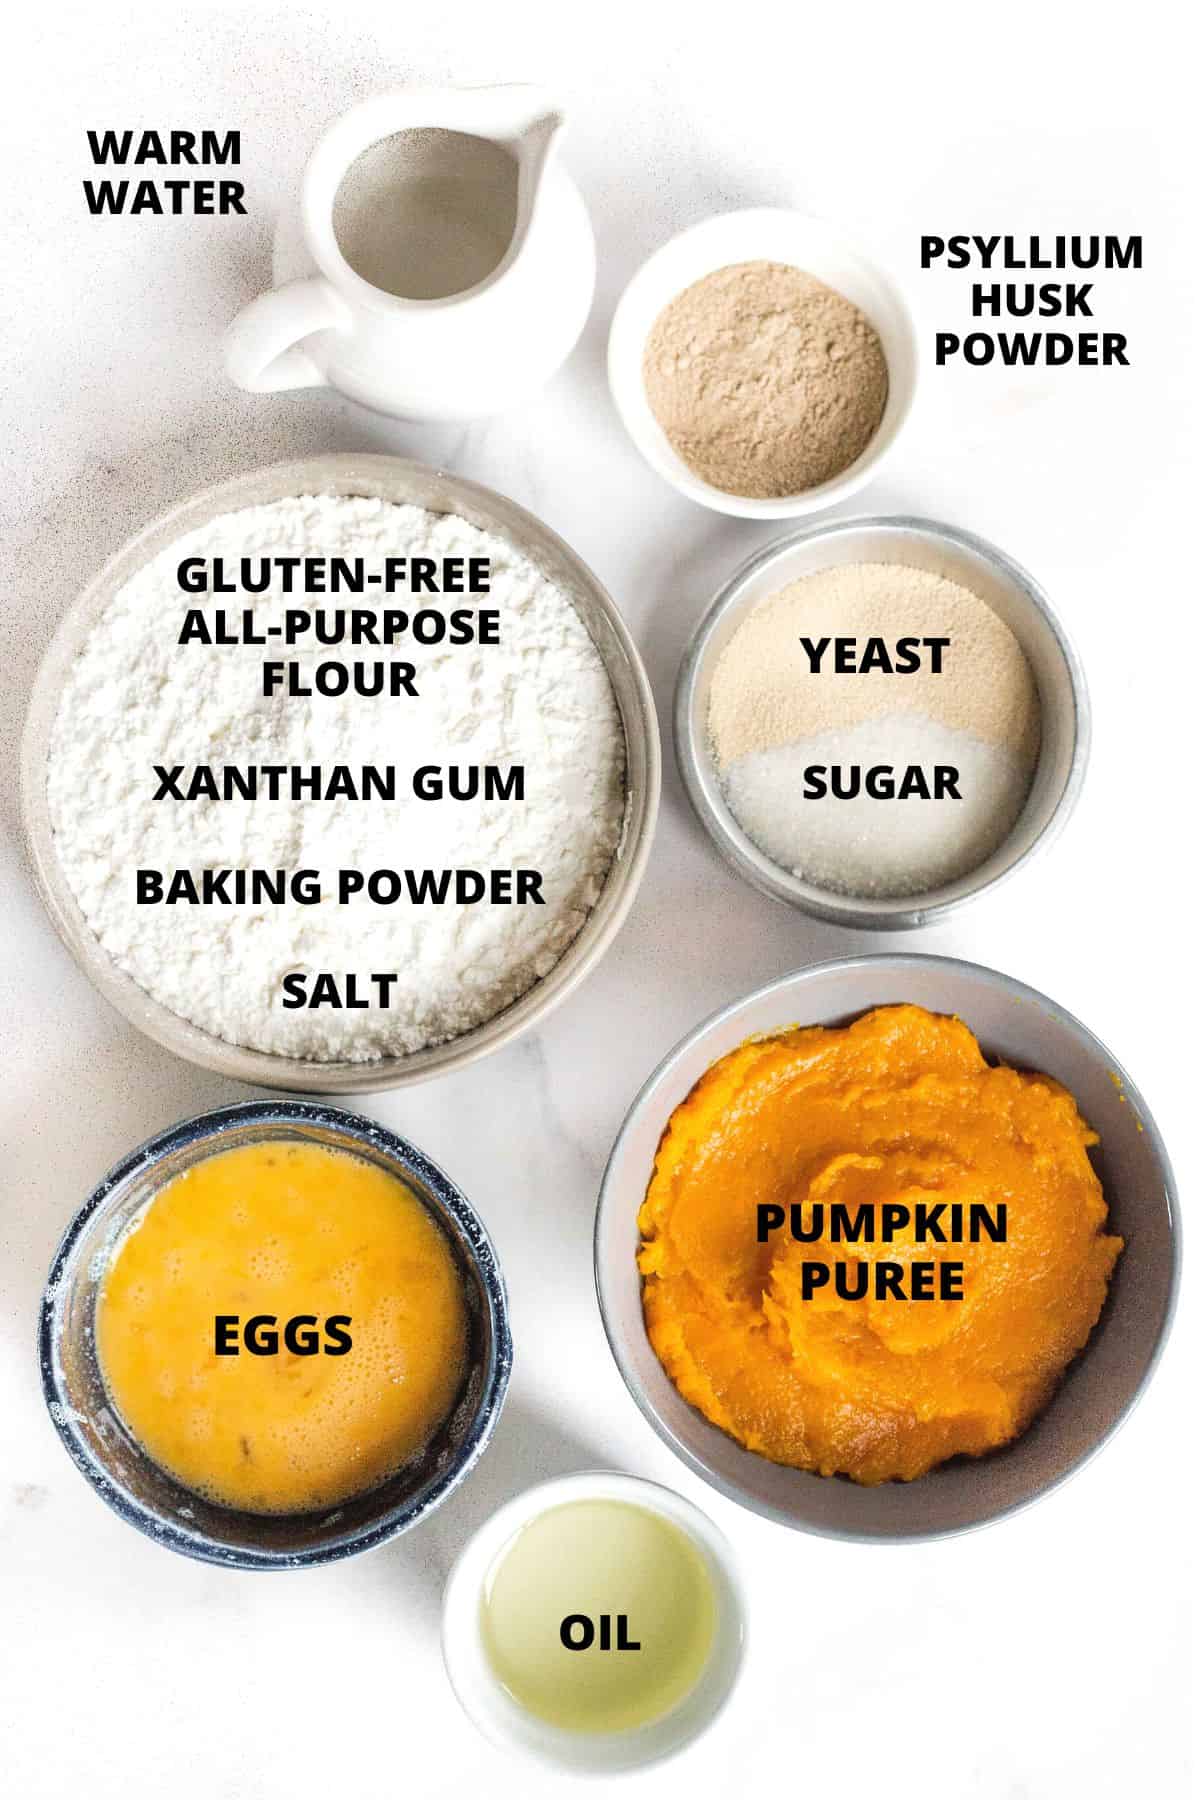
Here’s a visual overview of the ingredients required for this gluten-free pumpkin yeast bread recipe.
(For exact measurements and quantities, please scroll down to the recipe card at the bottom of this post.)
Recipe Notes/Substitutions:
- Pumpkin Puree: During pumpkin season, I love making my own homemade pumpkin puree (it’s super easy!). However, you may also use canned pumpkin if you prefer (make sure it’s canned pumpkin and NOT pumpkin pie filling).
- Eggs: The eggs help to bind the ingredients together. If you rather not use egg yolks, feel free to use 4 egg whites instead of 2 whole eggs. I personally have not made this recipe without eggs, however, if you are allergic to eggs, you may also use aquafaba or an egg-replacer. (If you do make this egg-free, please let me know how it goes in the comments below, I’d love to know!)
- Warm Water: Make sure that the water is between 105F to 115F, because the yeast requires warmth to be activated, but if the water if too hot the high temperature will kill the yeast. You may also use warm unsweetened dairy-free milk (such as almond milk, cashew milk, rice milk, soy milk or oat milk). Alternatively, if you are not lactose-intolerant, feel free to use whole milk instead.
- Sunflower Oil: I like using sunflower oil because I always have a bottle of it on hand. However, you may also use melted vegan butter or another vegetable oil (such as olive oil, melted coconut oil, or avocado oil). Alternatively, if you are not lactose-intolerant, feel free to use melted butter or ghee instead.
- Gluten-Free All-Purpose Flour: I highly recommend using a good-quality gluten-free all-purpose flour that’s made up of lighter flours/starches (such as rice flour, tapioca starch, corn starch or potato starch) for a lighter and fluffier final texture. I do NOT recommend using gluten-free flour blends that include heavier flours (such as garbanzo bean flour) as that will result in a denser final texture.
- Xanthan Gum: Xanthan gum is the replacement for gluten in gluten-free flours, so make sure to add it in if your gluten-free flour blend does not already include it.
- Psyllium Husk Powder: Psyllium husk powder adds structure and binding power to the ingredients and really makes a difference in how the bread domes. Make sure to use the powder version. If you only have access to whole psyllium husks, you can grind the whole husks in a coffee grinder or high-speed blender until you get very fine powder.
- Instant Yeast: I like using instant yeast because there is no pre-activation time required and you can mix the instant yeast directly in with the other dry ingredients. If you only have active dry yeast, make sure you activate it beforehand (mix the active dry yeast with the warm water and sugar and let it sit for a few minutes in a warm place until the mixture is foamy).
- Sugar: The sugar is required as “food” for the yeast to feed on in order to be activated and produce the gases required for the dough to rise. I used white sugar, but you can also use light brown sugar or dark brown sugar if you prefer.
- Baking Powder: In addition to the yeast, baking powder helps the dough to rise a little more. If you are Celiac or gluten-intolerant, make sure to use certified gluten-free baking powder.
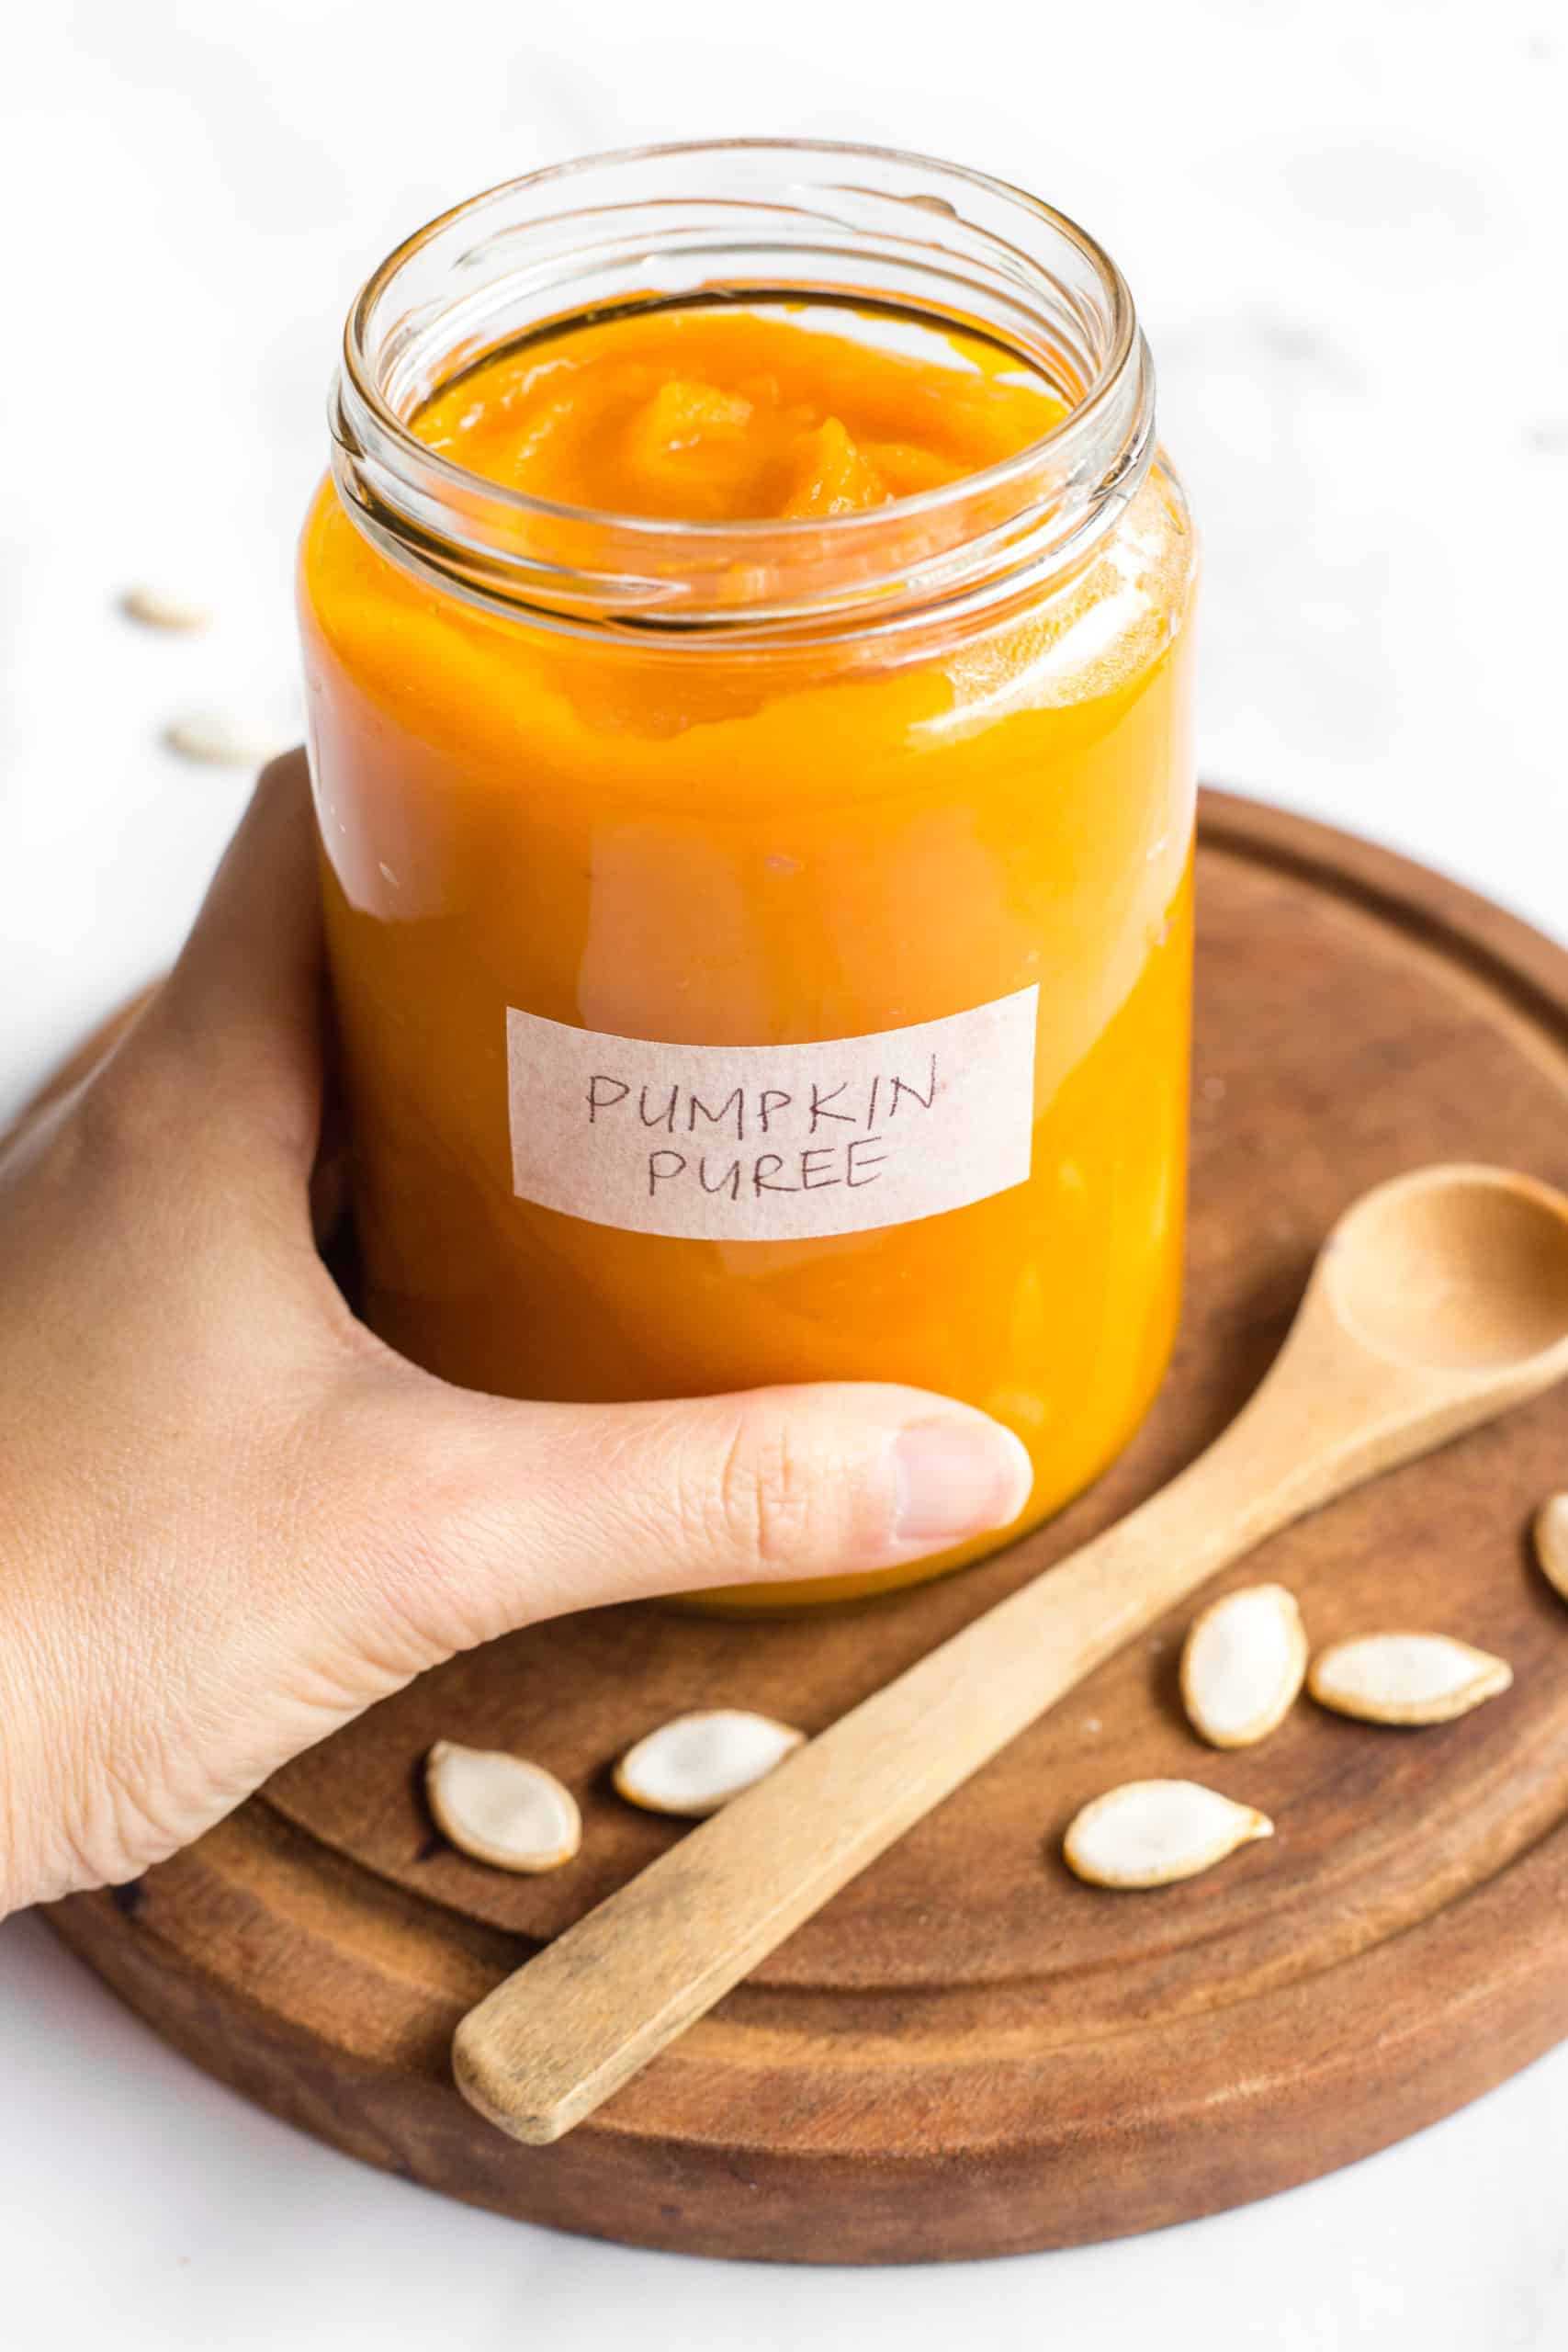
Make Your Own Pumpkin Puree
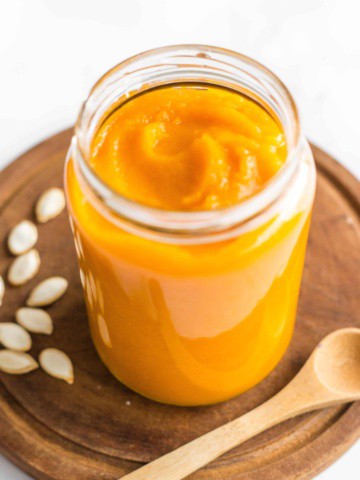
While you can easily buy canned pumpkin puree, I prefer making my own during the fall when pumpkins are in abundance.
Firstly, because you can make a huge batch of fresh pumpkin puree at one time, it’s way cheaper than the canned version, and because it doesn’t include any of the preservatives that come with the store-bought variety.
Here’s a super easy tutorial on how to make homemade pumpkin puree.
How to Make Pumpkin Yeast Bread (Step by Step)
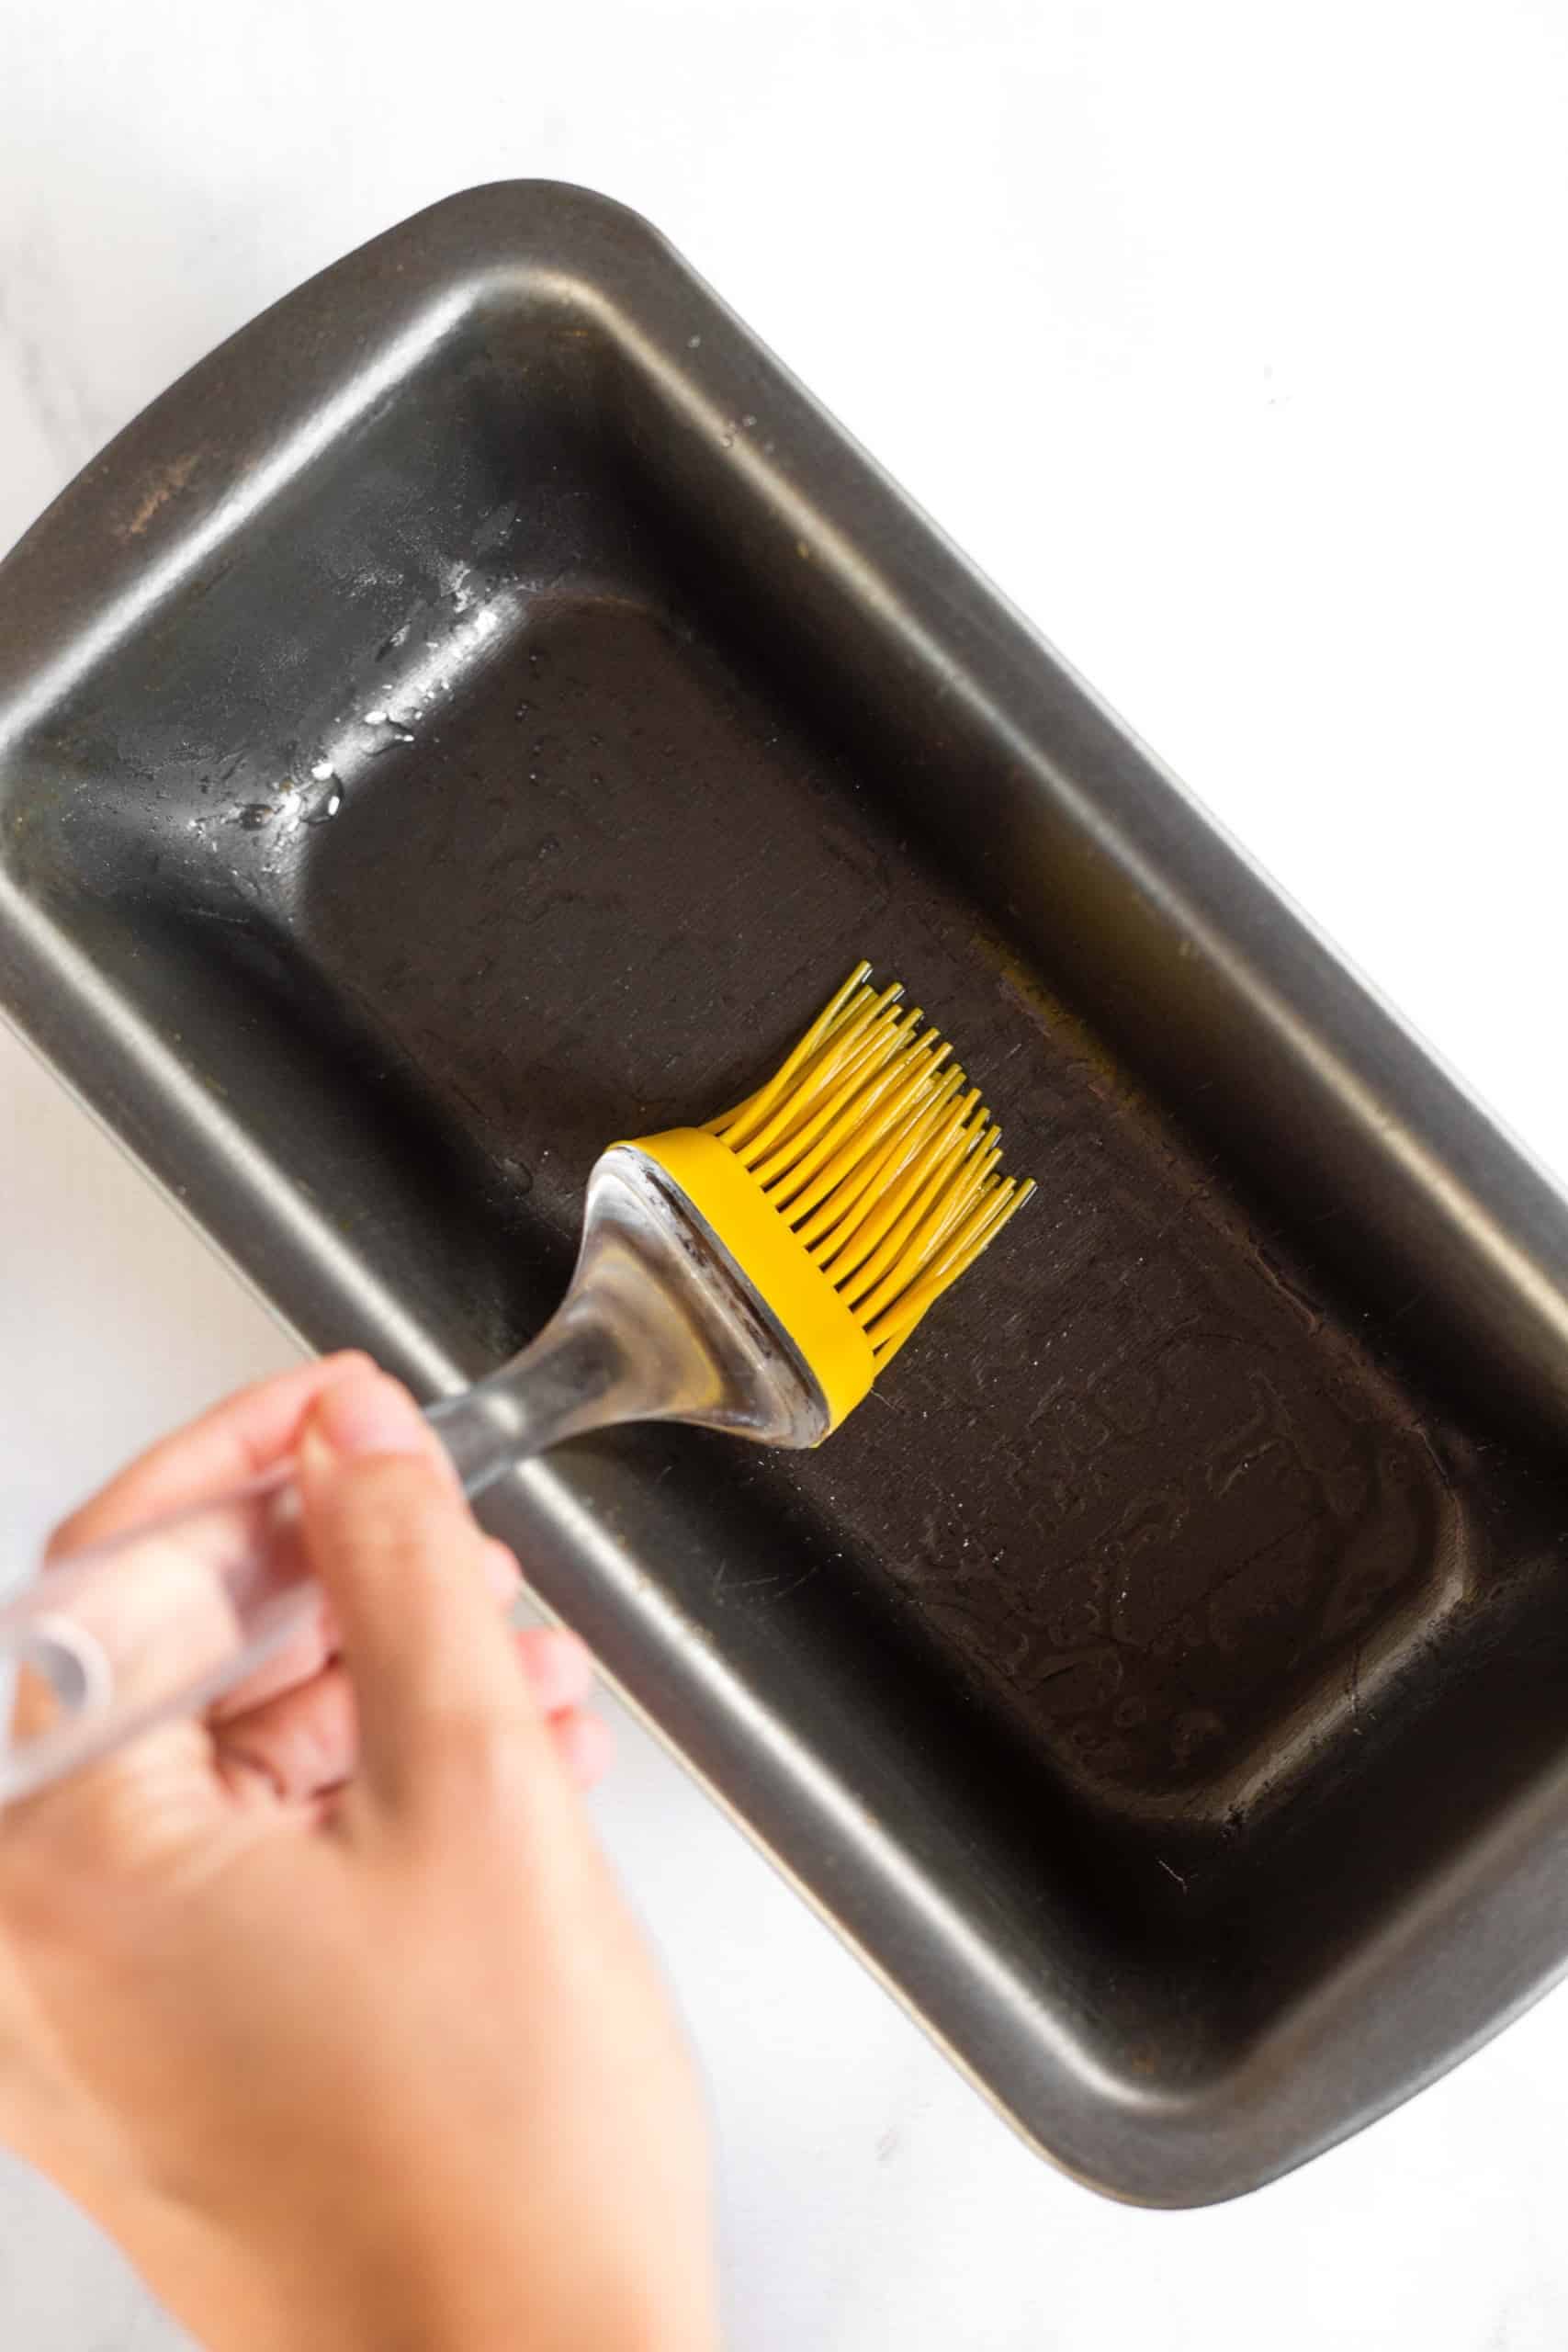
1. Grease Loaf Pan
Grease an 8″ x 4″ metal loaf pan.
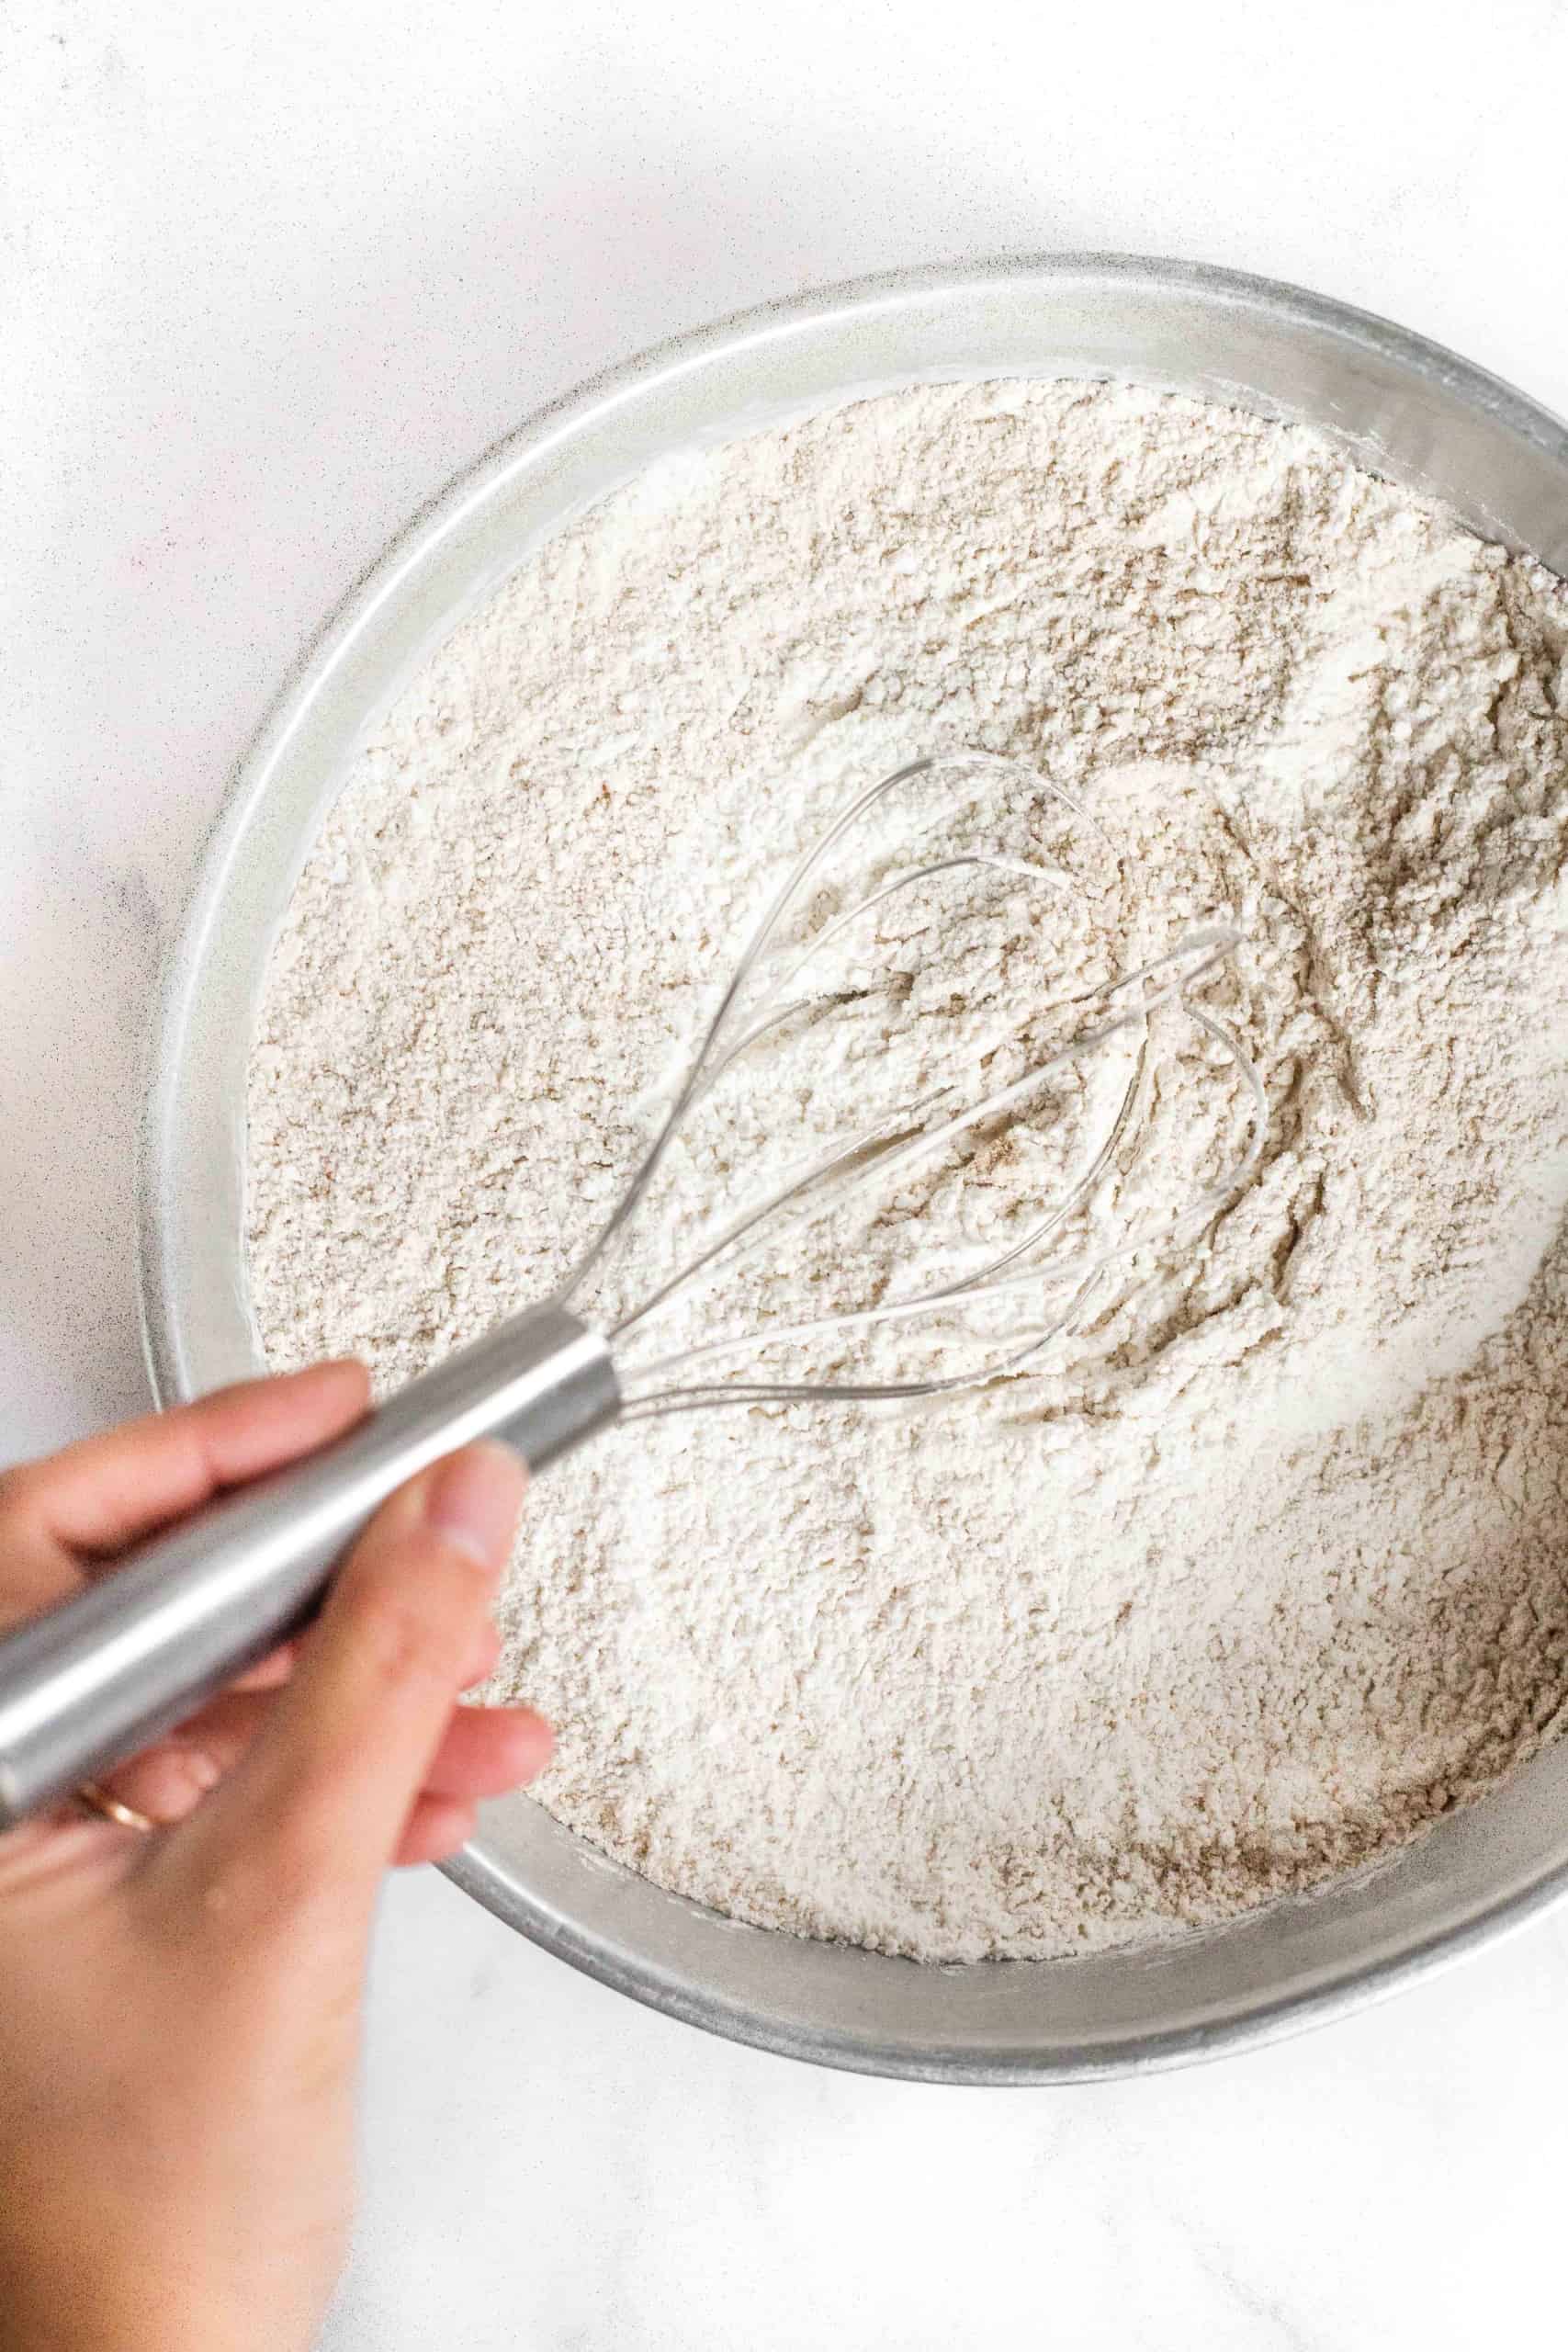
2. Whisk Dry Ingredients
In a large bowl, sift the gluten-free all-purpose flour, xanthan gum (if using), psyllium husk powder, instant yeast, sugar, baking powder and salt. Whisk well to combine.
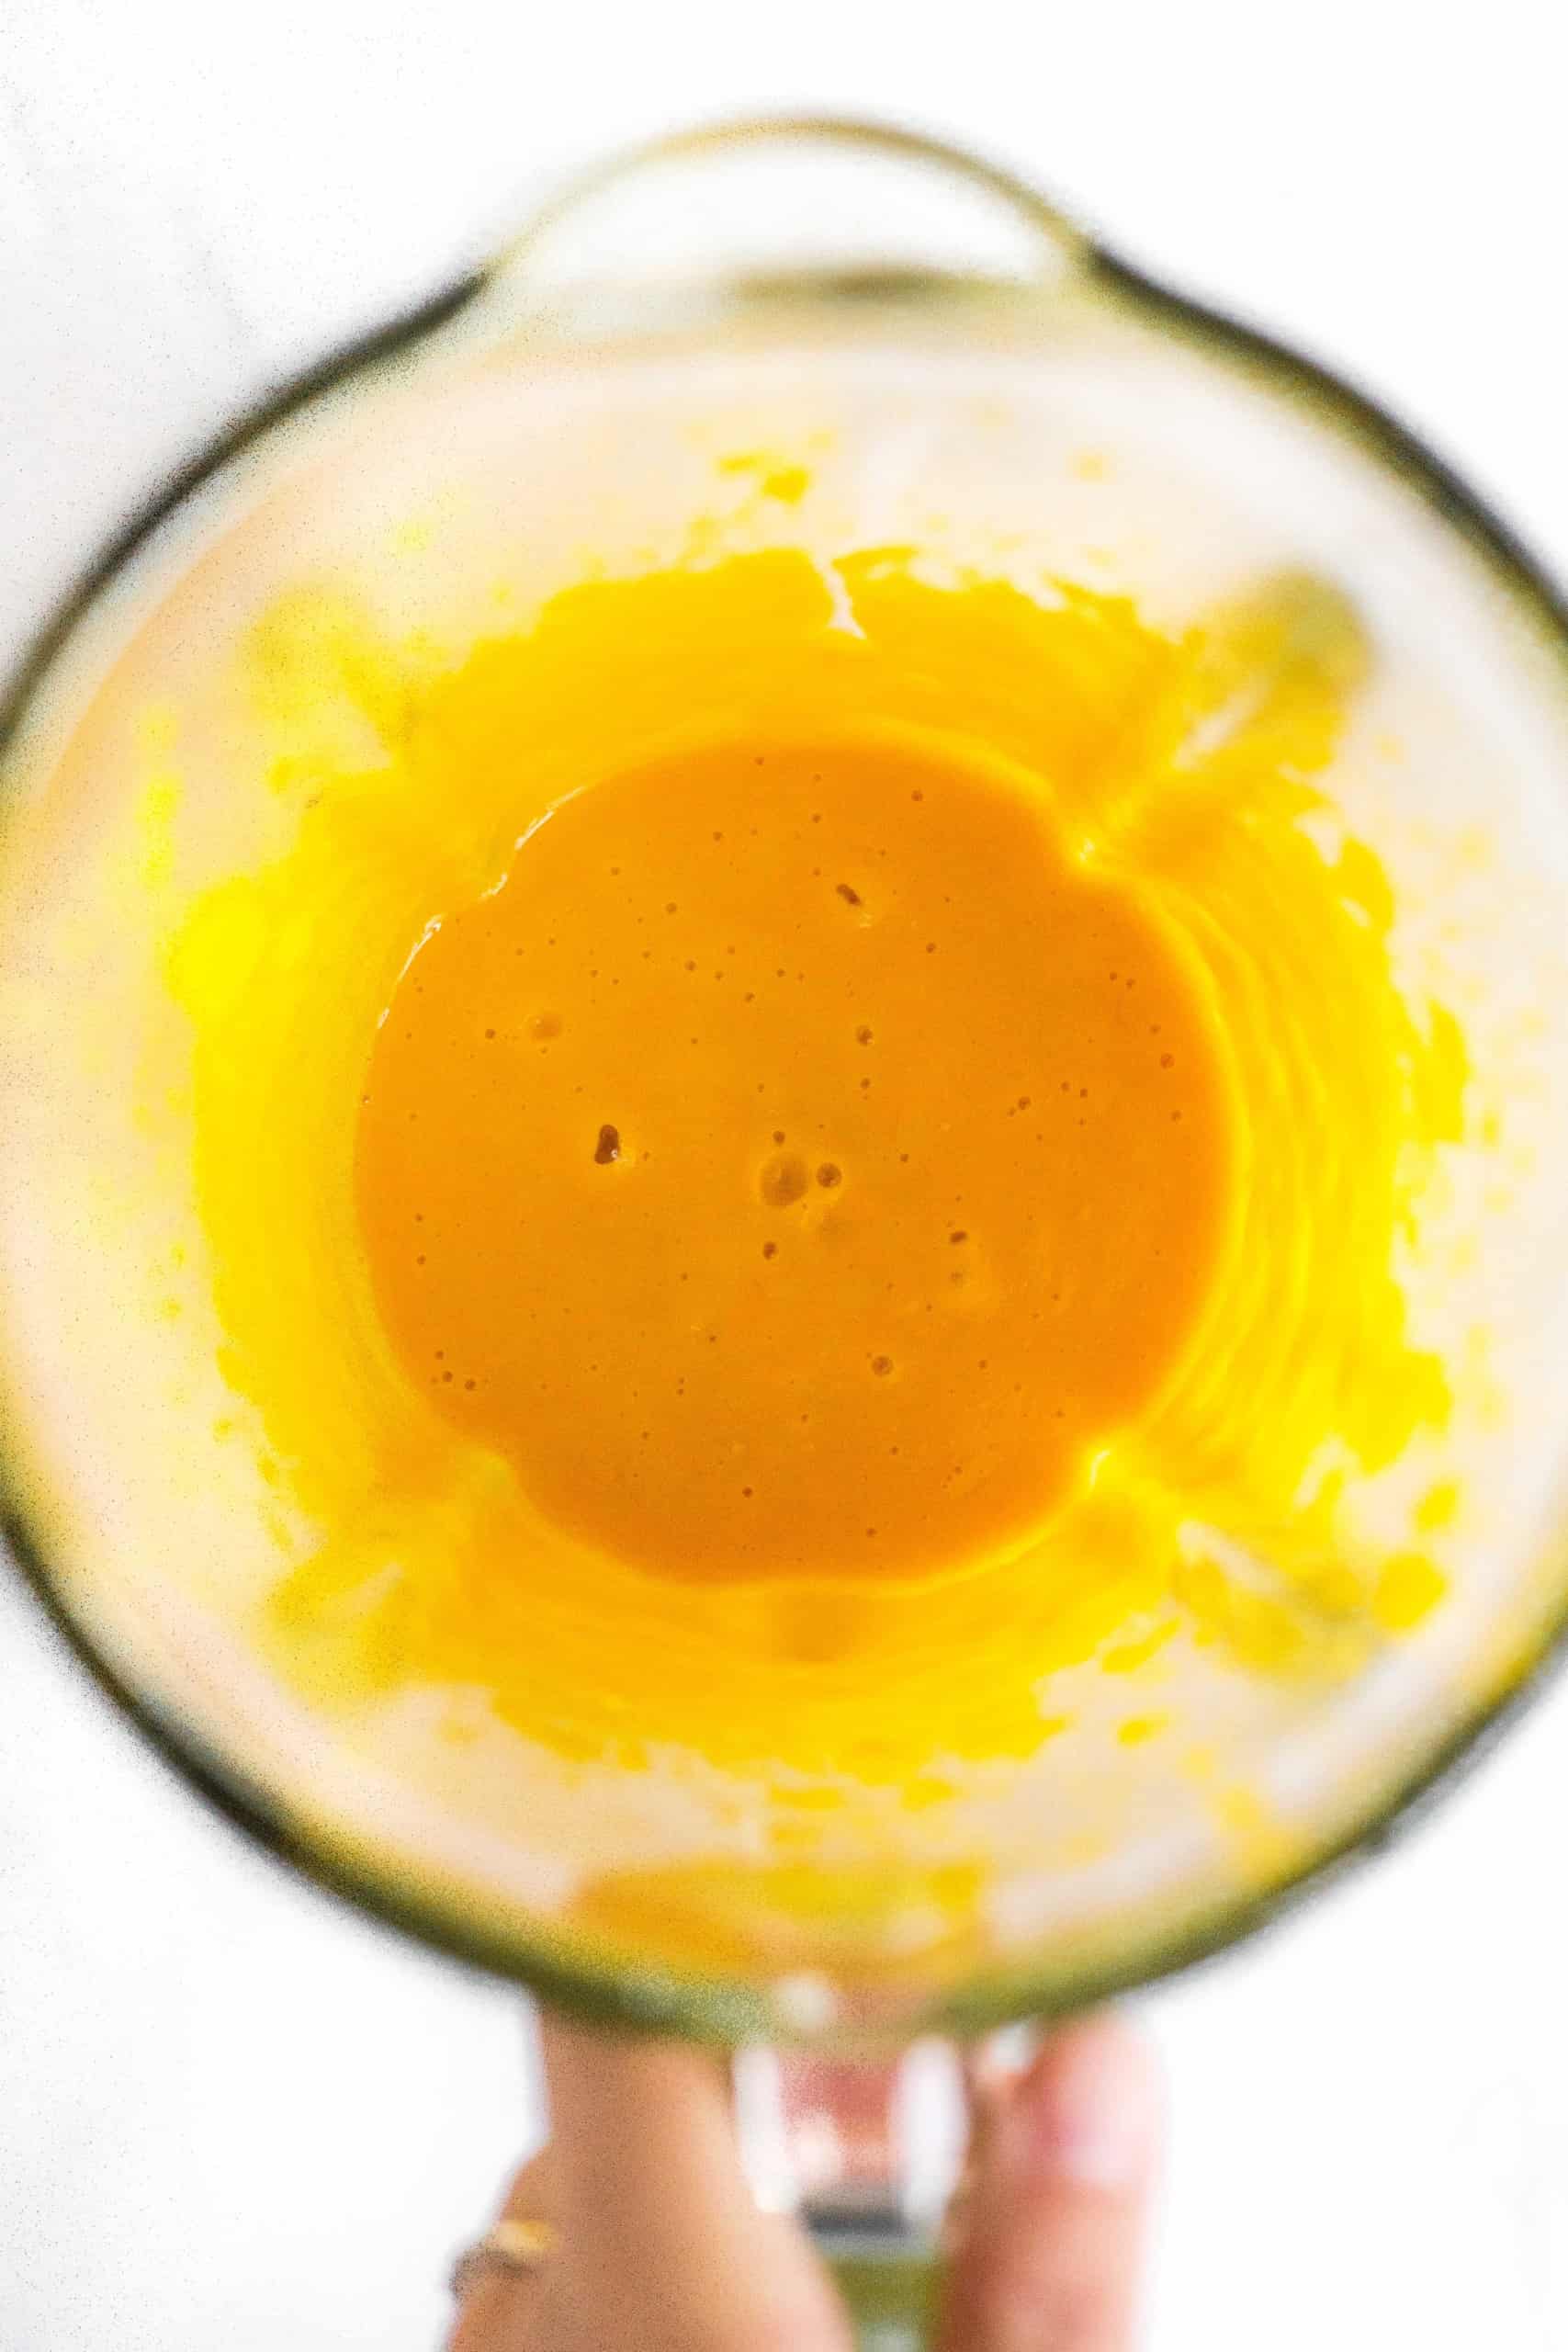
3. Process Pumpkin and Eggs
Combine the pumpkin puree and eggs in the bowl of a high-speed blender or food processor and process until you get a thick creamy orange mixture.
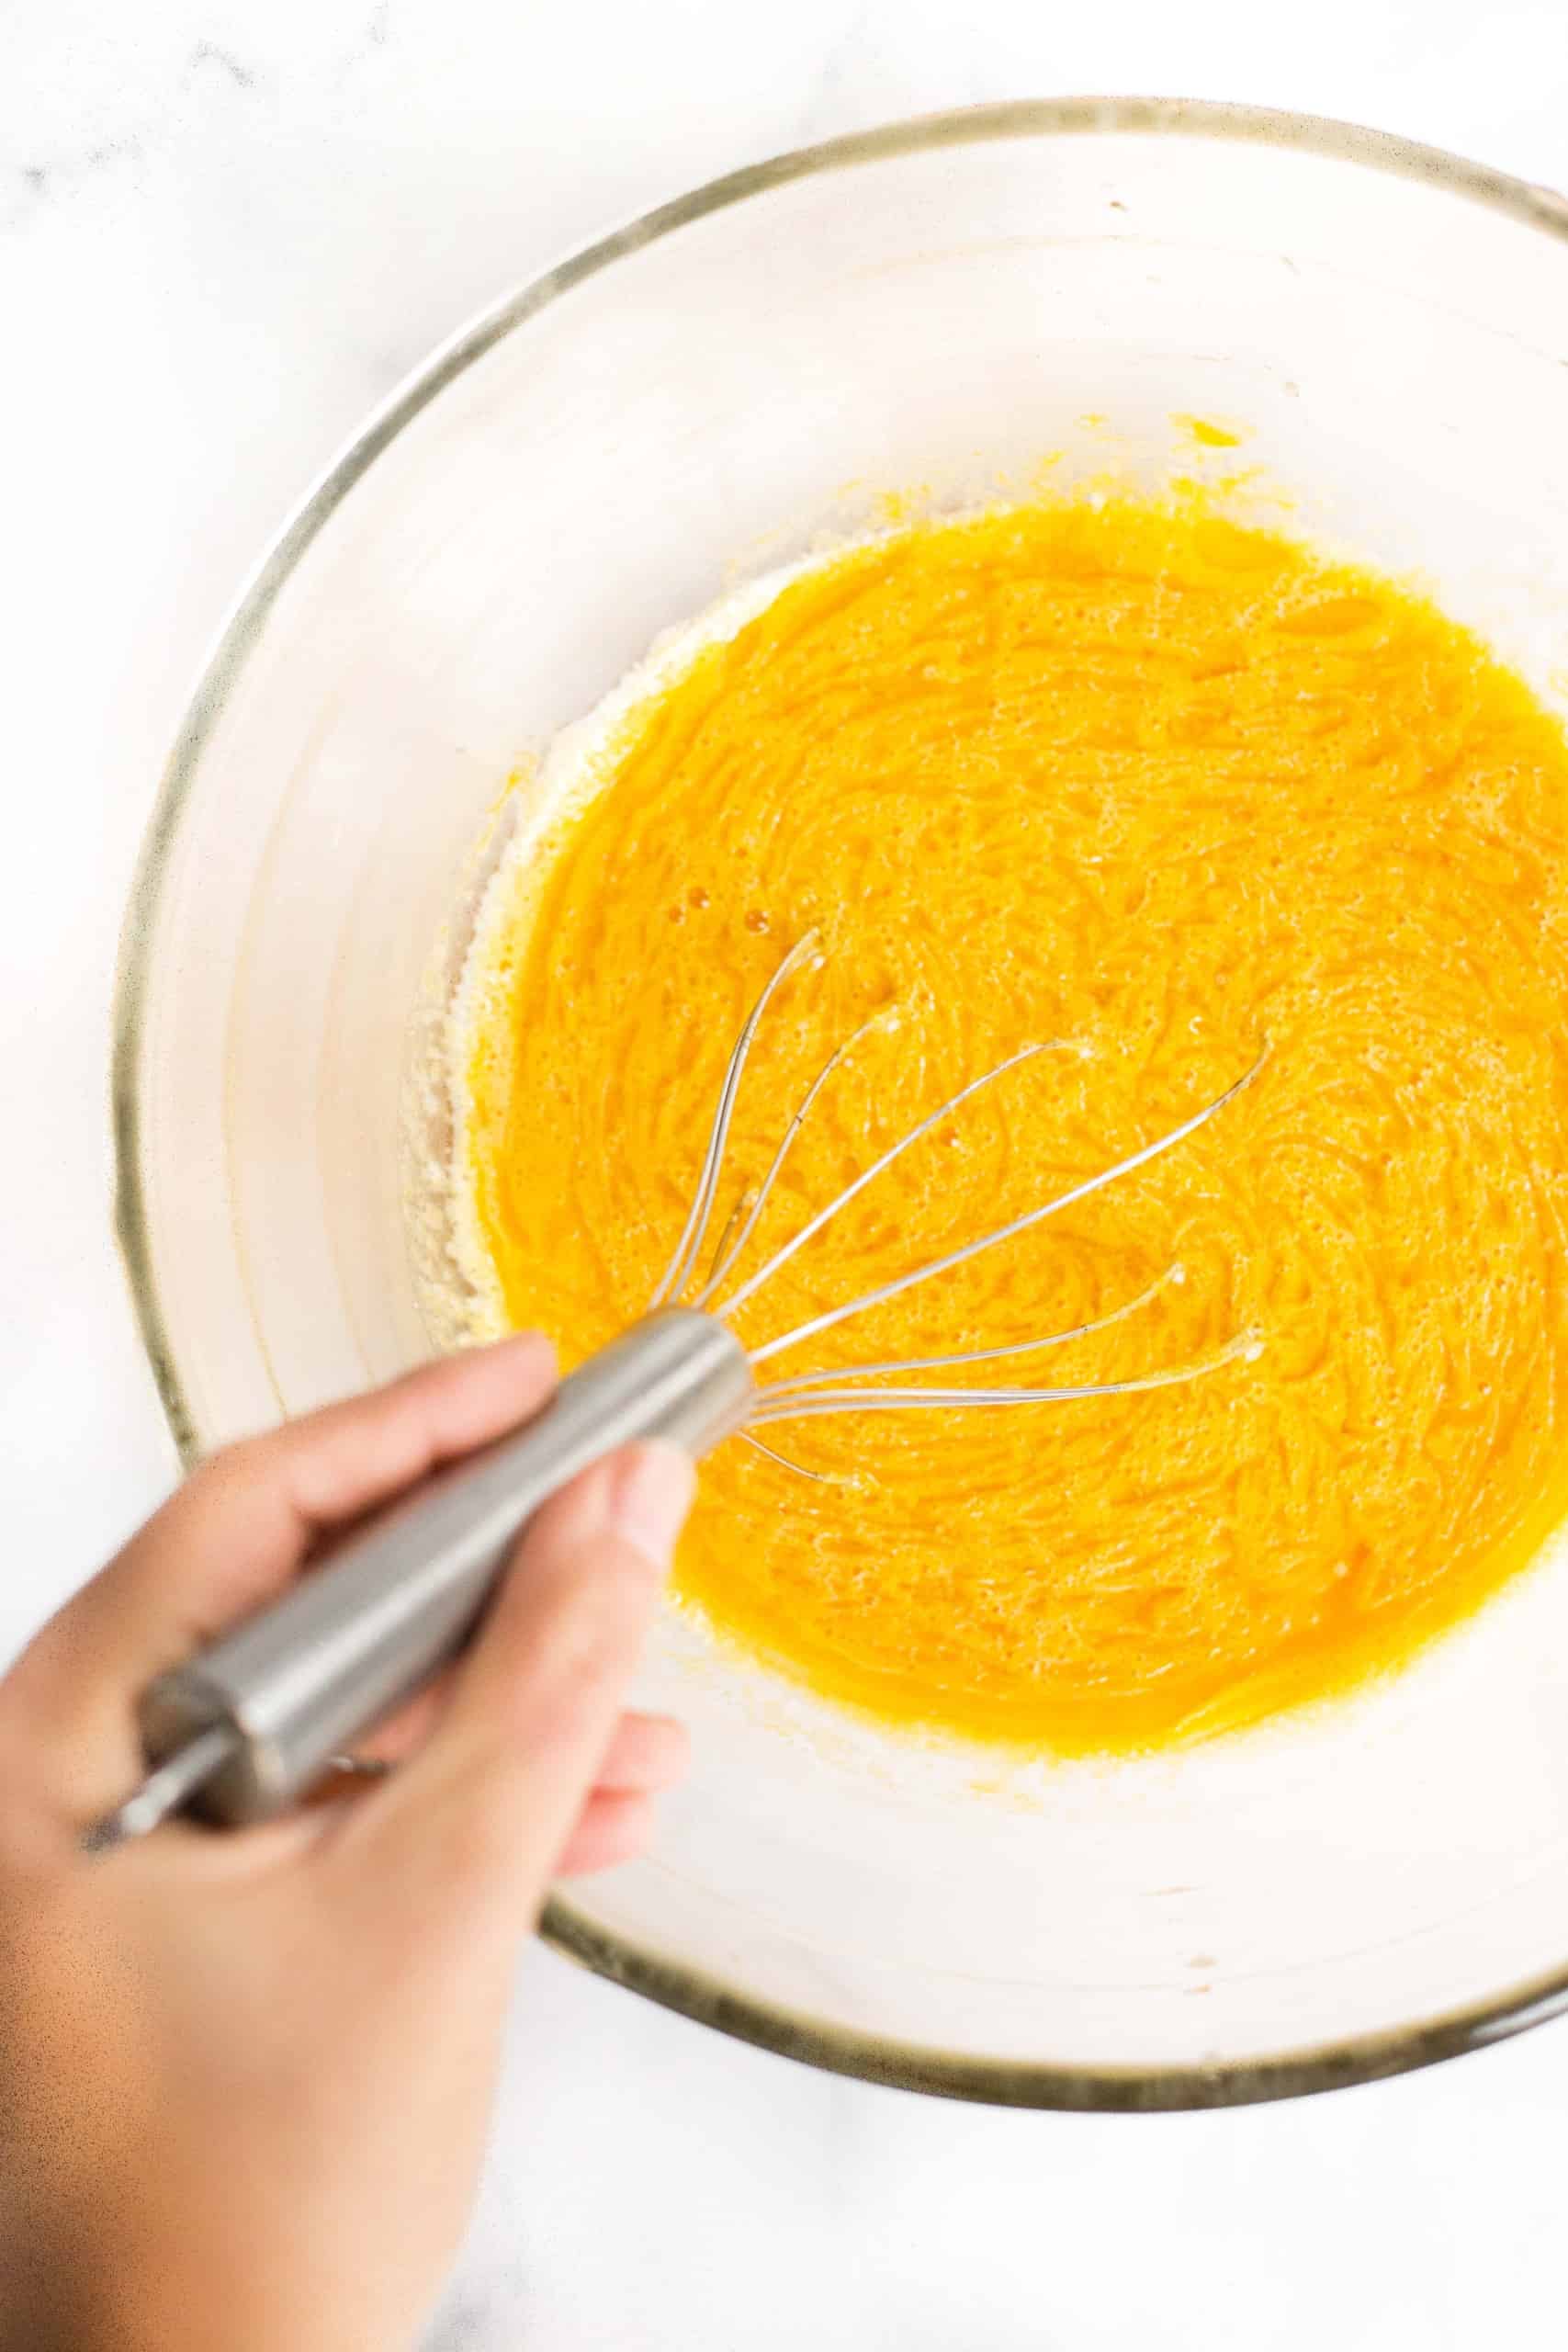
4. Add Water and Oil
Transfer the pumpkin-egg mixture to a large mixing bowl and add water and oil. Mix well to get an orange liquid mixture.
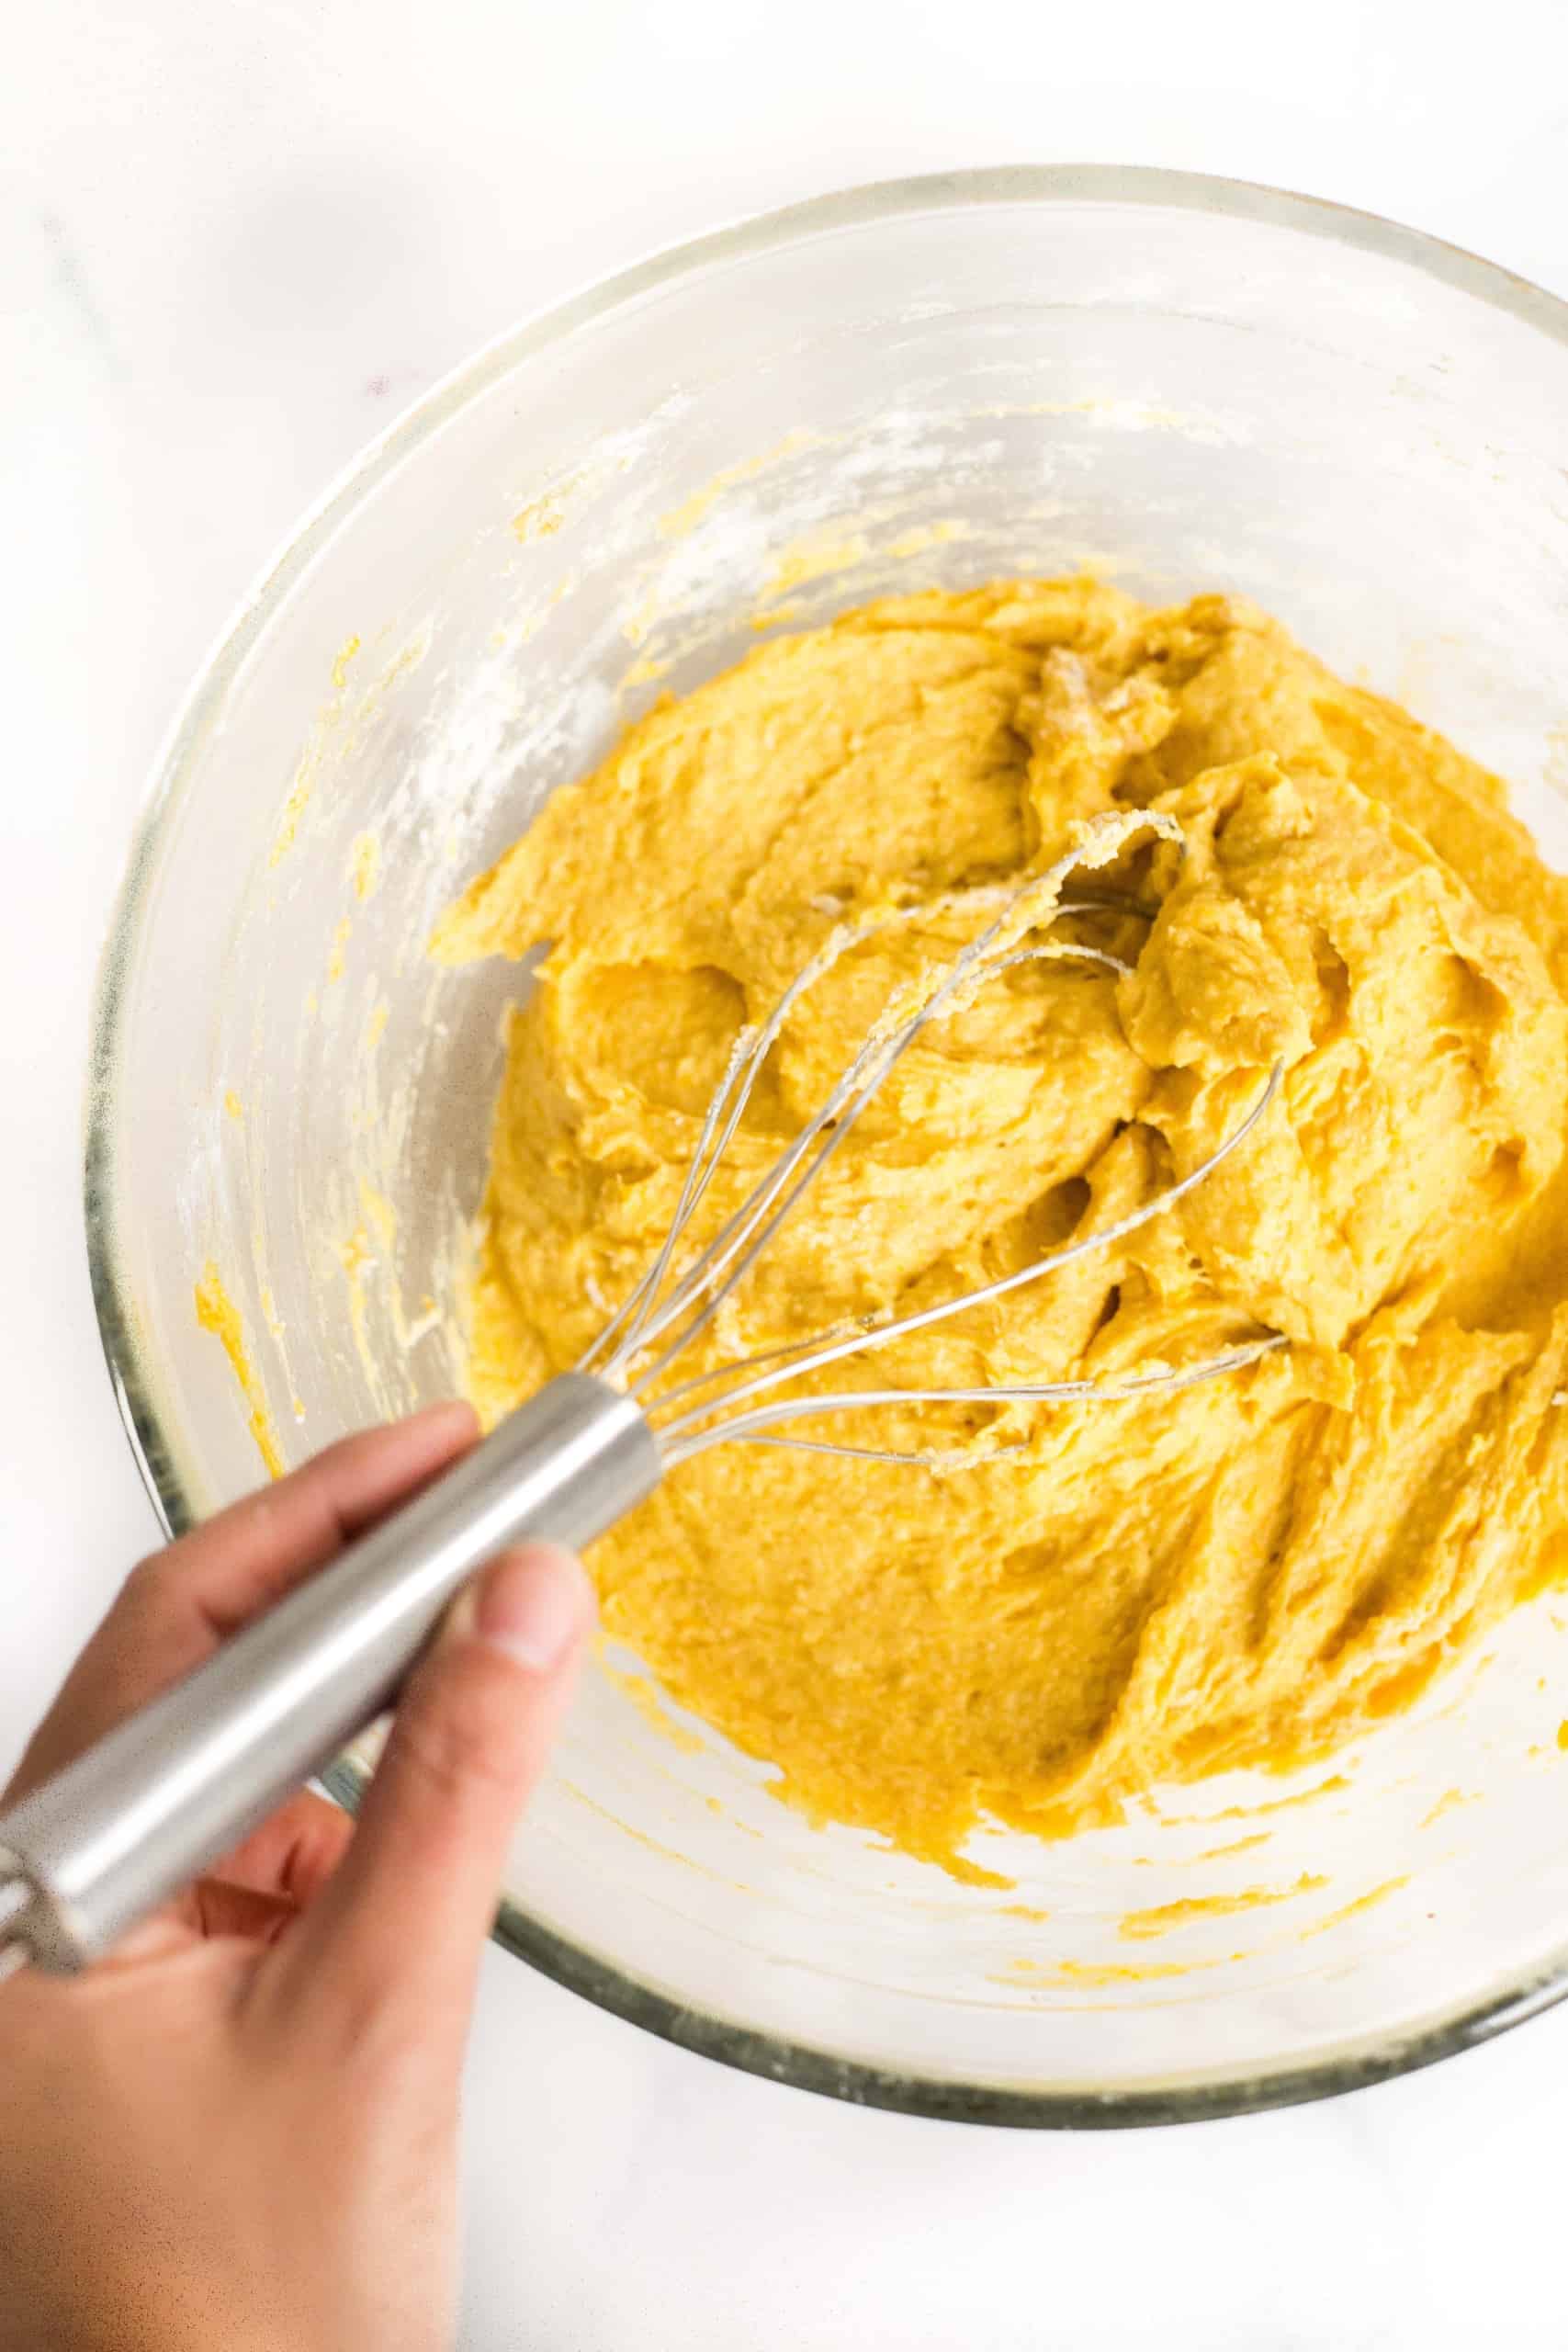
5. Add Dry Ingredients to Get Dough
Add the dry ingredients to the bowl with the wet ingredients and mix well to get a sticky dough (the pumpkin yeast bread dough will be shaggy and wet, and that’s precisely how it should be).
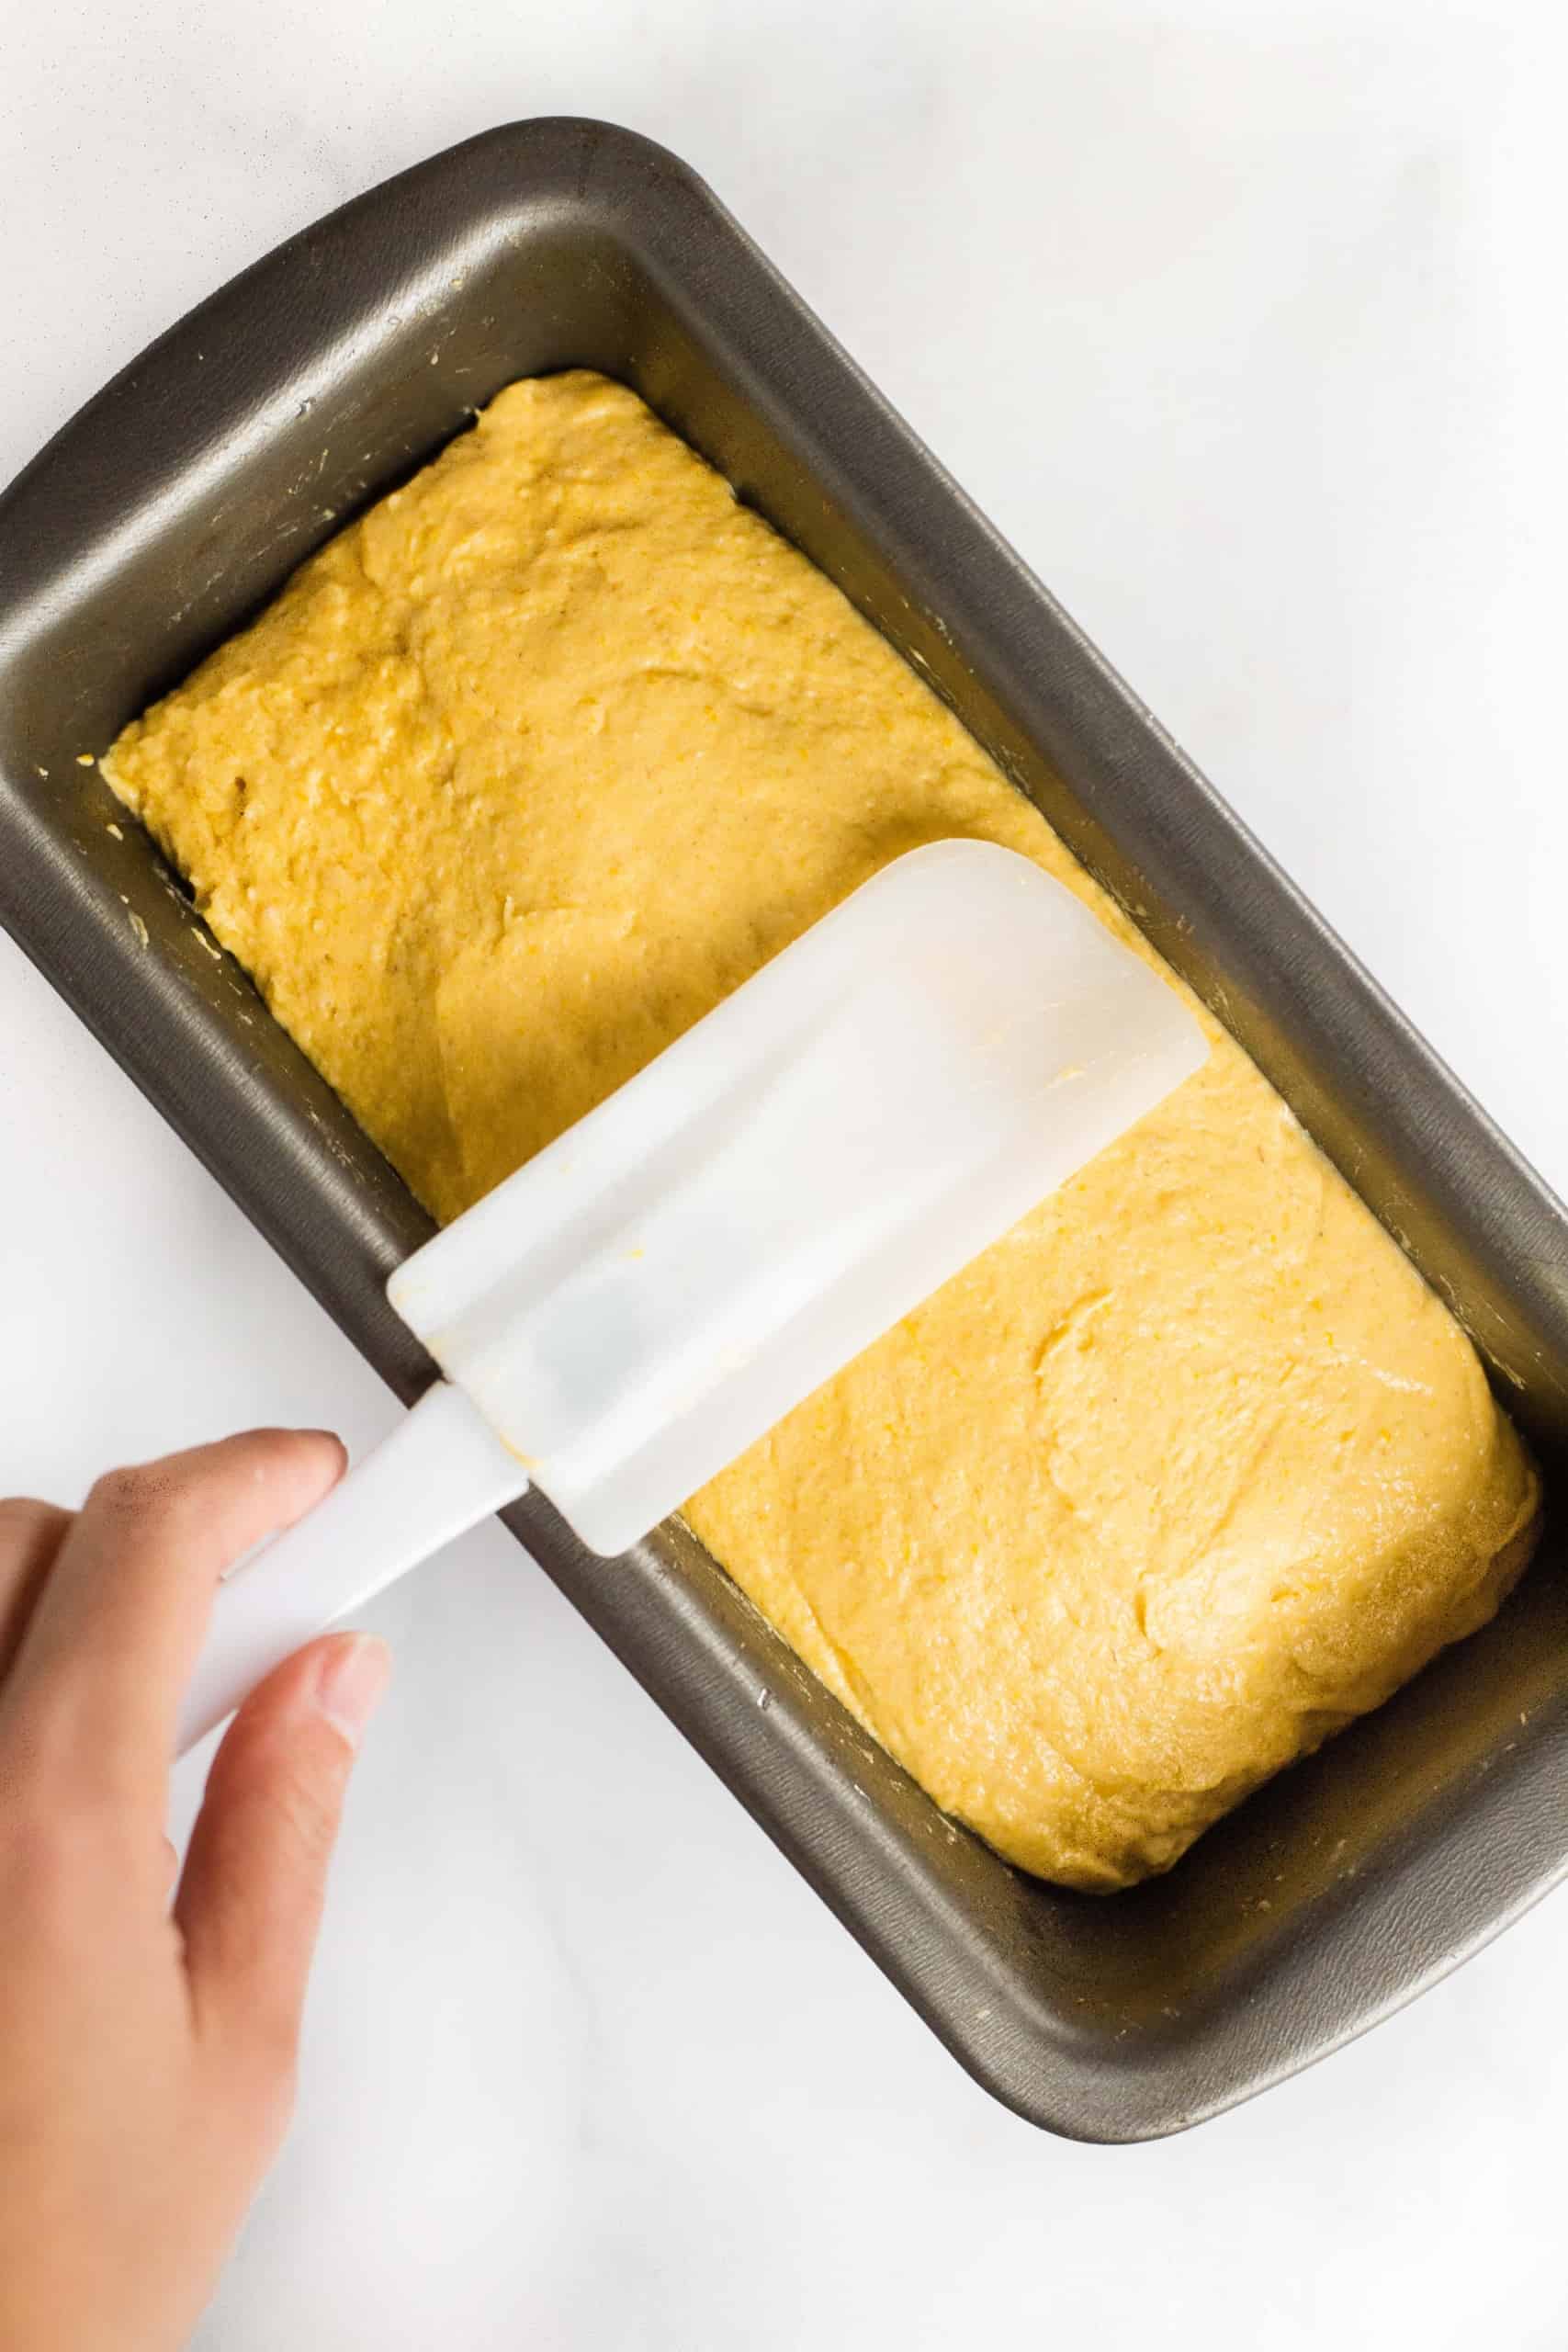
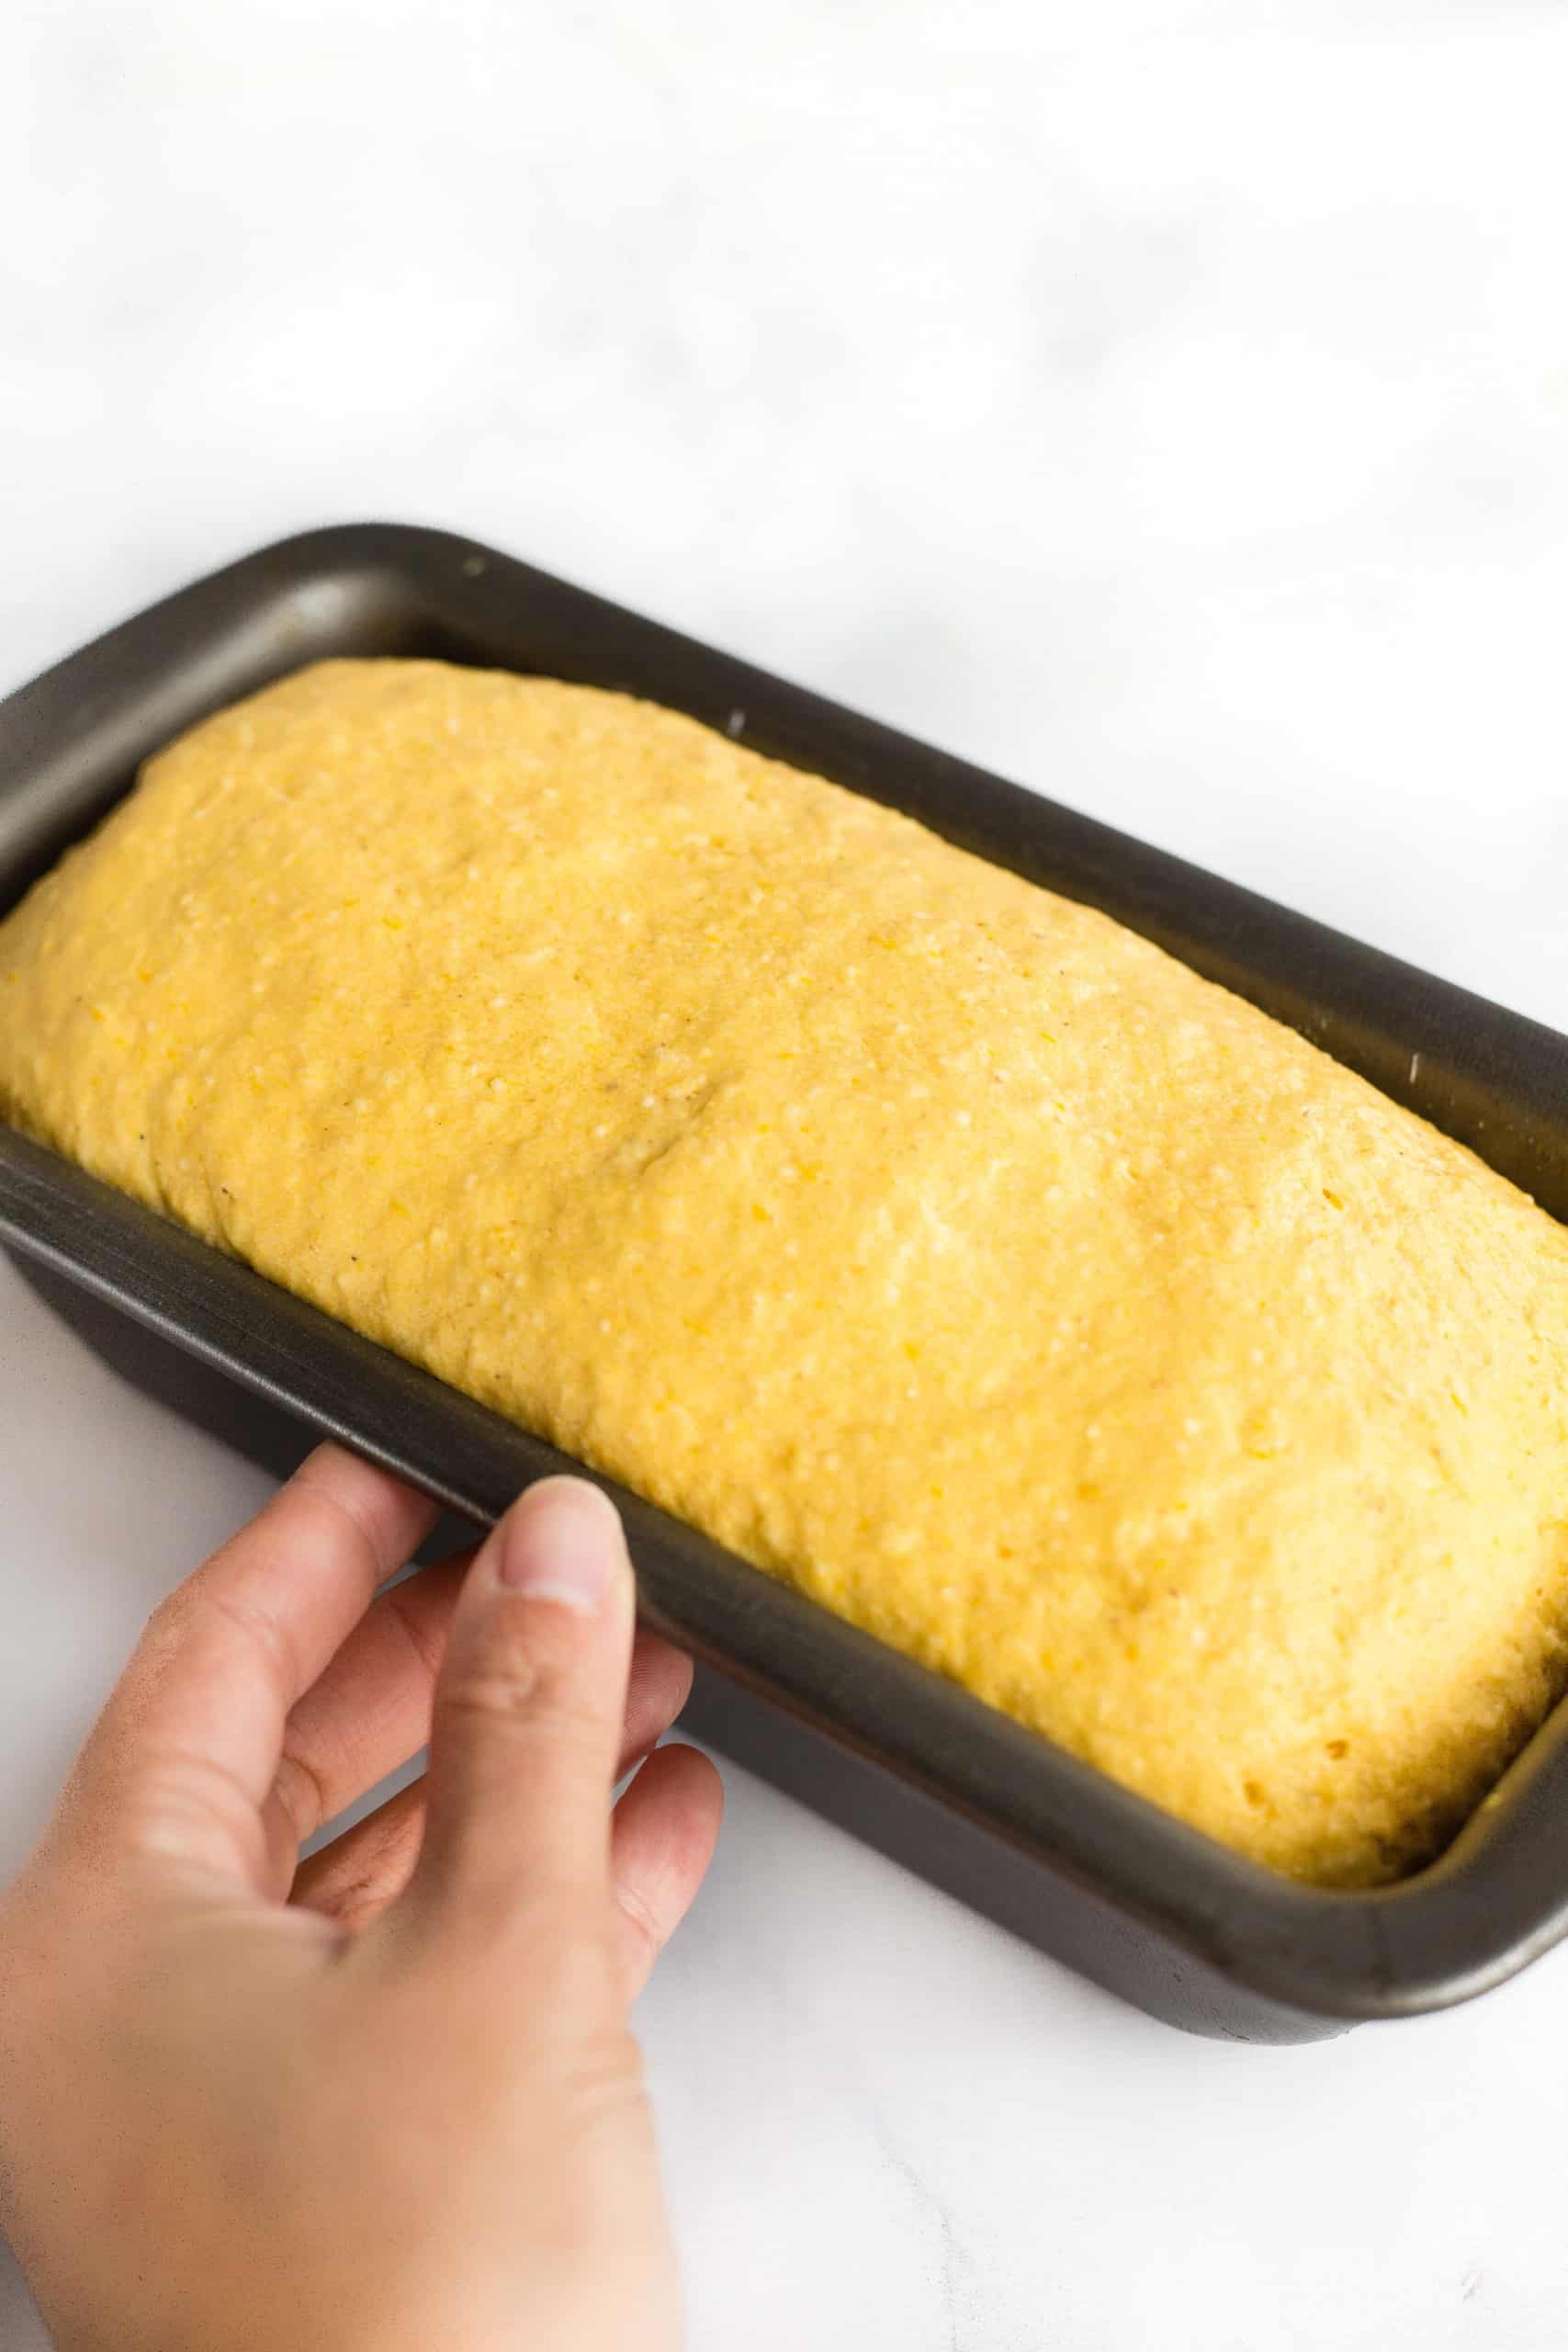
6. Transfer Dough to Loaf Pan
Transfer the dough to the prepared loaf pan and smooth out the top of the dough with a wet spatula.
7. Let Dough Rise
Let the dough rise in a warm place that’s free of drafts of wind for 40 to 50 minutes until it has roughly doubled in size.
8. Preheat Oven
While the dough is almost done rising, preheat the oven to 350F (180C) and arrange the baking rack to the middle position.
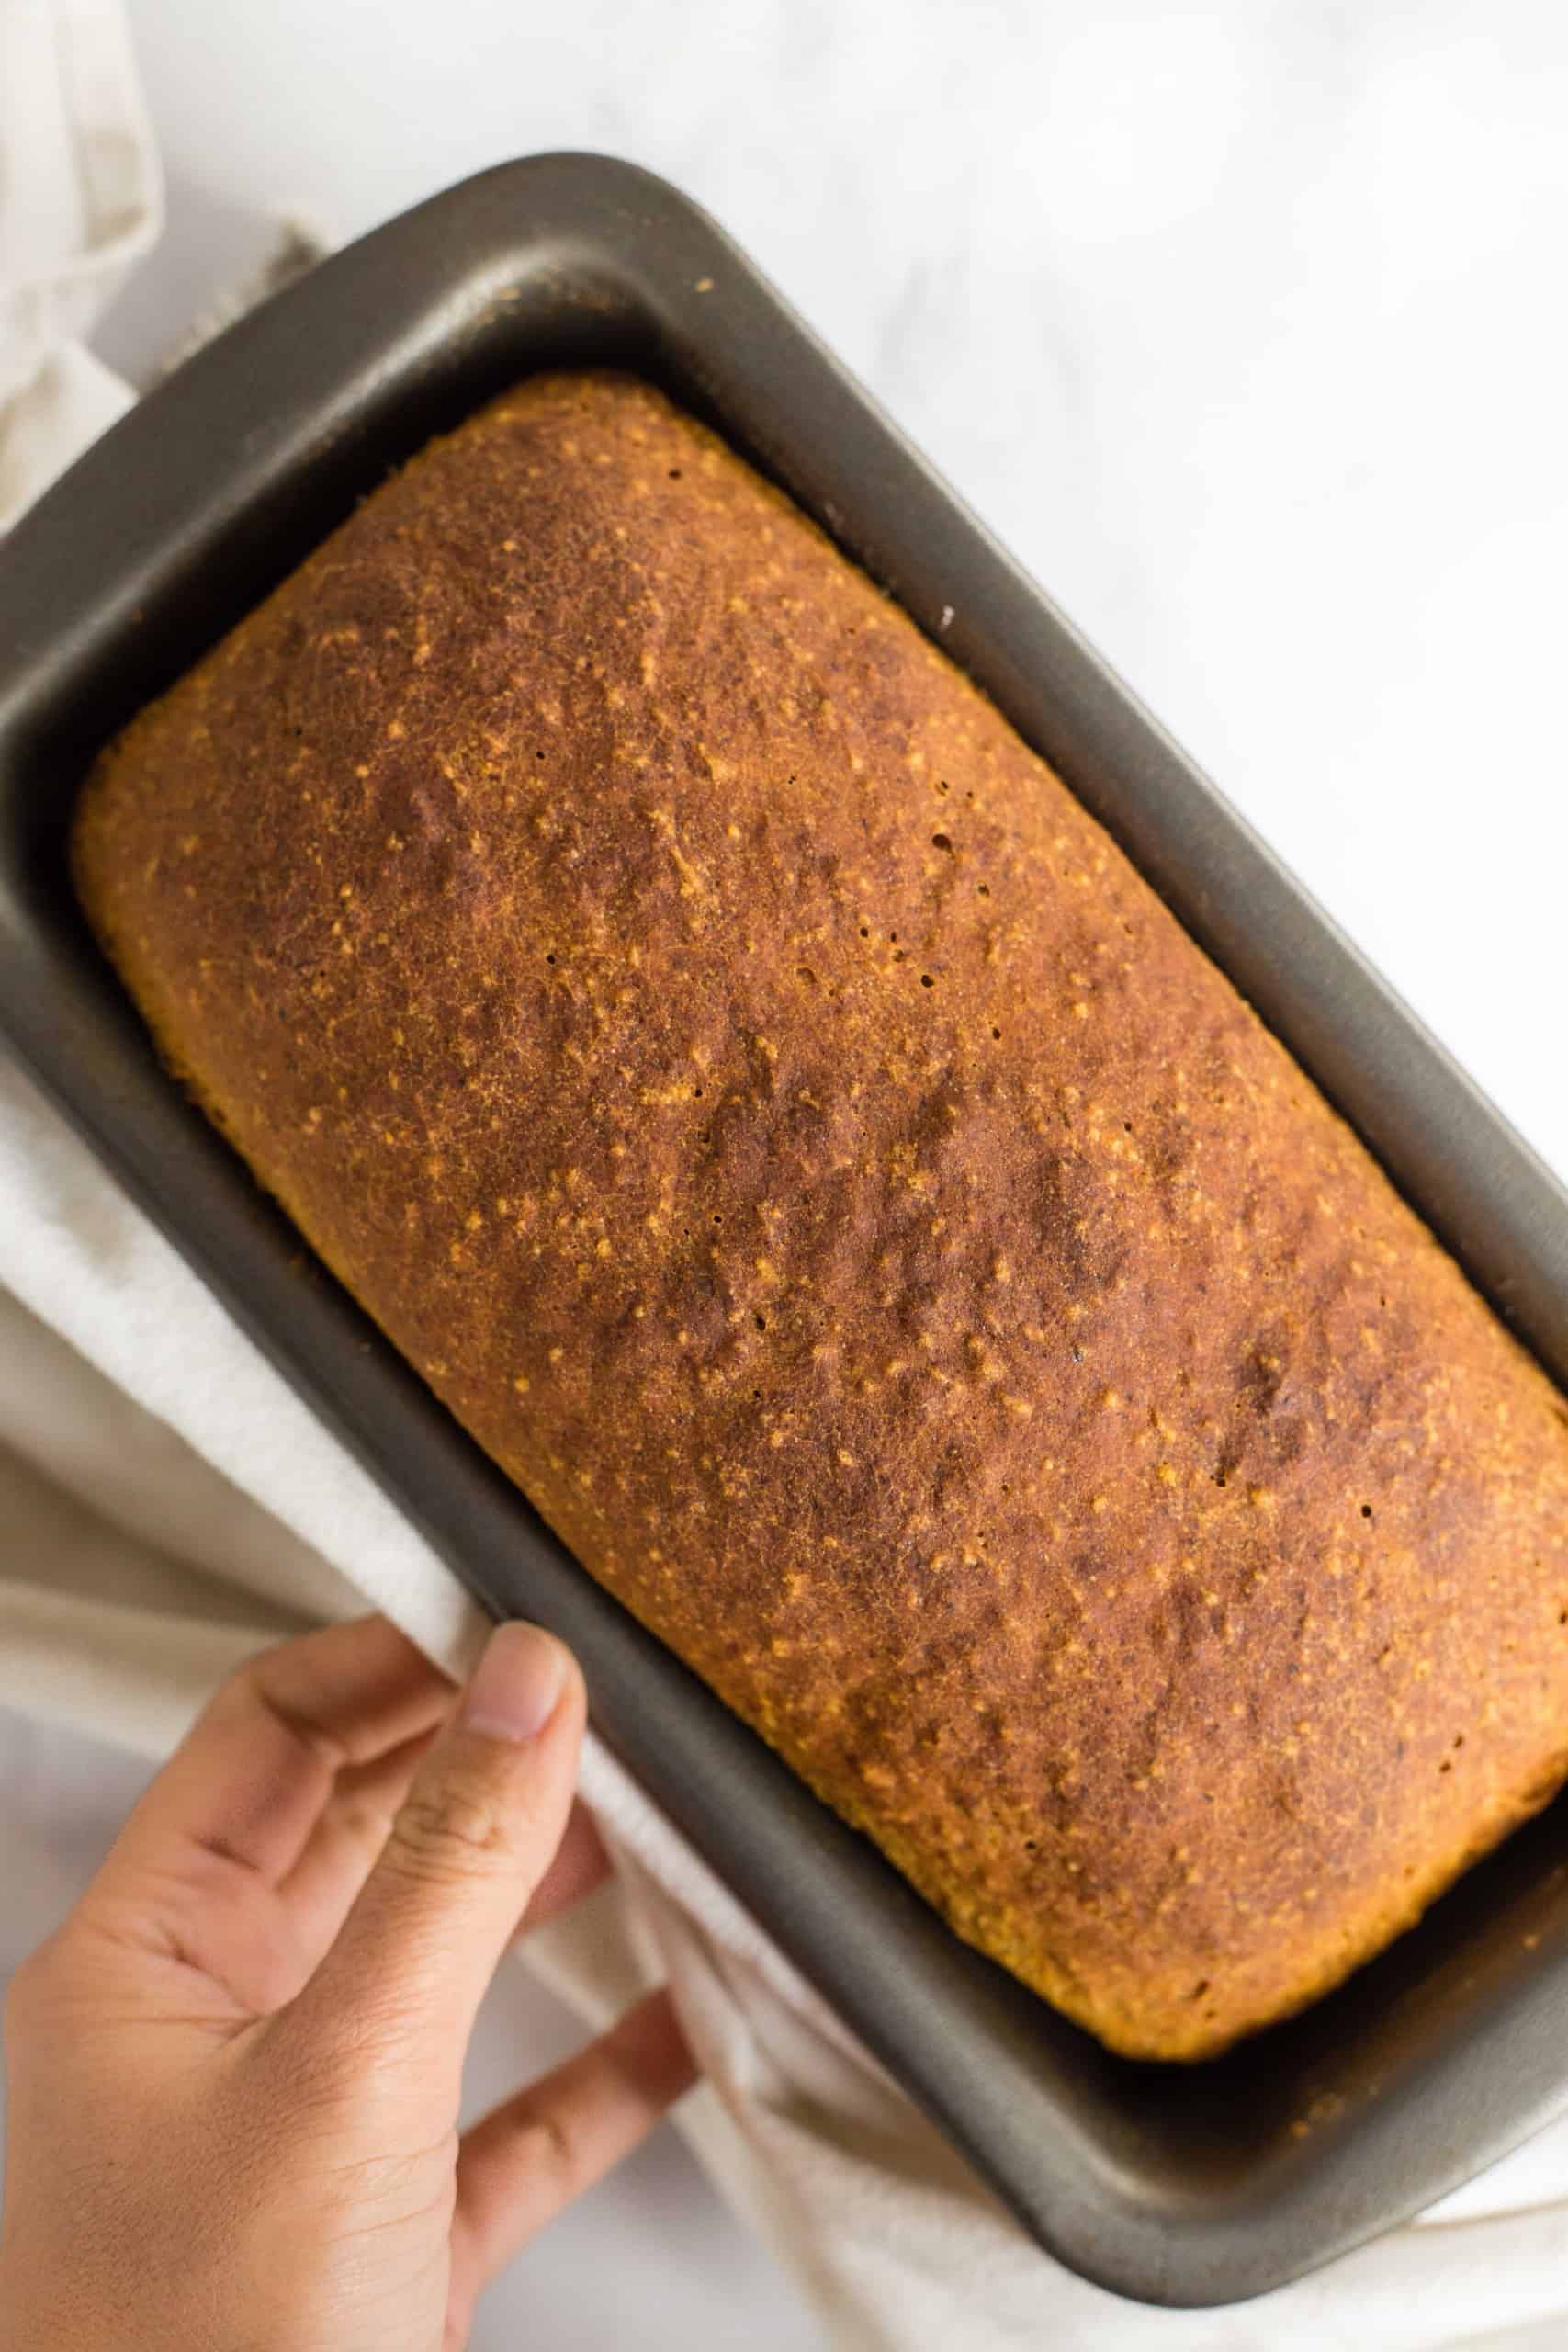
9. Bake Until Golden
Once the dough has finished rising, bake for 1 hour until the top is golden brown and the loaf sounds hollow when tapped.
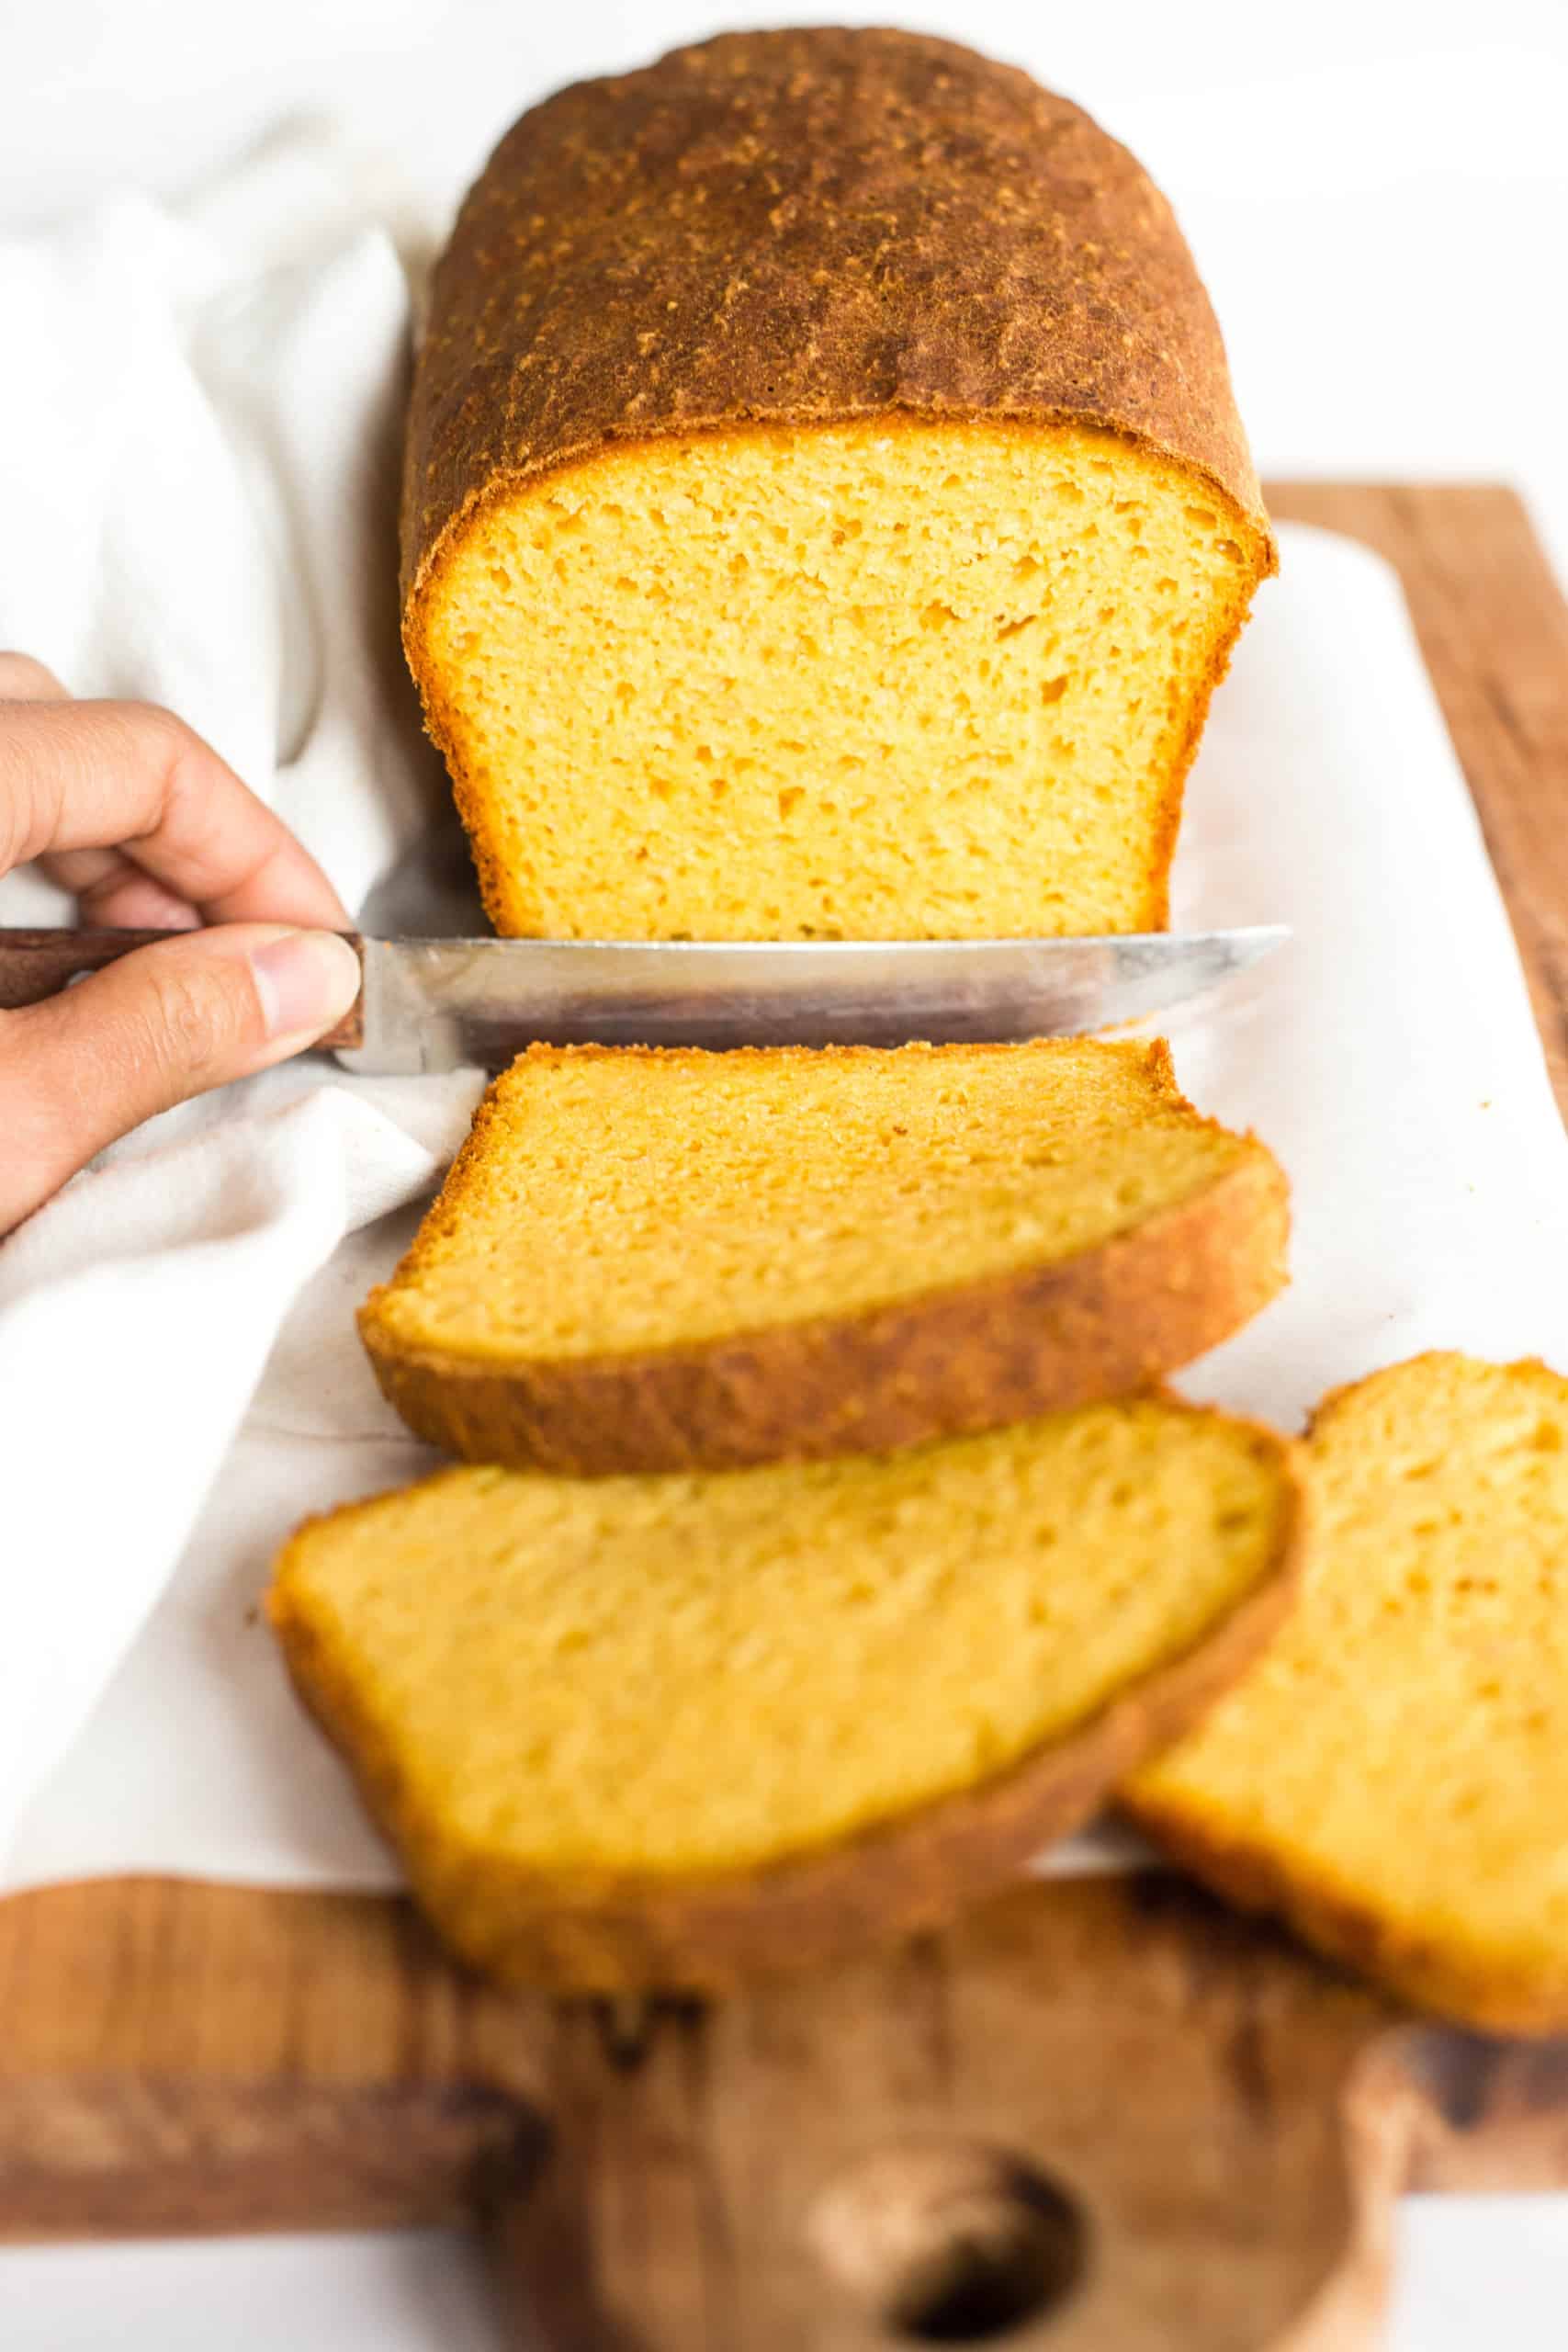
10. Let Cool Before Slicing
Allow the loaf to cool completely at room temperature on a wire rack before slicing into it.
Dish by Dish Tips/Tricks:
- Make Your Own Pumpkin Puree: Trust me, making homemade pumpkin puree is so easy you might not want to buy canned pumpkin again!
- No Pumpkin Puree? If you don’t have pumpkin puree, simply substitute it with equal amounts of butternut squash puree or sweet potato puree. You can also use mashed potatoes to make this deliciously fluffy gluten-free potato bread.
- For Extra Fiber: To add a little more fiber to the bread, you can substitute 1/2 cup of the gluten-free all-purpose flour with brown rice flour, sorghum flour, millet flour, oat flour or buckwheat flour.
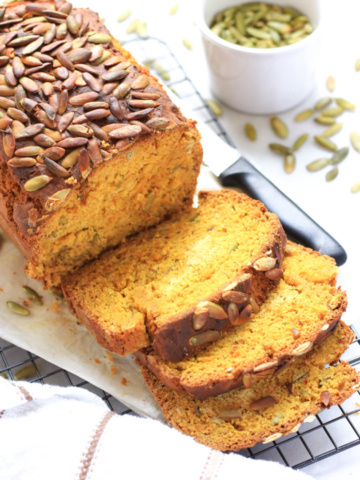
- Optional Toppings: For a fancier bread, feel free to sprinkle pumpkin seeds or your seeds of choice on top of the dough before baking.
- Optional Add-Ins: If you like, you may also add in chocolate chips to the dough before baking.

Recipe FAQs:
To store, place the cooled gluten-free pumpkin yeast bread in an airtight container or wrap in plastic wrap and store it in the refrigerator for up to 5 days.
To freeze, wrap the pumpkin yeast loaf in various layers of plastic wrap and freeze for up to 2 months. Let the frozen loaf thaw completely overnight in the refrigerator before slicing.
Other Pumpkin Recipes to Love:
Gluten-Free Bread Recipes to Bake:
P.S. If you try this recipe, I’d love for you to leave a star rating below, and/or a review in the comment section further down the page. I always appreciate your feedback. Be sure to check out my entire Recipe Index for all the recipes on the blog. You can also follow me on Pinterest, Facebook or Instagram! Sign up for my Email List to get fresh recipes in your inbox each week!
Print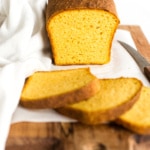
Gluten-Free Pumpkin Yeast Bread (Dairy-Free)
- Total Time: 2 hours
- Yield: 12 slices 1x
- Diet: Gluten Free
Description
Moist, fluffy and tender, this delicious gluten-free pumpkin yeast bread is perfect for fall baking! Great for toasting and eating with pumpkin butter or jam, you’ll want to eat this all pumpkin season long. No kneading required, and totally dairy-free too, but no one would care! Bake a loaf of this pumpkin bread with yeast today and enjoy it for breakfast or an anytime snack!
Ingredients
- 1 cup pumpkin puree
- 2 large eggs, beaten
- 1 cup warm water (between 105 to 115F)
- 1/4 cup sunflower oil
- 2 3/4 cups gluten-free all-purpose flour
- 1 teaspoon xanthan gum (omit if your gluten-free flour blend already includes it)
- 2 tablespoons psyllium husk powder
- 2 1/4 teaspoons instant yeast
- 1 tablespoon sugar
- 1 teaspoon baking powder
- 1/4 teaspoon salt
Instructions
- Grease Loaf Pan: Grease an 8″ x 4″ metal loaf pan.
- Whisk Dry Ingredients: In a large bowl, sift the gluten-free all-purpose flour, xanthan gum (if using), psyllium husk powder, instant yeast, sugar, baking powder and salt. Whisk well to combine.
- Process Pumpkin and Eggs: Combine the pumpkin puree and eggs in the bowl of a high-speed blender or food processor and process until you get a thick creamy orange mixture.
- Add Water and Oil: Transfer the pumpkin-egg mixture to a large mixing bowl and add water and oil. Mix well to get an orange liquid mixture.
- Add Dry Ingredients to Get Dough: Add the dry ingredients to the bowl with the wet ingredients and mix well to get a sticky dough (the pumpkin yeast bread dough will be shaggy and wet, and that’s precisely how it should be).
- Transfer Dough to Loaf Pan: Transfer the dough to the previously greased loaf pan and smooth out the top of the dough with a wet spatula.
- Let Dough Rise: Let the dough rise in a warm place that’s free of drafts of wind for 40 to 50 minutes until it has roughly doubled in size.
- Preheat Oven: While the dough is almost done rising, preheat the oven to 350F (180C) and arrange the baking rack to the middle position.
- Bake Until Golden: Once the dough has finished rising, bake for 1 hour until the top is golden brown and the loaf sounds hollow when tapped.
- Let Cool Before Slicing: Allow the loaf to cool completely at room temperature on a wire rack before slicing into it.
Notes
Pumpkin Puree: During pumpkin season, I love making my own homemade pumpkin puree (it’s super easy!). However, you may also use canned pumpkin if you prefer (make sure it’s canned pumpkin and NOT pumpkin pie filling).
Eggs: The eggs help to bind the ingredients together. If you rather not use egg yolks, feel free to use 4 egg whites instead of 2 whole eggs. I personally have not made this recipe without eggs, however, if you are allergic to eggs, you may also use aquafaba or an egg-replacer. (If you do make this egg-free, please let me know how it goes in the comments below, I’d love to know!)
Warm Water: Make sure that the water is between 105F to 115F, because the yeast requires warmth to be activated, but if the water if too hot the high temperature will kill the yeast. You may also use warm unsweetened dairy-free milk (such as almond milk, cashew milk, rice milk, soy milk or oat milk). Alternatively, if you are not lactose-intolerant, feel free to use whole milk instead.
Sunflower Oil: I like using sunflower oil because I always have a bottle of it on hand. However, you may also use melted vegan butter or another vegetable oil (such as olive oil, melted coconut oil, or avocado oil). Alternatively, if you are not lactose-intolerant, feel free to use melted butter or ghee instead.
Gluten-Free All-Purpose Flour: I highly recommend using a good-quality gluten-free all-purpose flour that’s made up of lighter flours/starches (such as rice flour, tapioca starch, corn starch or potato starch) for a lighter and fluffier final texture. I do NOT recommend using gluten-free flour blends that include heavier flours (such as garbanzo bean flour) as that will result in a denser final texture.
Xanthan Gum: Xanthan gum is the replacement for gluten in gluten-free flours, so make sure to add it in if your gluten-free flour blend does not already include it.
Psyllium Husk Powder: Psyllium husk powder adds structure and binding power to the ingredients and really makes a difference in how the bread domes. Make sure to use the powder version. If you only have access to whole psyllium husks, you can grind the whole husks in a coffee grinder or high-speed blender until you get very fine powder.
Instant Yeast: I like using instant yeast because there is no pre-activation time required and you can mix the instant yeast directly in with the other dry ingredients. If you only have active dry yeast, make sure you activate it beforehand (mix the active dry yeast with the warm water and sugar and let it sit for a few minutes in a warm place until the mixture is foamy).
Sugar: The sugar is required as “food” for the yeast to feed on in order to be activated and produce the gases required for the dough to rise. I used white sugar, but you can also use light brown sugar or dark brown sugar if you prefer.
Baking Powder: In addition to the yeast, baking powder helps the dough to rise a little more. If you are Celiac or gluten-intolerant, make sure to use certified gluten-free baking powder.
Storing/Freezing: To store, place the cooled pumpkin yeast bread in an airtight container or wrap in plastic wrap and store it in the refrigerator for up to 5 days. To freeze, wrap the pumpkin yeast loaf in various layers of plastic wrap and freeze for up to 2 months. Let the frozen loaf thaw completely overnight in the refrigerator before slicing.
- Prep Time: 10 mins
- Rising Time: 50 mins
- Cook Time: 1 hour
- Category: Bread
- Method: Baking
- Cuisine: American




I think they would be amazing at Thanksgiving or Christmas dinner! Can you make these into buns? If so, you would you suggest making them?
Also, you mentioned adding in chocolate chips, what about cranberries?
Hi Deb! Yes, you can make these into dinner rolls/buns! I actually have a recipe out for that: https://www.dishbydish.net/gluten-free-pumpkin-dinner-rolls/
And yes, go ahead and add dried cranberries if you wish!
Good morning Felicia!
I give a thumb-up for this recipe of pumpkin bread – I really love the soft and fluffy texture with the natural pumpkin sweetness!
I can eat this bread on its own to enjoy the pumpkin flavour or I can spread either butter or other spreads onto the bread to enhance its flavors .
I always love freshly baked home-made bread. I have stopped buying bread since I started following all your bread recipes.
With much love,
Mum
Hi mummy, so happy you love this pumpkin yeast bread as much as we do!
Love you too