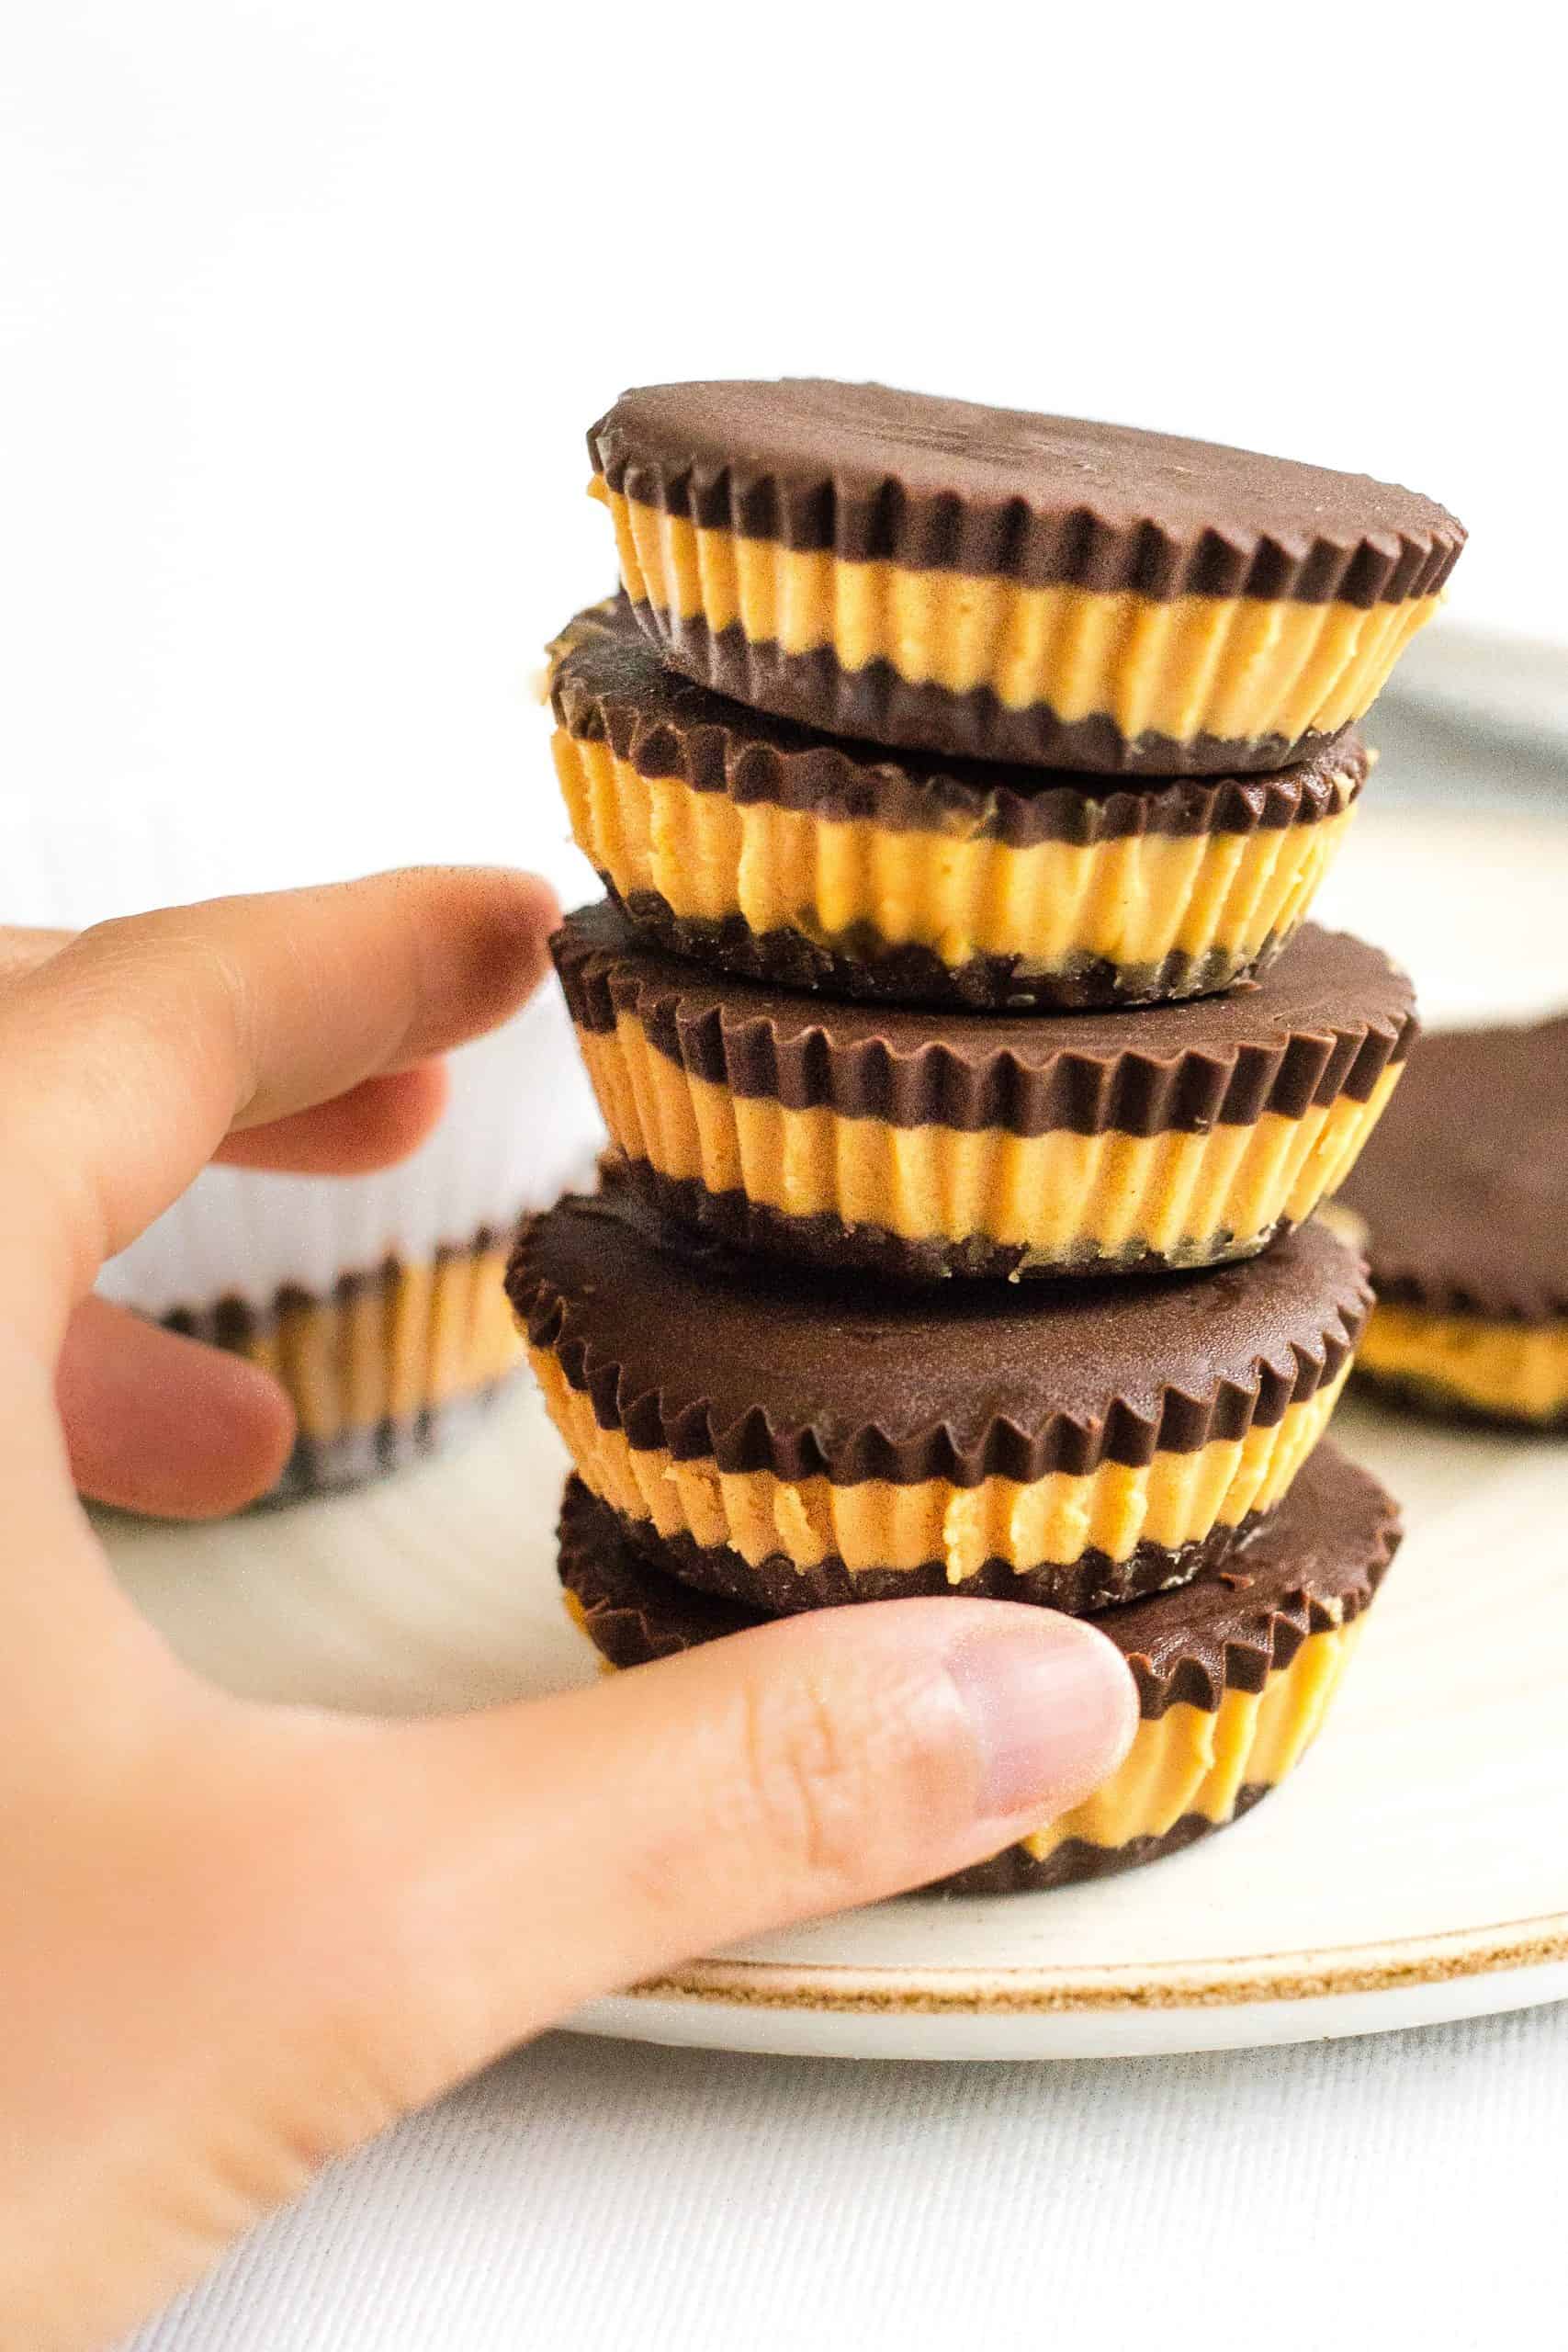
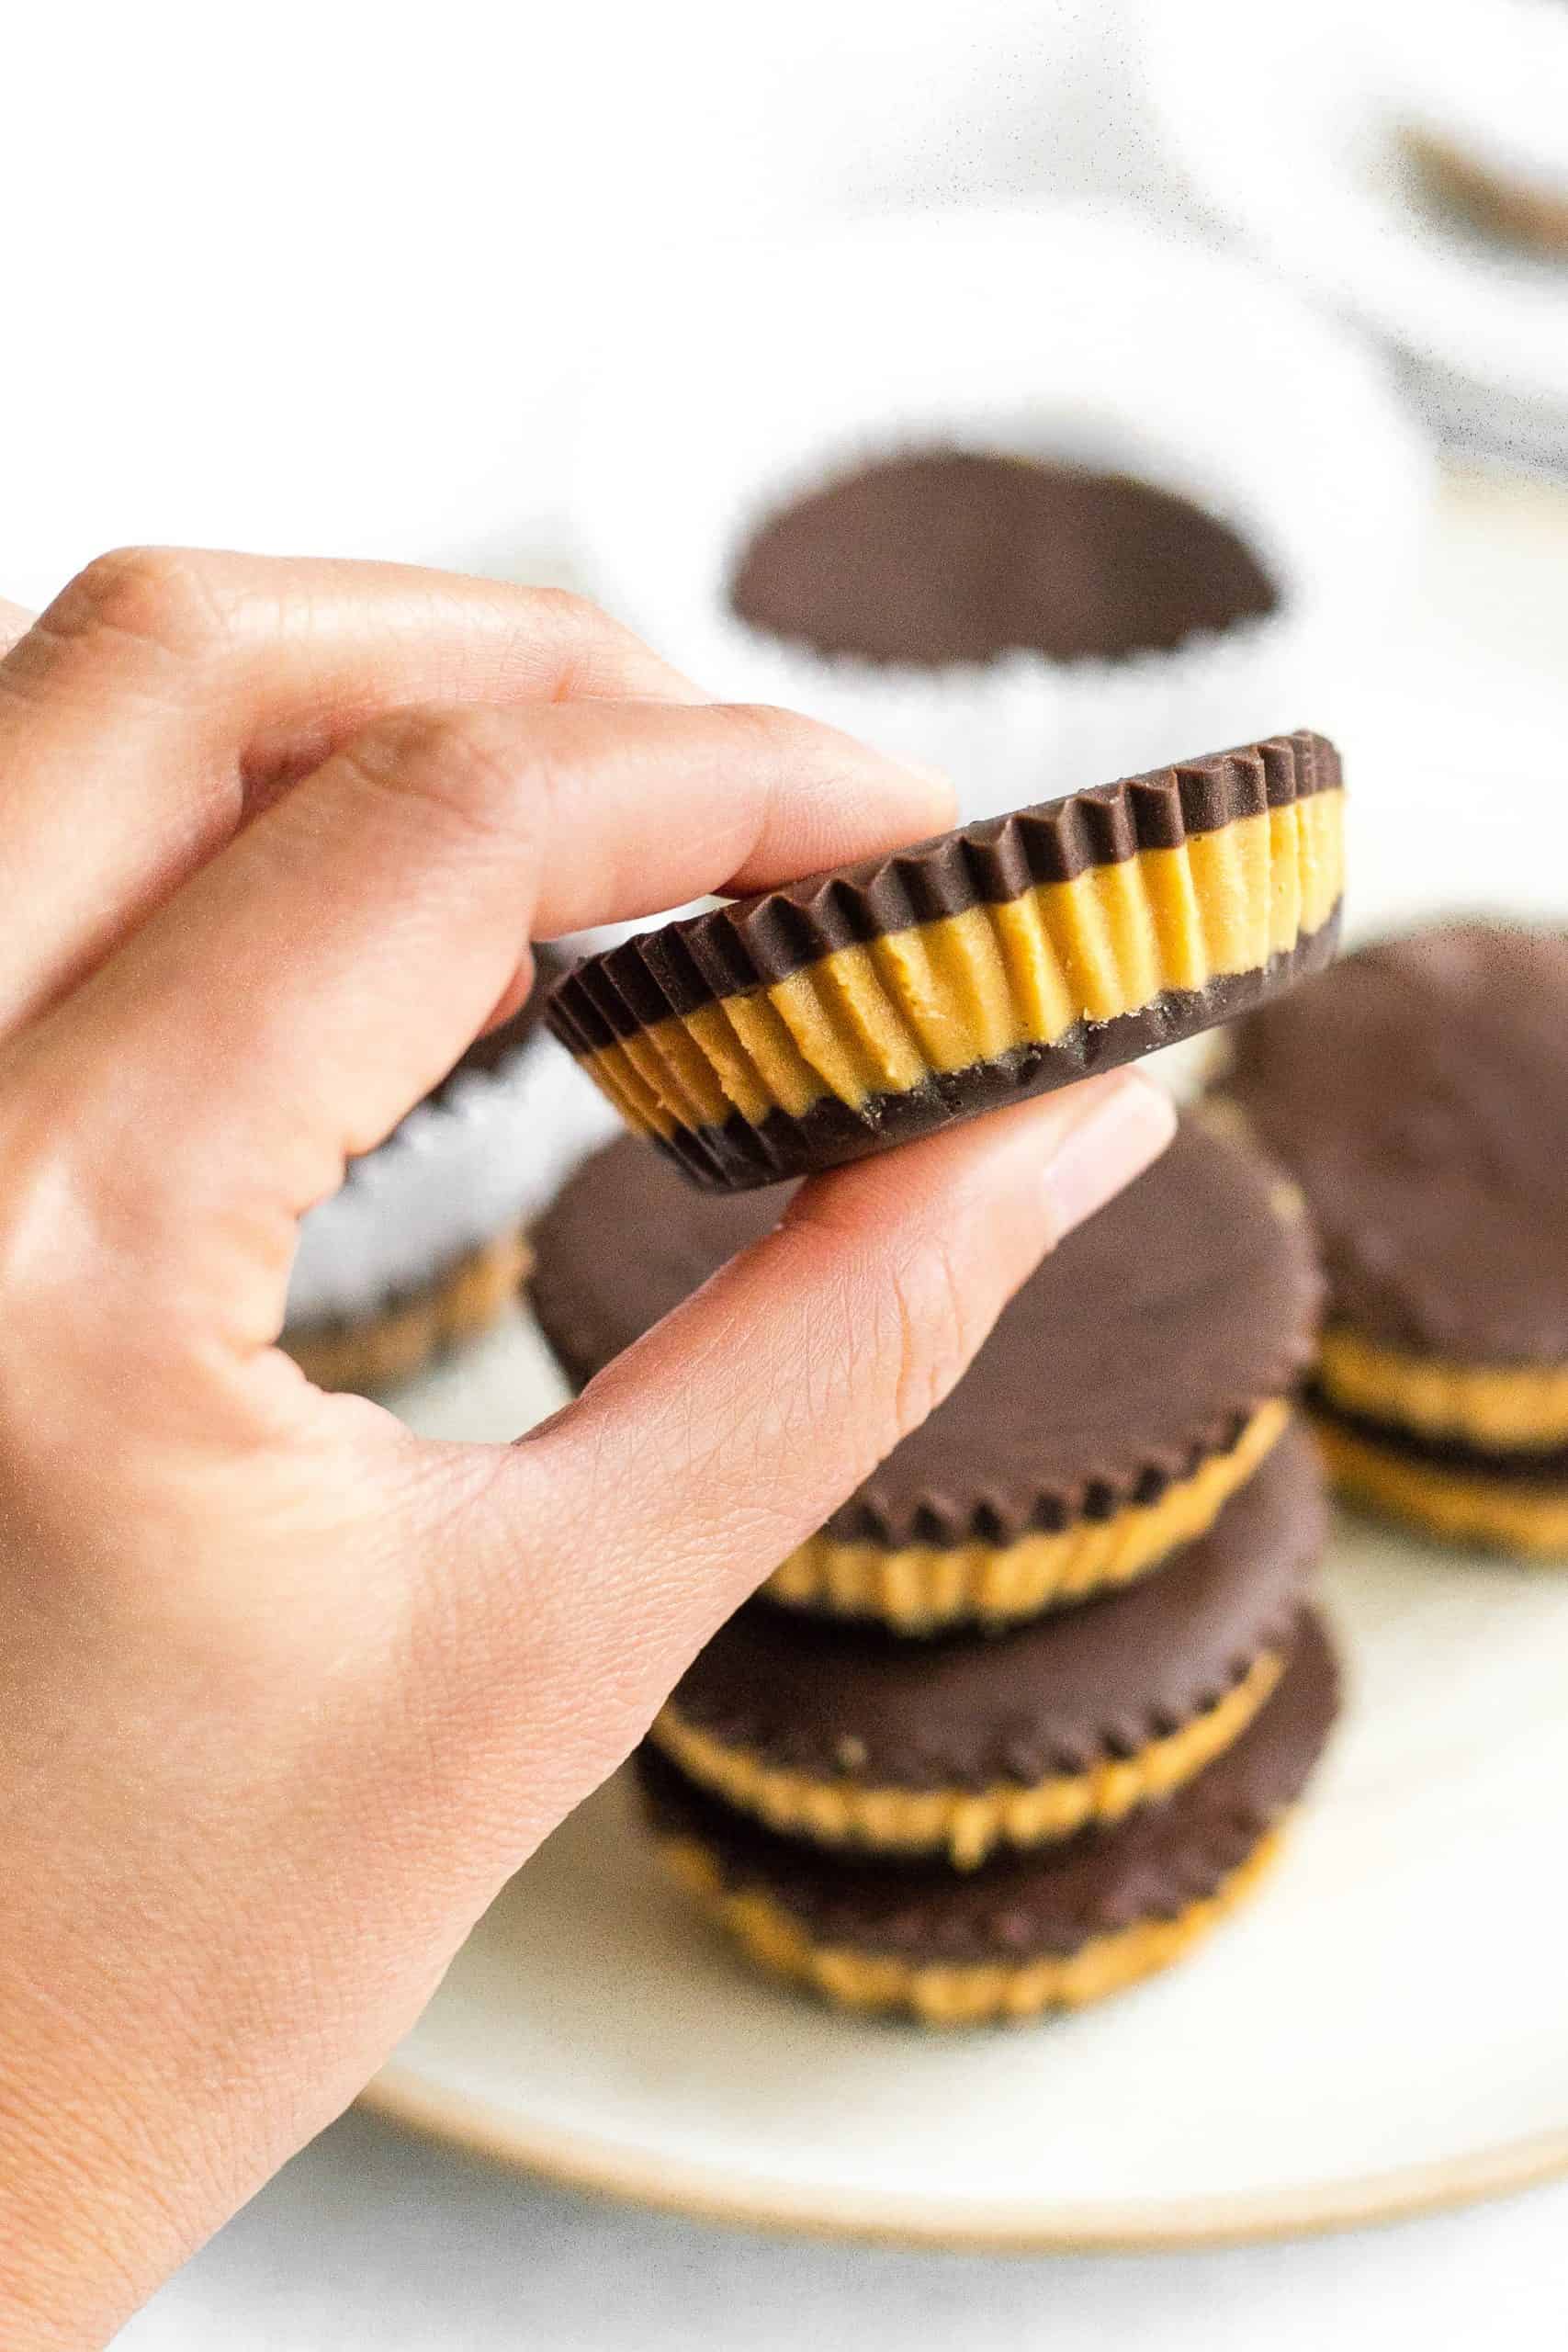
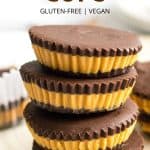
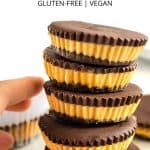
These 4-ingredient homemade healthy peanut butter cups come together so easily. They are the perfect sweet treat, and the peanut butter-chocolate combination makes any day feel a bit more decadent. Perfect for trick-or-treat on Halloween, celebrating during the holidays, or anytime that you need to satisfy your sweet tooth! Gluten-free, dairy-free and vegan too, so everyone can indulge!
Want to save this recipe?
Enter your email & I’ll send it to your inbox. Plus, get great new recipes from me every week!
Jump to:
- Homemade Candy is the Best!
- Peanut Butter + Chocolate = Perfect Combo
- Make Your Own Reese’s Peanut Butter Cups
- Why This Recipe Works:
- Ingredients You’ll Need:
- Recipe Notes + Substitutions:
- How to Make Homemade Peanut Butter Cups (Step by Step):
- Dish by Dish Tips/Tricks:
- Recipes FAQs:
- Other Peanut Butter Recipes You’ll Also Love:
- Gluten-Free Desserts You’ll Enjoy:
- Healthy Peanut Butter Cups (Gluten-Free, Vegan)
Homemade Candy is the Best!
I love making homemade treats, and some of our favorite tasty treats include:
Peanut Butter + Chocolate = Perfect Combo
I don’t know about you, but pairing peanut butter and chocolate together always seems to be the solution to so many things.
If you’ve had a long day and need a bit of cheering up, the combination of both flavors almost always makes anything better -between the sweetness of chocolate and the natural saltiness of peanut butter- any day can definitely benefit from a bit of PB & choc magic.
Make Your Own Reese’s Peanut Butter Cups
When I was younger, my favorite candy was probably Reese’s peanut butter cups (if you don’t know what these are, they’re basically molded milk chocolate cups filled with peanut butter cream – soooo good!).
In my opinion, they are just the right amount of sweet and salty in one single bite, sort of like a Sneakers bar, but in bite-size form.
While I still enjoy them once in a long while, I am also way more conscious and aware that store-bought candy often comes with artificial colorings, additives and preservatives (all of whose names I often cannot pronounce).
As such, I figured I’d make my own version – that is gluten-free, dairy-free and vegan so my husband Juan (who is Celiac and lactose-intolerant) can enjoy them too.
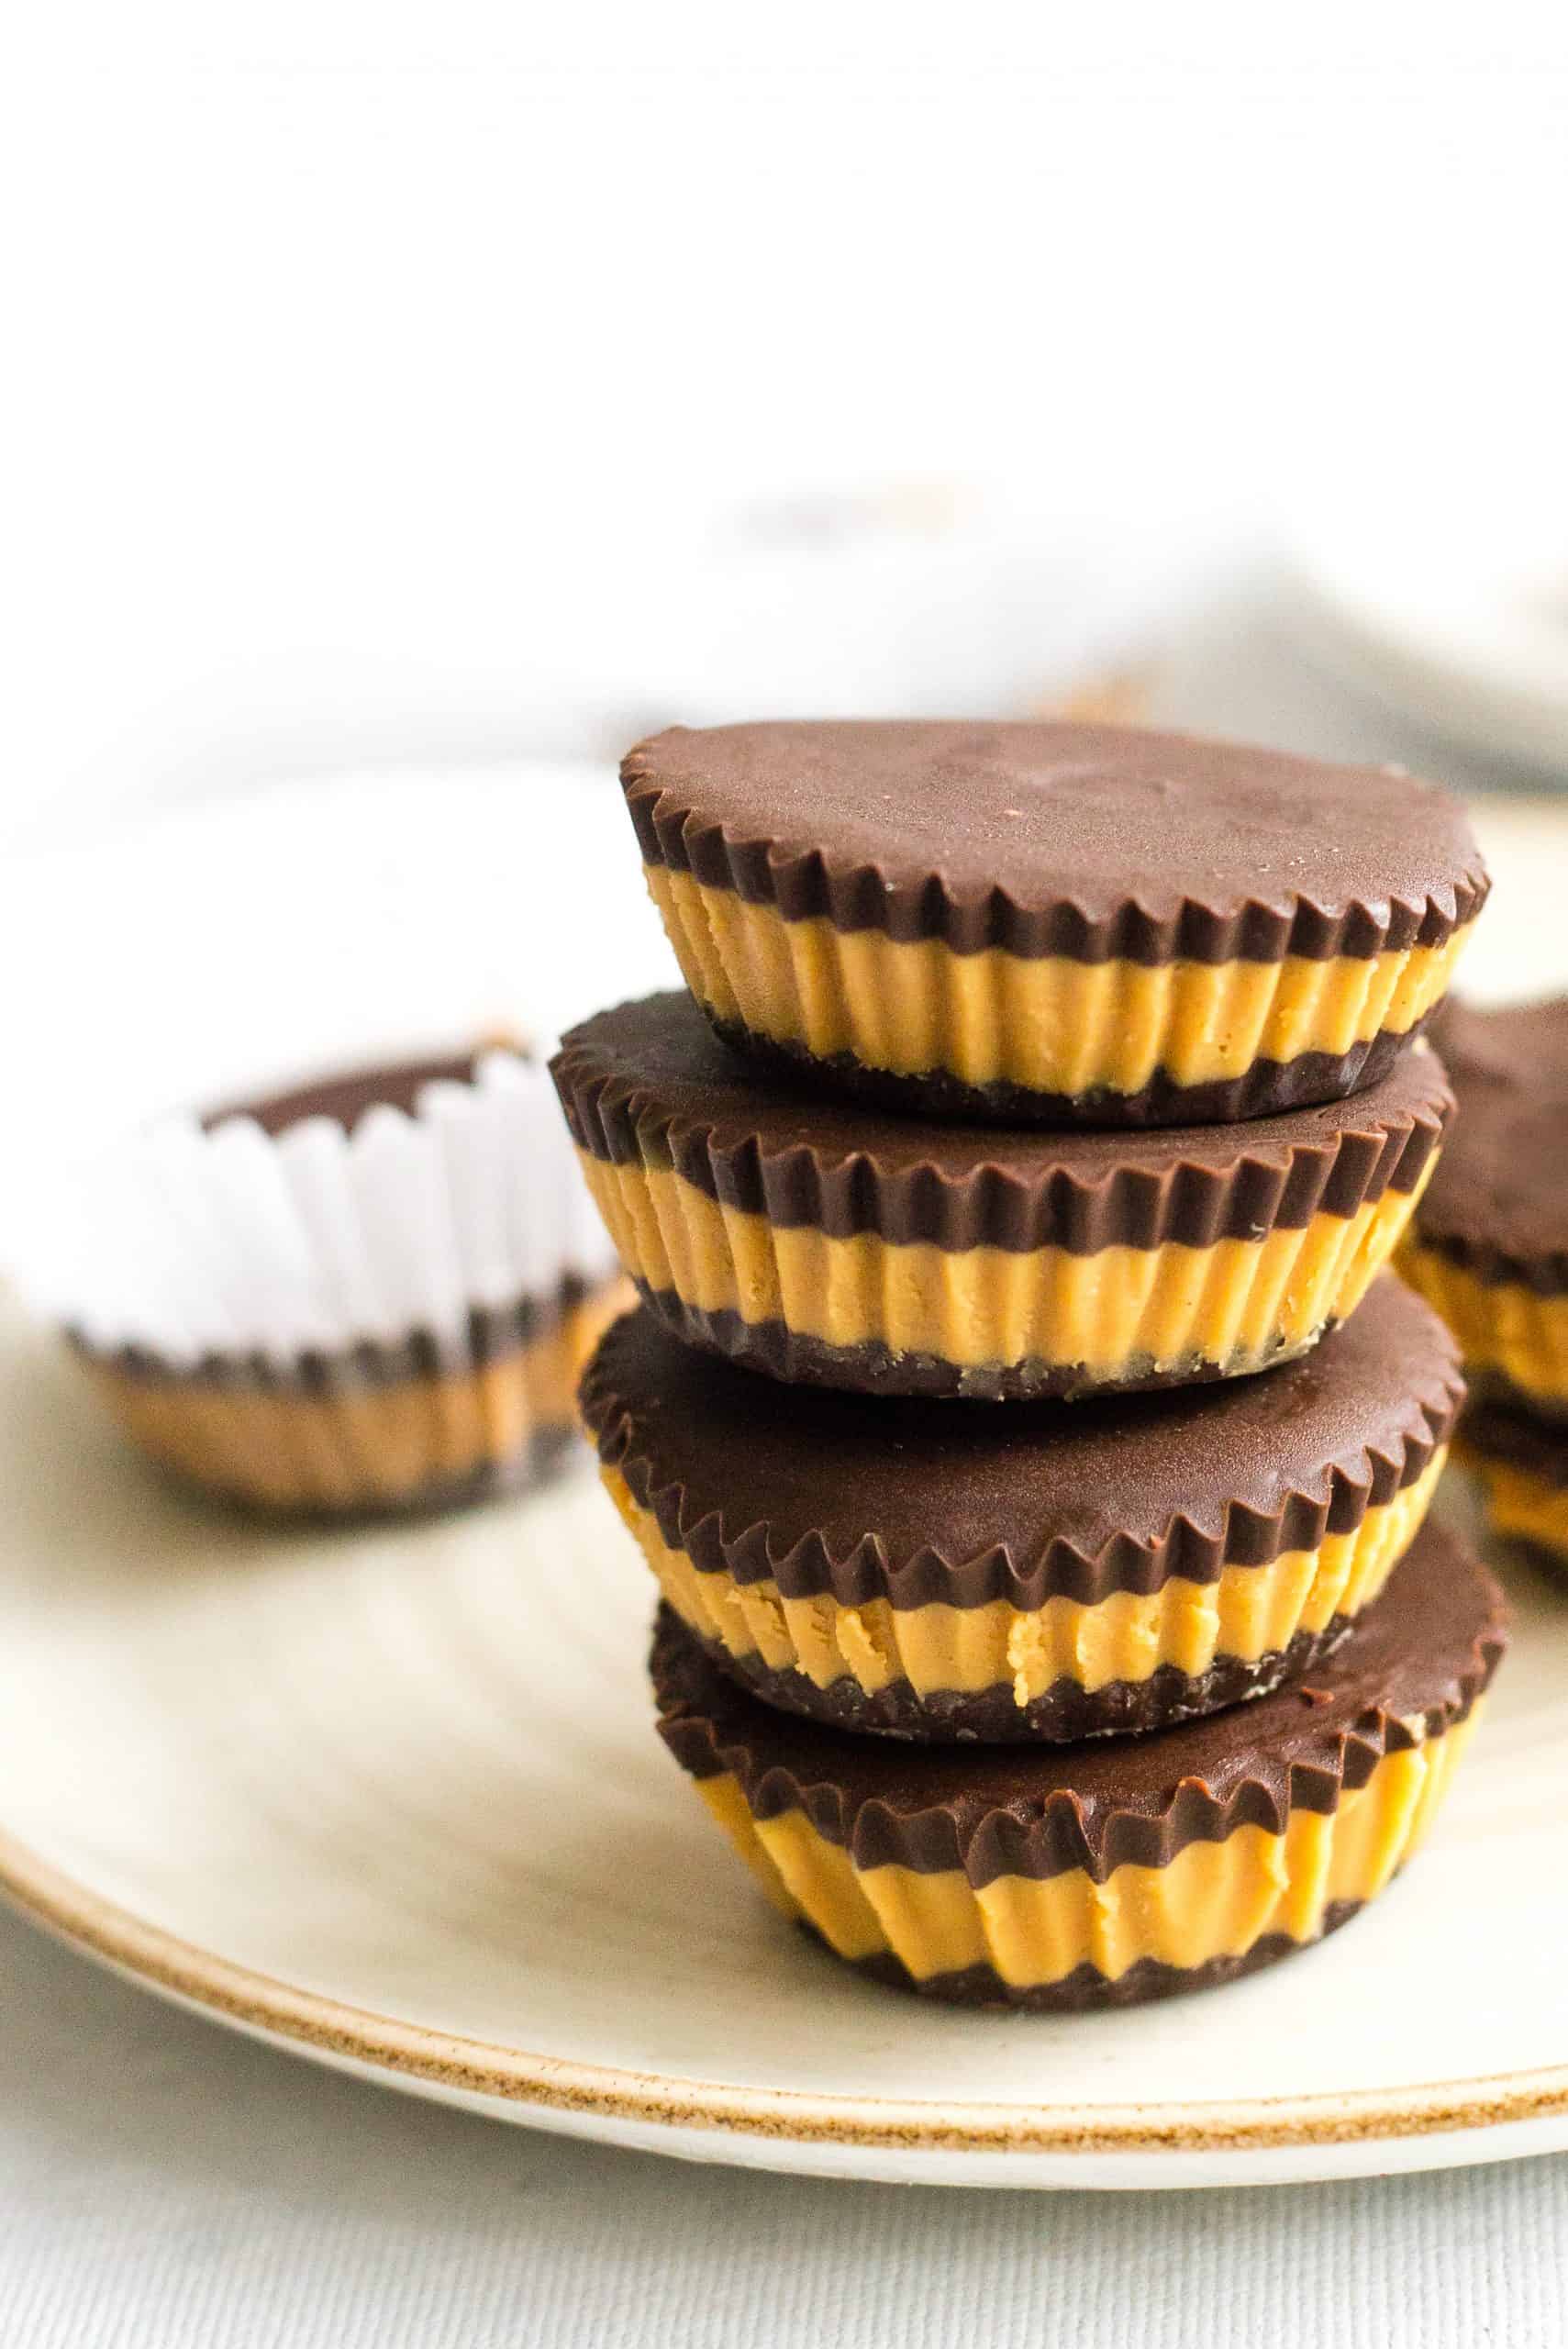
Why This Recipe Works:
- Simple Ingredients: All you need are just 4 ingredients to make these healthy homemade peanut butter cups! You might already have them in your pantry, but if not, they are easily accessible in the local grocery store.
- Easy to Make: You’ll be amazed at just how easy it is to make your own reese’s peanut butter cups! Preparing the chocolate mixture and the peanut butter mixture with a microwave or double boiler is a cinch, and then all you need to do is pour into liners and wait for it to set (being patient and waiting might just be the hardest part)!
- Healthier for You: Unlike the store-bought version which is filled with additives and preservatives, these homemade version of PB cups use just 4 simple ingredients – still the same delicious chocolate and peanut butter flavor, but better for you!
- Totally Gluten-Free, Dairy-Free and Vegan: The good thing is that this healthier peanut butter cups are 100% gluten-free, dairy-free and vegan, which means that even those with Celiac disease or gluten or lactose intolerances can still indulge without worries!
Ingredients You’ll Need:
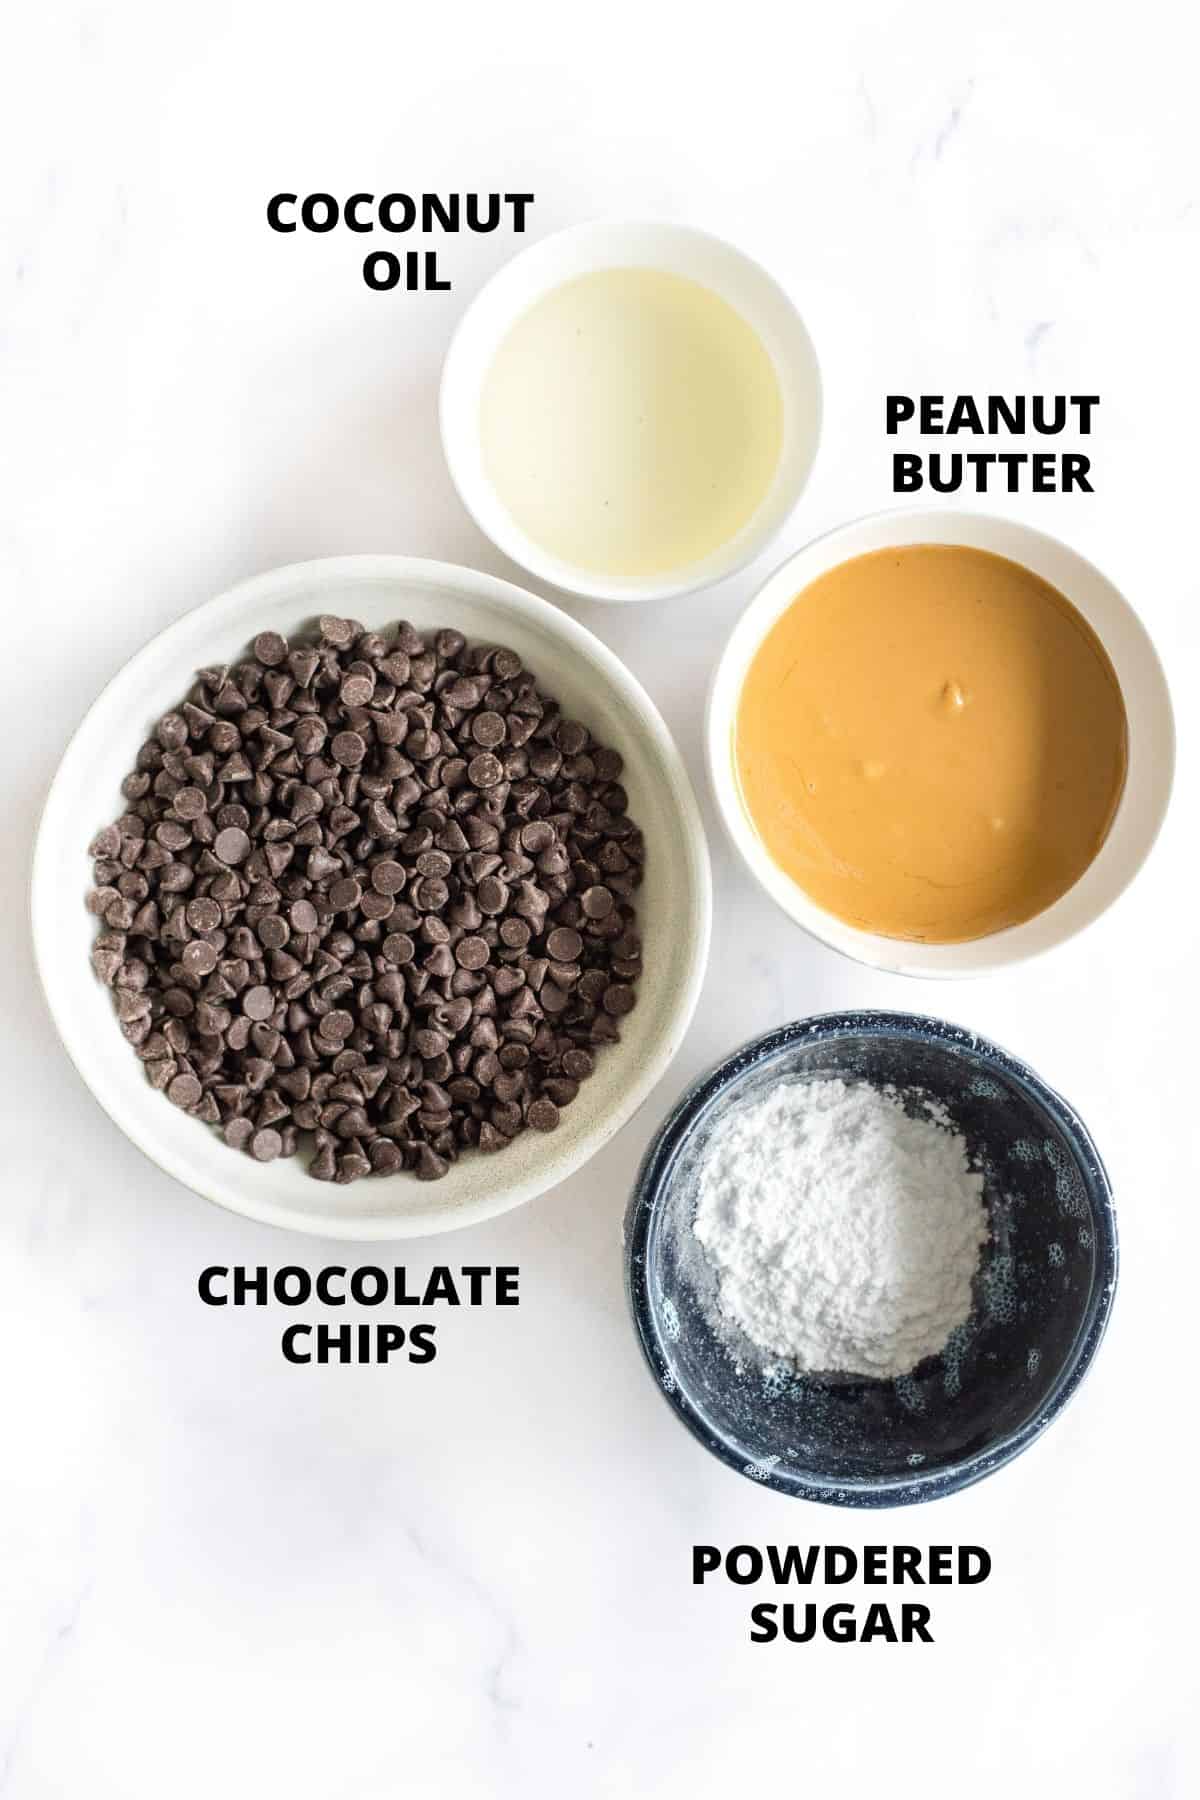
Here’s a visual overview of the ingredients required for this healthy peanut butter cup recipe.
(For exact measurements and quantities, please scroll down to the recipe card at the bottom of this post.)
Recipe Notes + Substitutions:
- Chocolate Chips: I used semi-sweet vegan chocolate chips, but if you aren’t lactose-intolerant, feel free to use normal chocolate chips or dark chocolate chips instead.
- Coconut Oil: I personally prefer using refined coconut oil when cooking or baking because it has a more neutral taste compared to extra virgin coconut oil (which has a very strong coconut flavor), but go ahead and use whichever you prefer. You can also use vegan butter instead. Alternatively, if you are not lactose-intolerant, feel free to swap out the coconut oil for equal amounts of butter or ghee.
- Peanut Butter: I prefer using unsalted natural creamy peanut butter that doesn’t have any additives or preservatives (learn how to make 10-minute homemade peanut butter), but feel free to use whichever peanut butter you have on hand. Also, if you are allergic to peanuts, or simply want to use a nut butter alternative, feel free to use almond butter, cashew butter, or even sunflower seed butter in equal quantities instead.
- Powdered Sugar: I used normal powdered sugar, but if you are diabetic or insulin-resistant, I recommend that you use Lakanto Powdered Sweetener (a 1:1 powdered sugar substitute that has zero glycemic index and will not raise your blood sugar).
How to Make Homemade Peanut Butter Cups (Step by Step):
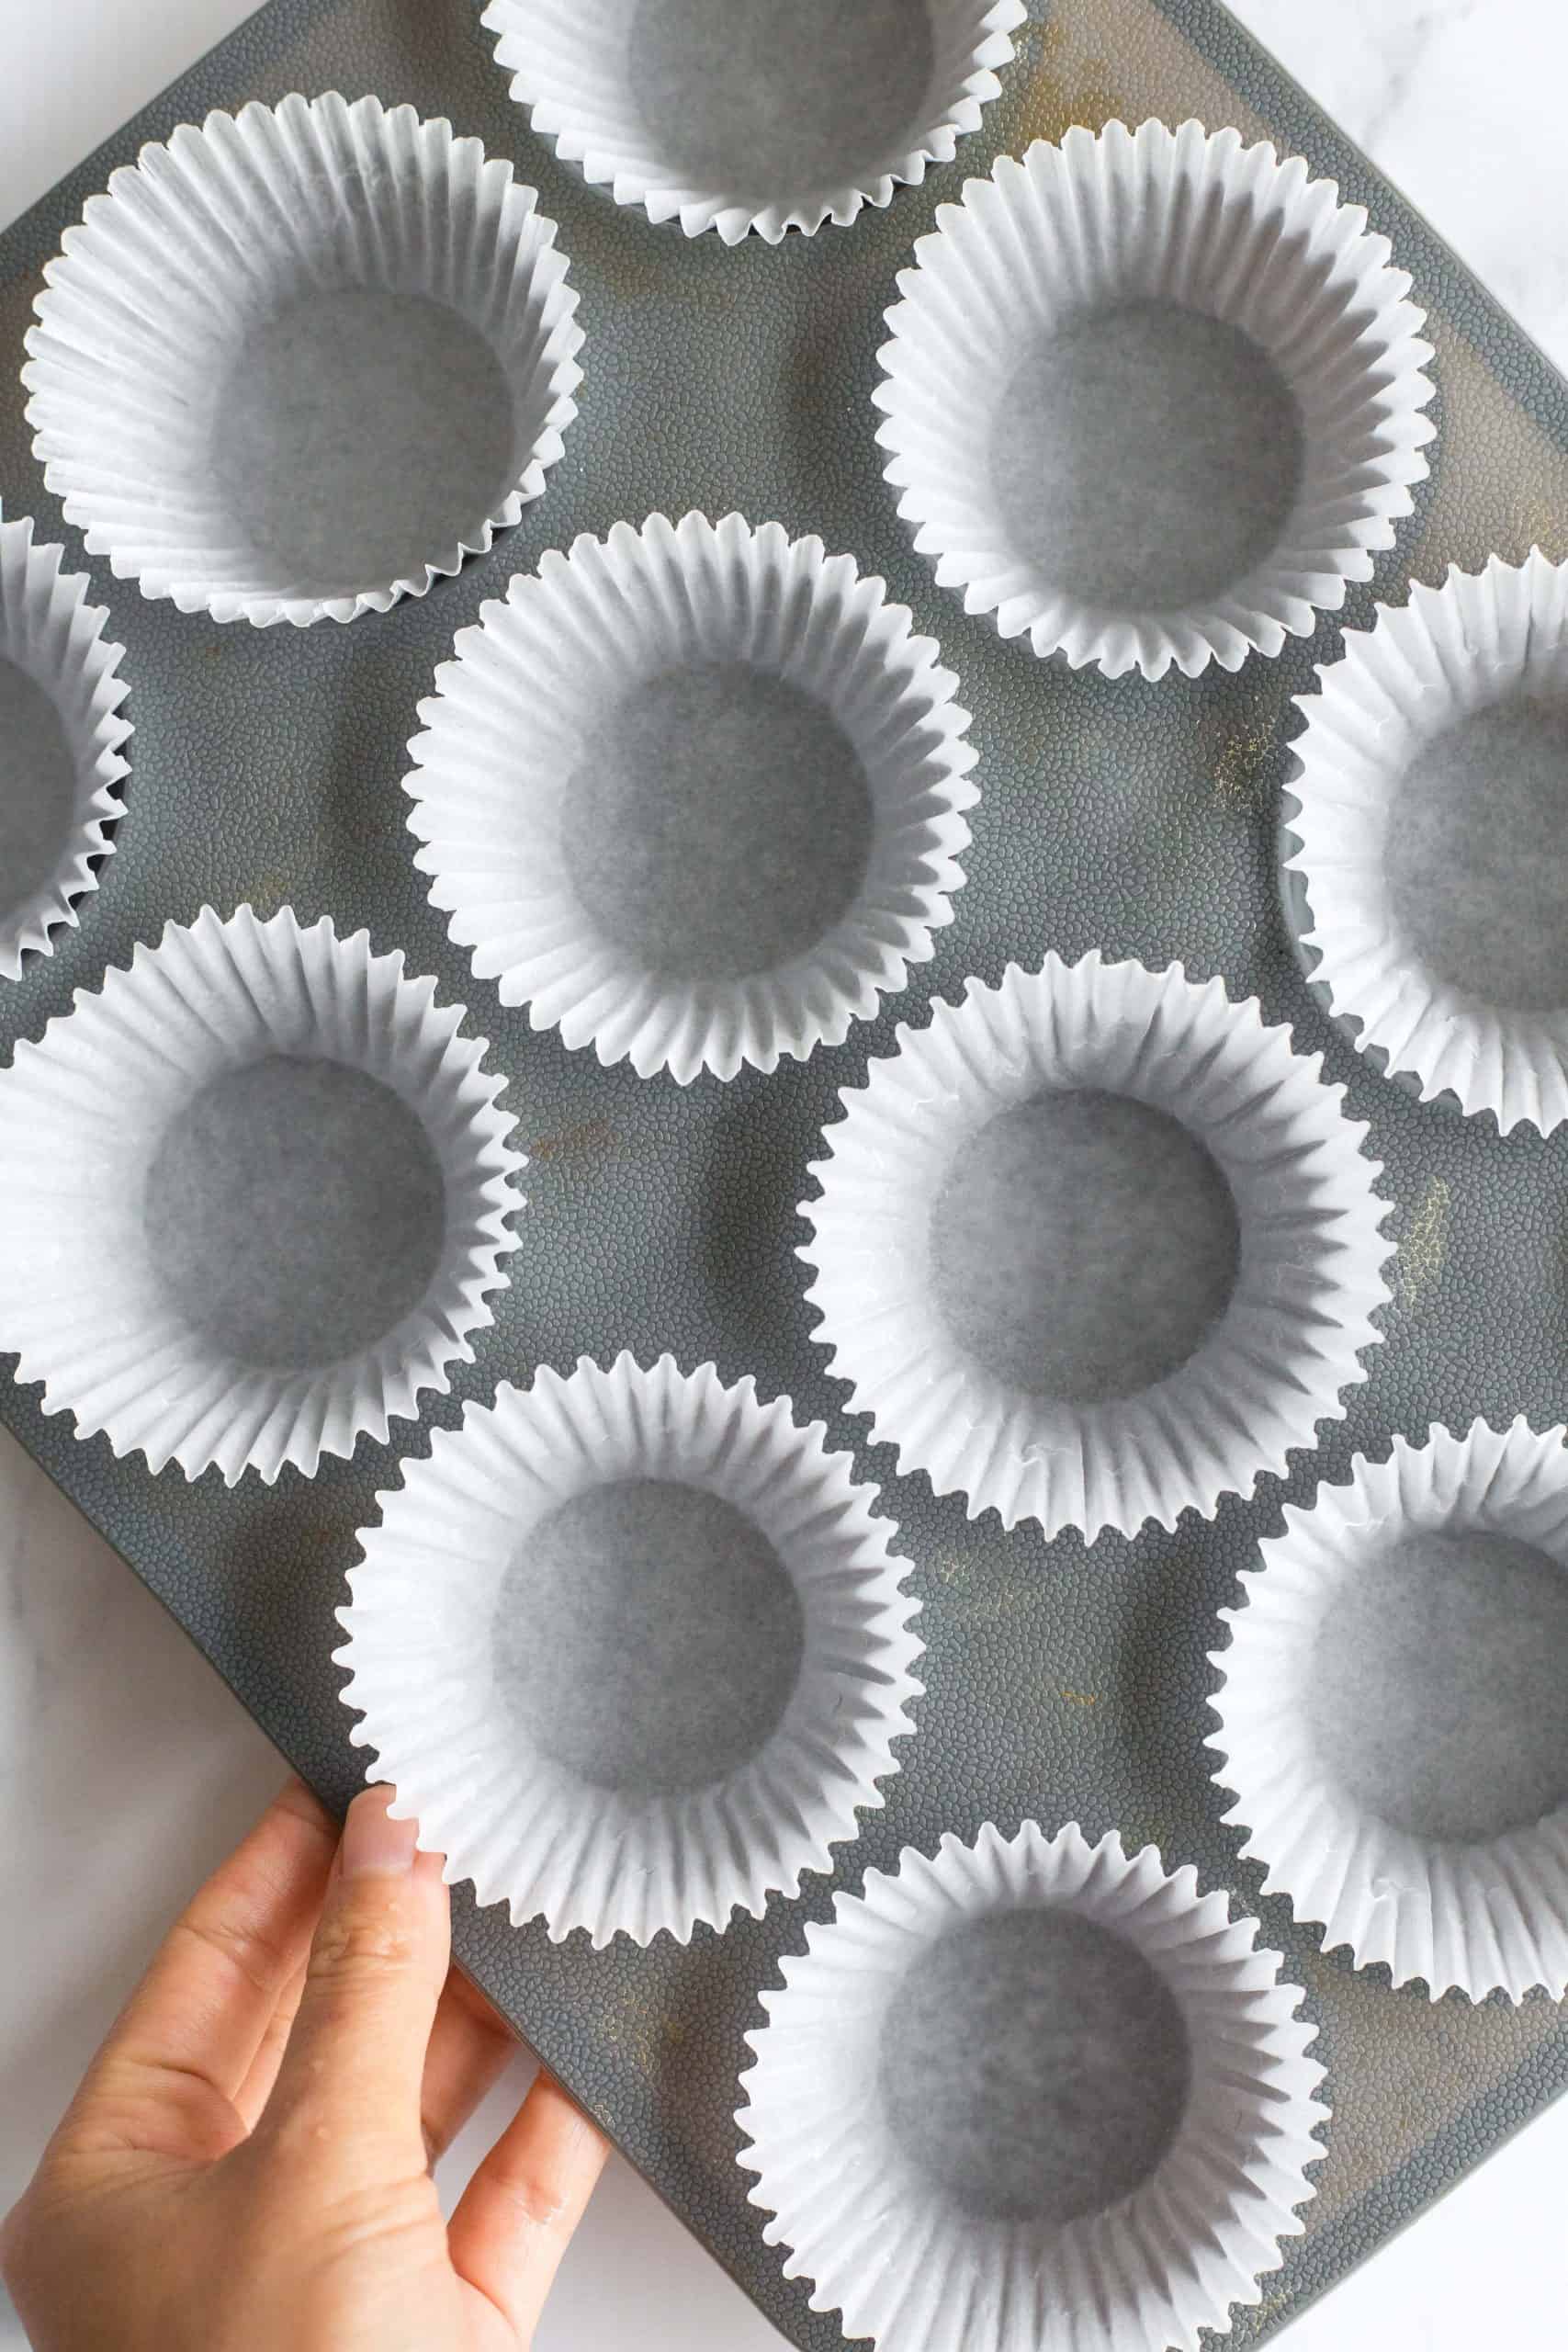
1. Line the Muffin Tin
Start off by placing a paper liner or silicon liner in each muffin cup of a standard 12-cup muffin mold.
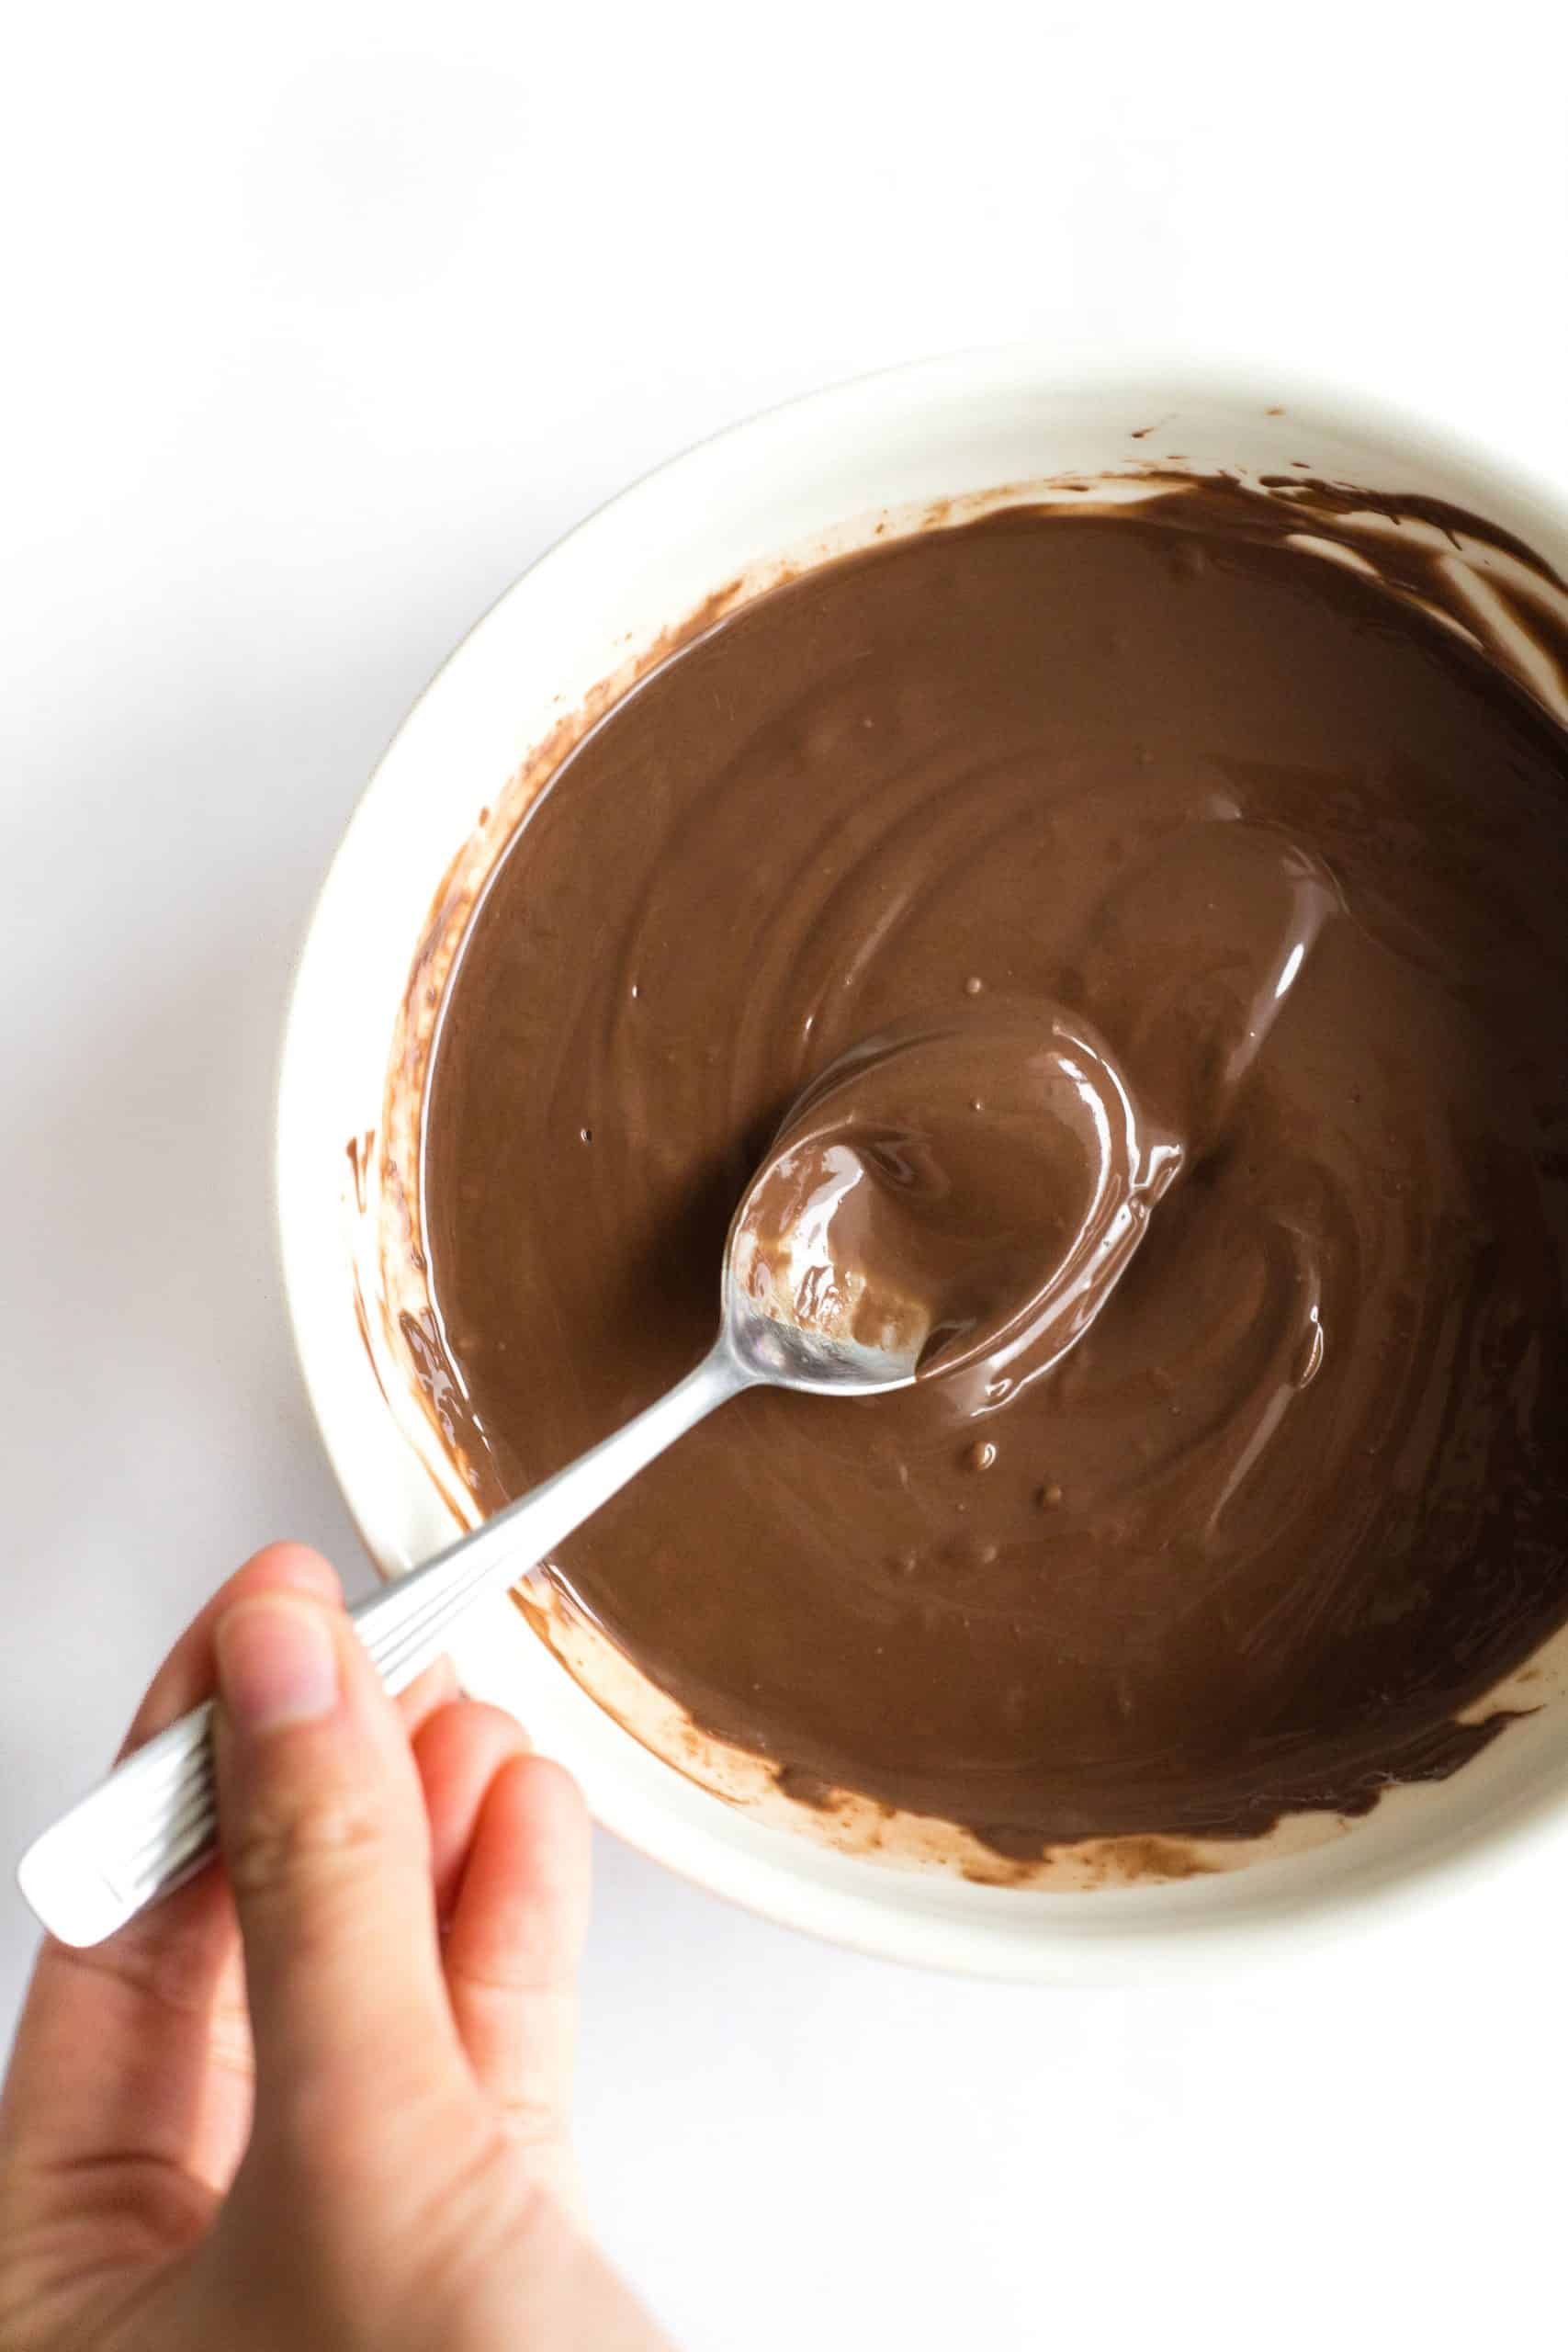
2. Melt the Chocolate Mixture
Combine the chocolate chips and melted coconut oil in a microwave-safe bowl and heat for 30-second intervals, mixing to combine after each interval, until the chocolate is smooth and glossy. (It took me 3 intervals of 30 seconds each – so 1 min 30 seconds in total).
(Alternatively, if you don’t have a microwave, you can melted the chocolate chips with the coconut oil over a double boiler too.)
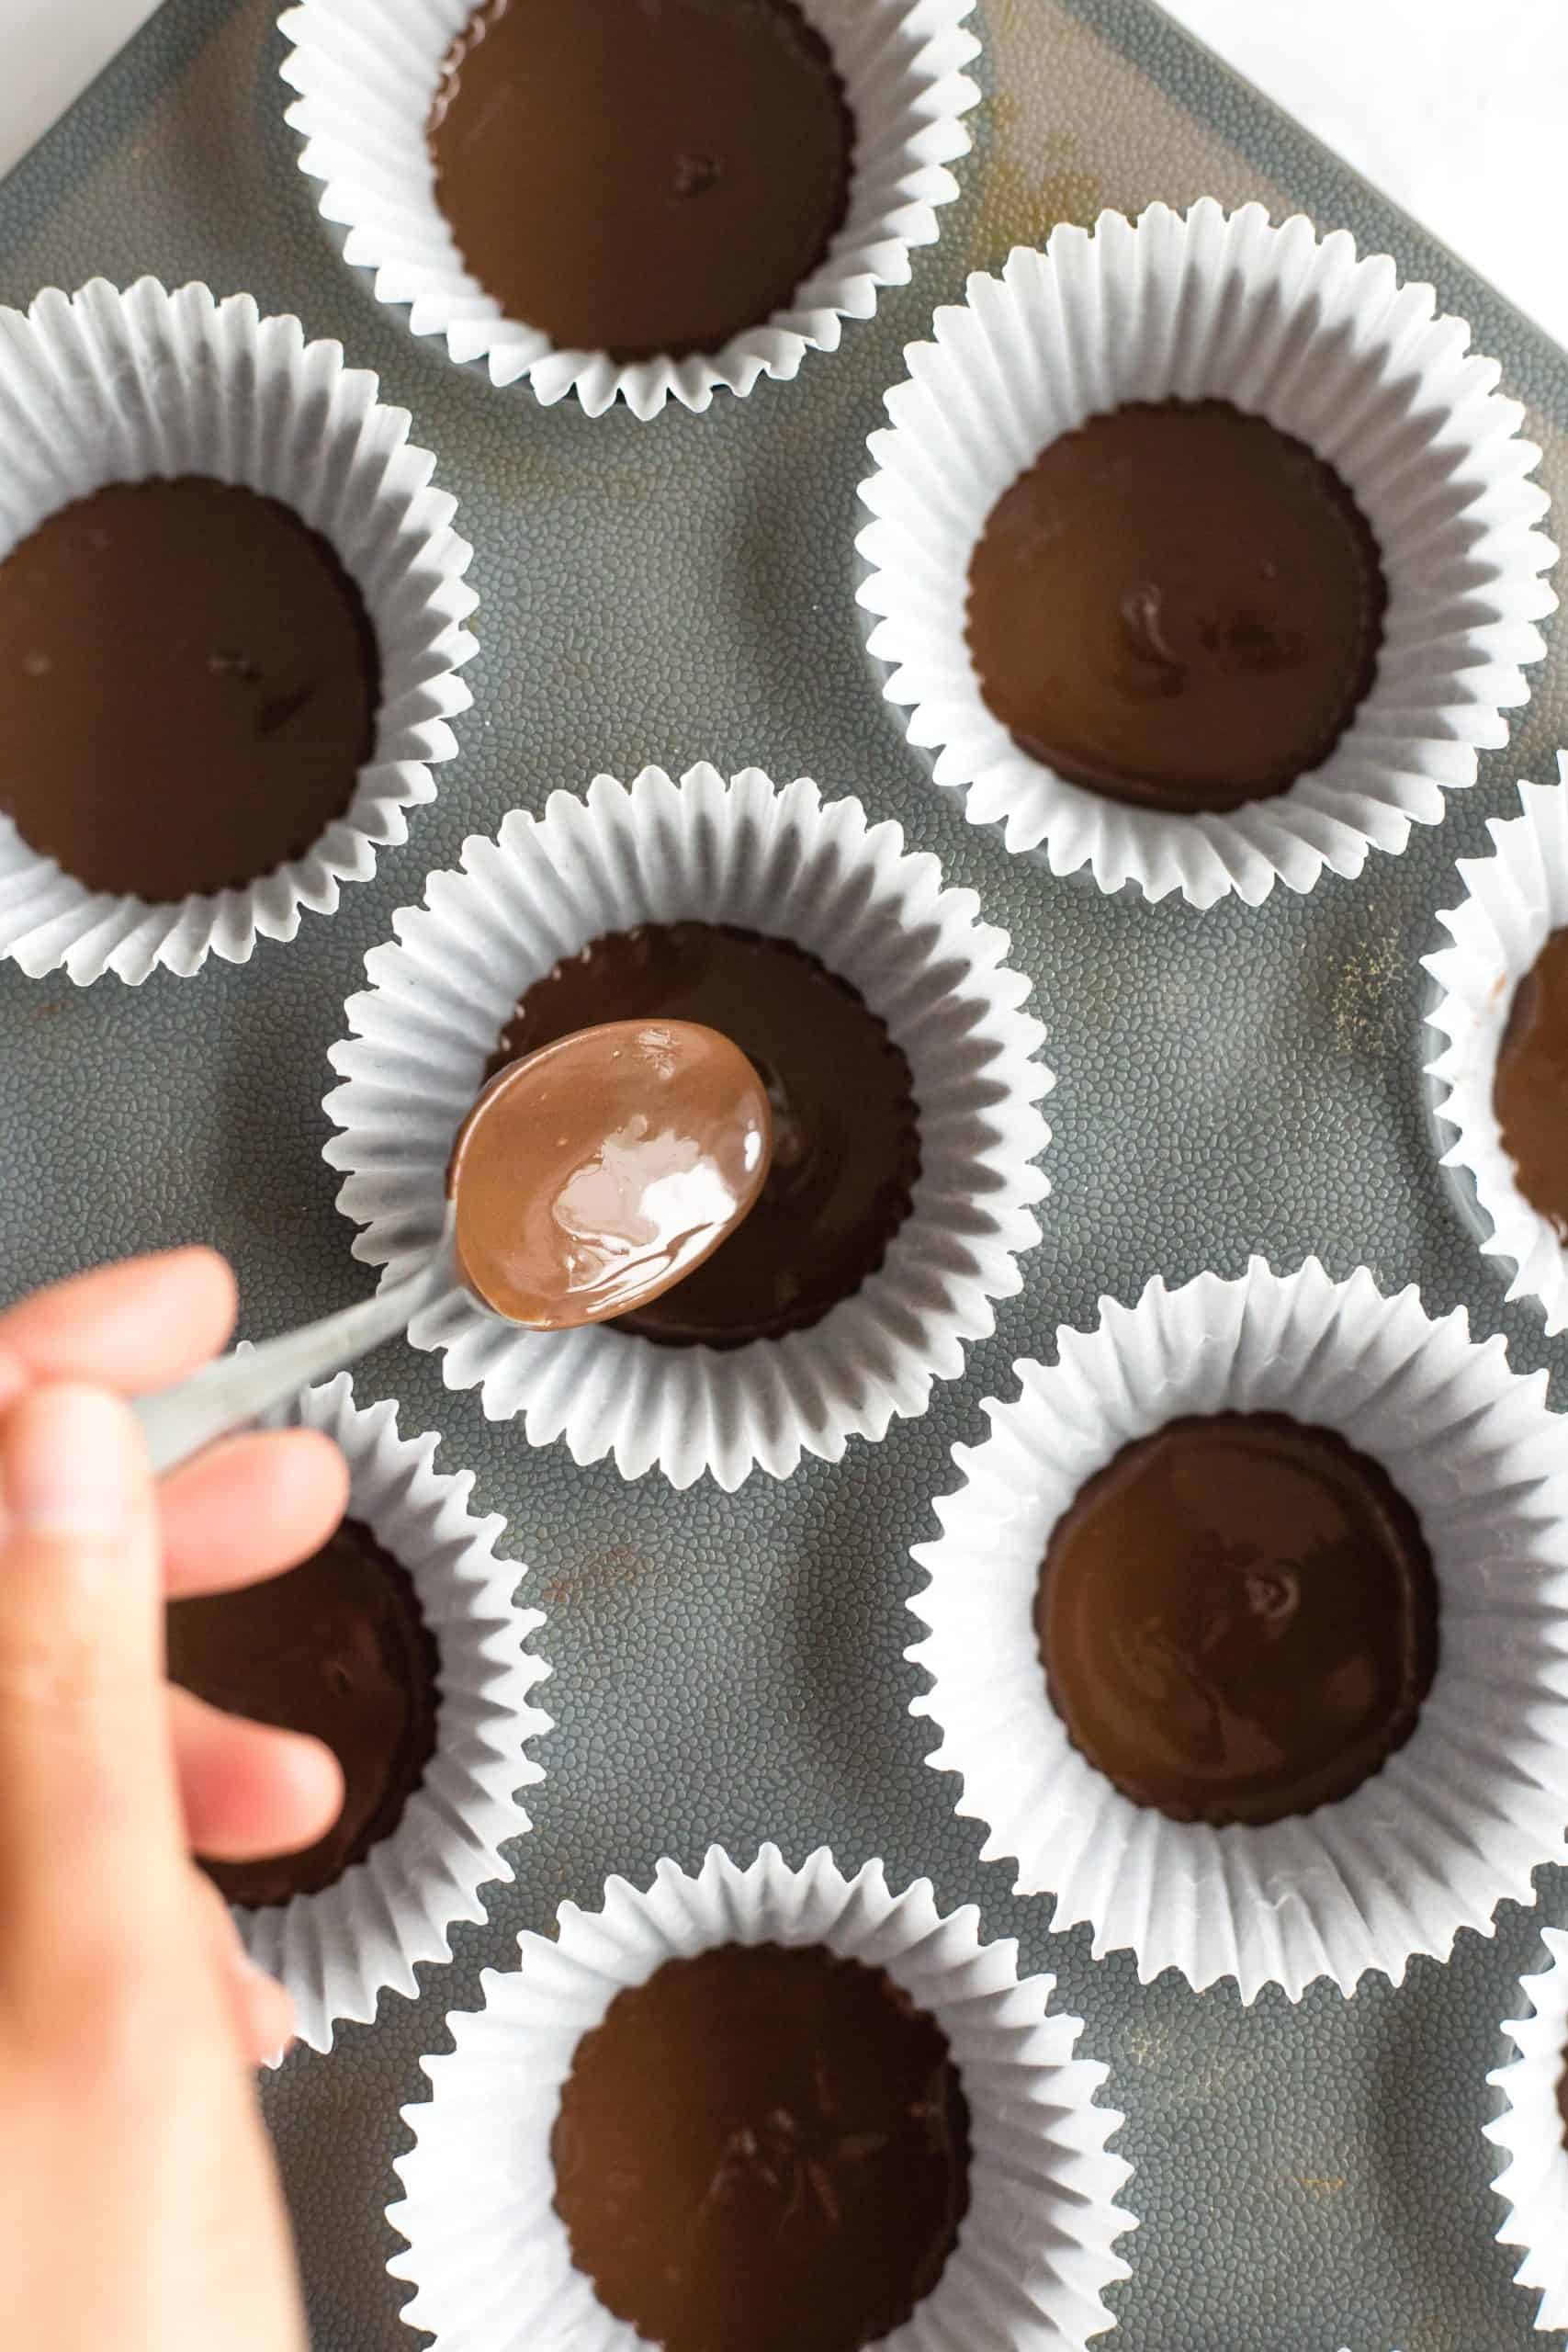
3. Prepare the Chocolate Base
Pour 1 to 2 teaspoons of melted chocolate in each muffin liner to cover the bottom of each liner (you will use approximately half the amount of melted chocolate). Let the chocolate layer set in the freezer for 10 minutes until firm.
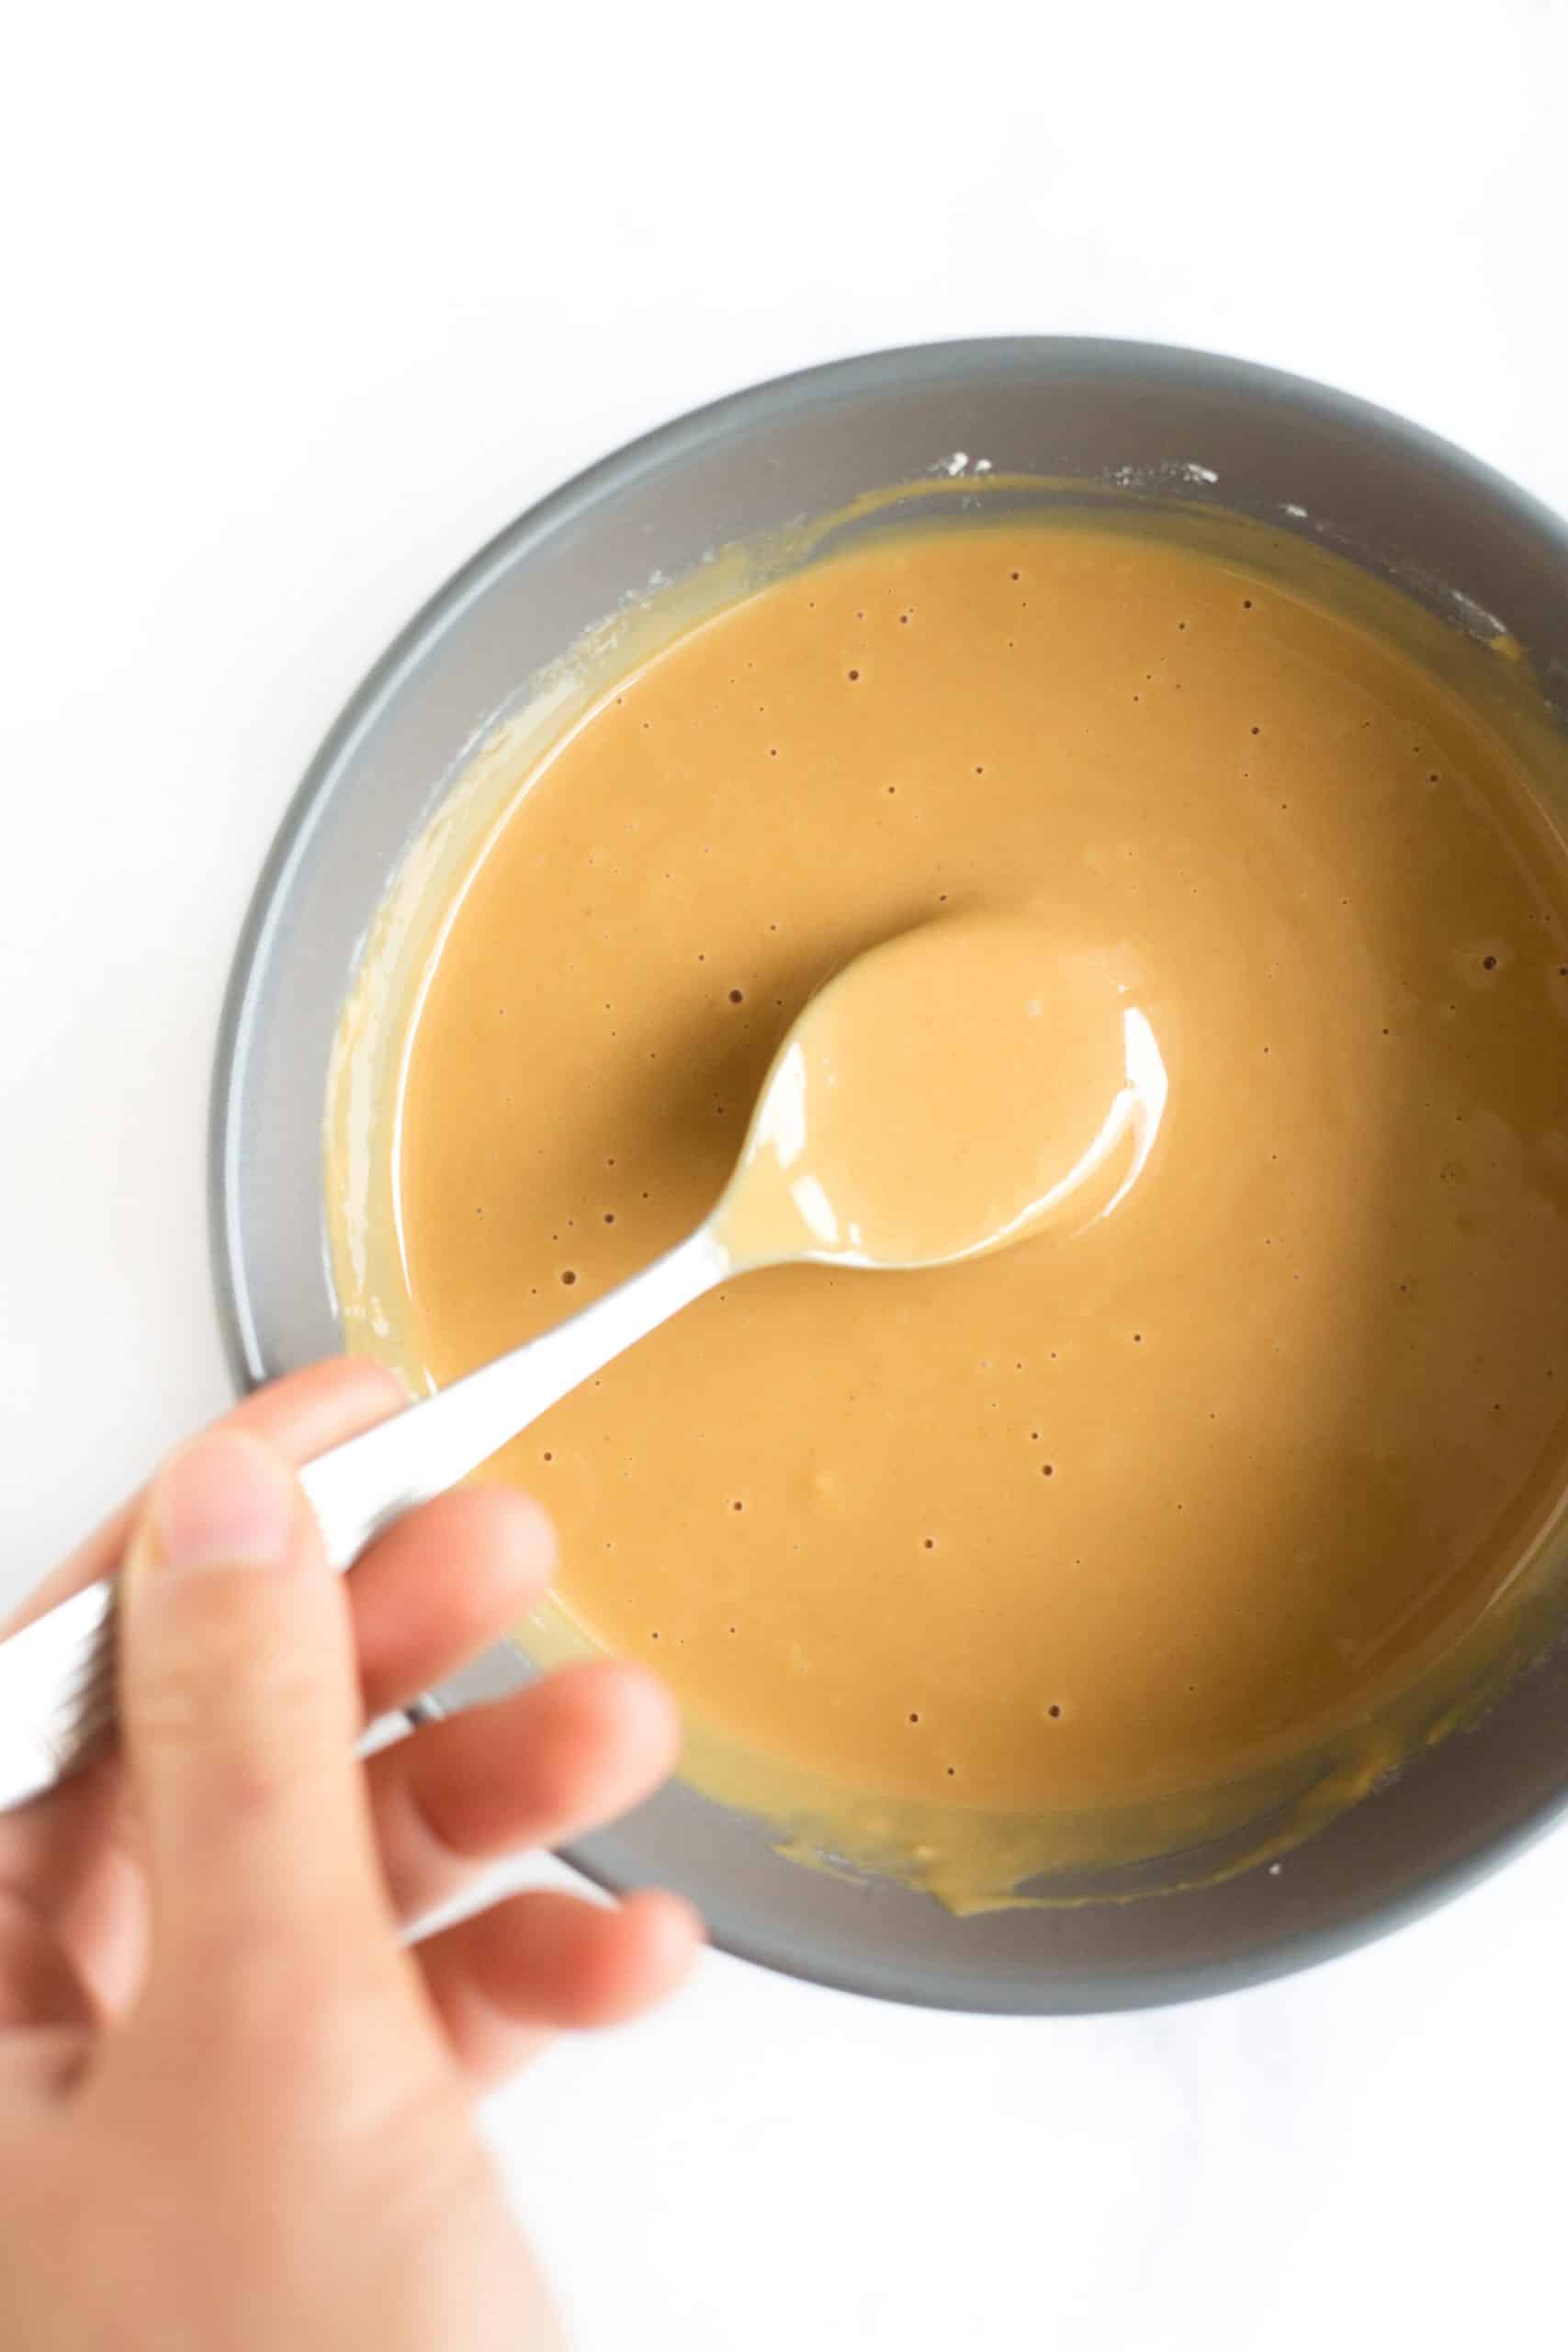
4. Make the Peanut Butter Filling Mixture
When the chocolate layer is almost done, combine the peanut butter and coconut oil in a medium bowl that is microwave-safe. Heat the mixture for 20 seconds in the microwave and mix well before adding powdered sugar and mixing until sugar is completely dissolved and you get a pourable mixture.
5. Peanut Butter Layer
Once the chocolate base has set, pour 2-3 teaspoons of peanut butter mixture over each chocolate base. Place back into the freezer to set for another 10 minutes.
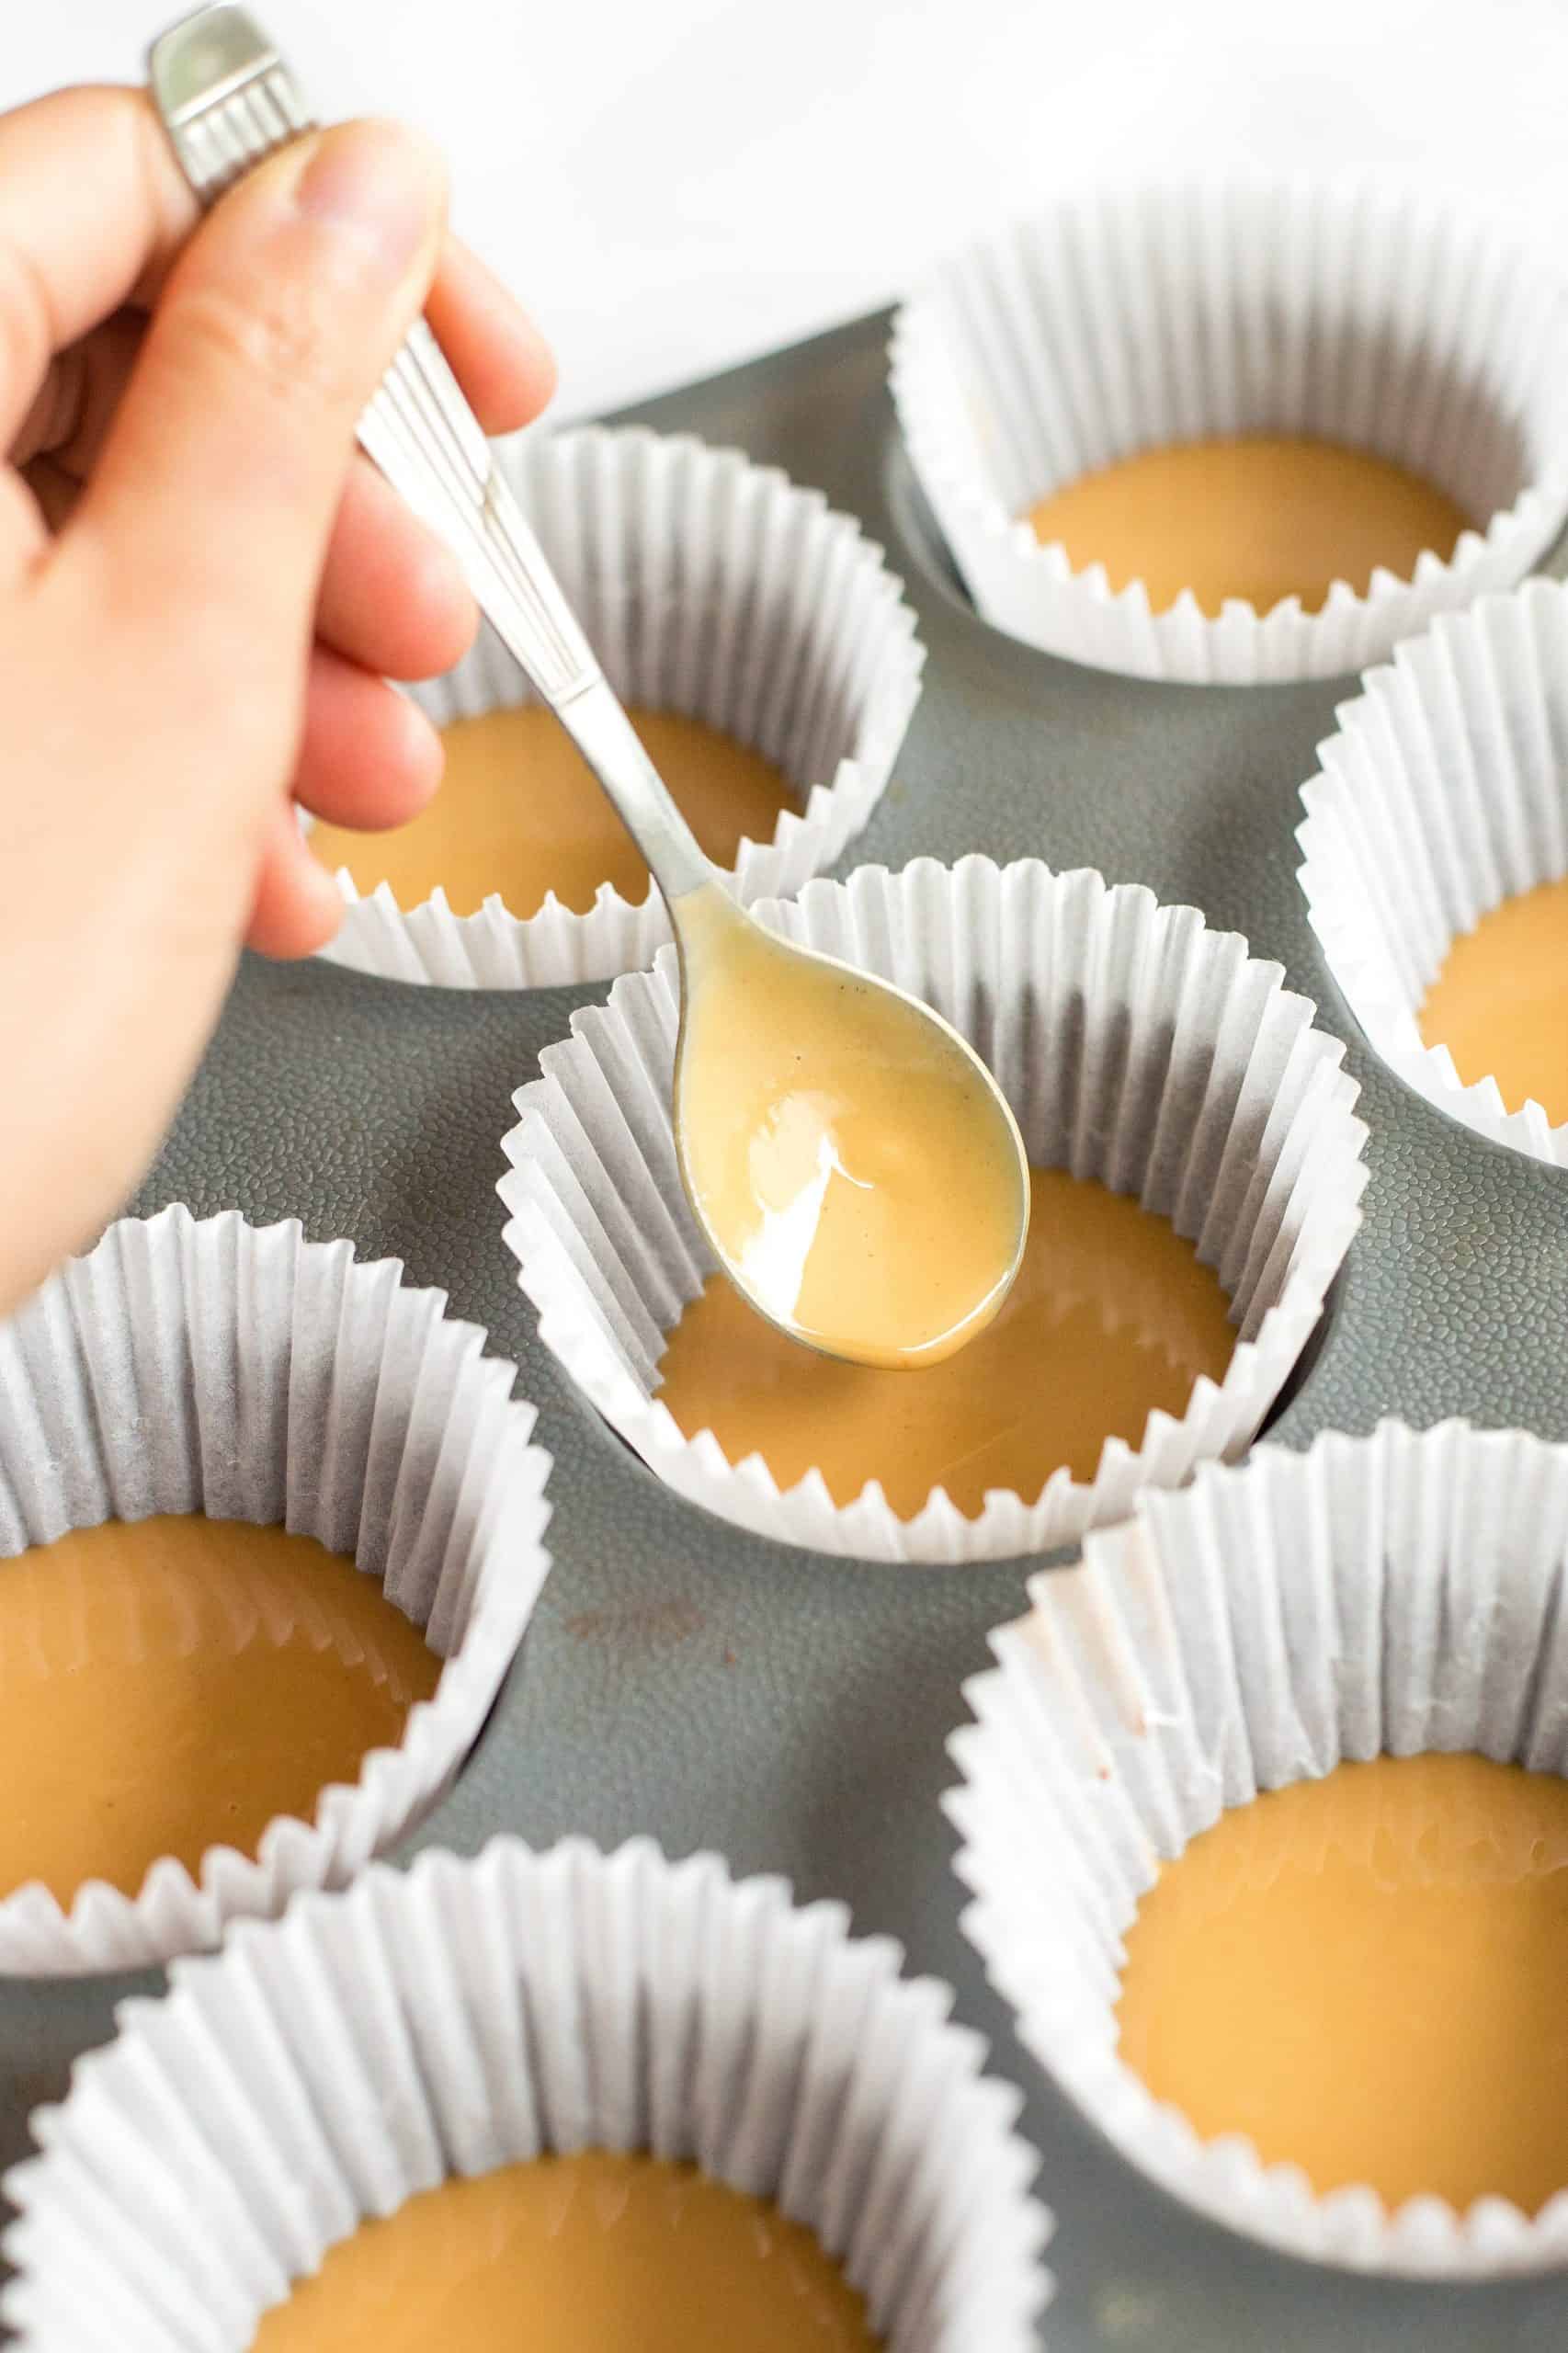
6. Final Chocolate Layer
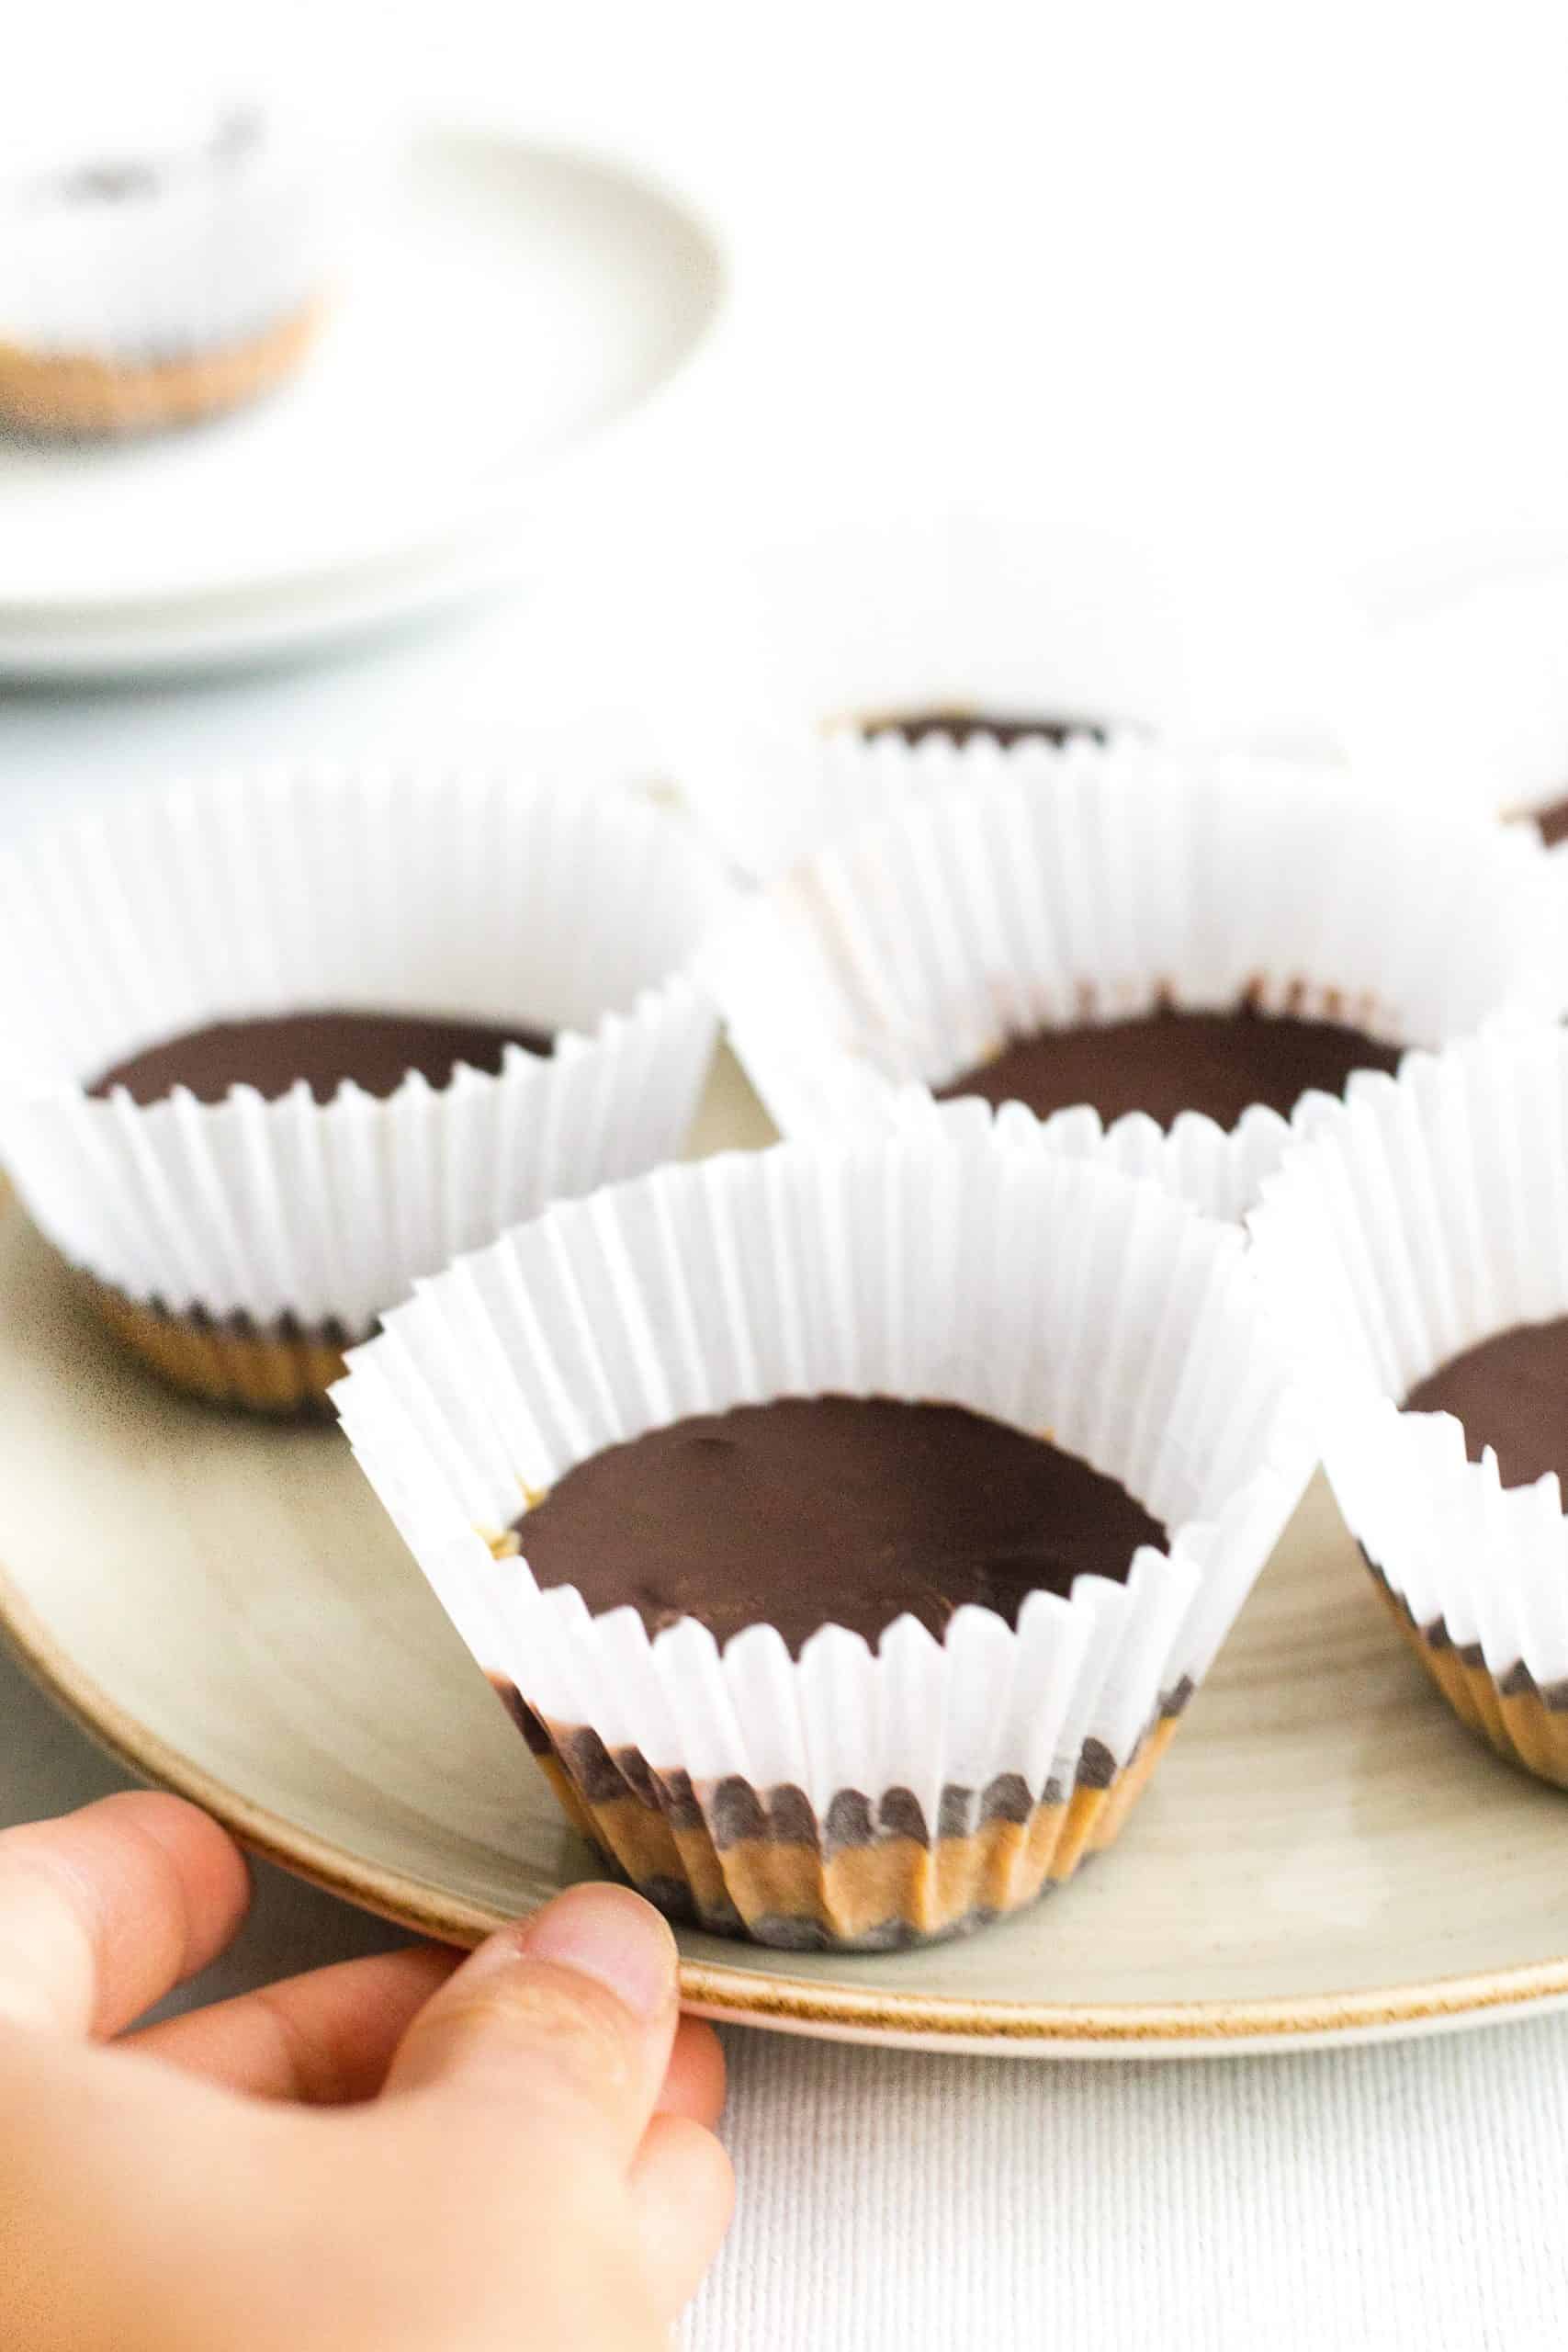
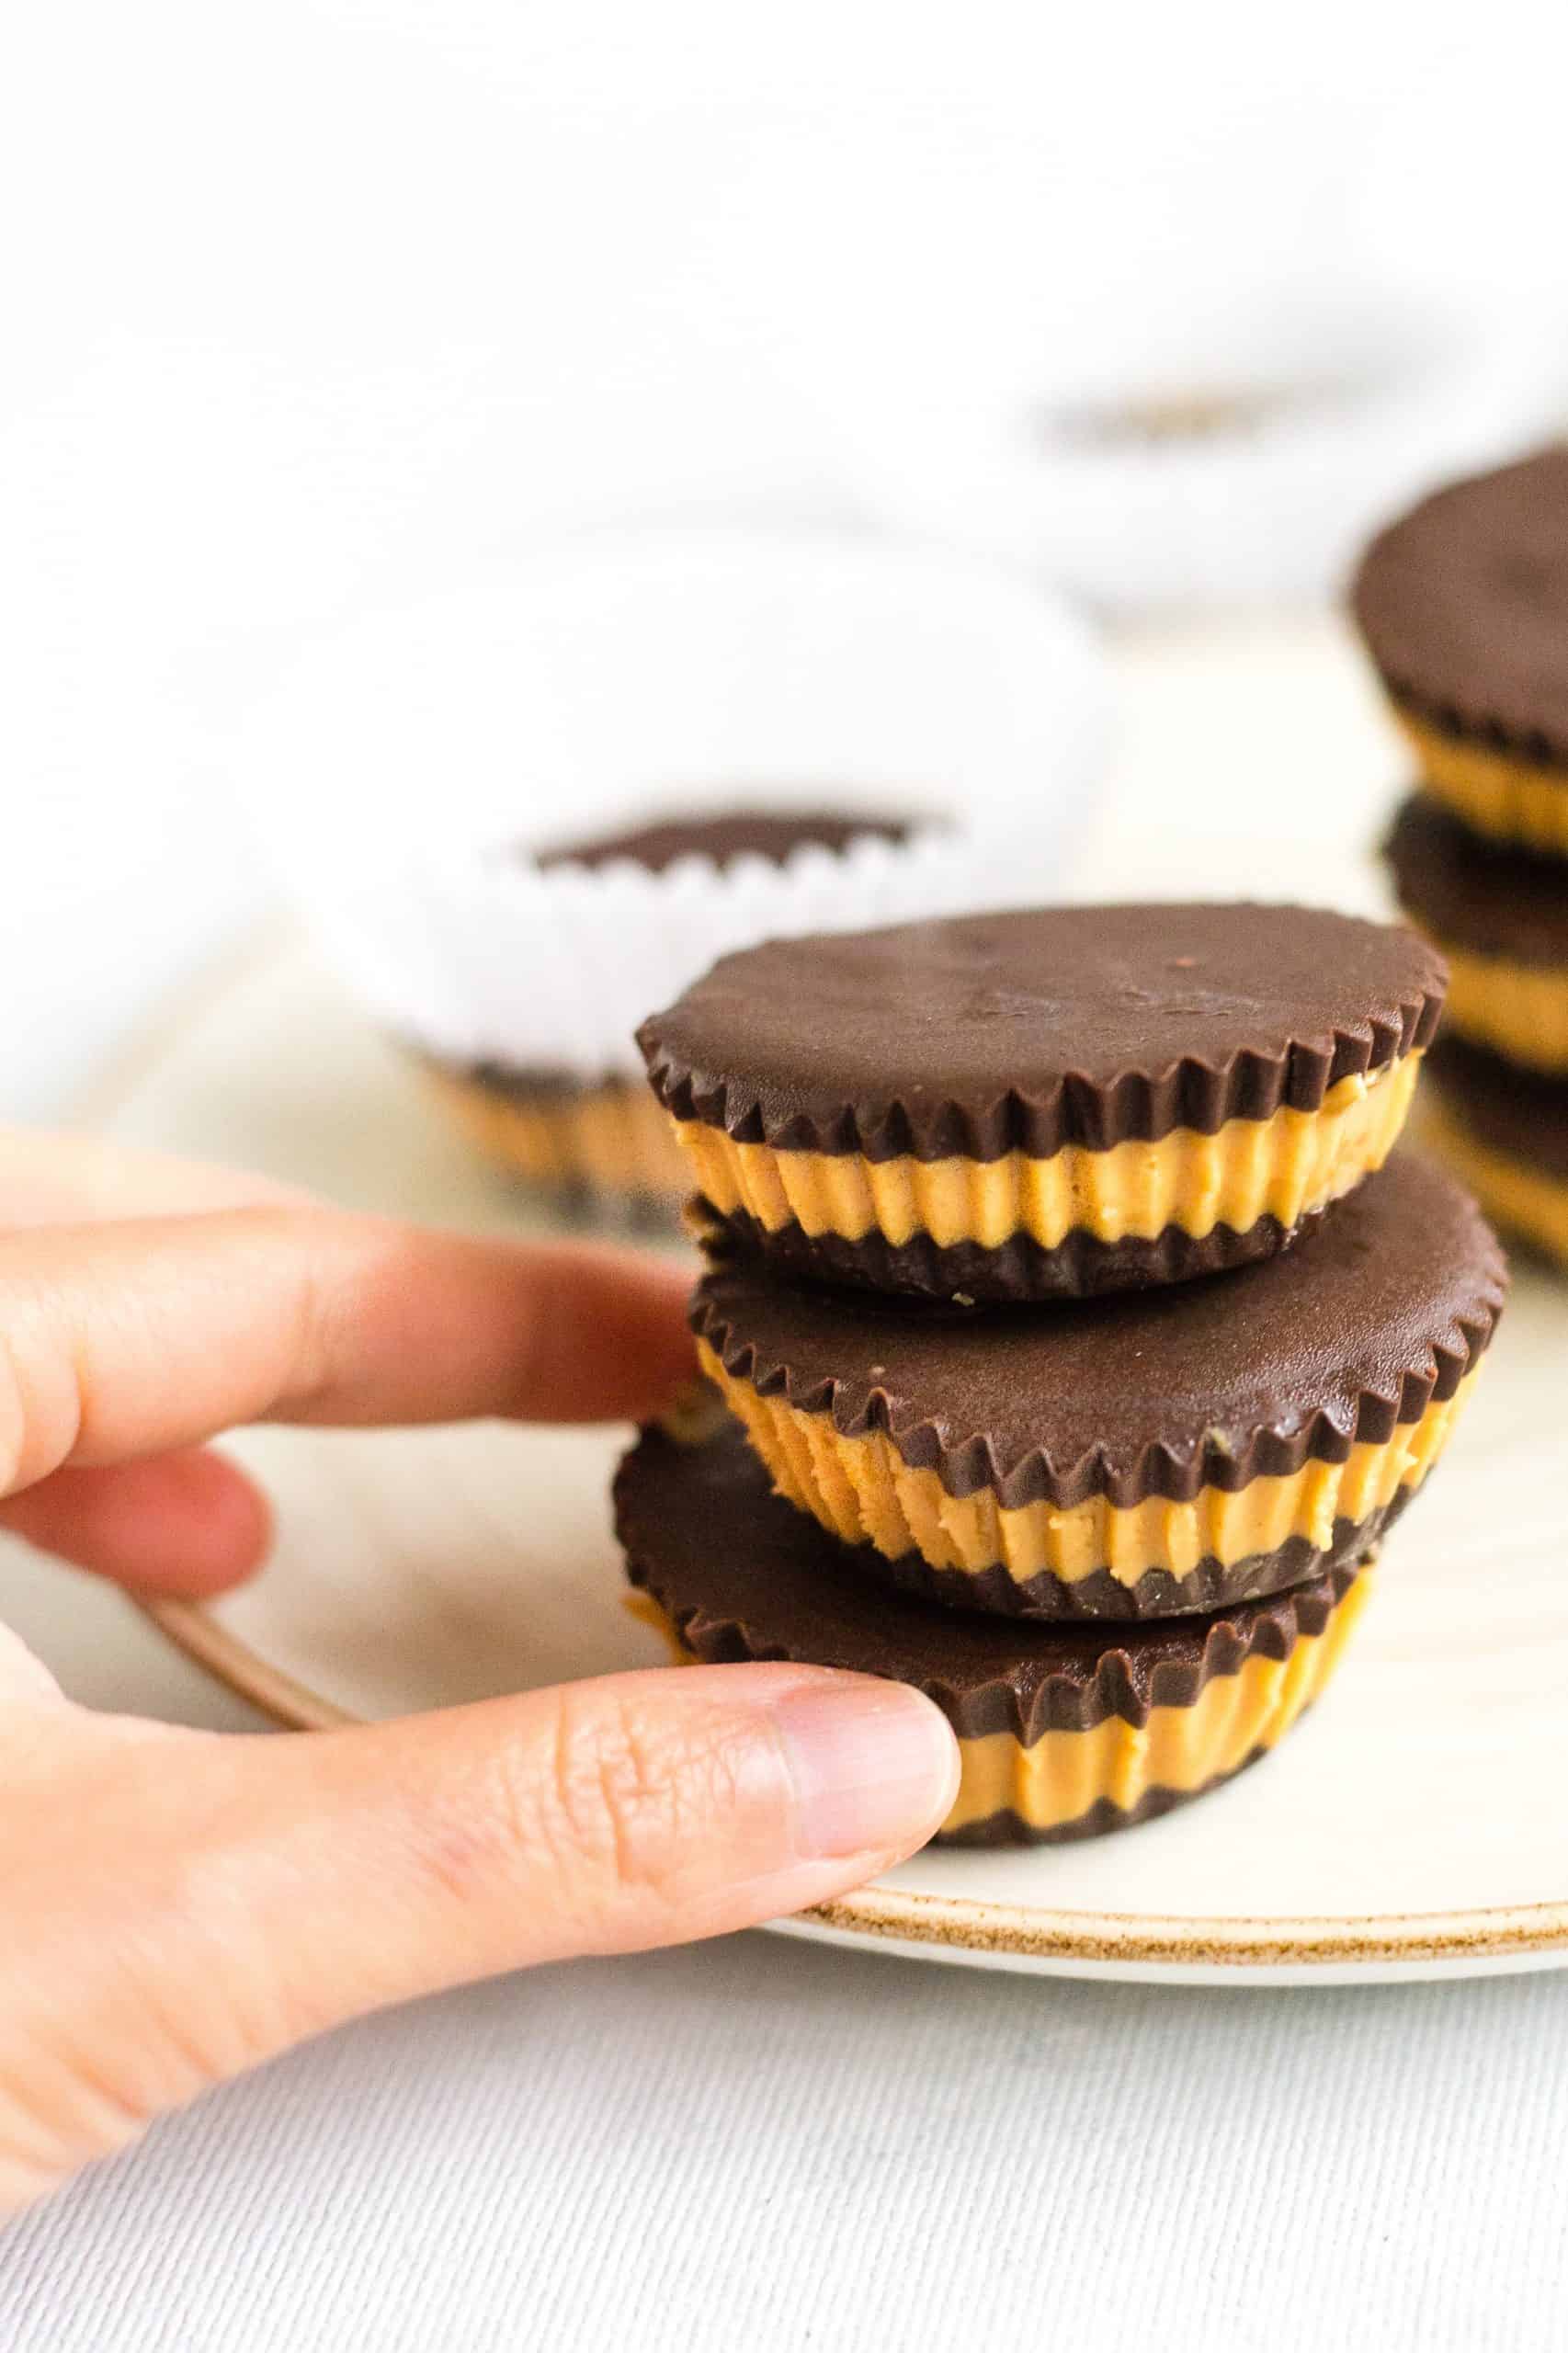
If the chocolate mixture from before has solidified, simply heat it up in the microwave for 30-seconds intervals until smooth and glossy again. Pour 1 – 2 teaspoons of the remaining chocolate mixture over the peanut butter layer in each muffin liner and freeze completely for at least 1 hour before eating.
Dish by Dish Tips/Tricks:
- Peanut Butter Alternatives: If you are allergic to peanut butter, or simply prefer to use a nut butter, feel free to use almond butter, cashew butter or even sunflower seed butters in equal quantities.
- Keep The PB Cups Chilled: Since these chocolate PB cups are made with coconut oil, they must be kept in the refrigerator or the freezer, or they will melt easily. If you are keeping them in the freezer, simply take them out 5 to 10 minutes before eating/serving as they may be quite hard at first.
- Mini Cups: To make mini peanut butter cups, simply use mini muffin paper liners in a mini muffin pan. You should be able to get double the amount of the standard size (i.e. 24 mini cups instead of 12 standard cups).
- Make it Fancier: If you like, you can always sprinkle some flaky sea salt on top of the chocolate before it sets, so you contrast the sweetness of the chocolate with the salt.
Recipes FAQs:
If not eating these immediately, you can store these dark chocolate peanut butter cups in an airtight container or ziplock bags (separated by parchment paper) and store them in the refrigerator for up to 10 days.
Yes you can! Simply place these vegan peanut butter cups in a freezer-safe container (separating by parchment paper) and freeze for up to 2 months. Remember to take them out 5 to 10 minutes before serving or eating as they will be quite hard at first.
P.S. If you try this recipe, I’d love for you to leave a star rating below, and/or a review in the comment section further down the page. I always appreciate your feedback. Be sure to check out my entire Recipe Index for all the recipes on the blog. You can also follow me on Pinterest, Facebook or Instagram! Sign up for my Email List to get fresh recipes in your inbox each week!
Print
Healthy Peanut Butter Cups (Gluten-Free, Vegan)
- Total Time: 35 minutes
- Yield: 12 servings 1x
- Diet: Vegan
Description
These 4-ingredient homemade healthy peanut butter cups come together so easily. They are the perfect sweet treat, and the peanut butter-chocolate combination makes any day feel a bit more decadent. Perfect for trick-or-treat on Halloween, celebrating during the holidays, or anytime that you need to satisfy your sweet tooth! Gluten-free, dairy-free and vegan too, so everyone can indulge!
Ingredients
For the chocolate layer:
- 1 1/4 cups semi-sweet vegan chocolate chips
- 2 tablespoons melted coconut oil
For the Peanut Butter Layer:
- 3/4 cup unsalted natural peanut butter
- 2 tablespoons melted coconut oil
- 2 tablespoons powdered sugar
Instructions
- Line: Line a standard 12-cup muffin mold with paper liners or silicon liners.
- Melt: Combine the chocolate chips and melted coconut oil in a microwave-safe bowl and heat for 30-second intervals, mixing to combine after each interval, until the chocolate is smooth and glossy. (It took me 3 intervals of 30 seconds each – so 1 min 30 seconds in total).
- Chocolate Base: Pour 1 to 2 teaspoons of melted chocolate in each muffin liner to cover the bottom of each liner (you will use approximately half the amount of melted chocolate). Let the chocolate layer set in the freezer for 10 minutes until firm.
- Make the Peanut Butter Mixture: When the chocolate layer is almost done, combine the peanut butter and coconut oil in a small microwave-safe bowl. Heat the mixture for 20 seconds in the microwave and mix well before adding powdered sugar and mixing until sugar is completely dissolved and you get a pourable mixture.
- Peanut Butter Layer: Once the chocolate base has set, pour 2 to 3 teaspoons of peanut butter mixture over each chocolate base. Place back into the freezer to set for another 10 minutes.
- Final Chocolate Layer: If the chocolate mixture from before has solidified, simply heat it up in the microwave for 30-seconds intervals until smooth and glossy again. Pour 1 to 2 teaspoons of melted chocolate over the peanut butter layer in each muffin liner and freeze completely for at least 1 hour before eating.
Notes
Chocolate Chips: I used semi-sweet vegan chocolate chips, but if you aren’t lactose-intolerant, feel free to use normal chocolate chips instead.
Coconut Oil: I personally prefer using refined coconut oil when cooking or baking because it has a more neutral taste compared to extra virgin coconut oil (which has a very strong coconut flavor), but go ahead and use whichever you prefer. You can also use vegan butter instead. Alternatively, if you are not lactose-intolerant, feel free to swap out the coconut oil for equal amounts of butter or ghee.
Peanut Butter: I prefer using unsalted natural peanut butter that doesn’t have any additives or preservatives (learn how to make 10-minute homemade peanut butter), but feel free to use whichever peanut butter you have on hand. Also, if you are allergic to peanuts, or simply want to use a nut butter alternative, feel free to use almond butter, cashew butter, or even sunflower seed butter in equal quantities instead.
Powdered Sugar: I used normal powdered sugar, but if you are diabetic or insulin-resistant, I recommend that you use Lakanto Powdered Sweetener (a 1:1 powdered sugar substitute that has zero glycemic index and will not raise your blood sugar).
Storage/Freezing: If not eating immediately after making these, store them in an airtight container or ziplock bags (separated by parchment paper) in the refrigerator for up to 10 days, or freeze in freezer-safe containers for up to 2 months.
Adapted from: Eating Bird Food
This recipe was originally posted in October 2020, but has since been republished to show clearer step-by-step instructions, as well as recipe notes and substitutions.
- Prep Time: 30 mins
- Cook Time: 5 mins
- Category: Desserts
- Method: Microwave
- Cuisine: American



Good morning Felicia,
I fully agree with you that this is a super easy to make recipe and is so satisfying a treat to enjoy! 🙂
I love every bite of it as it melts in my mouth – super yummy!!!
Have a great day with love and blessings from home in SG
Mum
Hi mummy! Yes, super easy candy recipe 🙂 Have a great weekend mummy, love you!