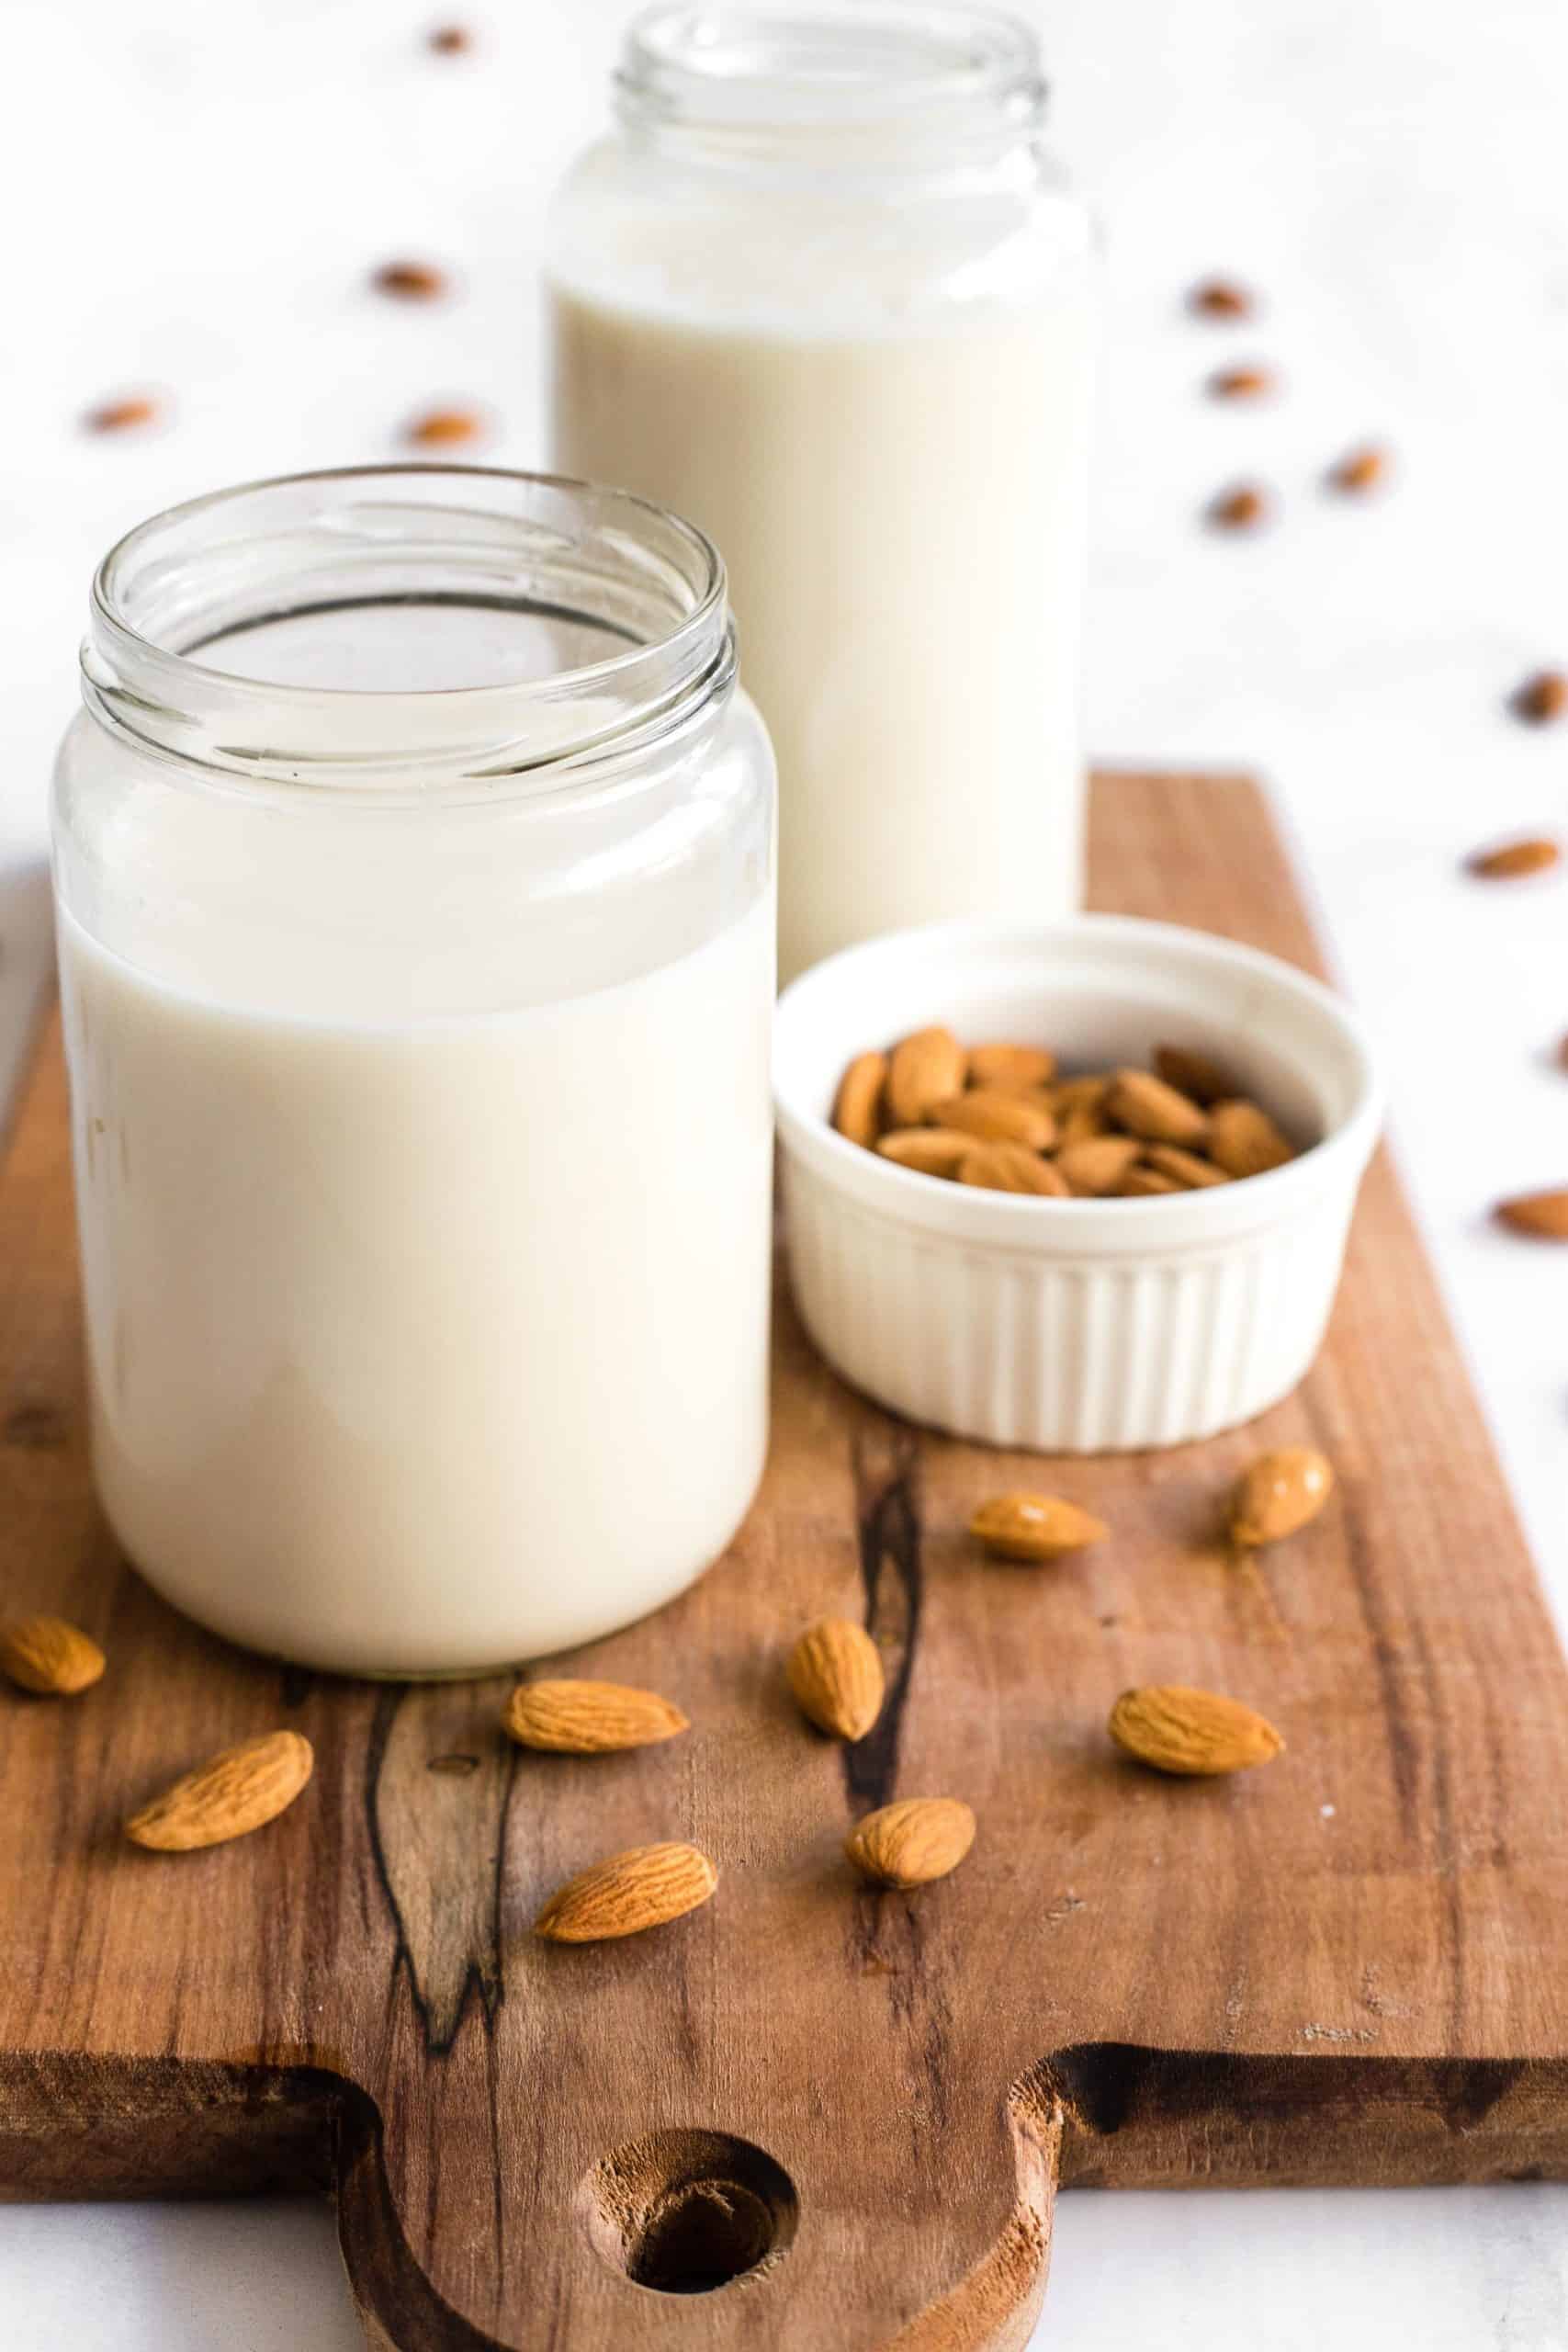
Make your own homemade almond milk in just 5 minutes! This is way cheaper than the store-bought version, has zero preservatives, and tastes much better too! Plus is naturally gluten-free, dairy-free and vegan.
Want to save this recipe?
Enter your email & I’ll send it to your inbox. Plus, get great new recipes from me every week!
Why Make Homemade Almond Milk?
Ever since Juan became lactose-intolerant and we started going dairy-free early this year, we’ve stopped drinking cow’s milk and have completely switched to nut milks.
At first we would buy nut milks from the supermarket, but after reading the ingredients list and seeing how much sugar and preservatives are added to the milks to make them shelf-stable and last longer (scary!!), we decided that we would be best off making our own.
Not only does homemade almond milk taste much better in our opinion, it’s also much cheaper in the long run, particularly if you drink quick a bit of it, and especially if you’re able to buy raw almonds in bulk in the natural food aisle of your supermarket (buying in bulk is usually less expensive).
If you are also lactose-intolerant and find that going without dairy has helped your health improve, I strongly recommend that you make your nut milks as this will be more nutritious and better than buying store-bought. Plus, once you get the hang of making your own milk, it literally is faster to make your own than buying a carton!
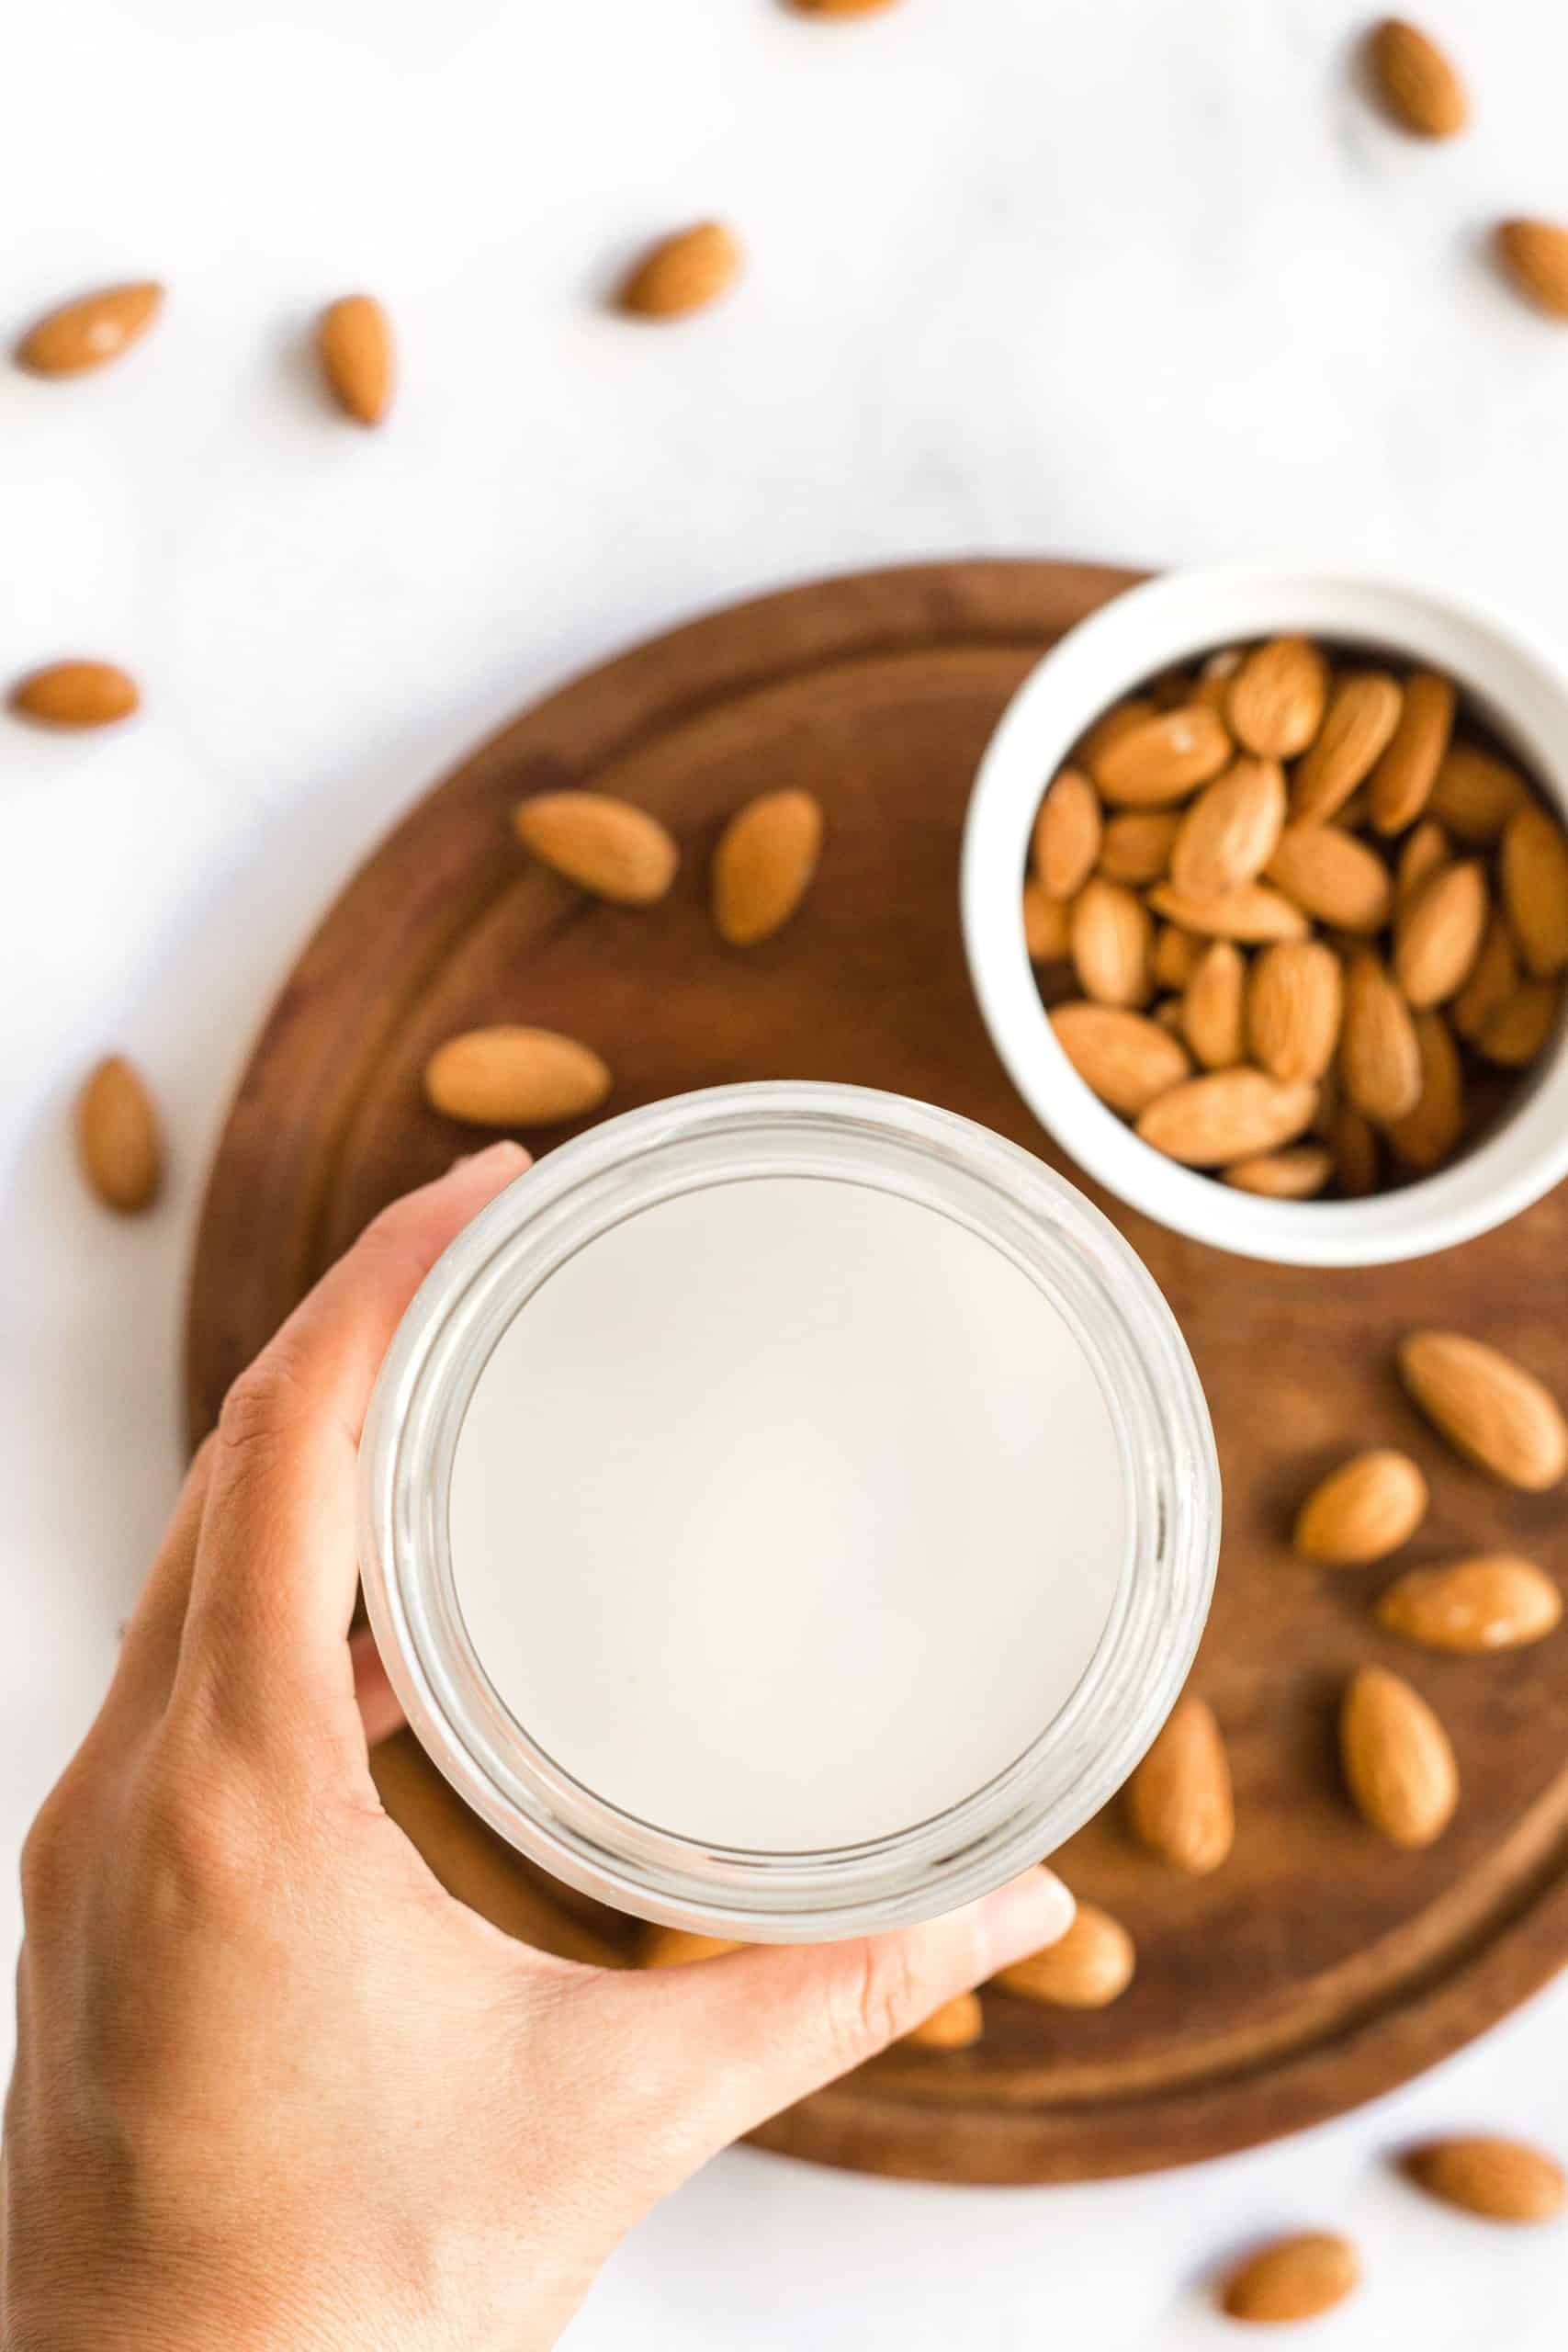
Making Almond Milk at Home is Easier than You’d Think
We’ve already been making our 5-minute homemade cashew milk, and almond milk is basically the same.
Here’s THE recipe that we’ve perfected and have been making week after week – you can tweak the flavors to your preference, but this basic recipe is as simple as it is delicious.
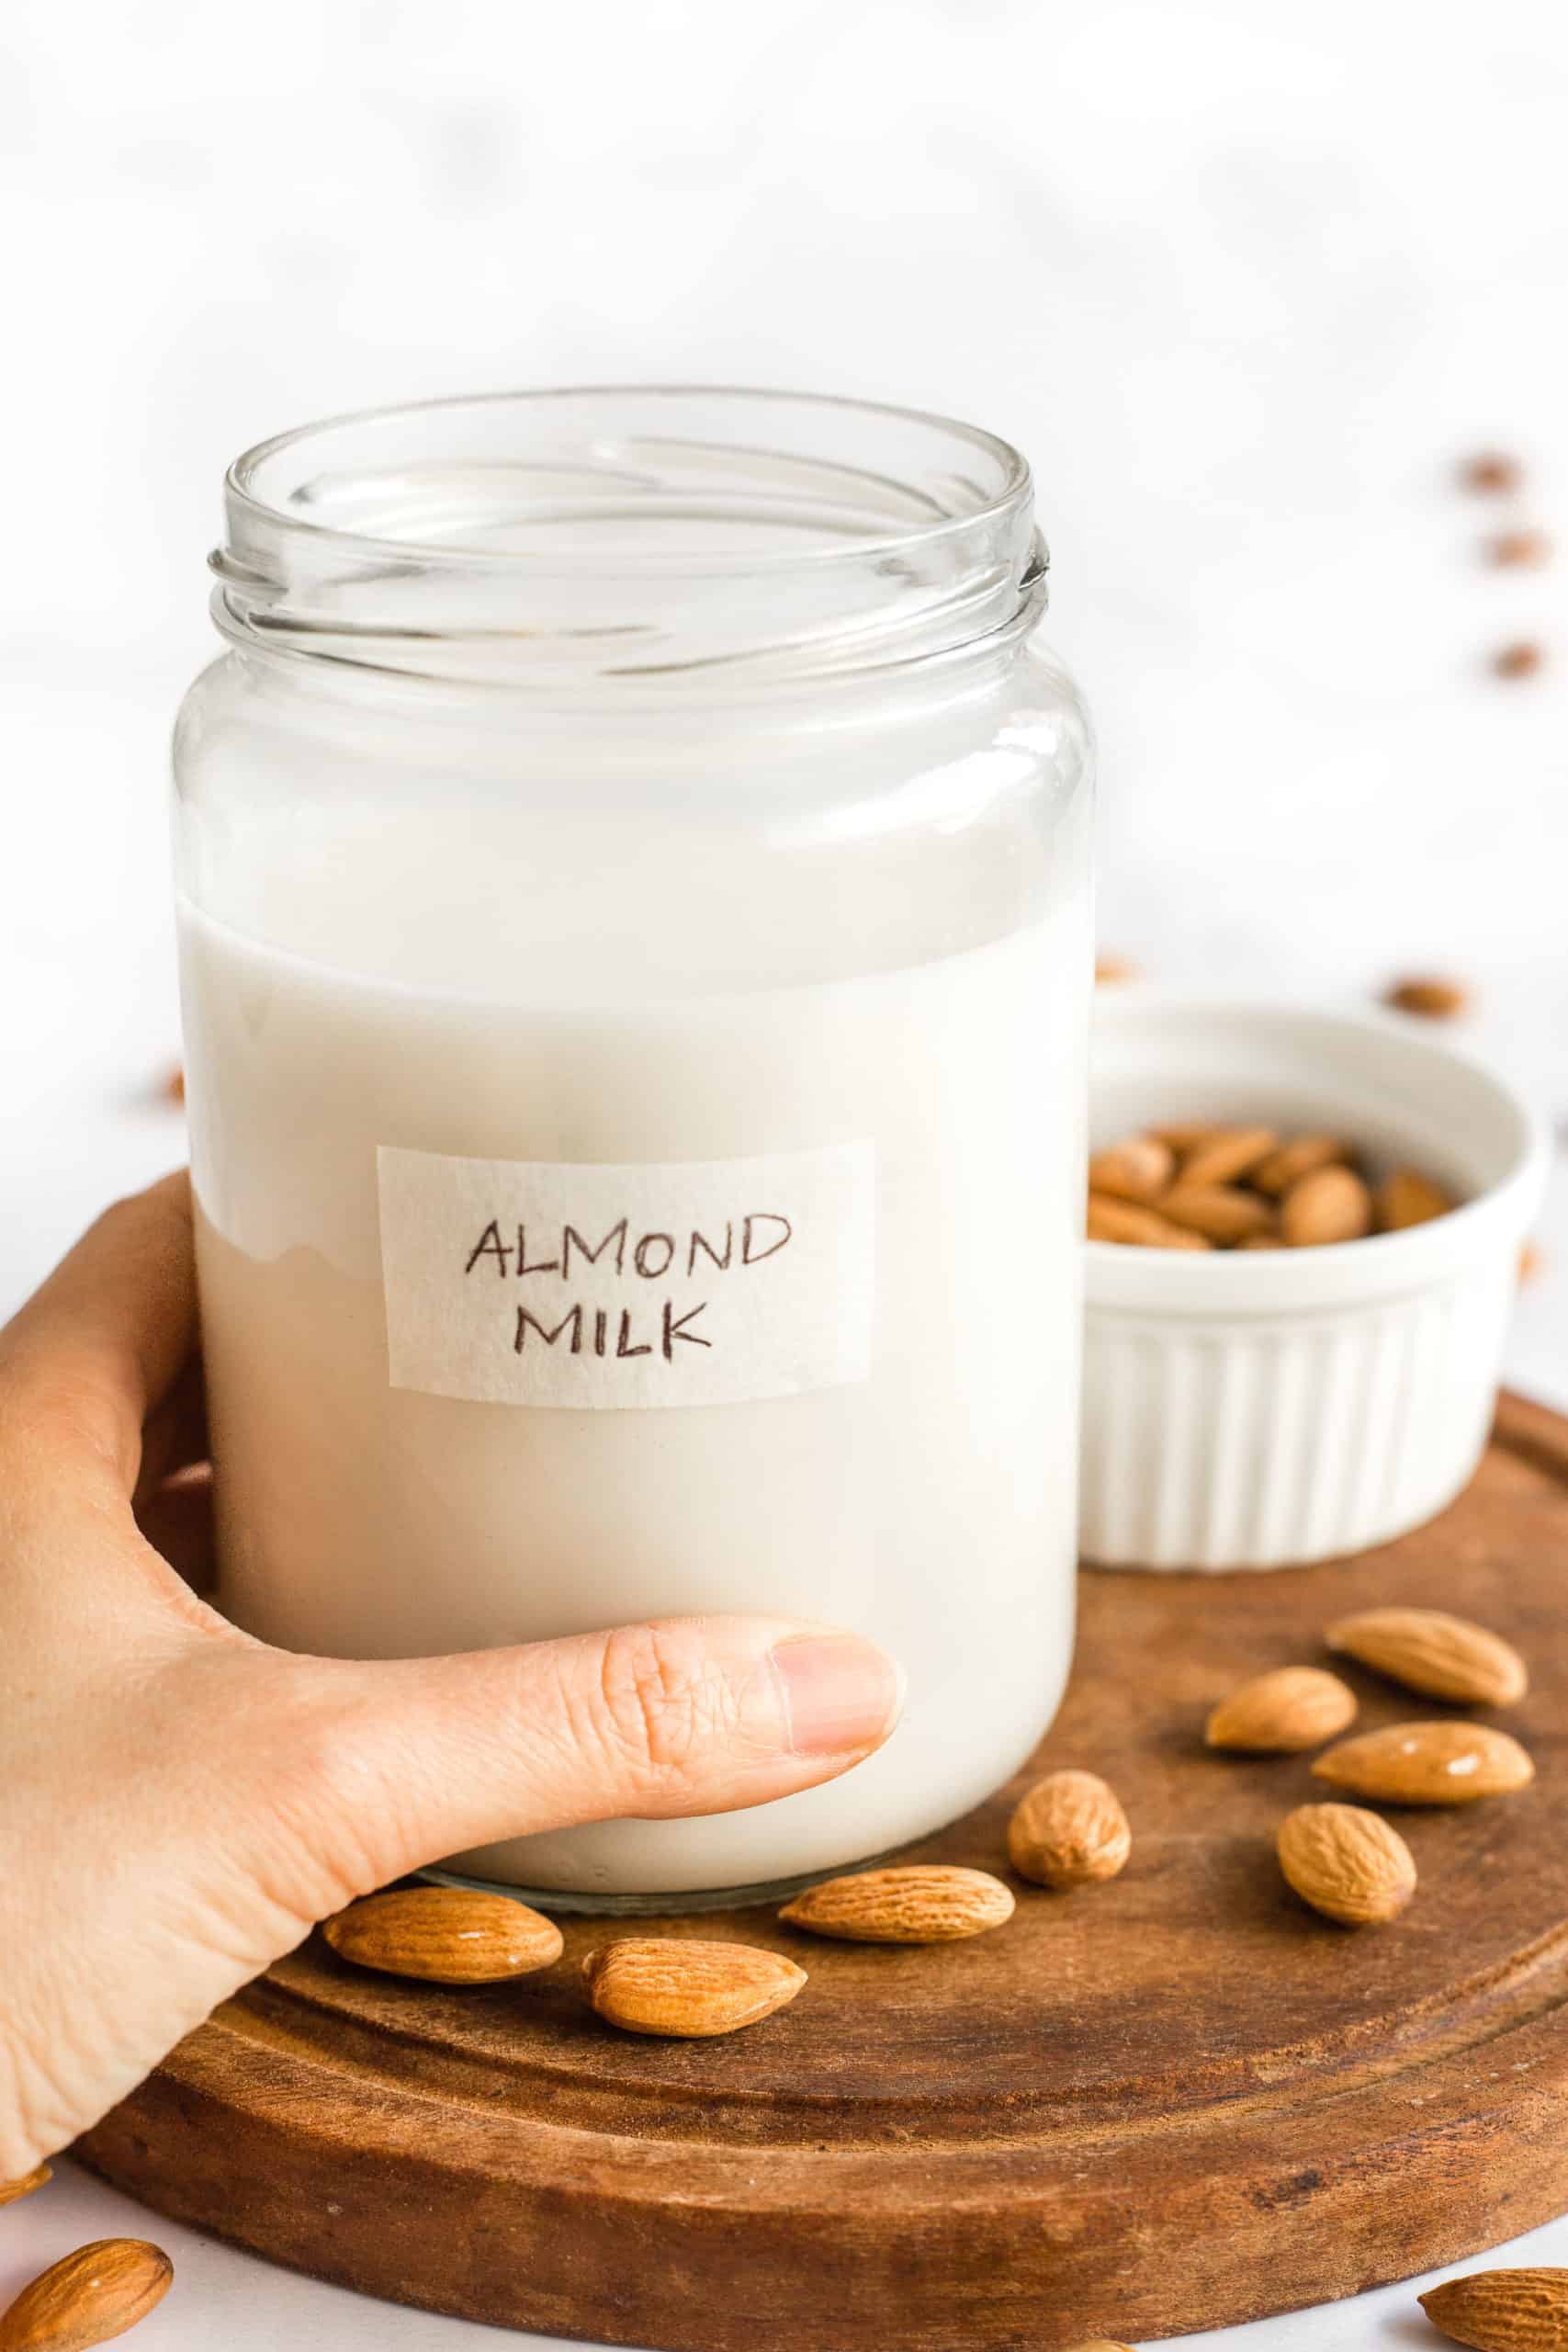
The 4:1 Magic Nut Milk Ratio
I’ve found that the perfect formula for nut milks is 4 parts water to 1 part nuts. More water makes a thinner milk, and less water makes a thicker “creamer-like” consistency.
So once you remember this magic 4:1 ratio, you can literally make as little or as much almond milk as you like. Less milk if you know you won’t be able to finish the milk before it goes bad, or more milk if you know your family drinks it like water from the tap!
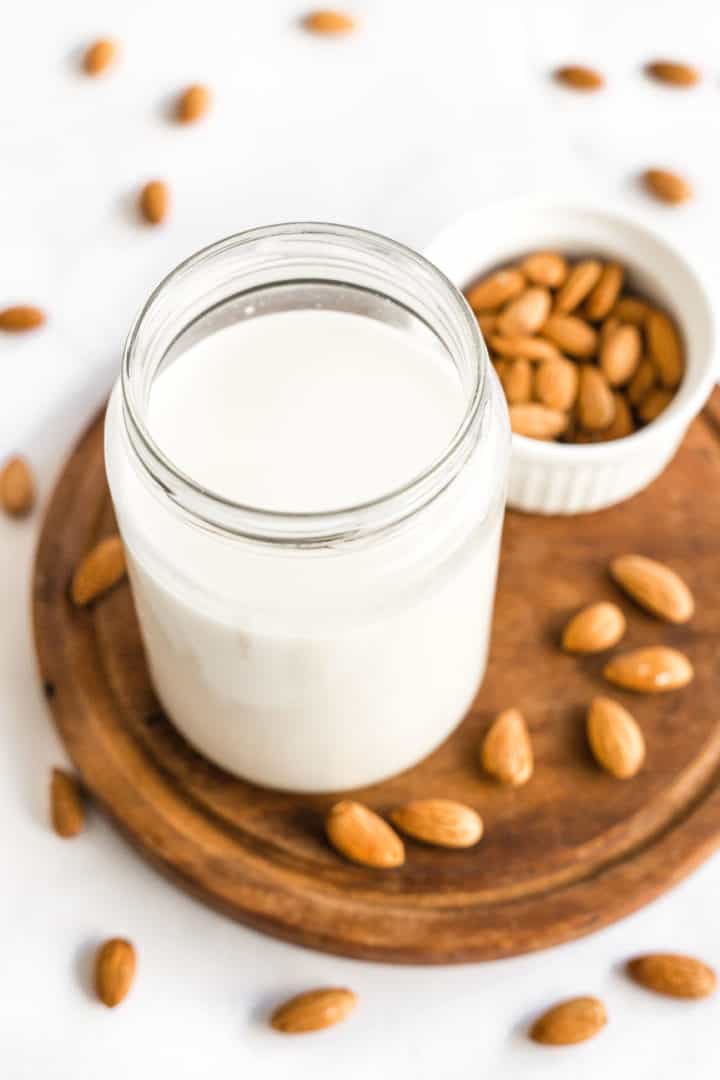
Soaking Raw Almonds Overnight
Hands-on time for making your own almond milk is literally just 5 minutes, but you’ll need to plan ahead the night before and soak the almonds in filtered water (at least 12 hours or overnight). All you need to do is remember to place the almonds in water and that’s it!
All nuts require being soaked for their enzymes to be activated, which allows for easier digestion (especially for those with gut issues). Soaking also saturates the almonds from the inside out, which results in a creamier and more nutritious milk, which is a double win!
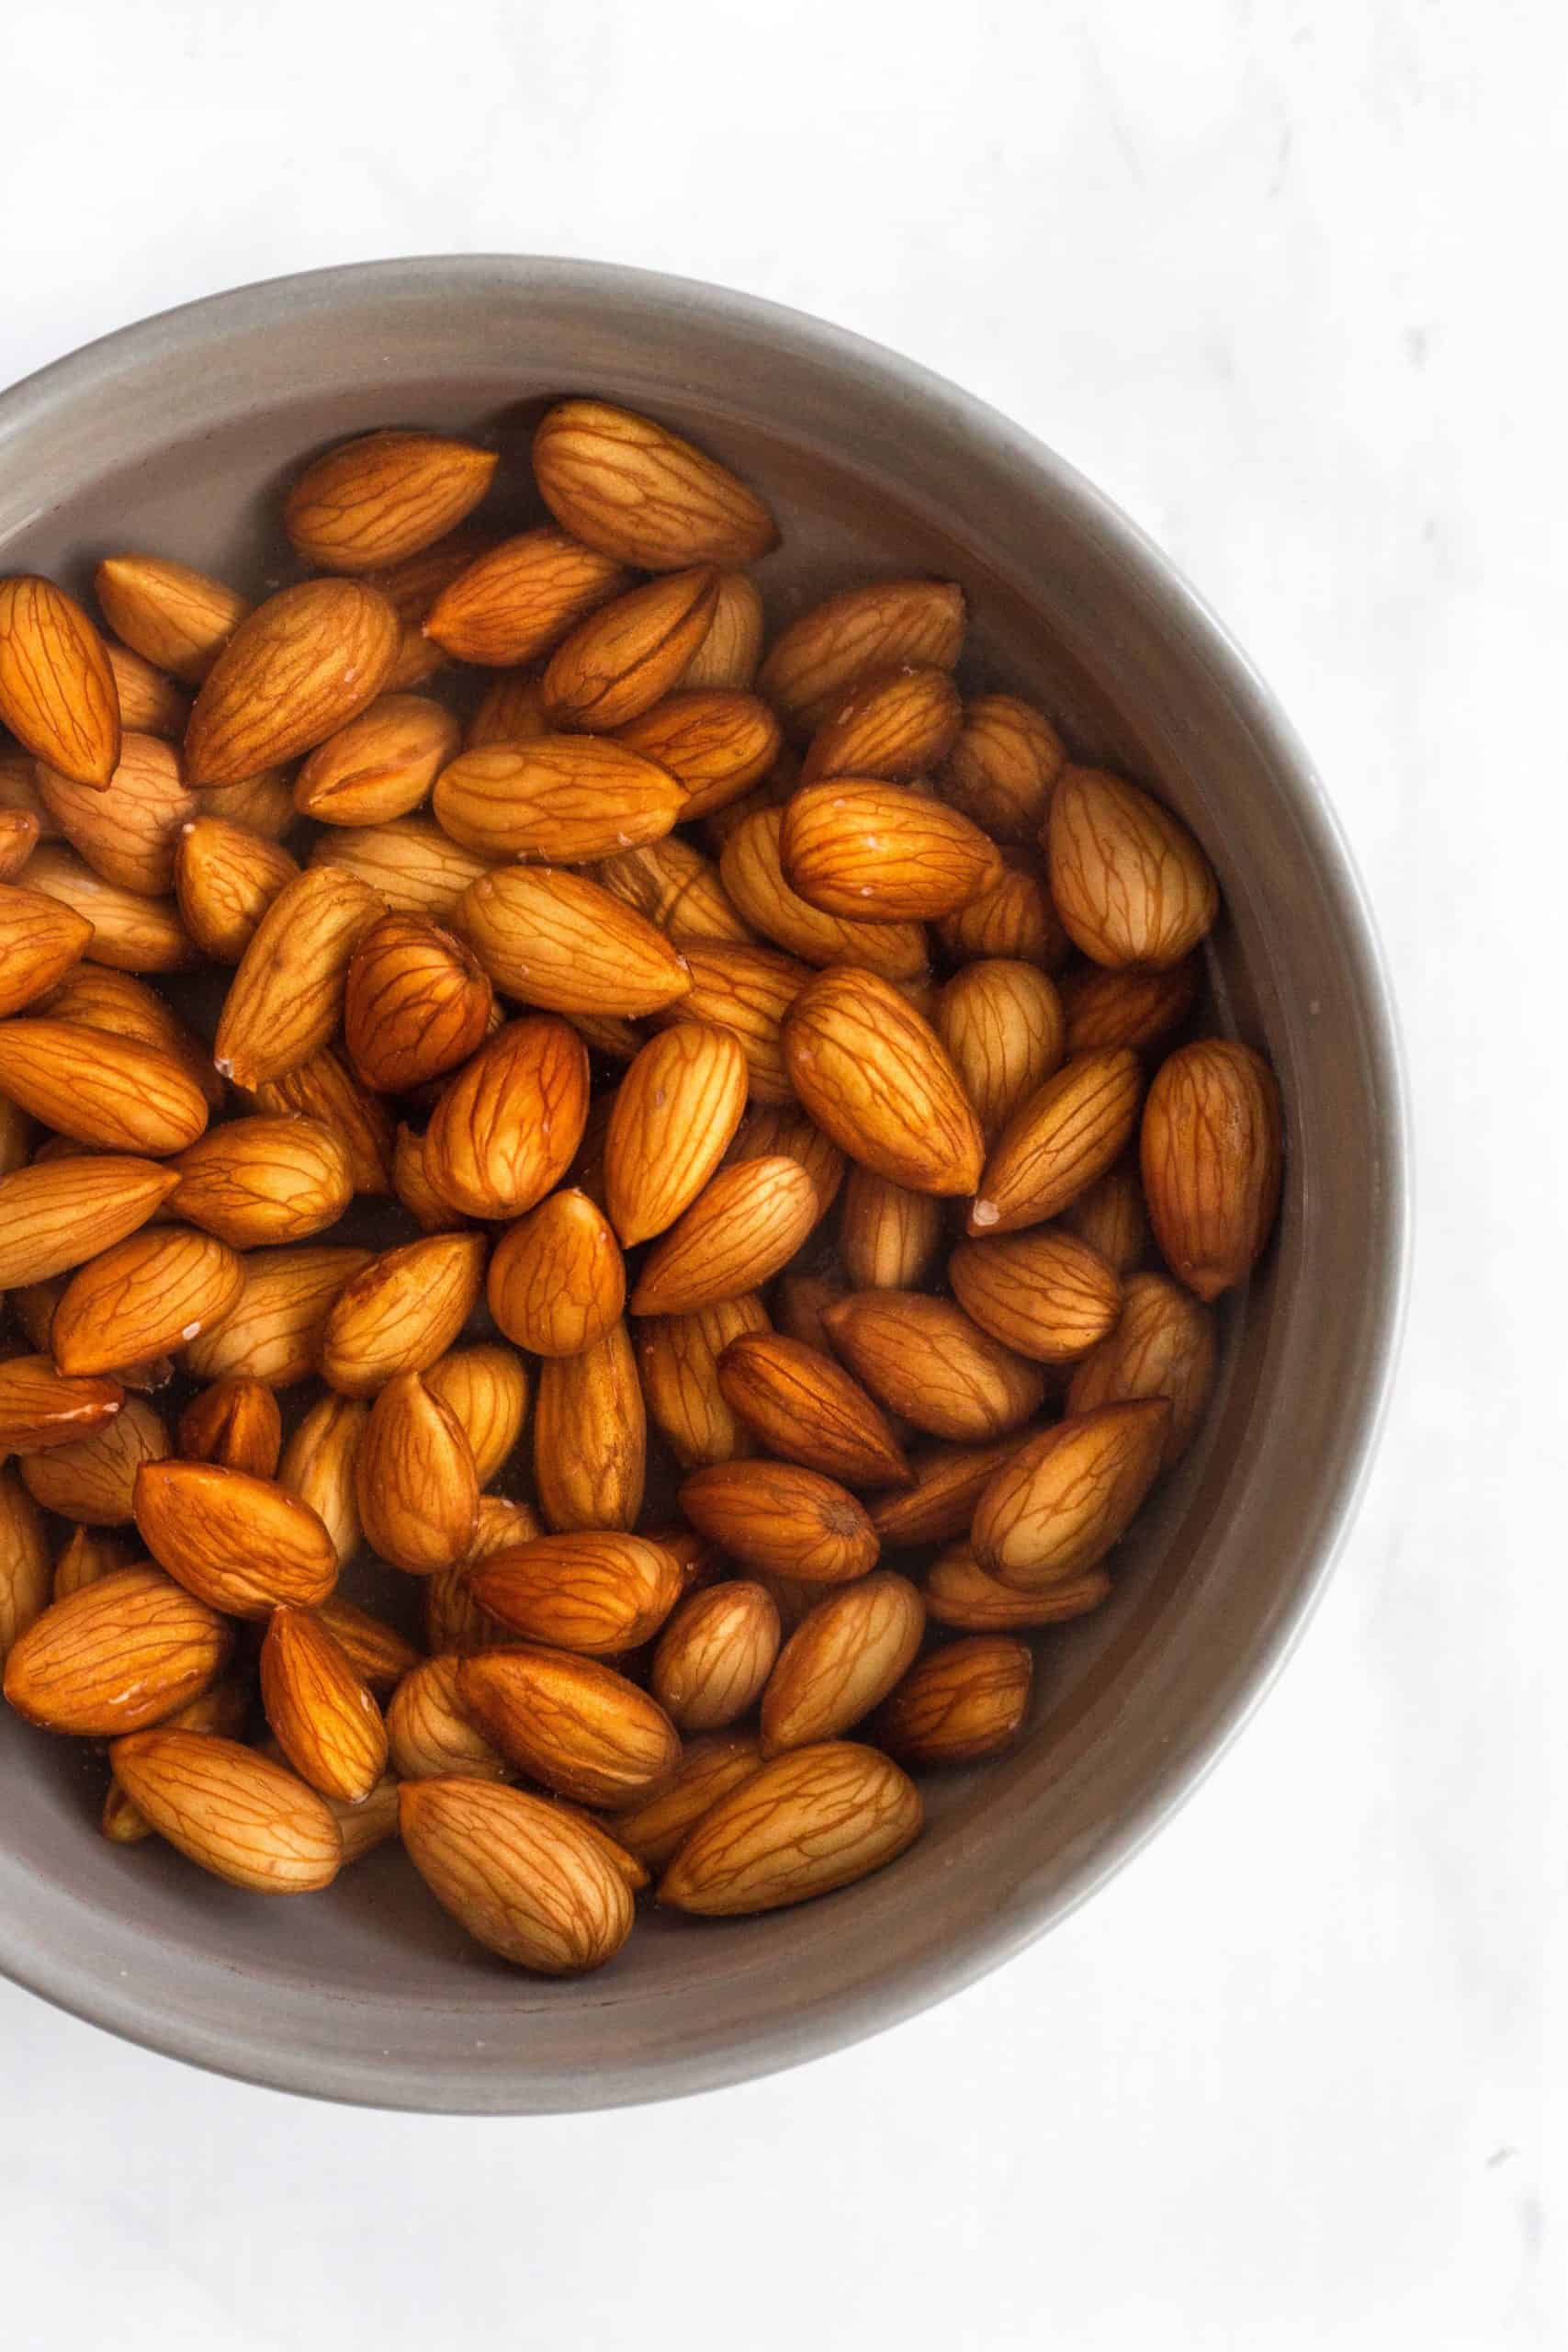
Blend the Almonds and Water
Once the almonds are done soaking, give them a good rinse and strain them.
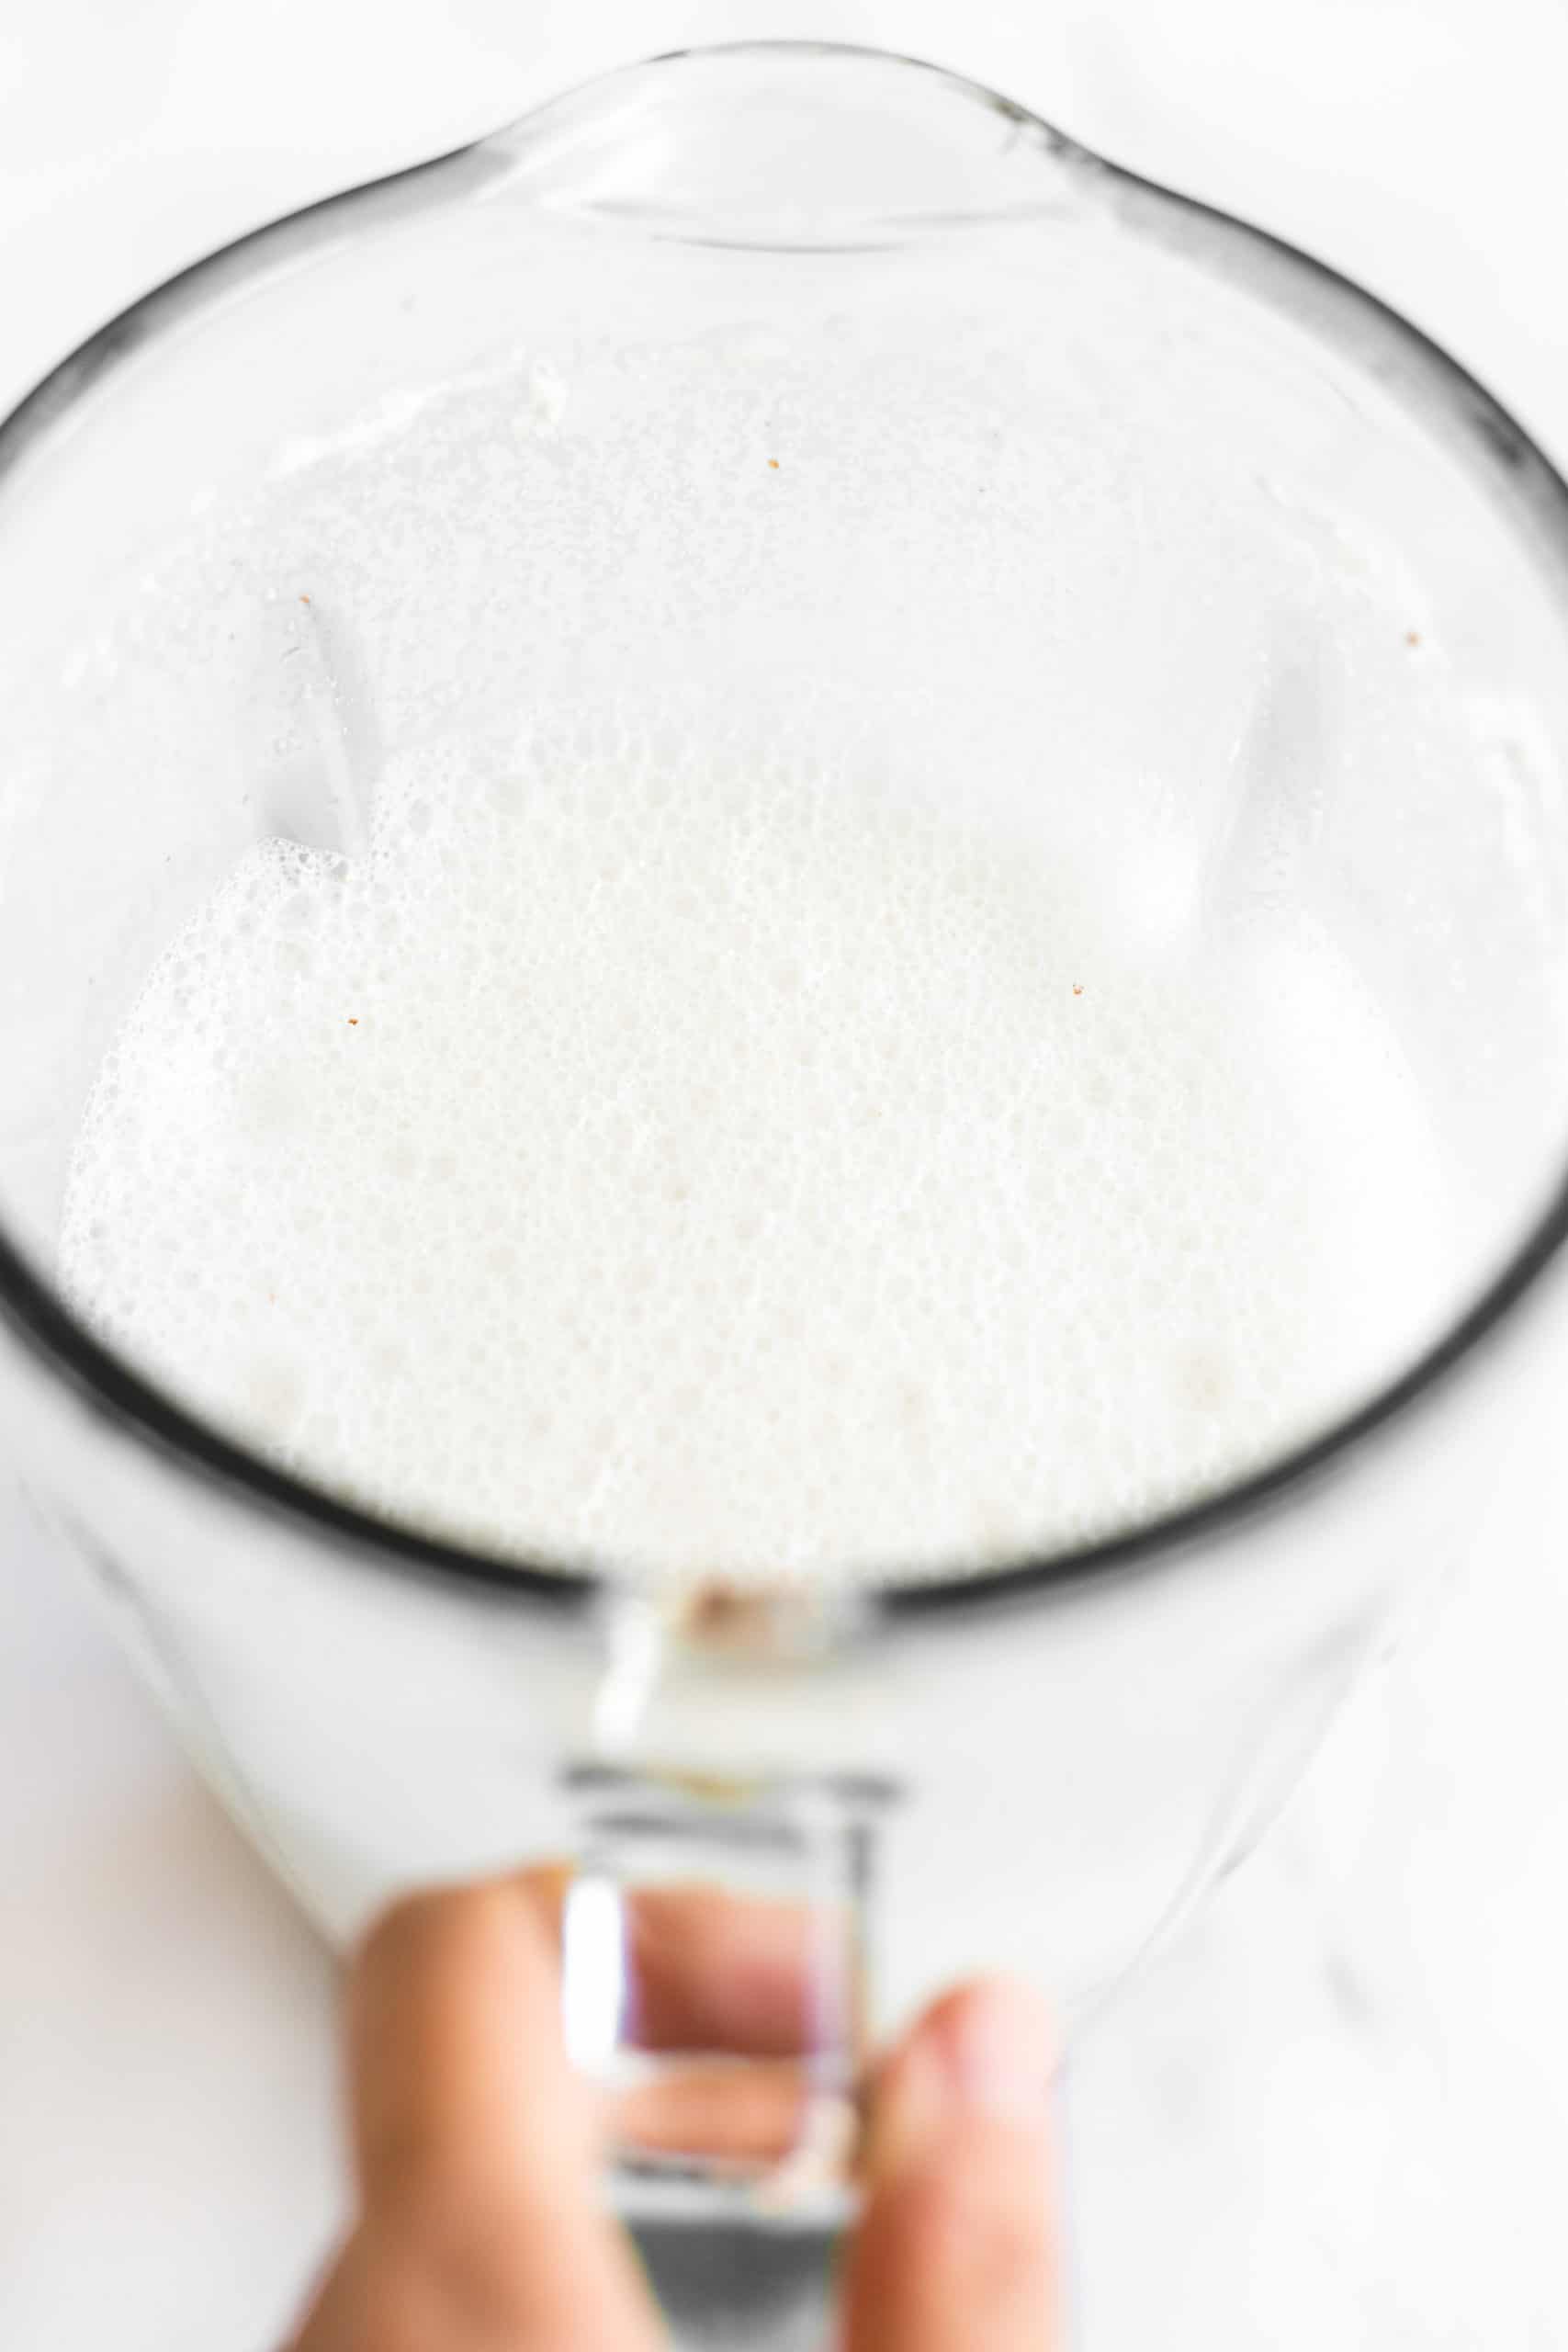
Combine the soaked almonds with filtered water in the bowl of your high-speed blender and blend well for at least 1 minute, until you get a creamy, frothy white milk.
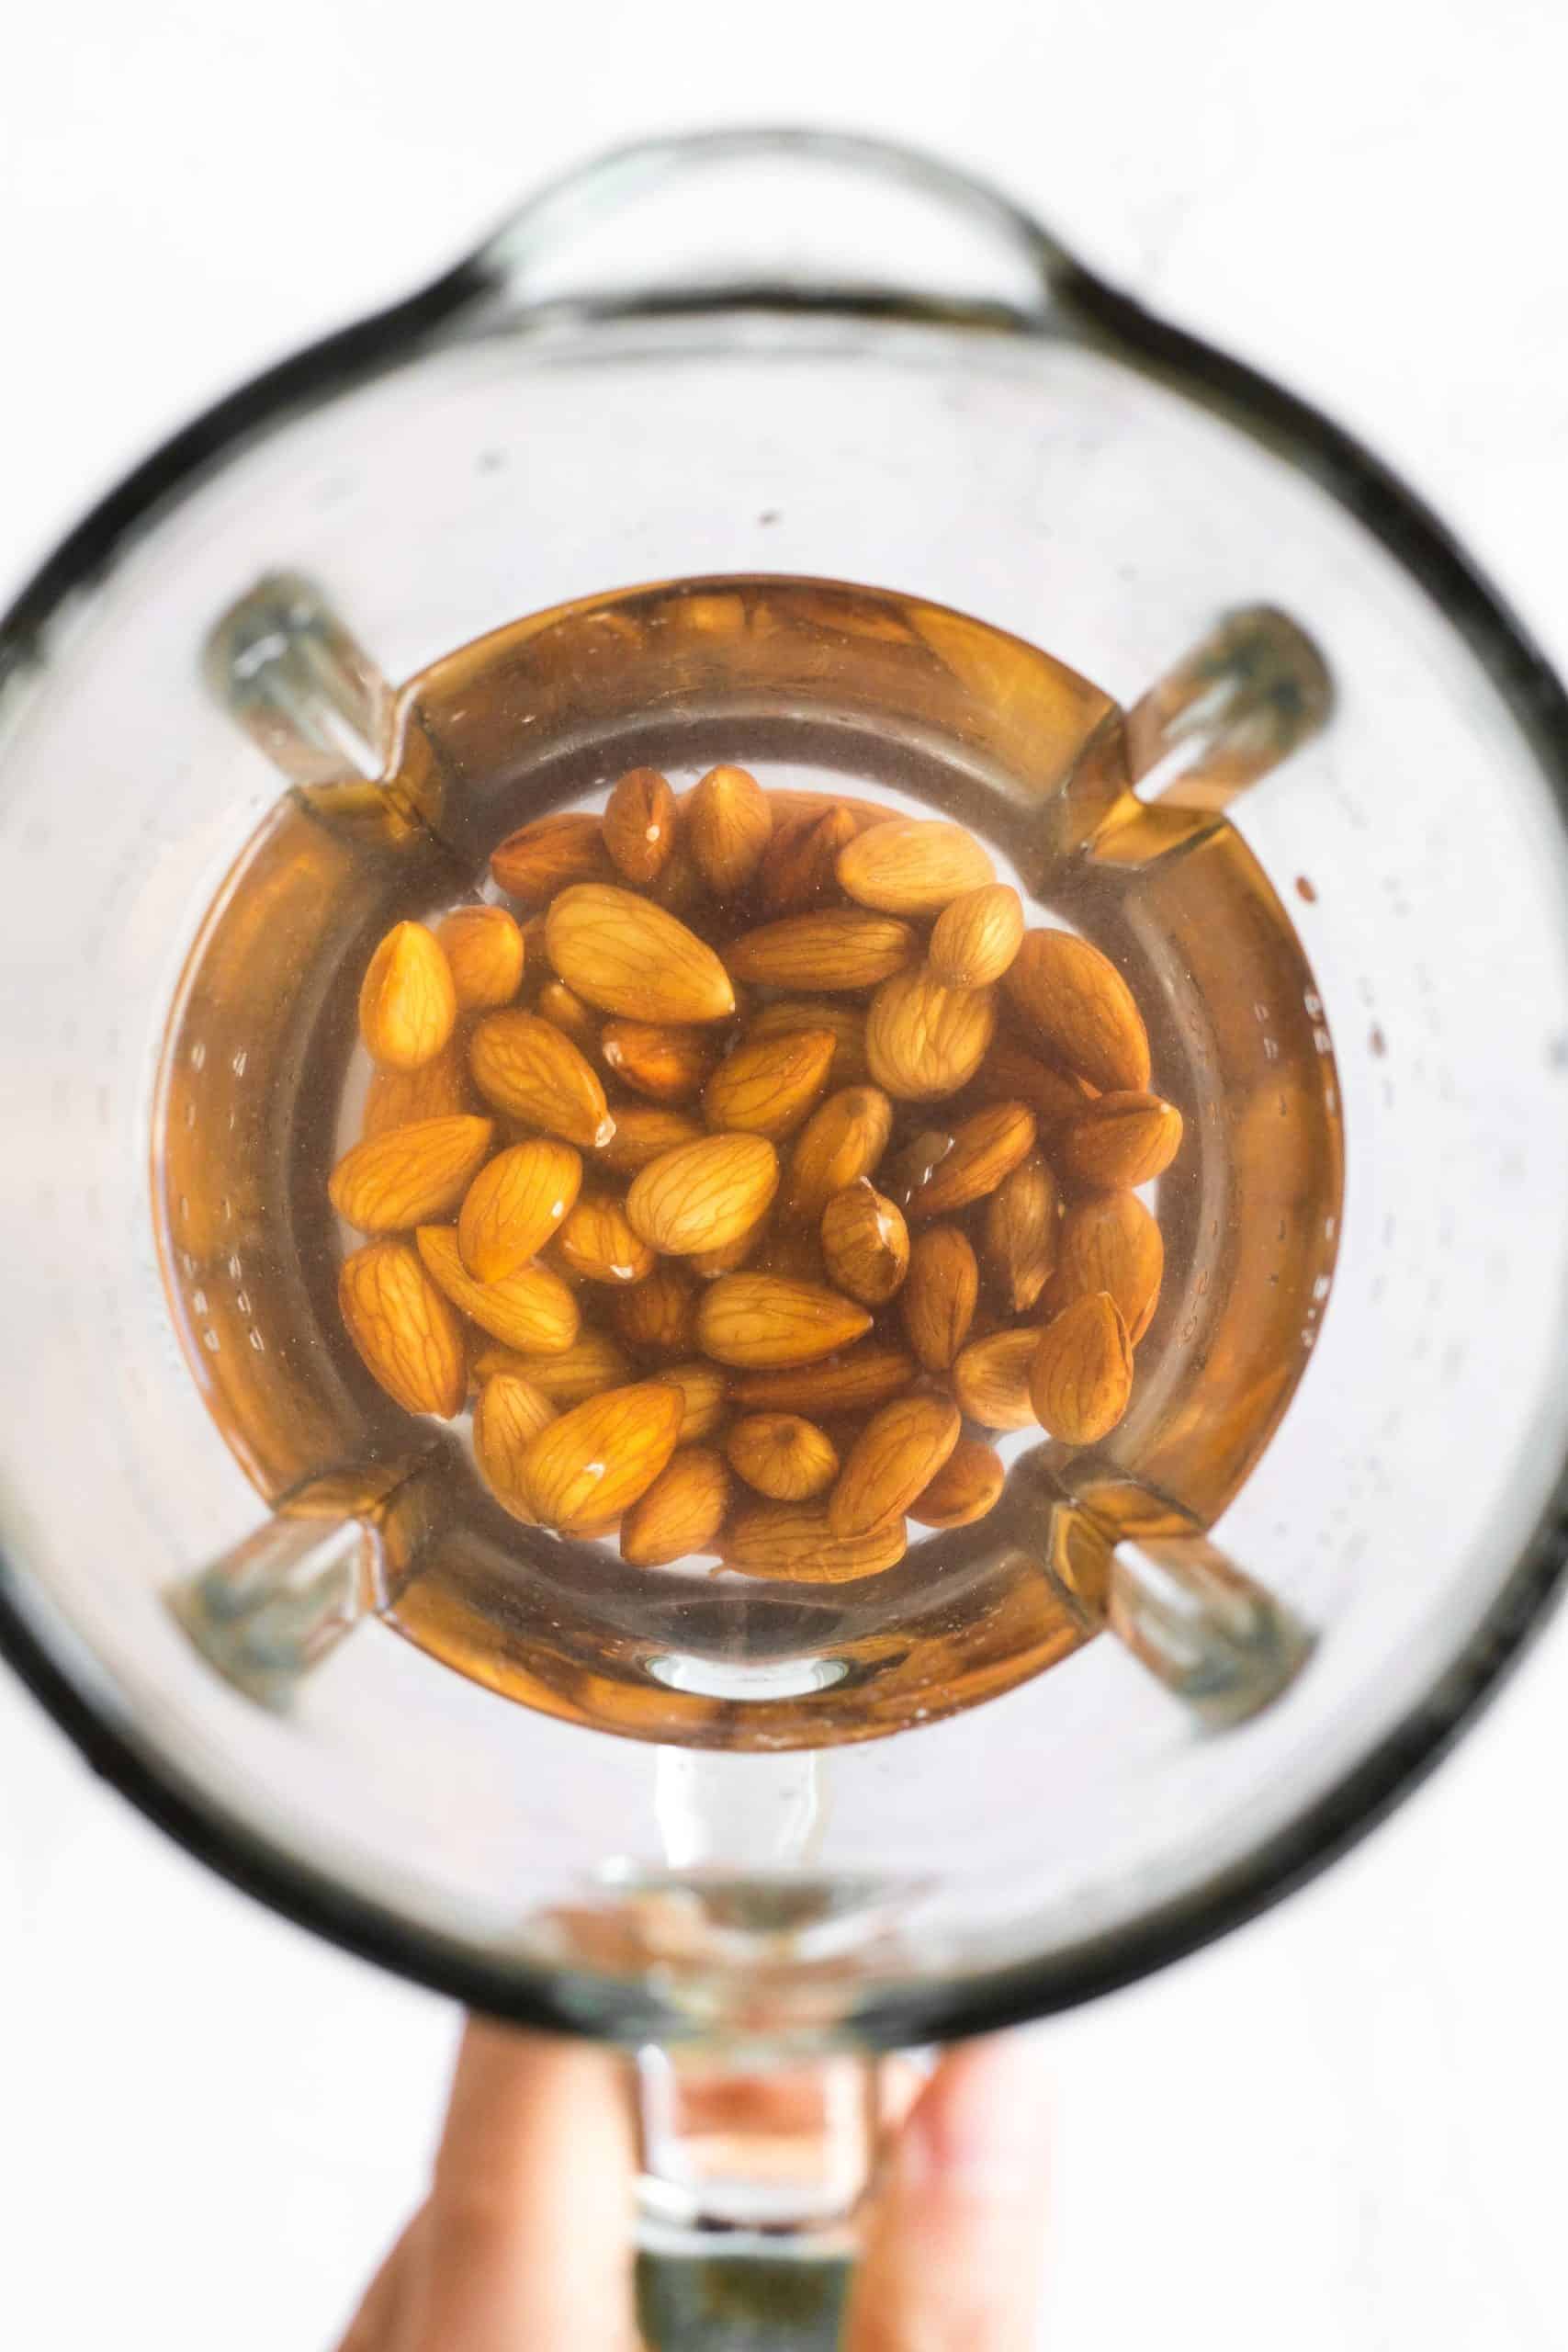
For a sweet milk, add maple syrup and vanilla extract and blend for another 10 seconds until everything is mixed well.
For a unsweetened milk, in case you’re planning on using it in savory recipes, just leave out the maple syrup and vanilla extract.
Strain the Milk
In my opinion, straining the milk is one of the most essential parts of the process.
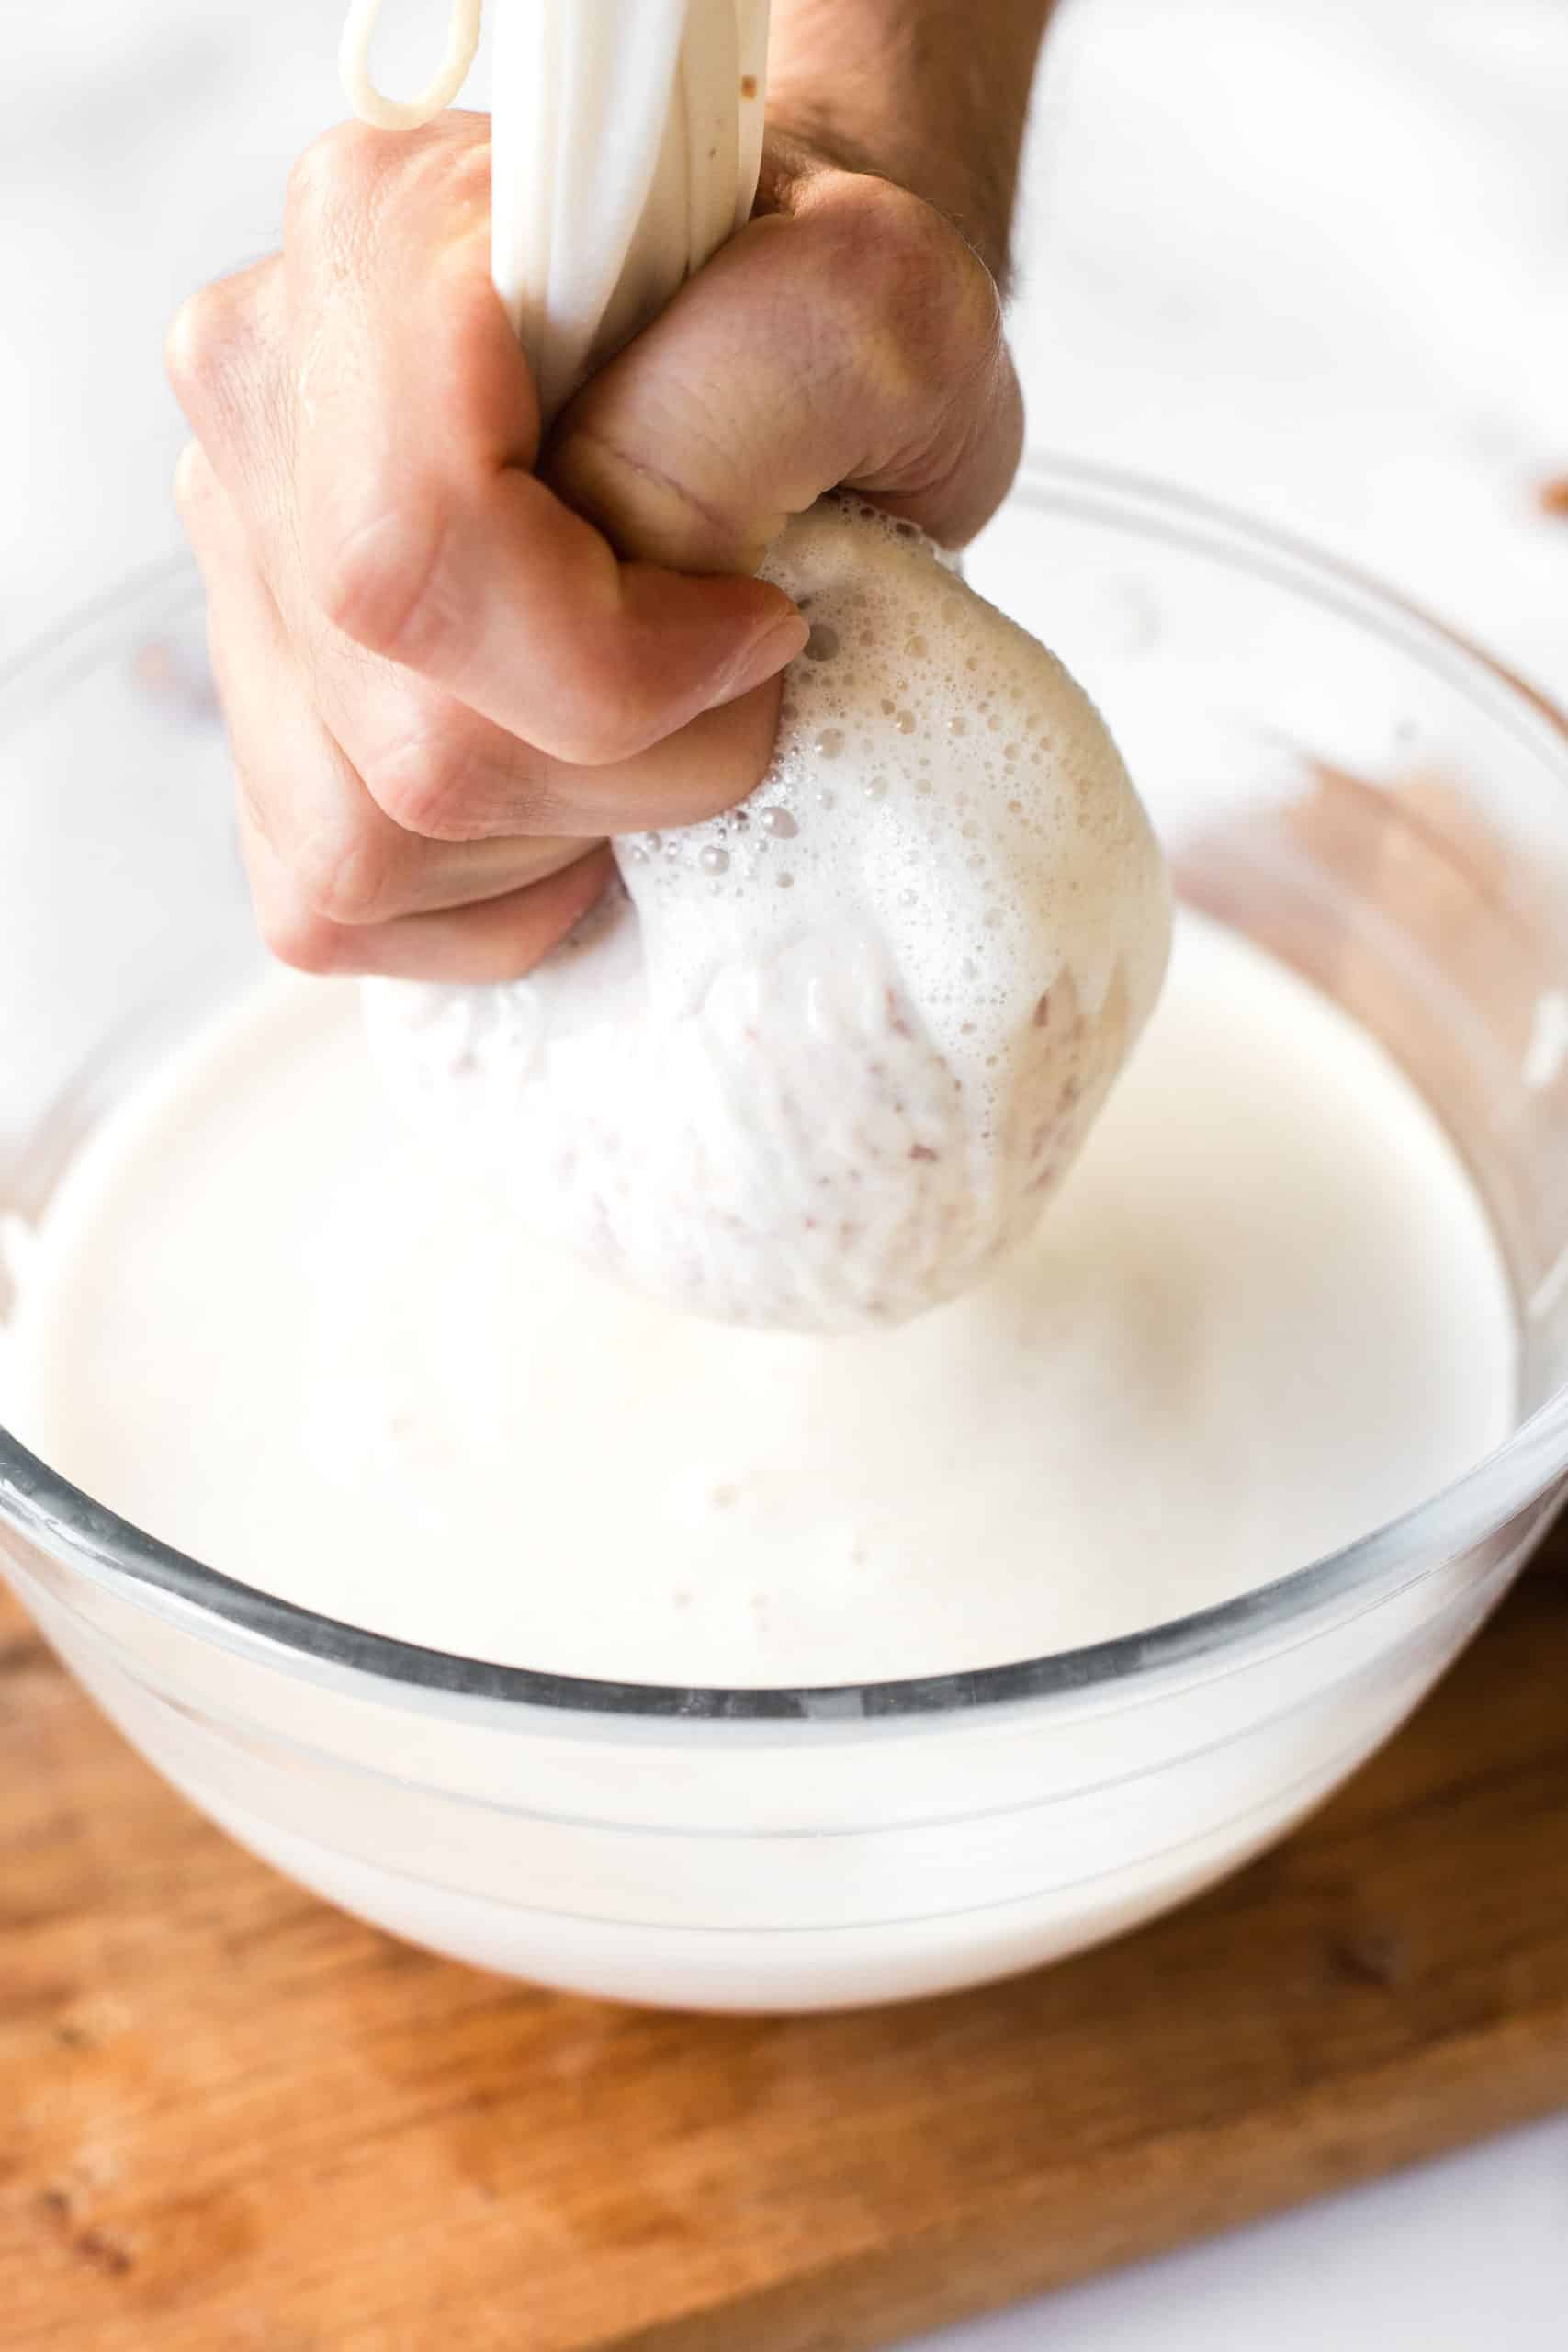
During the blending of the almonds and milk, a large amount of almond pulp gets left behind, and getting rid of them is what will give you a creamy, silky-smooth almond milk.
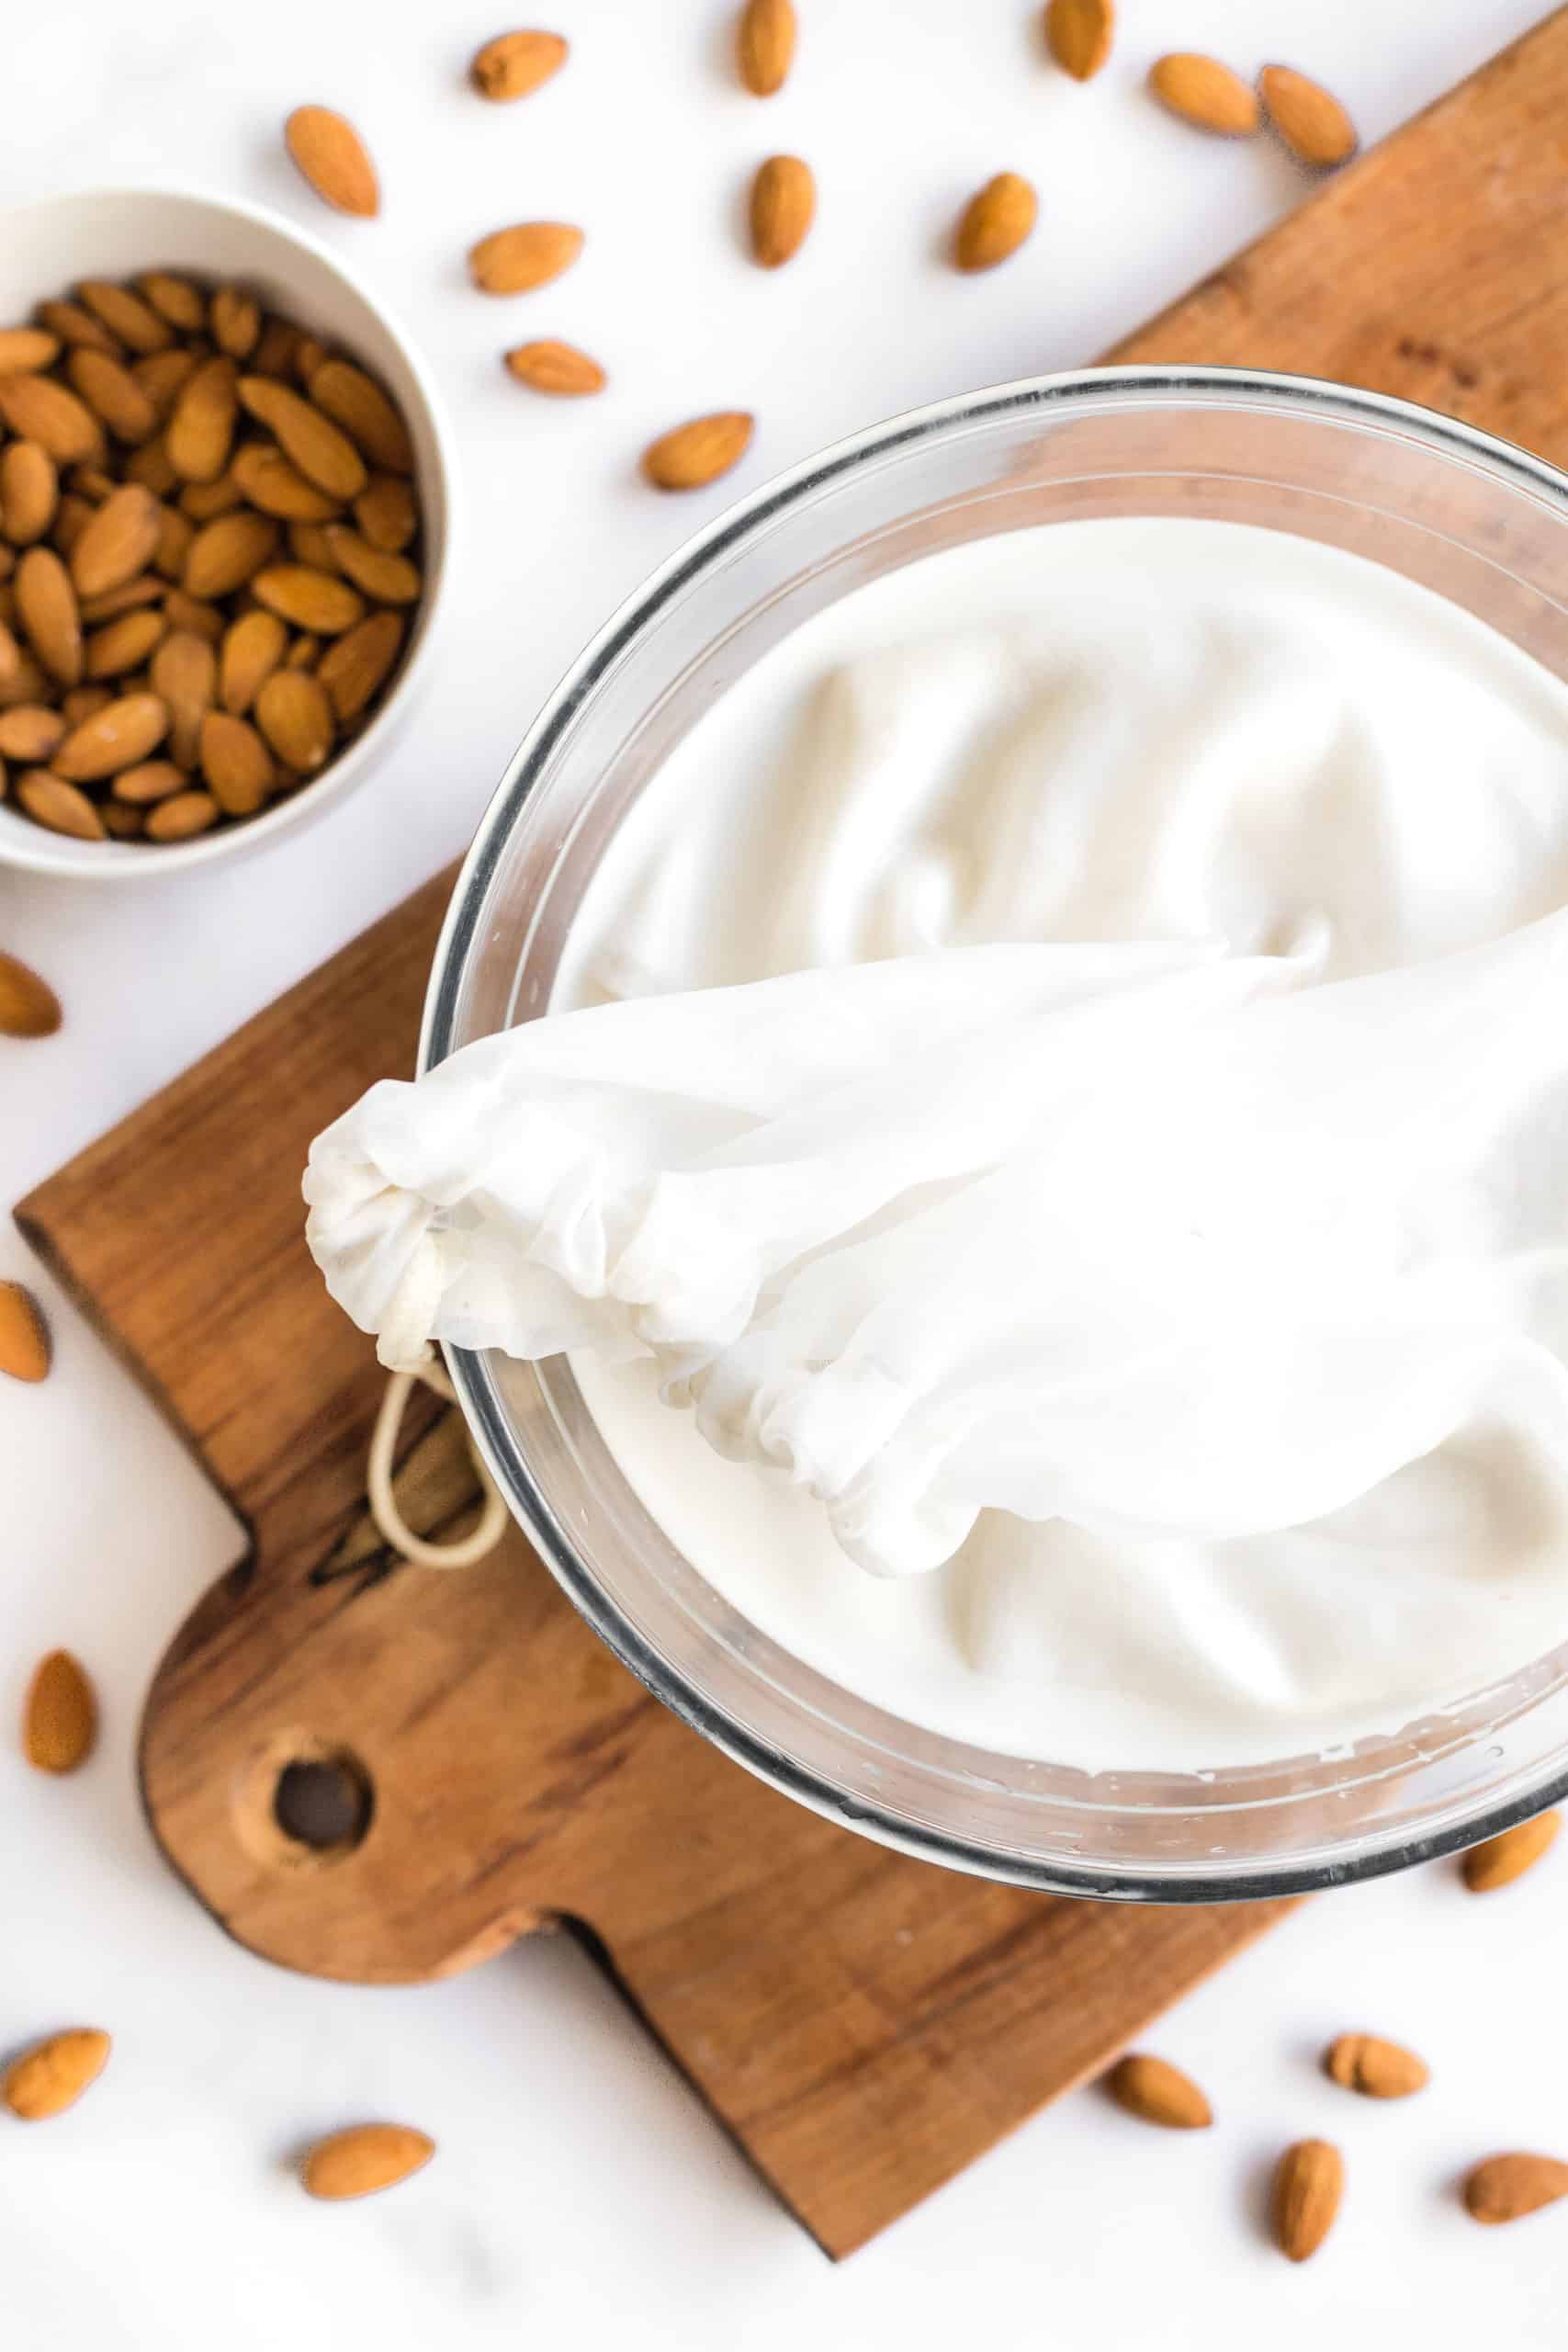
If you plan on making almond milk (or other nut milks such as my homemade cashew milk) on a regular basis, I highly recommend investing in a nut milk bag which is relatively inexpensive. This helps to catch even the finest of pulp and makes straining the milk super easy.
In case you don’t own a nut milk bag, don’t worry, you can use a fine-mesh strainer to strain out the pulp.
Why Does My Homemade Almond Milk Separate?
It’s natural that to see the almond milk separate into two layers (a white, opaque layer on top and clear liquid below) after a few days of sitting in the refrigerator. That’s because the fat from the almonds and water do not mix, and homemade nut milks, unlike store-bought versions, not do contain emulsifiers.
If your almond milk does separates, all you need to do is to shake the bottle well to get the ingredients to combine again. That’s it! No emulsifier needed!

How Long Does Homemade Almond Milk Last?
Since homemade almond milk is free of all the nasty additives and preservatives that store-bought versions tends to have, it naturally doesn’t keep as long.
It will typically keep for a max of 4 to 5 days in a an airtight jar in the refrigerator, but that’s about it! So make sure to drink it up soon after making the milk, or make less if you aren’t going to use it all up.
If you loved this recipe, you’ll also enjoy these:
- 5-Minute Homemade Almond Meal
- 5-Minute Homemade Cashew Flour
- 5-Minute Homemade Cashew Milk
- Almond Butter Coconut Flour Cookies (Gluten-Free, Paleo)
- Gluten-Free Almond Butter Brownie Tart
- Grain-Free Coconut Almond Bread
- Grain-Free Rosemary Almond Bread
How to Make Almond Milk (Dairy-Free, Vegan)
- Total Time: 5 mins
- Yield: 1 quart 1x
Description
Make your own homemade almond milk in just 5 minutes! This is way cheaper than the store-bought version, has zero preservatives, and tastes much better too! Plus is naturally gluten-free, dairy-free and vegan.
Ingredients
- 1 cup almonds, soaked overnight in filtered water, and strained
- 4 cups filtered water
- 2 tablespoons maple syrup (optional)
- 1 tablespoon vanilla extract (optional)
Instructions
- Rinse and strain the soaked almonds, and then combine them together with 4 cups of filtered water in the bowl of your high-speed blender.
- Blend on high for 1 minute until you get a smooth, creamy and frothy milk. Add the maple syrup and vanilla extract if using, and blend for another 10 seconds until everything is mixed well.
- Pour the milk through a nut milk bag or a fine-mesh strainer to get get rid of the almond pulp. Transfer the milk to sterilized glass jars and store in the refrigerator for up to 4 to 5 days.
Notes
Why Soak the Almonds Overnight? In order to fully activate the enzymes in almonds (or other nuts) and making them easier to digest and creating a more nutritious milk, it’s best to soak them for at least 12 hours or overnight. Soaking also saturates the almonds from inside out, which results in a creamier, silkier mixture and leaves less pulp behind.
Unsweetened Almond Milk: Some savory recipes call for unsweetened non-dairy milk (in the case of this crustless spinach quiche, or a savory bread). To make unsweetened almond milk, simply blend the soaked almonds with the filtered water and strain as per the recipe.
4:1 Magic Ratio: A quick tip for making nut milks is to use a ratio of 4 parts water to 1 part soaked nuts. In case you wish to make a smaller batch of almond milk (to prevent it from turning bad too quickly, especially if you’re the only one drinking it), or wish to make a larger batch of milk, all you need to remember is 4:1 and you can make as much or as little as you wish!
Don’t Skip the Straining: Straining homemade nut milks are essential because of all the pulp that is left behind during the blending process. For the creamiest and silkiest results, I highly recommend using a nut milk bag for straining (especially if you plan on making homemade almond milk frequently). If you don’t own a nut milk bag, the next best alternative would be a fine-mesh strainer.
- Prep Time: 5 mins






Hi Felicia,
I’m going to try making the almond milk but was wondering
after you strain the almonds can you use the left overs as almond meal
to use in other recipes?
And if you can what do you need to do to dry it etc?
Cheers
Val x
Hi Val! I’m not sure the leftover almond pulp can be used the exact same way as almond meal, but you can definitely use it to make baked goods i believe! Perhaps you can place the wet pulp on a baking sheet and dry it in the oven over very low heat. Hope this helps dear!
Do you soak at room temperature or refrigerator?
Hi Eleanor! I soak at room temperature 🙂
This is so informative! I enjoy almond milk, and am quite keen to experiment with this recipe. I can imagine it will be an excellent pairing with overnight oats.
Thank you for sharing, love.
Hi babe! Yes, if you love almond milk, you should try making your own – add more or less sweetener/vanilla according to what you like. Super super easy to make – just need to remember to soak the almonds the night before! Oh, and get a nut milk bag, it’s totally worth it! I use it for so many things – and more recently, celery juice!
Thank you Felicia for sharing 🙂
I realized making the almond nut milk is quite similar to making soybean milk except that we bring the strained soybean milk to a boil before consuming it..
I do understand that no boiling is required if almond milk is to be used as part of the ingredients for another recipe.
However, for direct consumption of the almond milk, will it make any difference if we do bring the strained almond milk to a boil ?
Your advice on this will be greatly appreciated.
Thanks and God bless!
Mum
Hi Mummy! I think the reason why soybean milk has to be boiled before drinking is because it will cause gases if consumed directly. With almond milk (and cashew milk) the nuts are already activated through the overnight soak, and don’t require cooking and can be drunk directly! 🙂
Thanks Felicia!