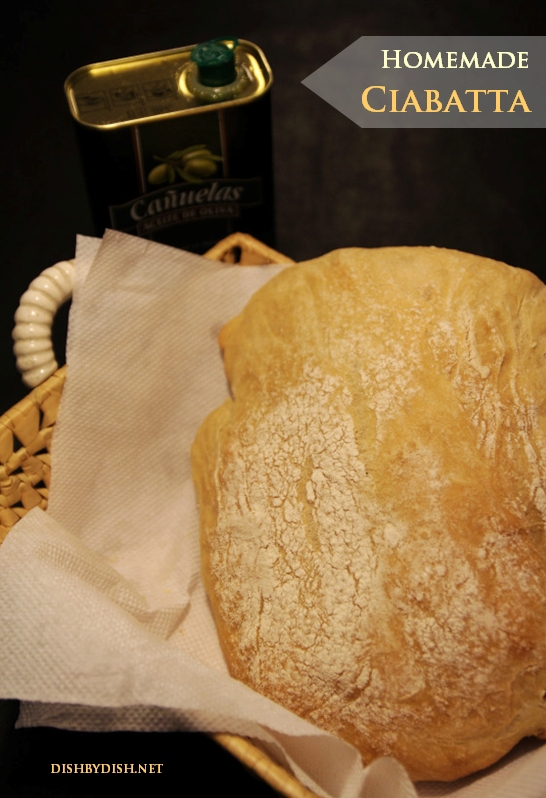
Homemade Ciabatta Bread
ATTEMPTS AT
HOMEMADE BREAD
***
Ever since I got hooked onto the idea of making homemade bread, I’ve made bread in my kitchen several times, each experiment with different recipes, flour types and even yeast variations.
But somehow each time the bread came out just so-so. You know, bread that is still edible, not rock hard, but it just never amounted to something which evoked a feeling of complete satisfaction in my being.
I’m sort of a bit thick-headed like that.
While some others may decide very practically to give up doing something that seems futile (I mean, buying bread is so much easier than laboring over it for hours in the kitchen), I plunge right into the challenge of attempting to make bread for the fourth or fifth or sixth time (I’ve lost track already).
I like to say I’m a determined girl who just doesn’t stop until she gets what she has aimed for.
Whichever way you see it, I’m so excited (and even more relieved) to tell you that, finally, after numerous trials and errors, I’ve finally, finally found a recipe for keeps.
To be honest, I’d been feeling disappointed at how so many tries at homemade bread have turned out unsatisfactory, and while not entirely giving up hope that I’d one day find a recipe that I actually like, I’d sort of stopped searching.
***
HOMEMADE BREAD
{FINALLY A SUCCESS!}
***
Yet life’s beautiful in that way. Just when you stop desperately searching for something, you miraculously find it right before you in the most unexpected ways possible.
And so, just like that, I found the perfect homemade bread recipe staring at me in my face last Friday afternoon, when chancing upon one of the blog posts I receive in my news feed. The recipe had found me in a state of exhaustion, after a long and grueling week of work and activities, and as I stared back at the recipe, I wasn’t quite sure if it was a mirage of my imagination.
Want to save this recipe?
Enter your email & I'll send it to your inbox. Plus, get great new recipes from me every week!
Michelle had apparently also been on a similar search for the perfect homemade ciabatta bread recipe, and after countless failed attempts at making bread, she’d eventually made one so beautiful it took my breath away. In case you’re wondering what ciabatta is, it’s basically an Italian white bread made from wheat flour and yeast. Ciabatta is somewhat elongated, broad and flat and is baked in many variations.
I’ve come to trust Michelle’s blog and her recipes which are almost always very well-instructed (you almost feel like she’s right there with you in your kitchen, holding your hand), and the last time I used one of her recipes to make these lemon squares, it turned out amazing. You can imagine that I didn’t even hesitate in printing out the ciabatta recipe and make bread as soon as I could.
That night, despite my physical tiredness and being on the verge of catching the flu, I found myself drawn to the kitchen, working elbow-deep in flour, water, olive oil and yeast.
If you’d seen me, you might have burst out laughing – my hands were sticky with off-white colored bread dough that resembled more like thick, creamy glue than dough that would eventually transform into bread. I almost panicked – the last thing I needed after a long and tiring week was almost half a kilo of inedible glue-like dough that I had to throw away.

Thankfully, Michelle had explicitly stated in the recipe that the stickiness, while not very welcomed and comfortable, was to be expected, and that, if I stuck through with it, I wouldn’t regret it. Her calm, motherly advice was enough to reduce my fears and I carried on kneading, with very wet and sticky dough clinging to every one of my fingers – I felt vaguely like Spiderman for a brief, day-dreaming instant.
With the dough kneaded and finally rested so it could rise, I was tethering around the house in nervous anticipation. Juan says I have a problem with waiting, and I give him credit for that. You see, I’m that sort of person who will peer anxiously through the glass window of the oven every two minutes to check if a cake is ready, and then open the oven every five minutes to poke a toothpick through the batter. Likewise, you can easily imagine that waiting almost two hours for the dough to rise was excruciatingly difficult for someone with anxiety issues (or rather, trouble being patient).
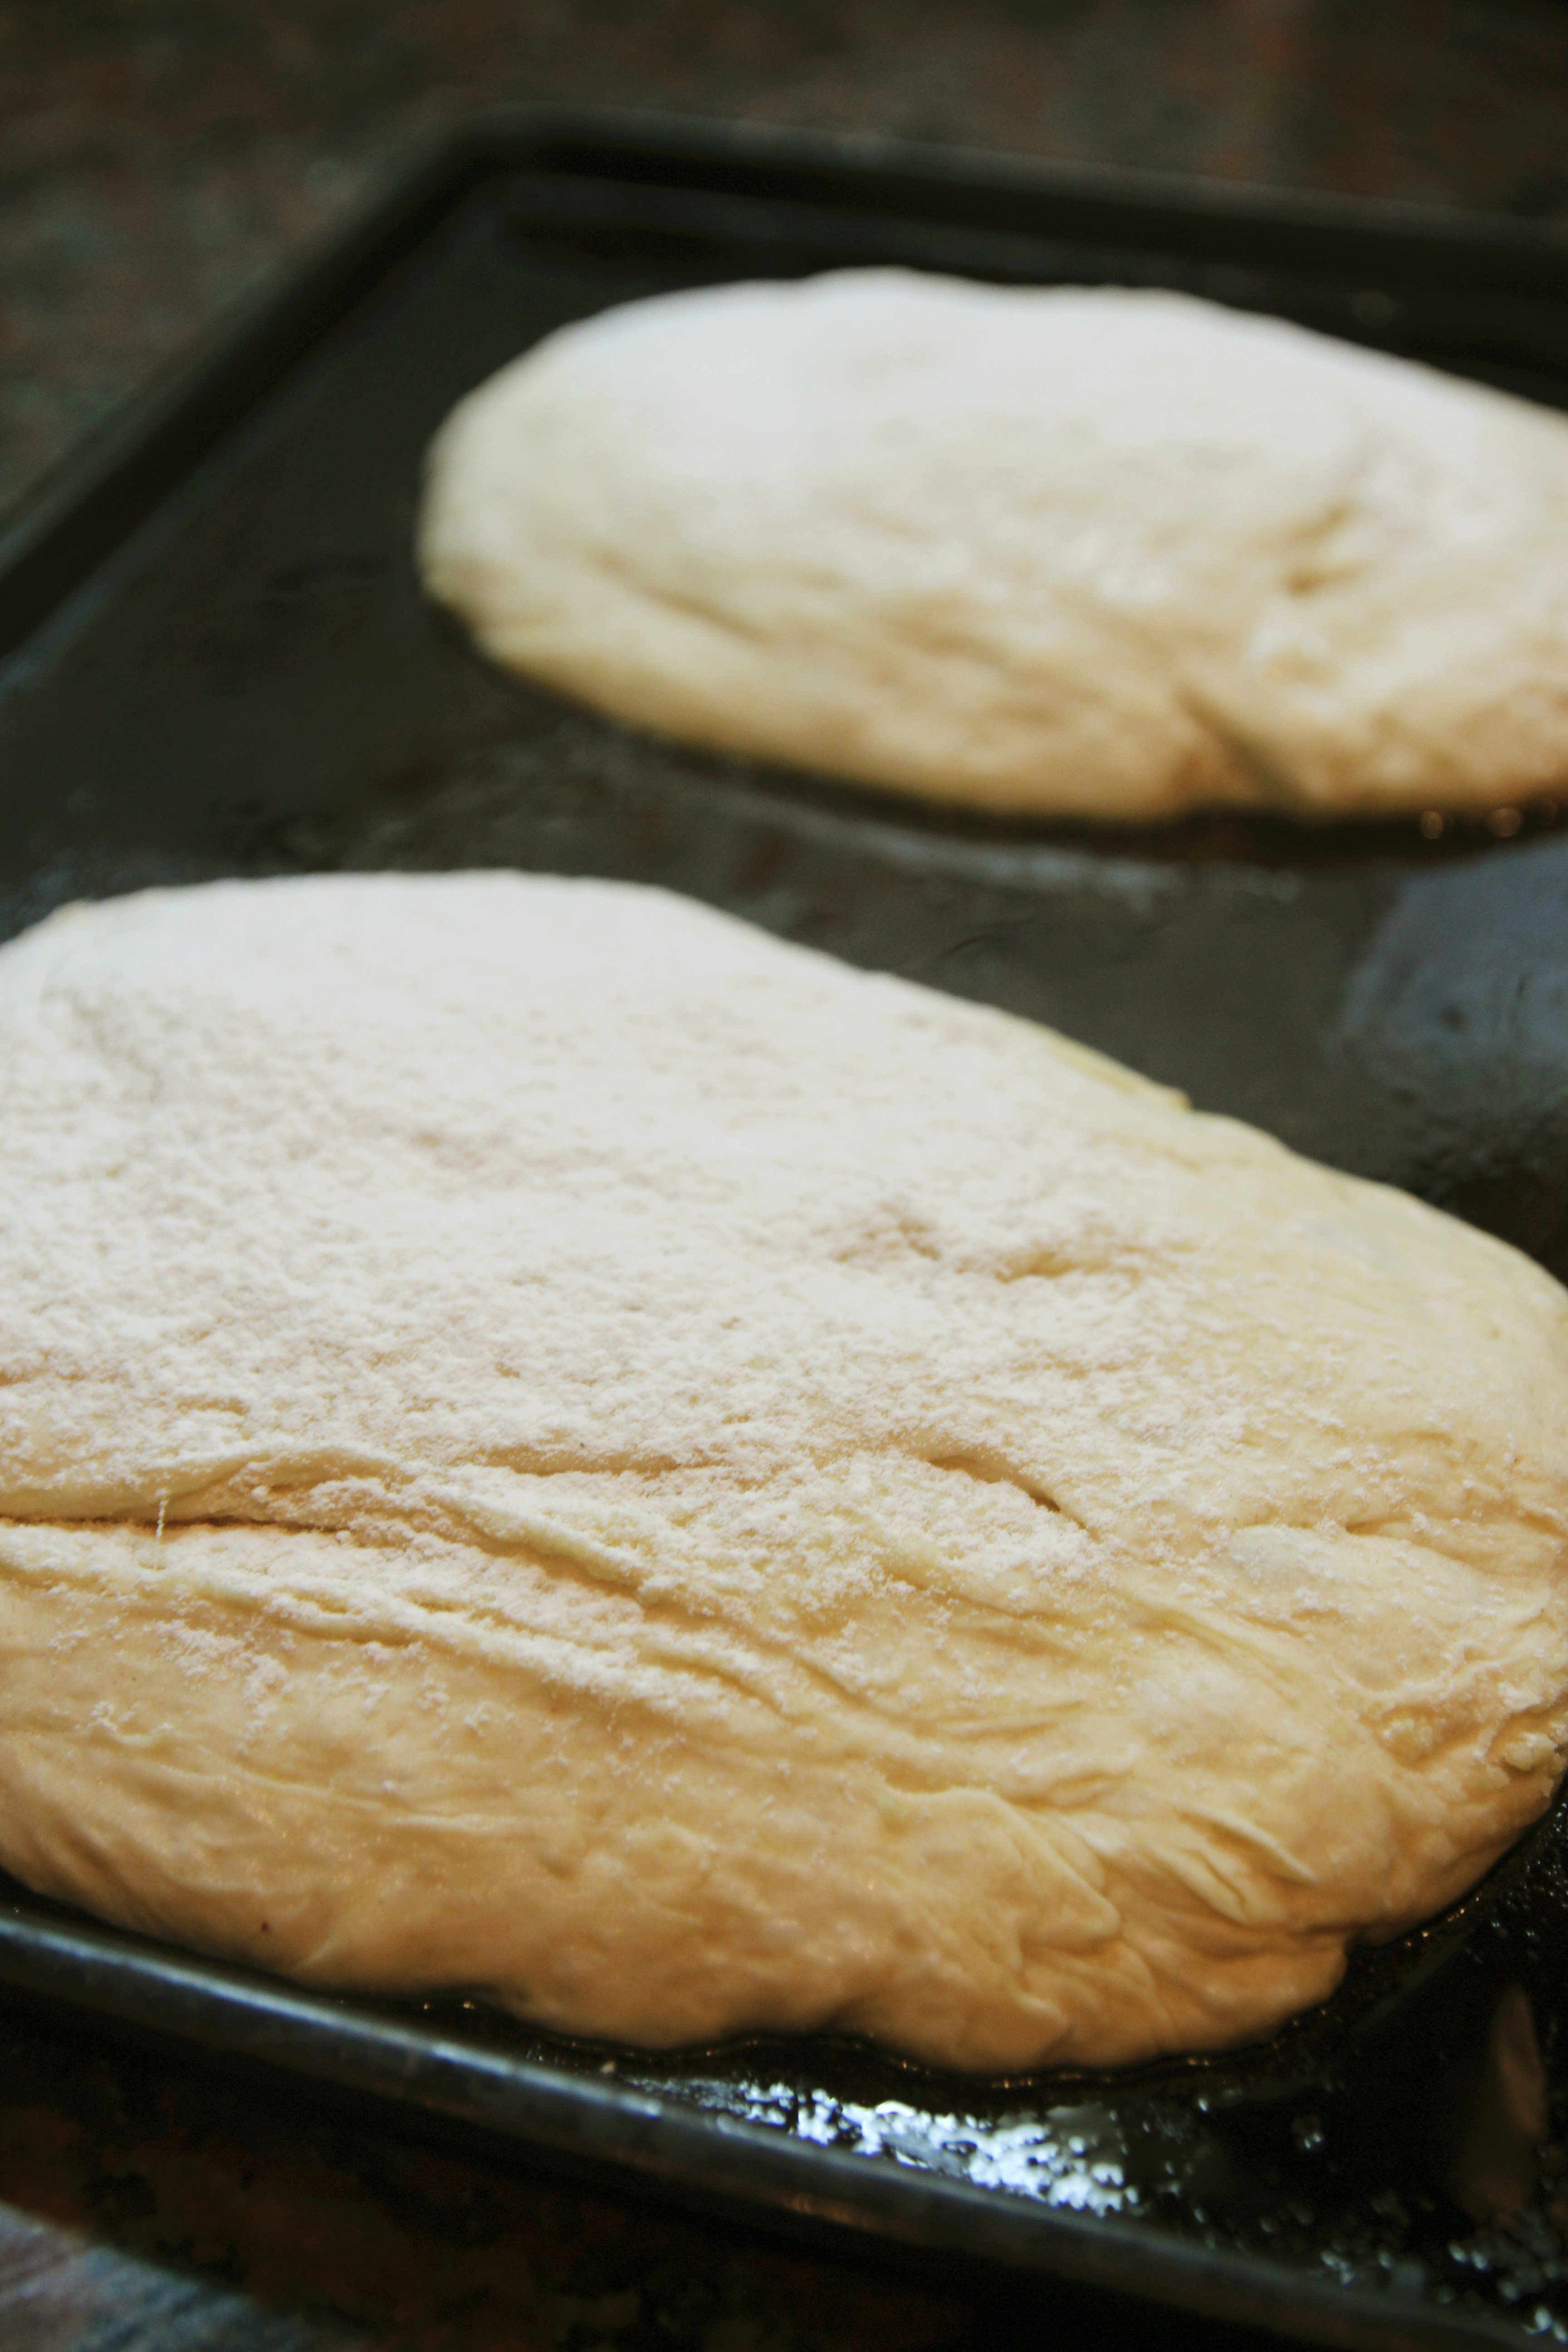
When the time finally arrived for me to place the risen dough on the baking tray, it had already doubled in size to become a large, fluffy ball of white.
Splitting the dough into two roughly equal parts, I sifted flour on top of them and let them lay on the greased baking tray, now tinged a bronze-brown after years of endless baking. The two rounded rectangles of dough eventually rose to twice their original size, after which I eagerly stashed the baking tray in the pre-heated oven, warm with enthusiasm of a potential success.

Some thirty minutes later, during which I spent pacing up and down the kitchen and crossing my fingers for the recipe to work, I nervously opened the oven door and peered in.
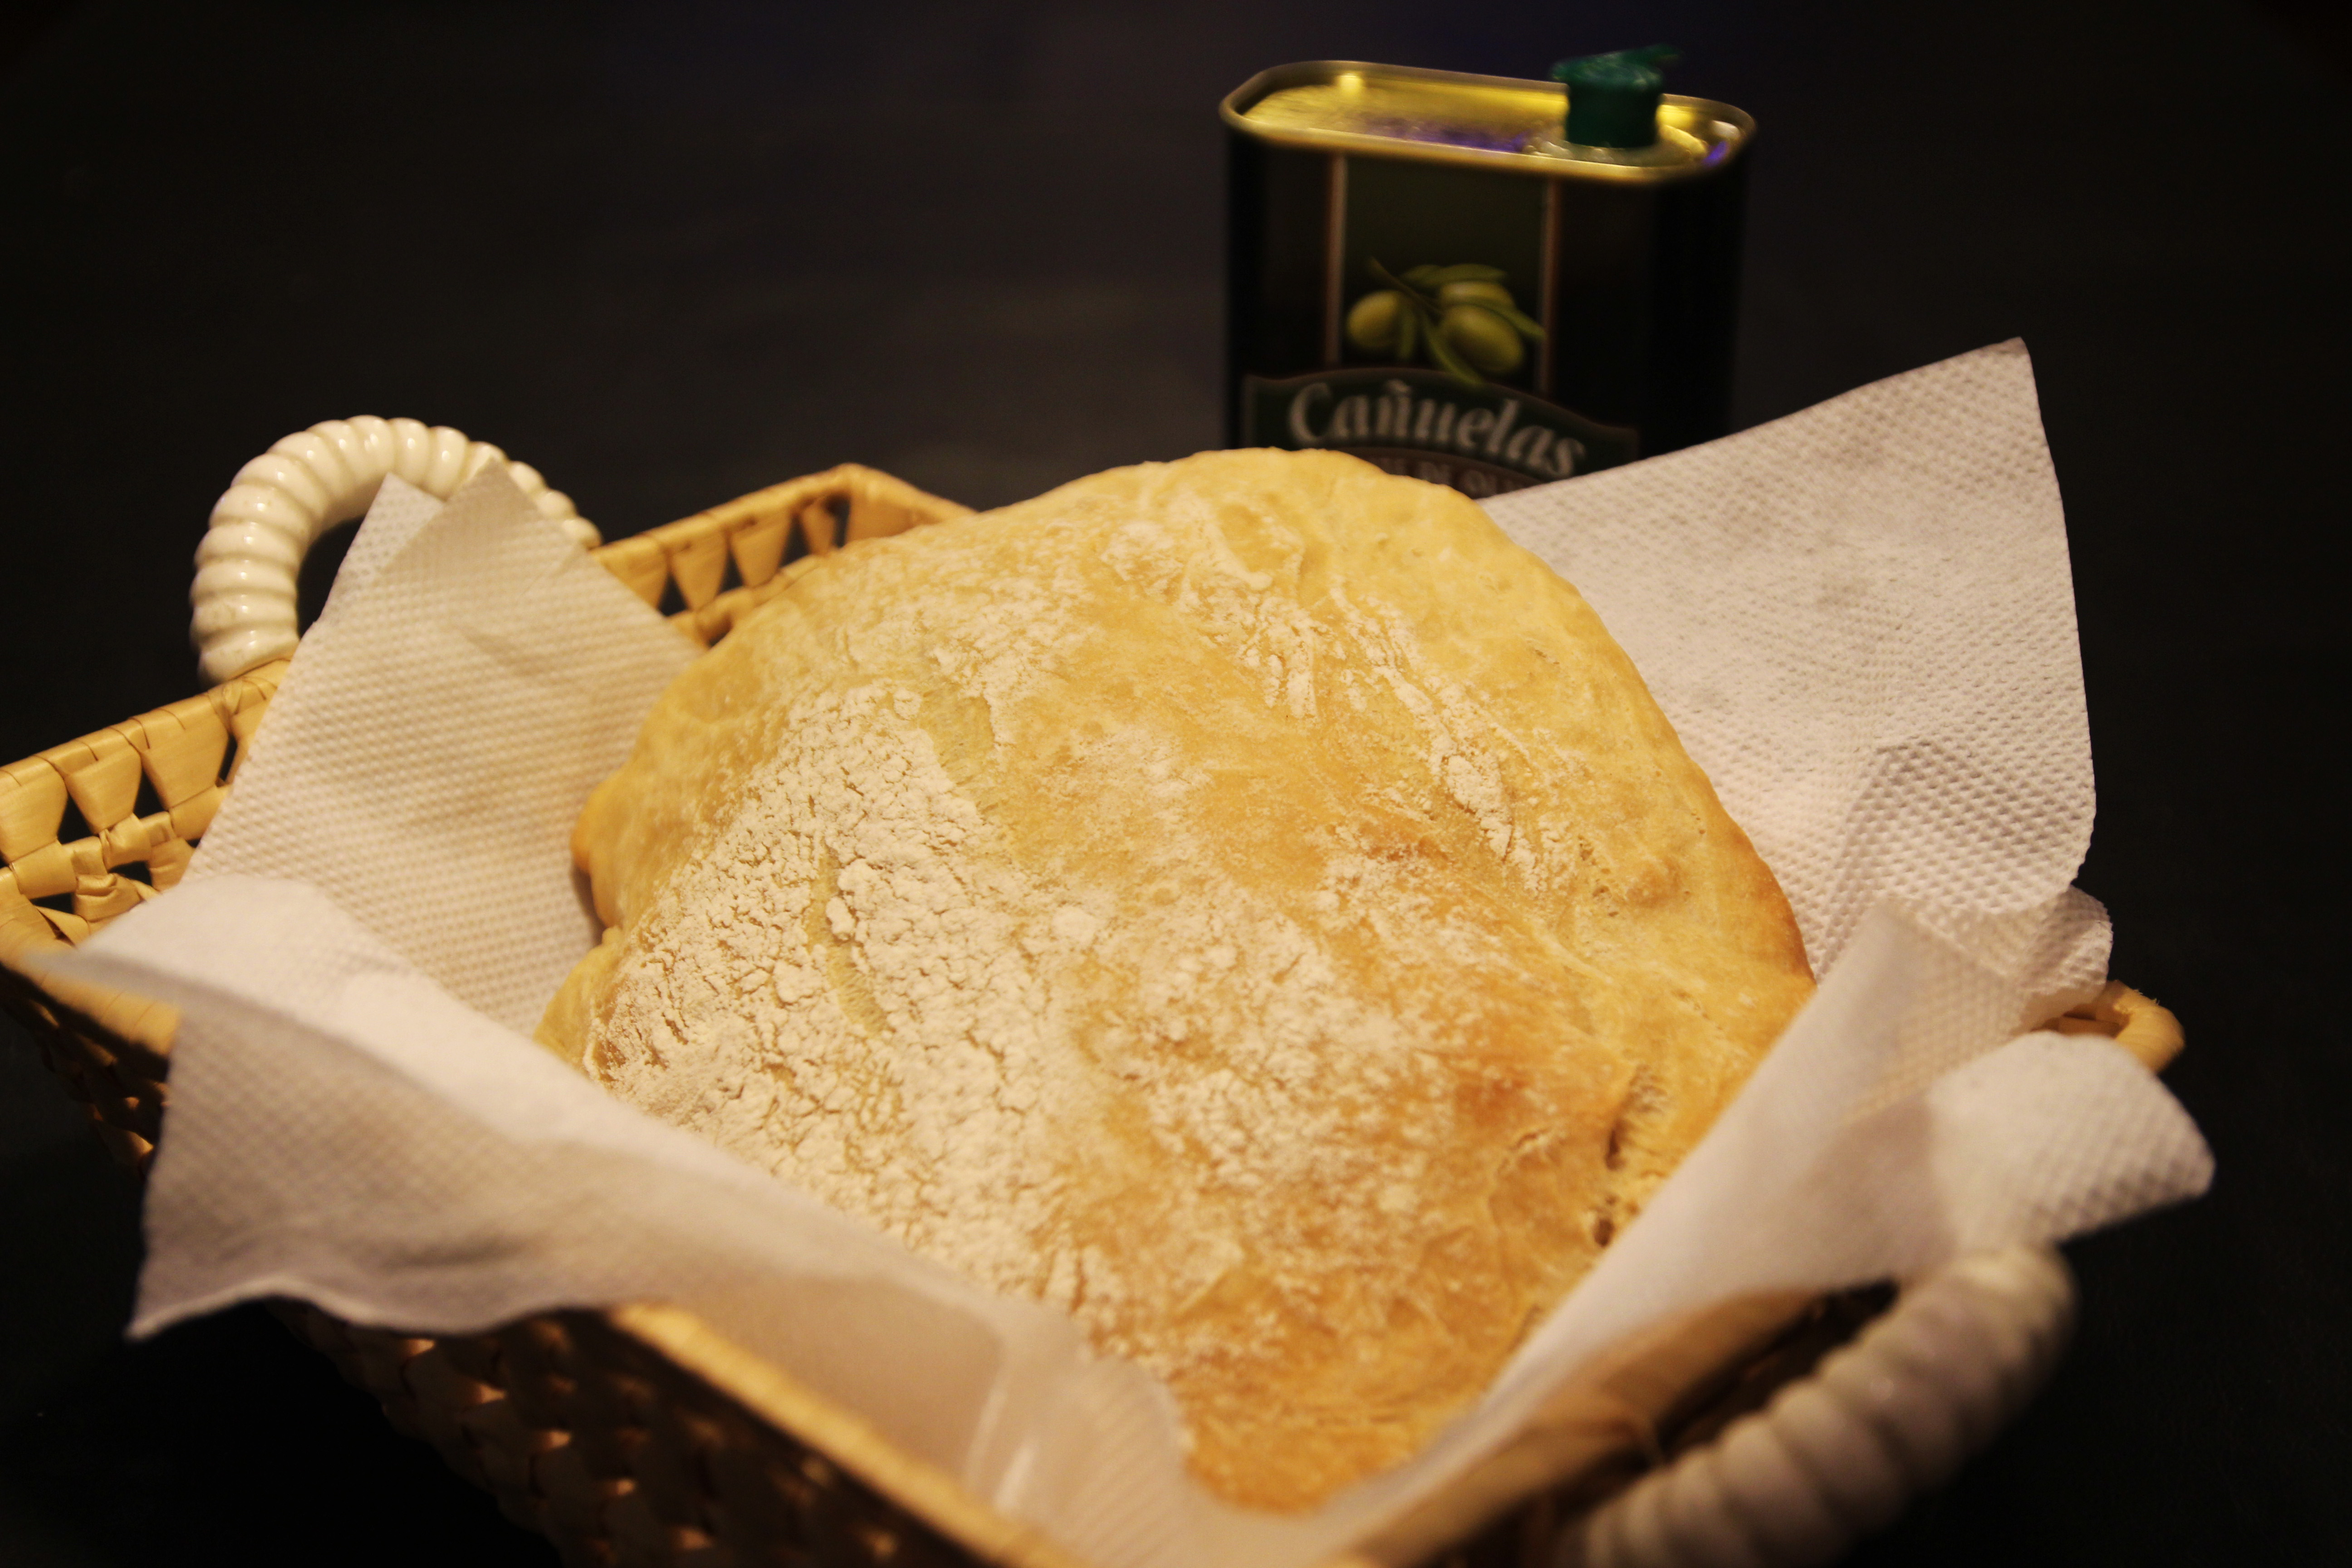
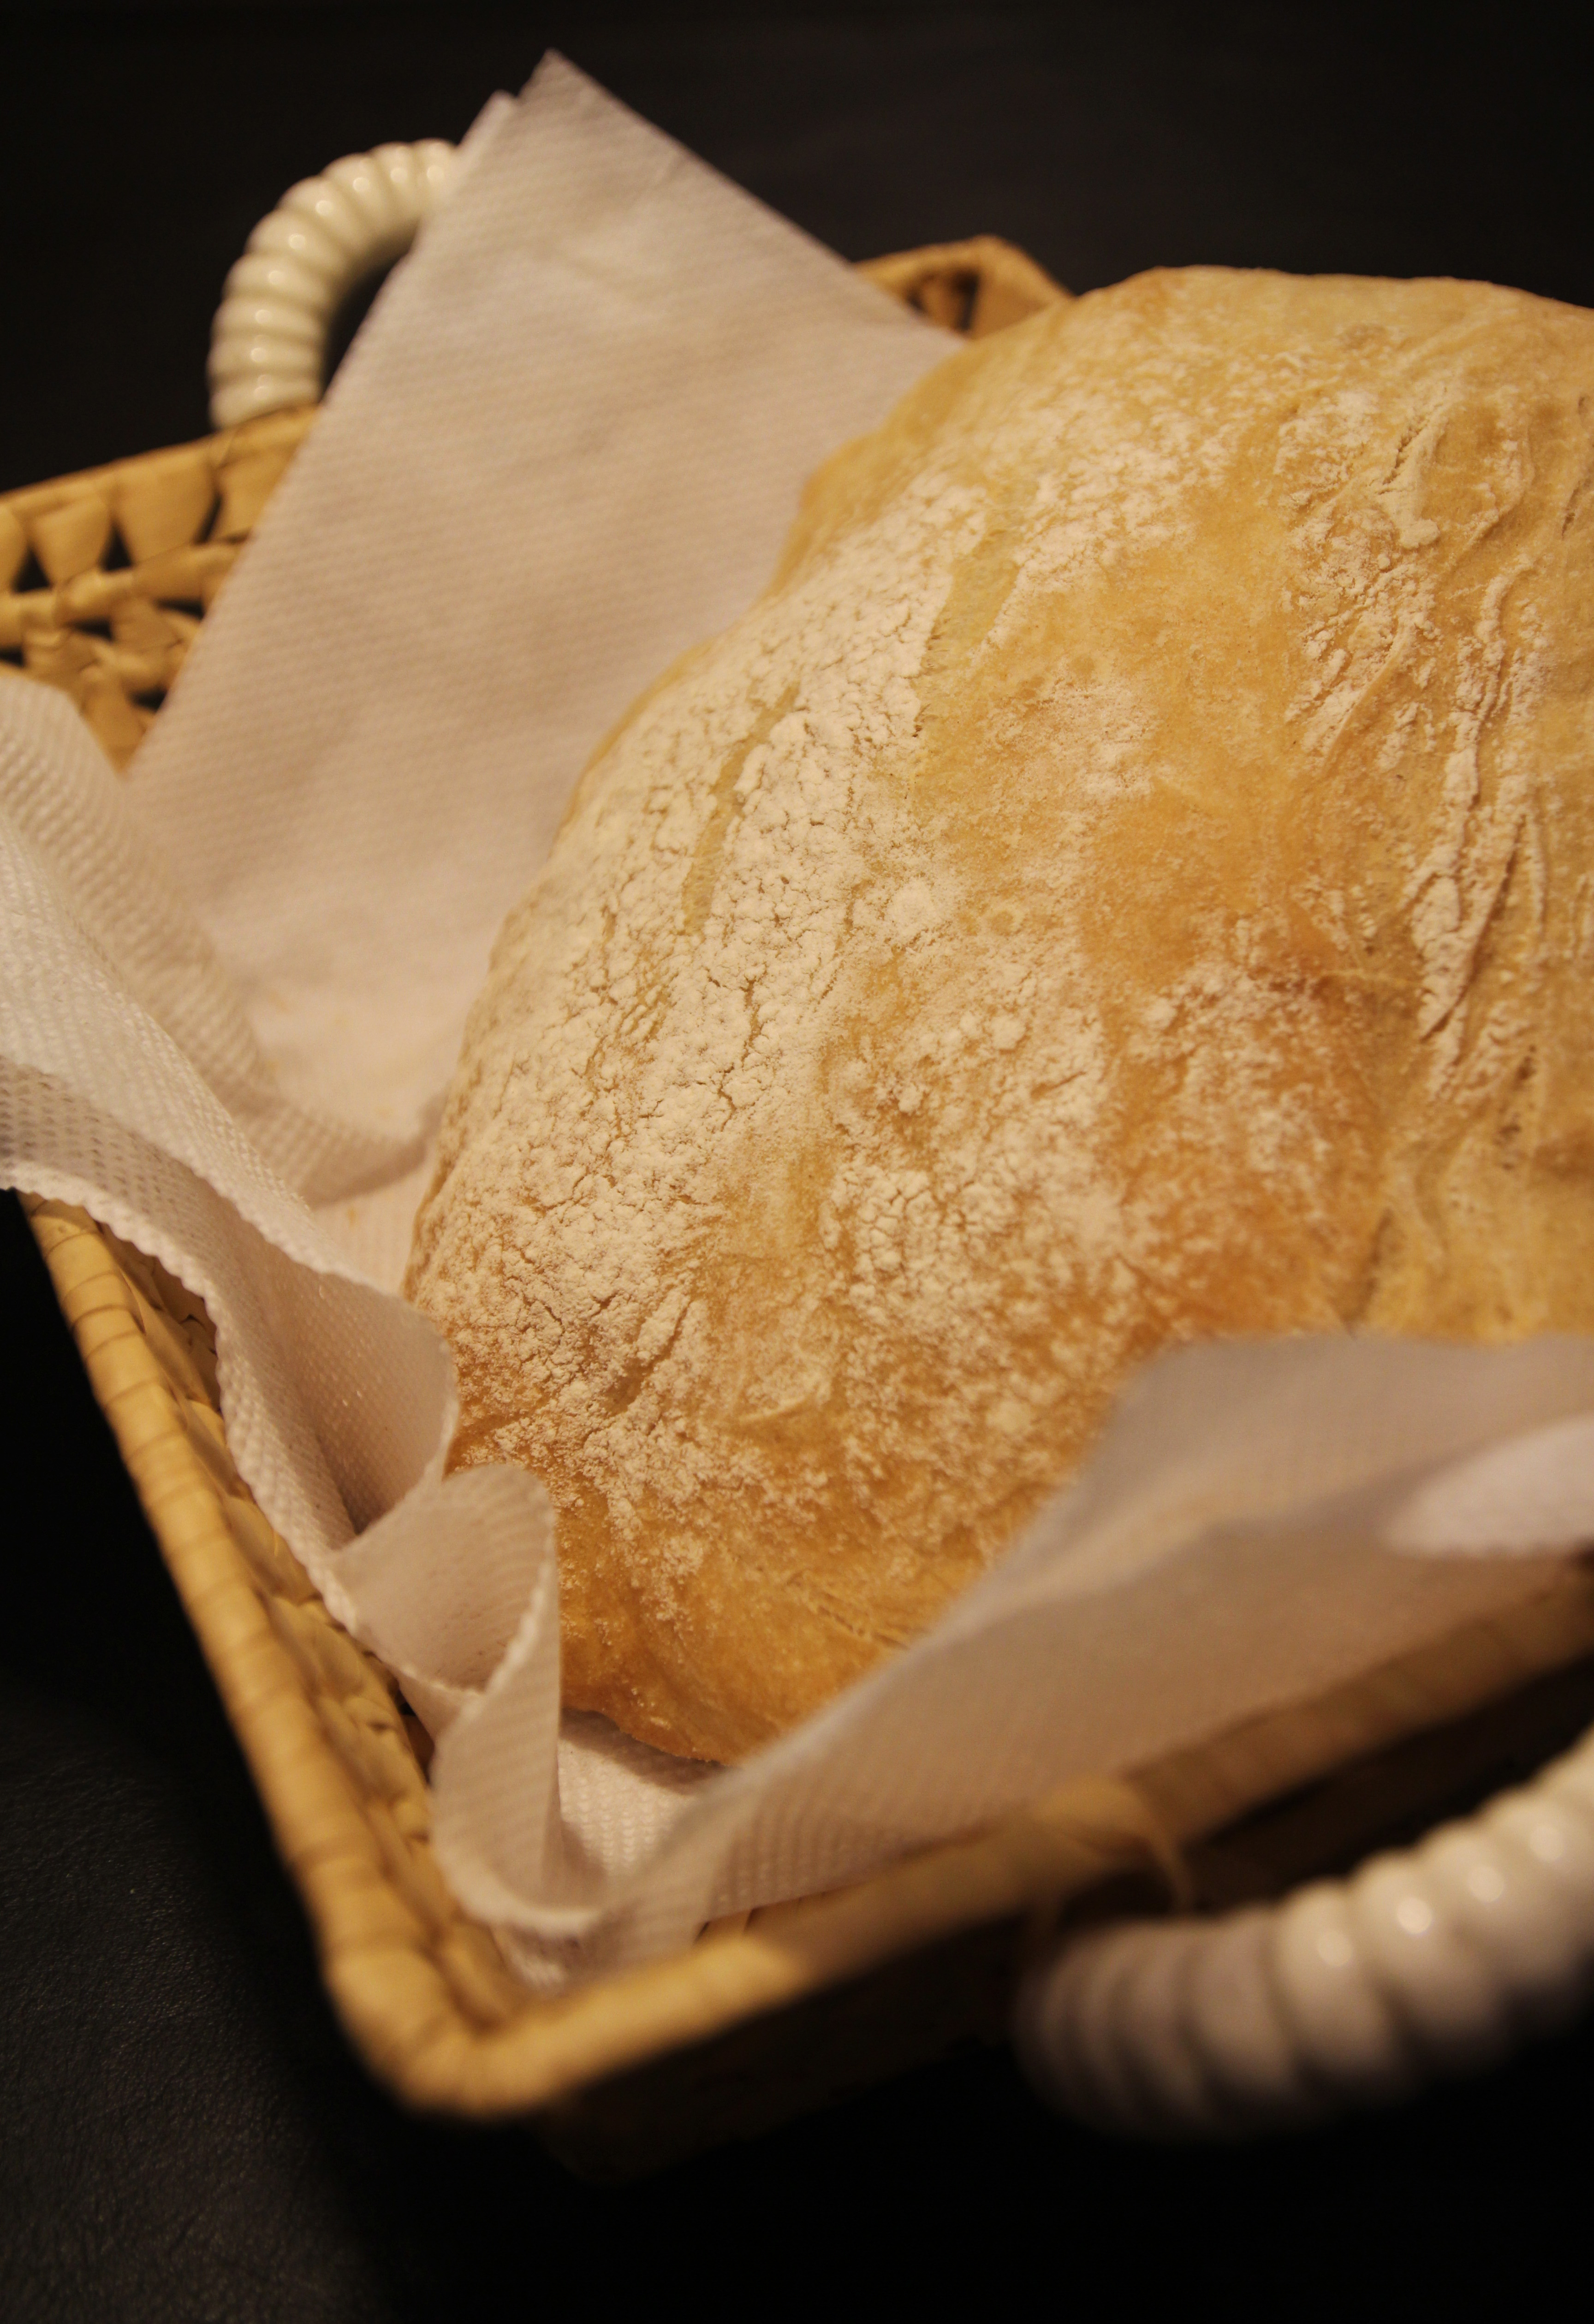
Two beautiful, golden brown loaves of homemade ciabatta bread lay waiting for me, from which emanated the rich, wholesome smell that you get from bakeries.
It was incredulous. It was unbelievable. They looked too good to be true (my skeptical mind and past failed experiences agreed).
Using a spatula to tap on the loaves, I heard the desired hollow sound the recipe said to check for – amazing! It was now done and ready to be tested.
Warm, floured and fresh, the loaves of bread were cut into thick, chunky slices.
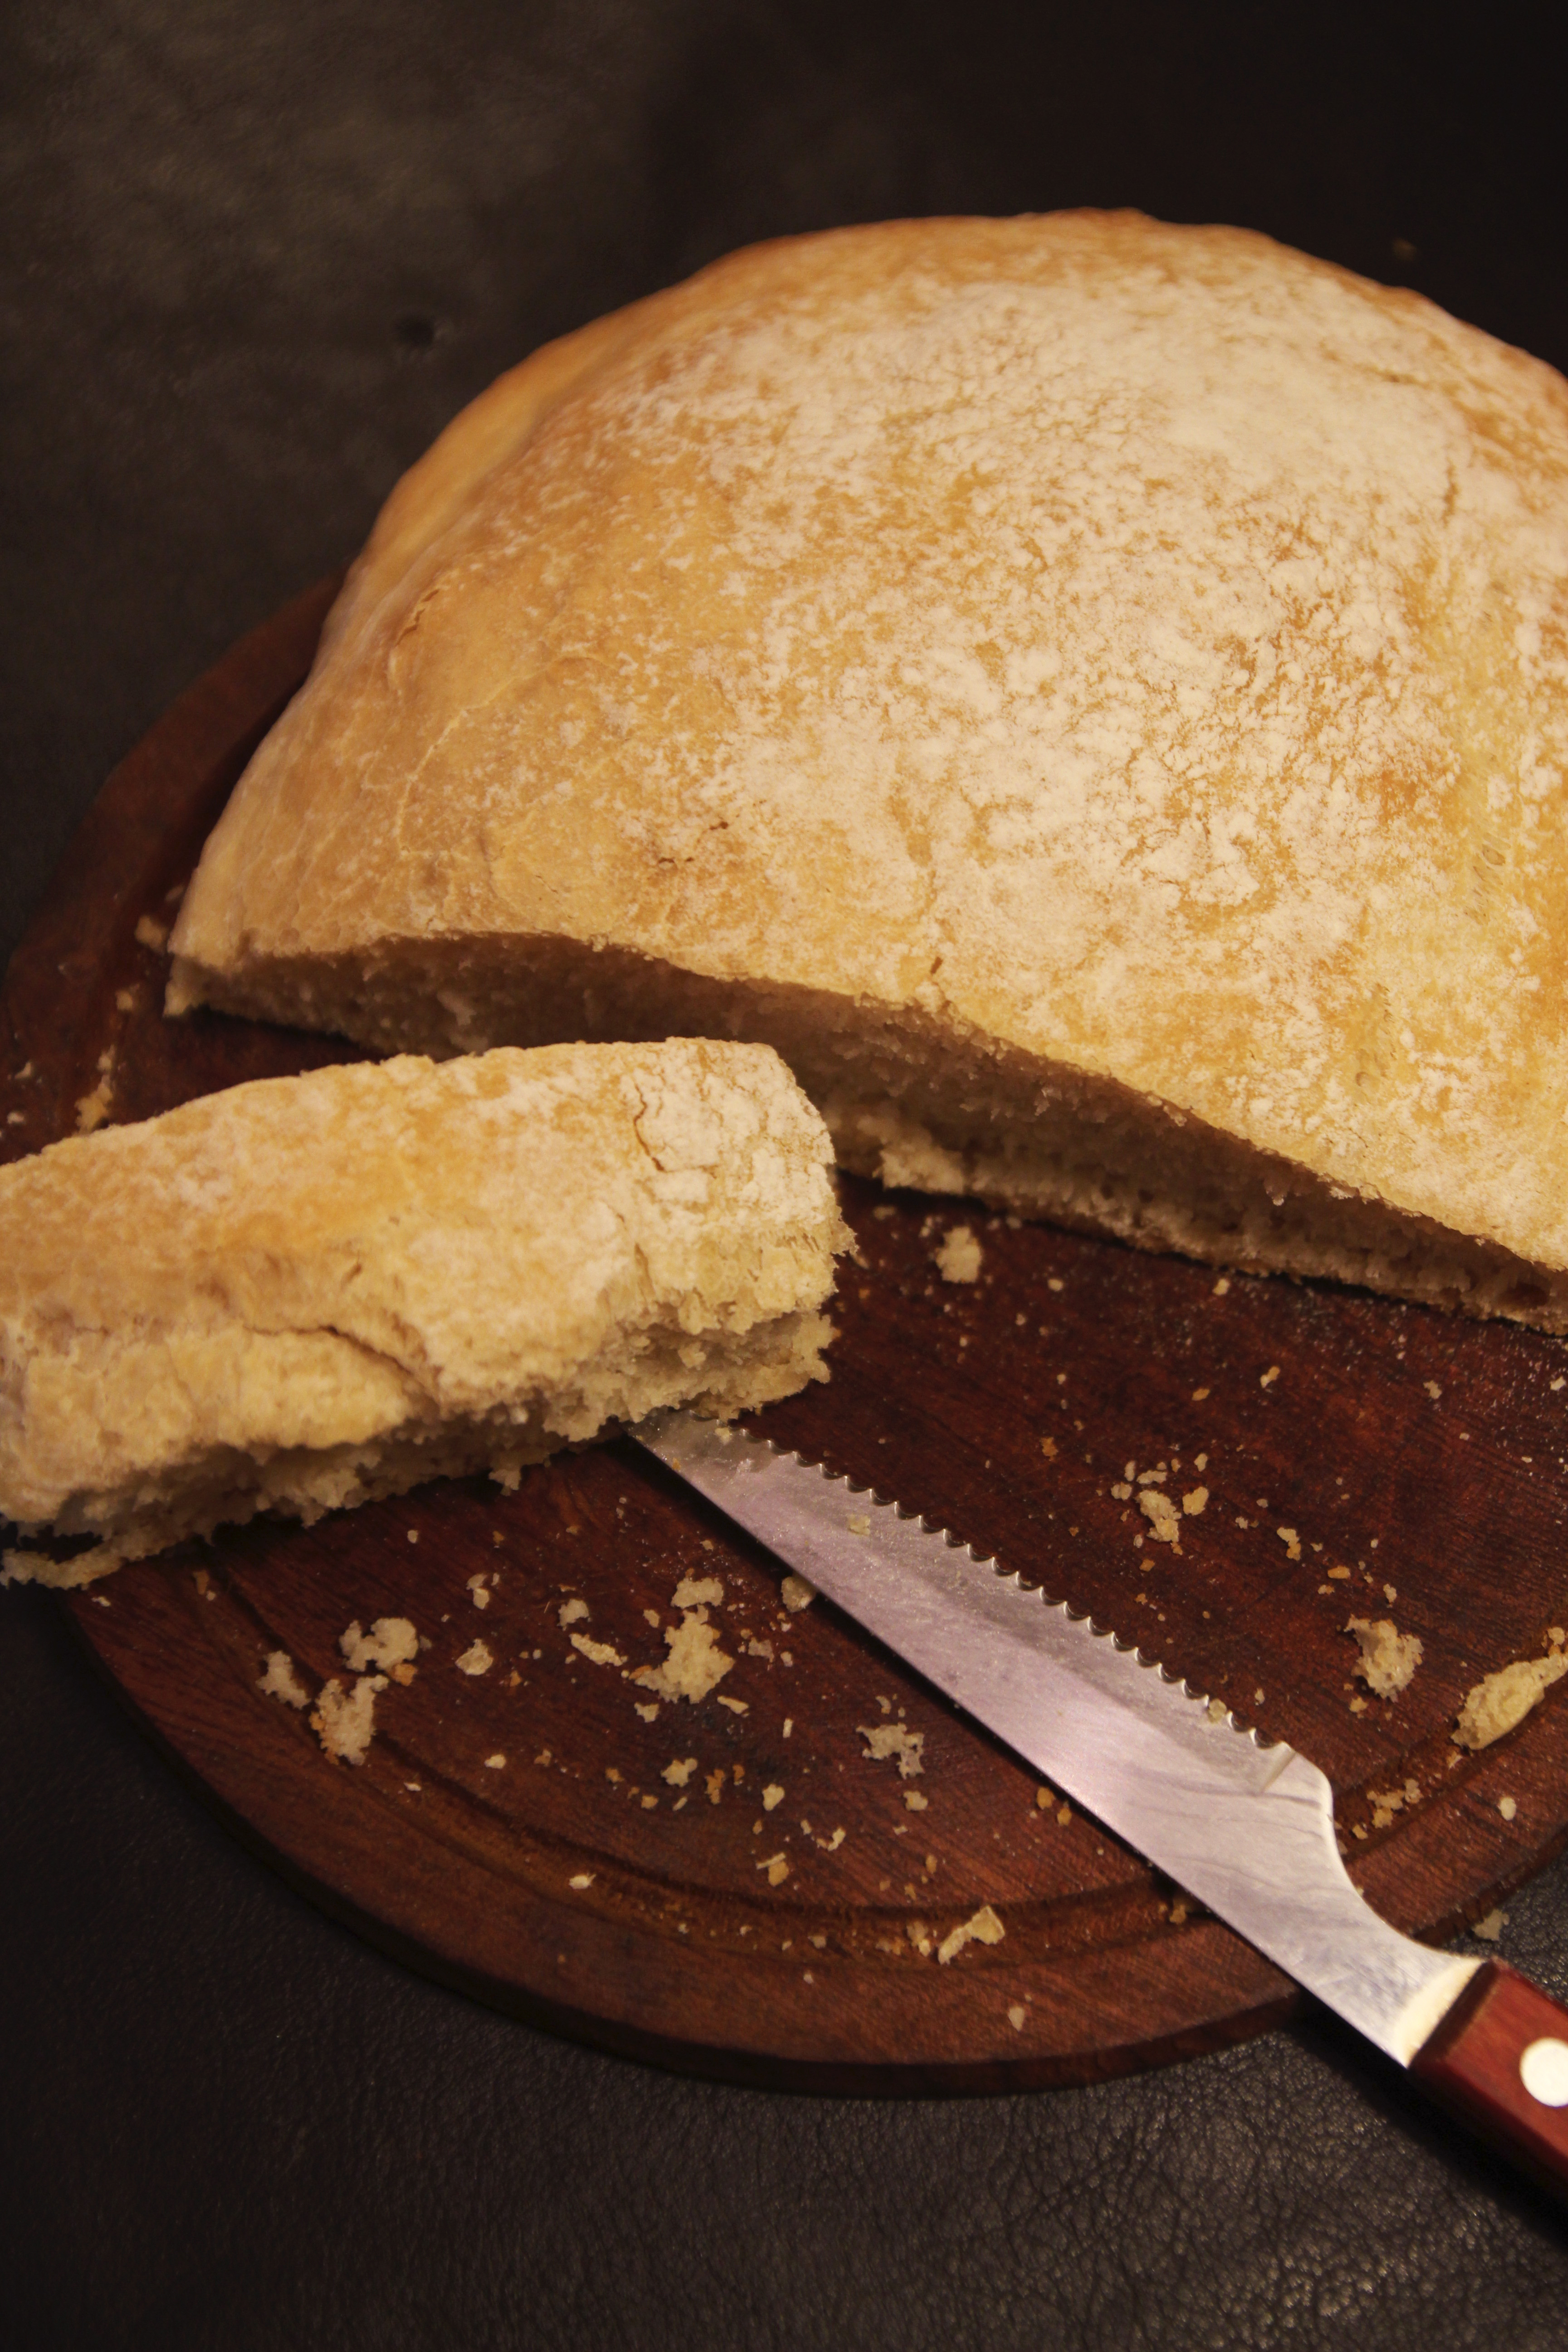
It was airy and light, the way I like bread to be.
It tasted of nature and of all things homemade.
It reminded me of the farm in New Zealand, where I’d eaten my first piece of homemade bread with my family years ago.
It was heaven.
HOMEMADE CIABATTA BREAD (Makes 2 large loaves)
Adapted from Betty Crocker New Addition Cook Book via Bite by Michelle
Ingredients:
1) 2 scant tablespoons of active dry yeast
2) 375g of warm water
3) 400g of all-purpose flour
4) 1 teaspoon of salt (or 2 teaspoons if you prefer bread a bit saltier)
5) 1 tablespoon of olive oil
Steps:
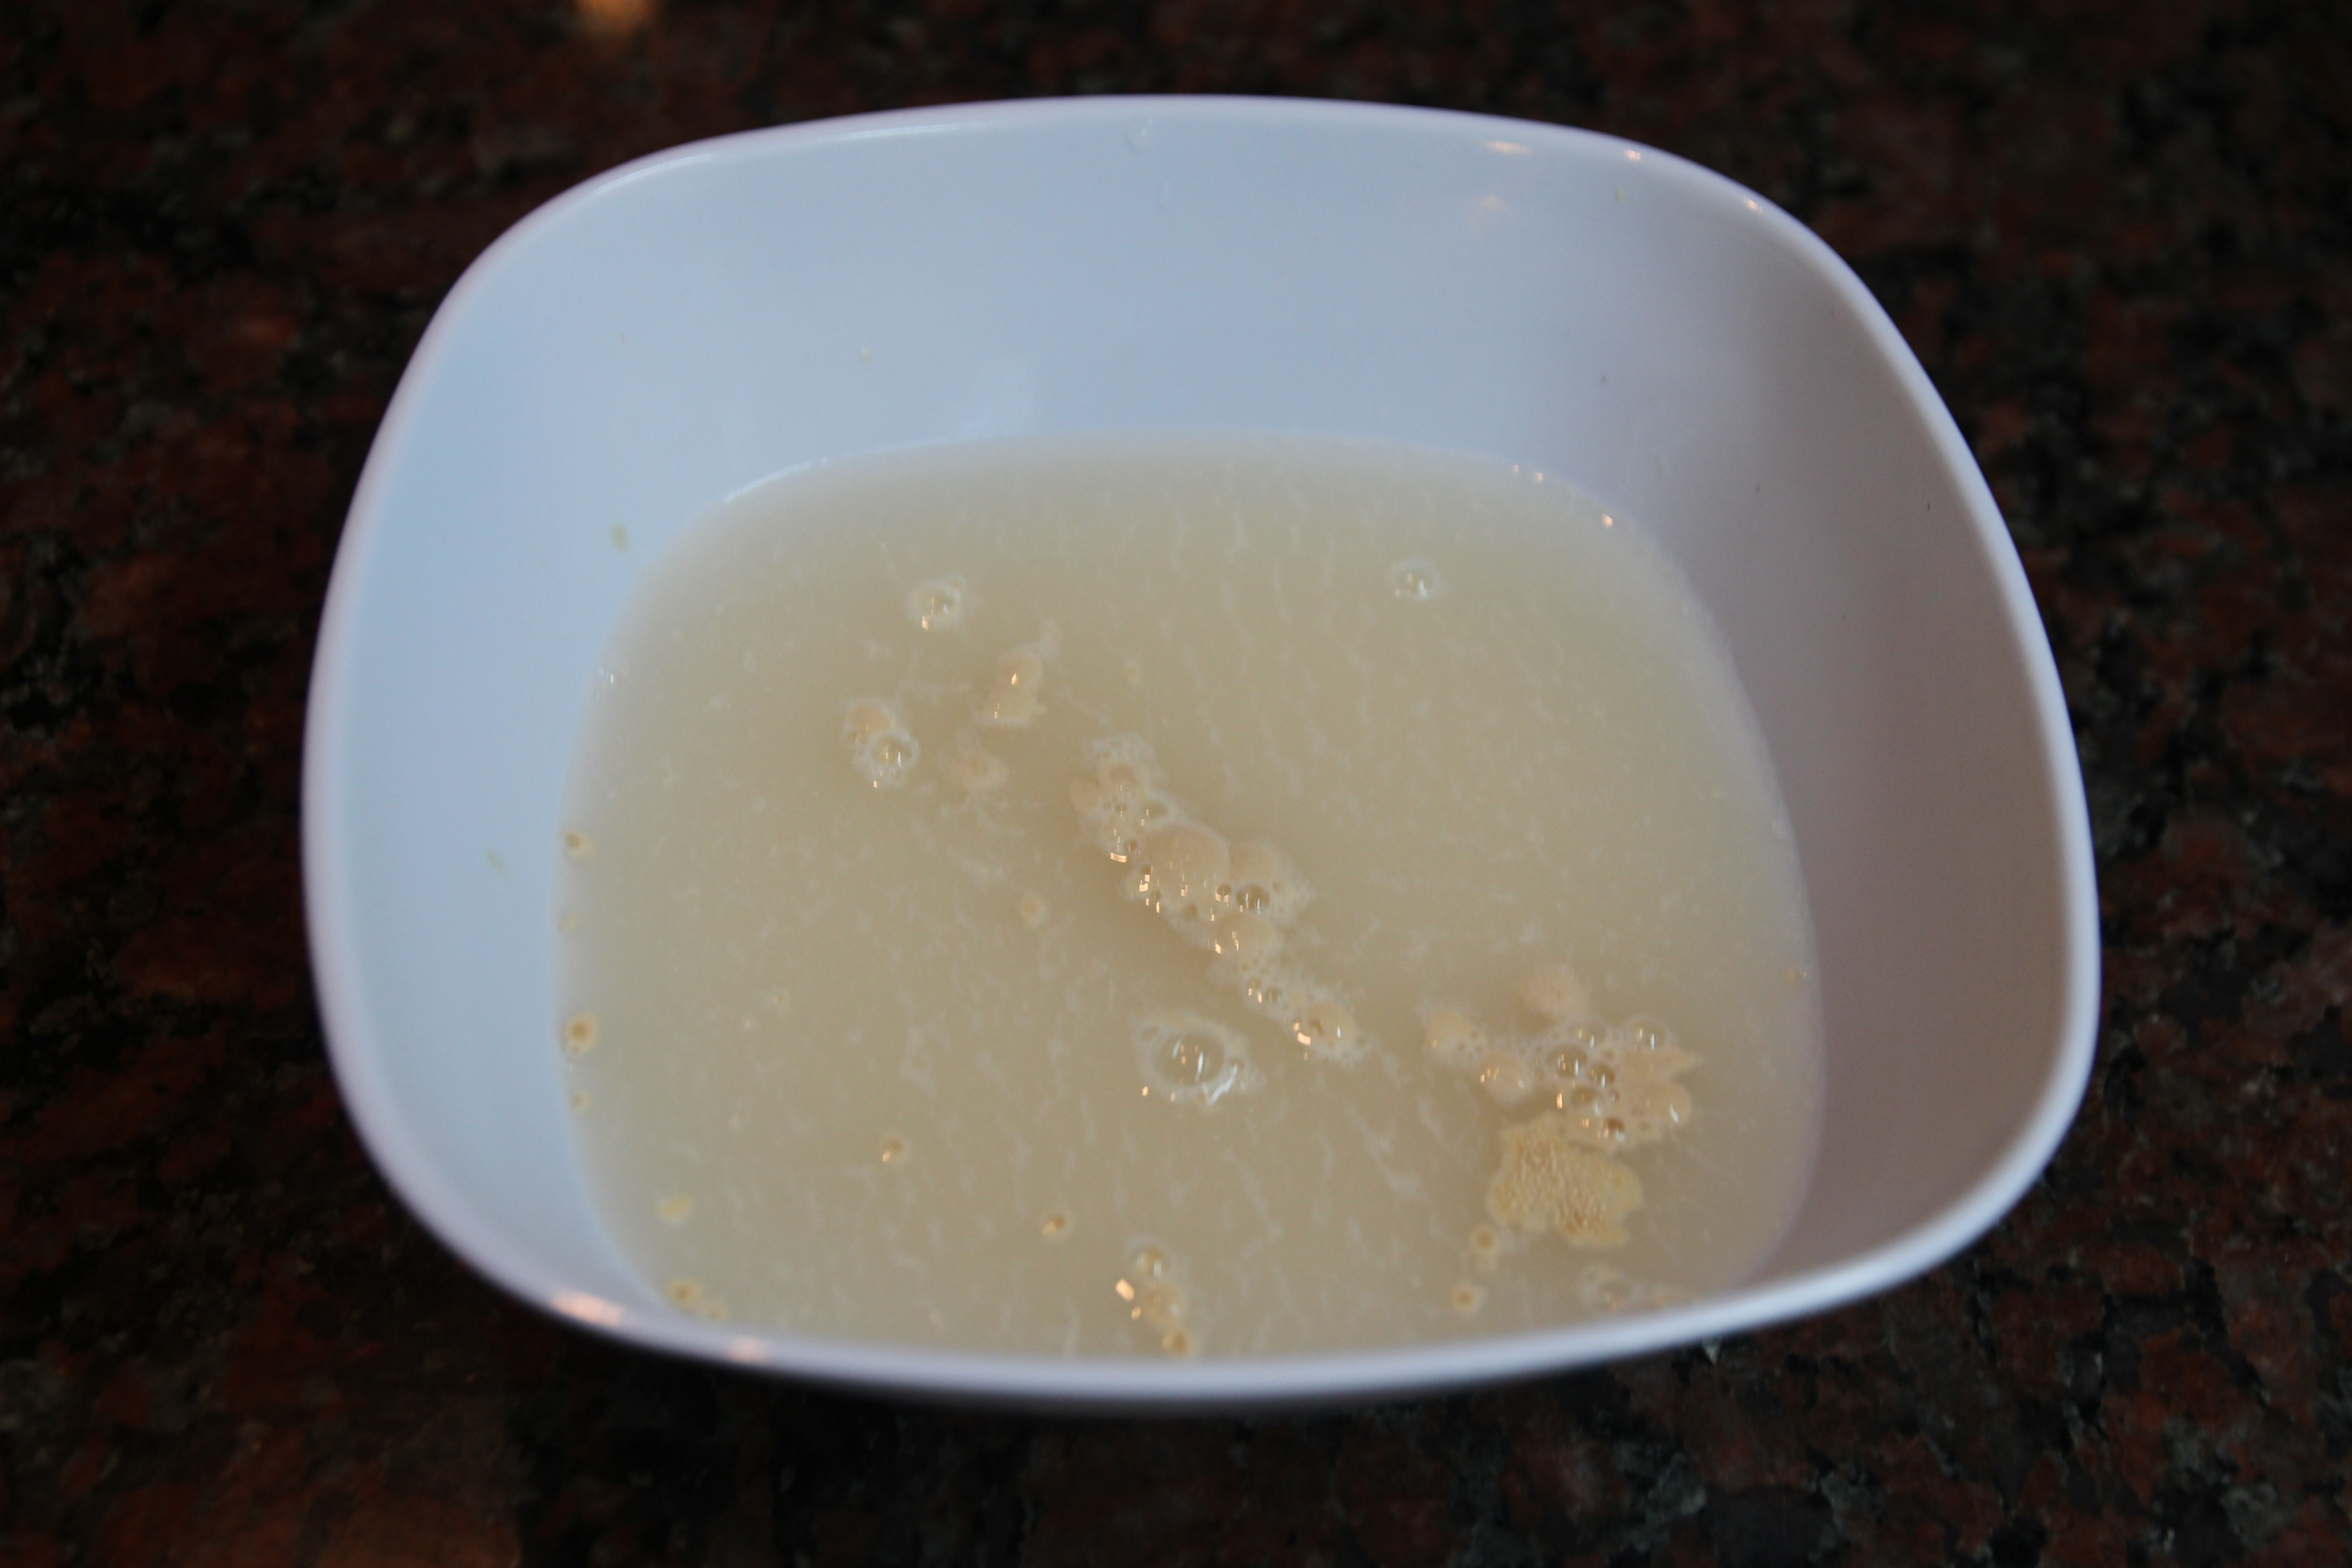
1) Add warm water to yeast, mix well, and allow yeast to soften for 10 minutes
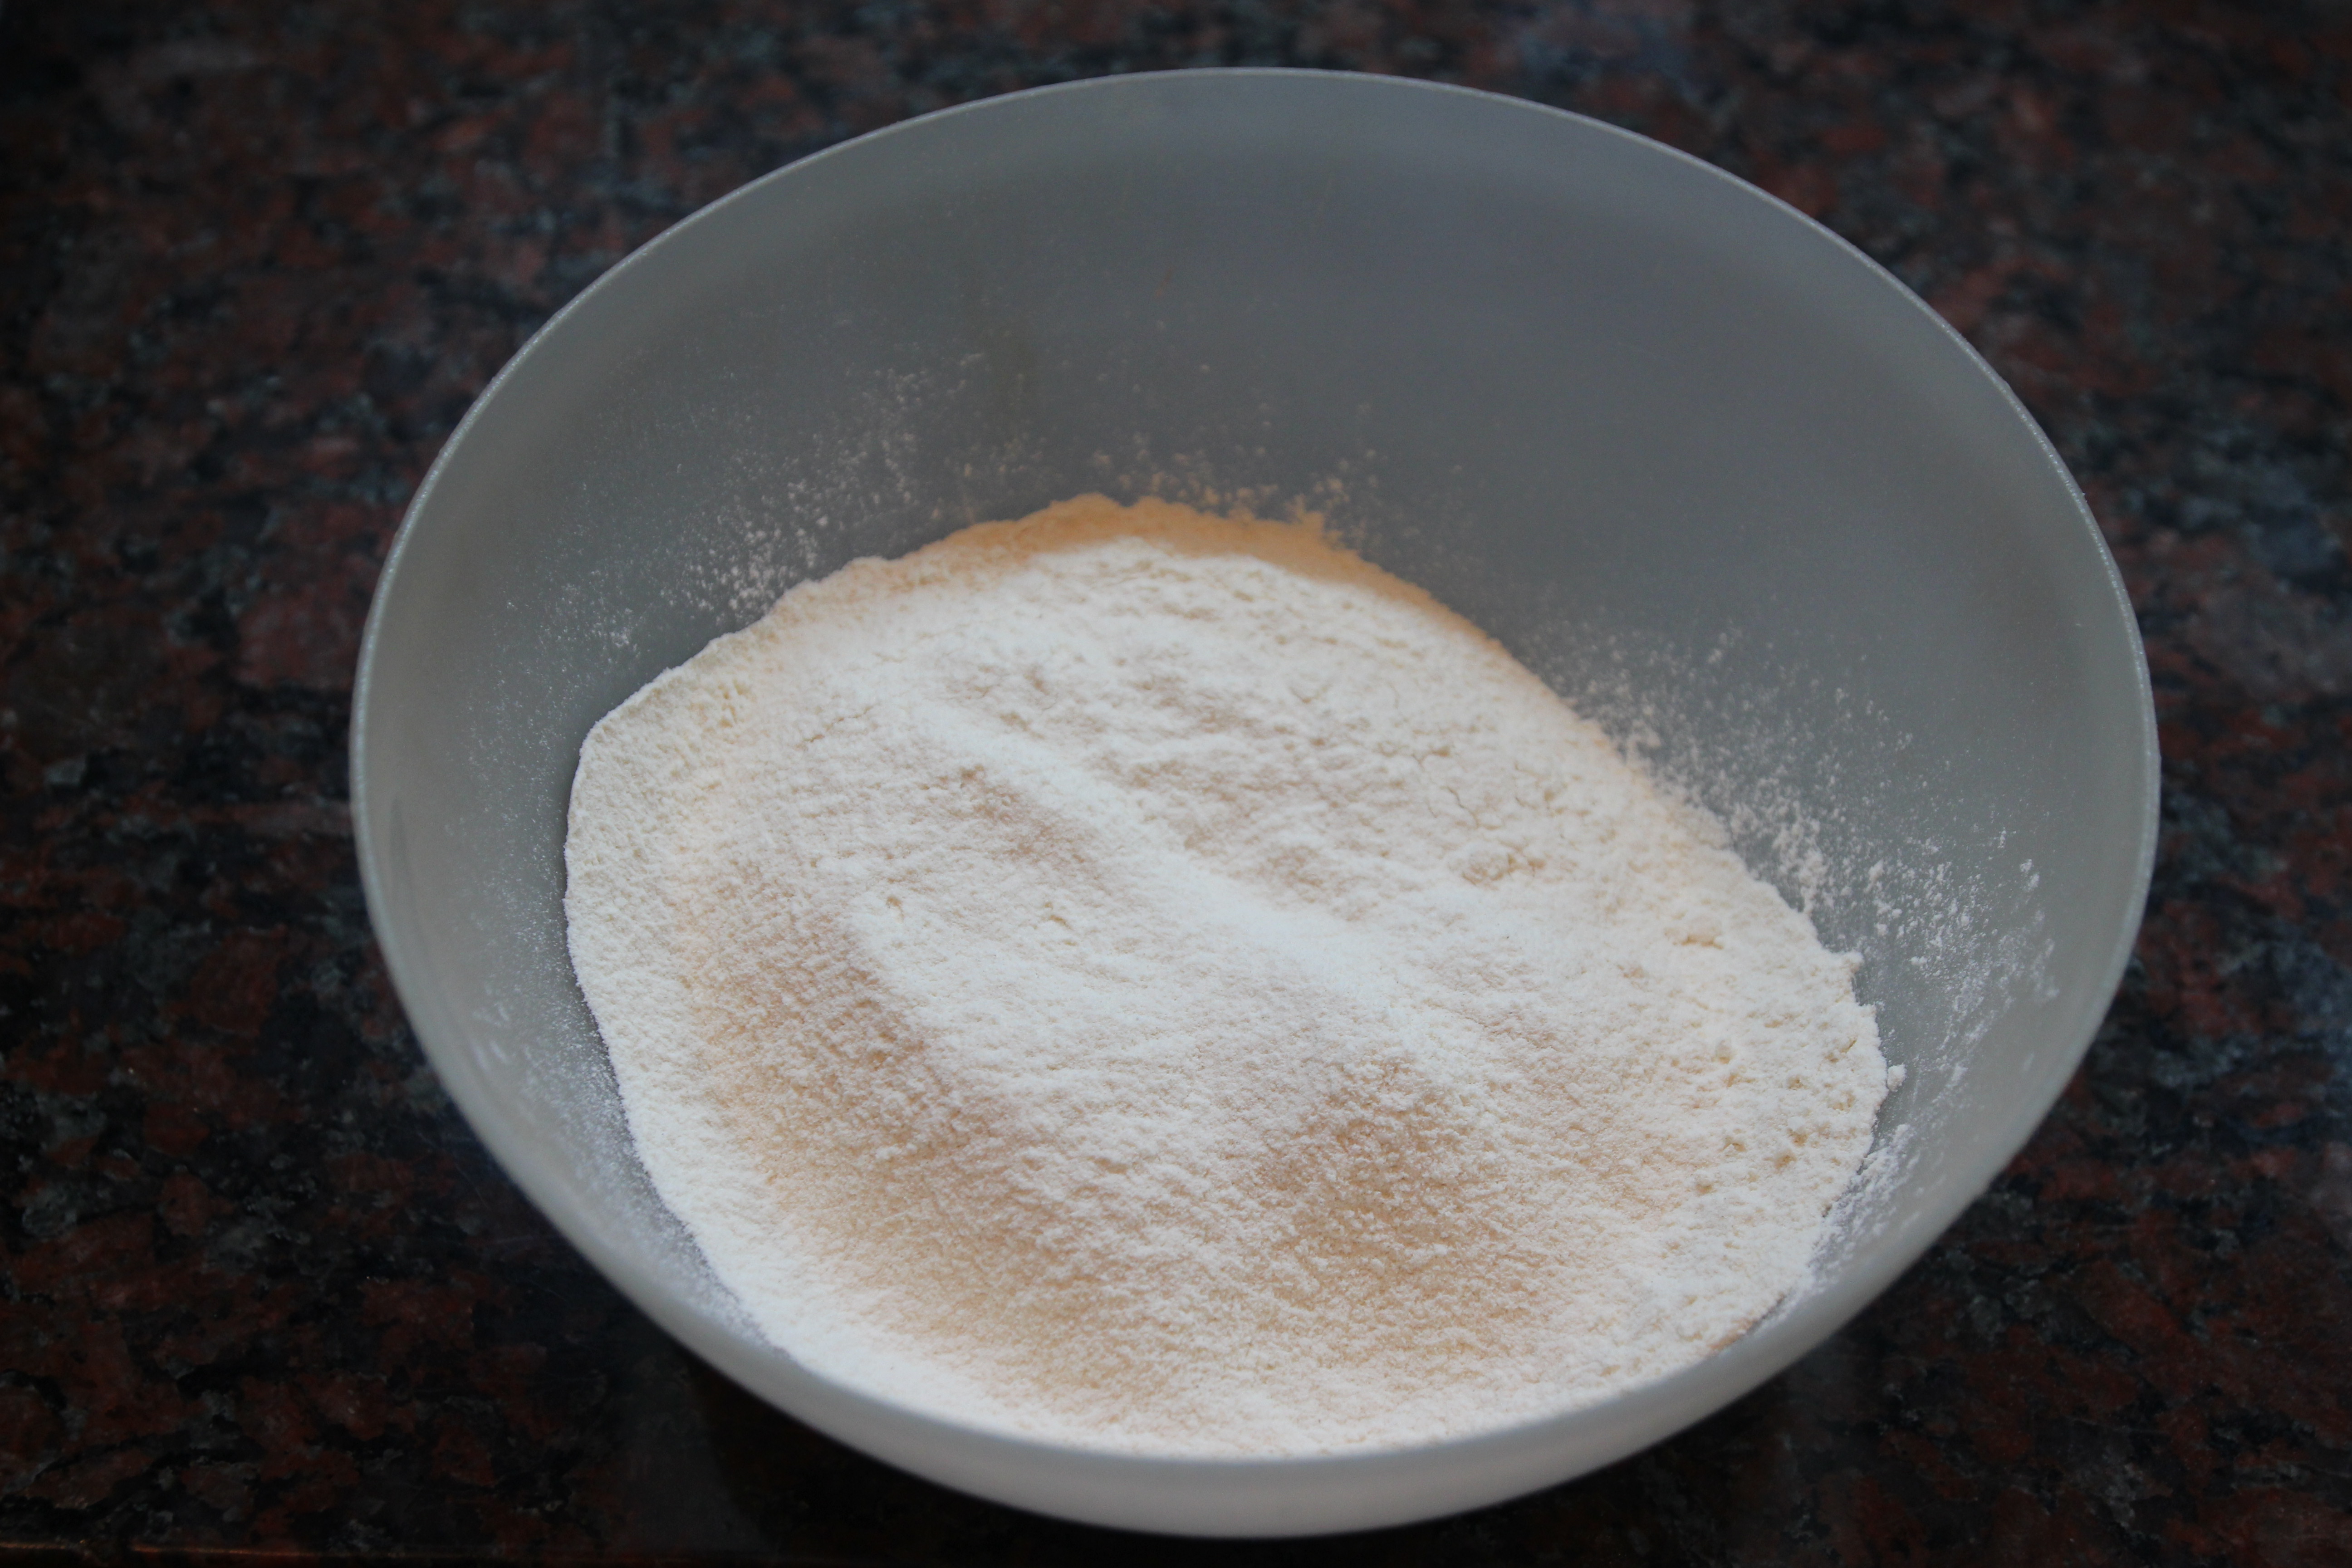
2) In another bowl, mix flour and salt together
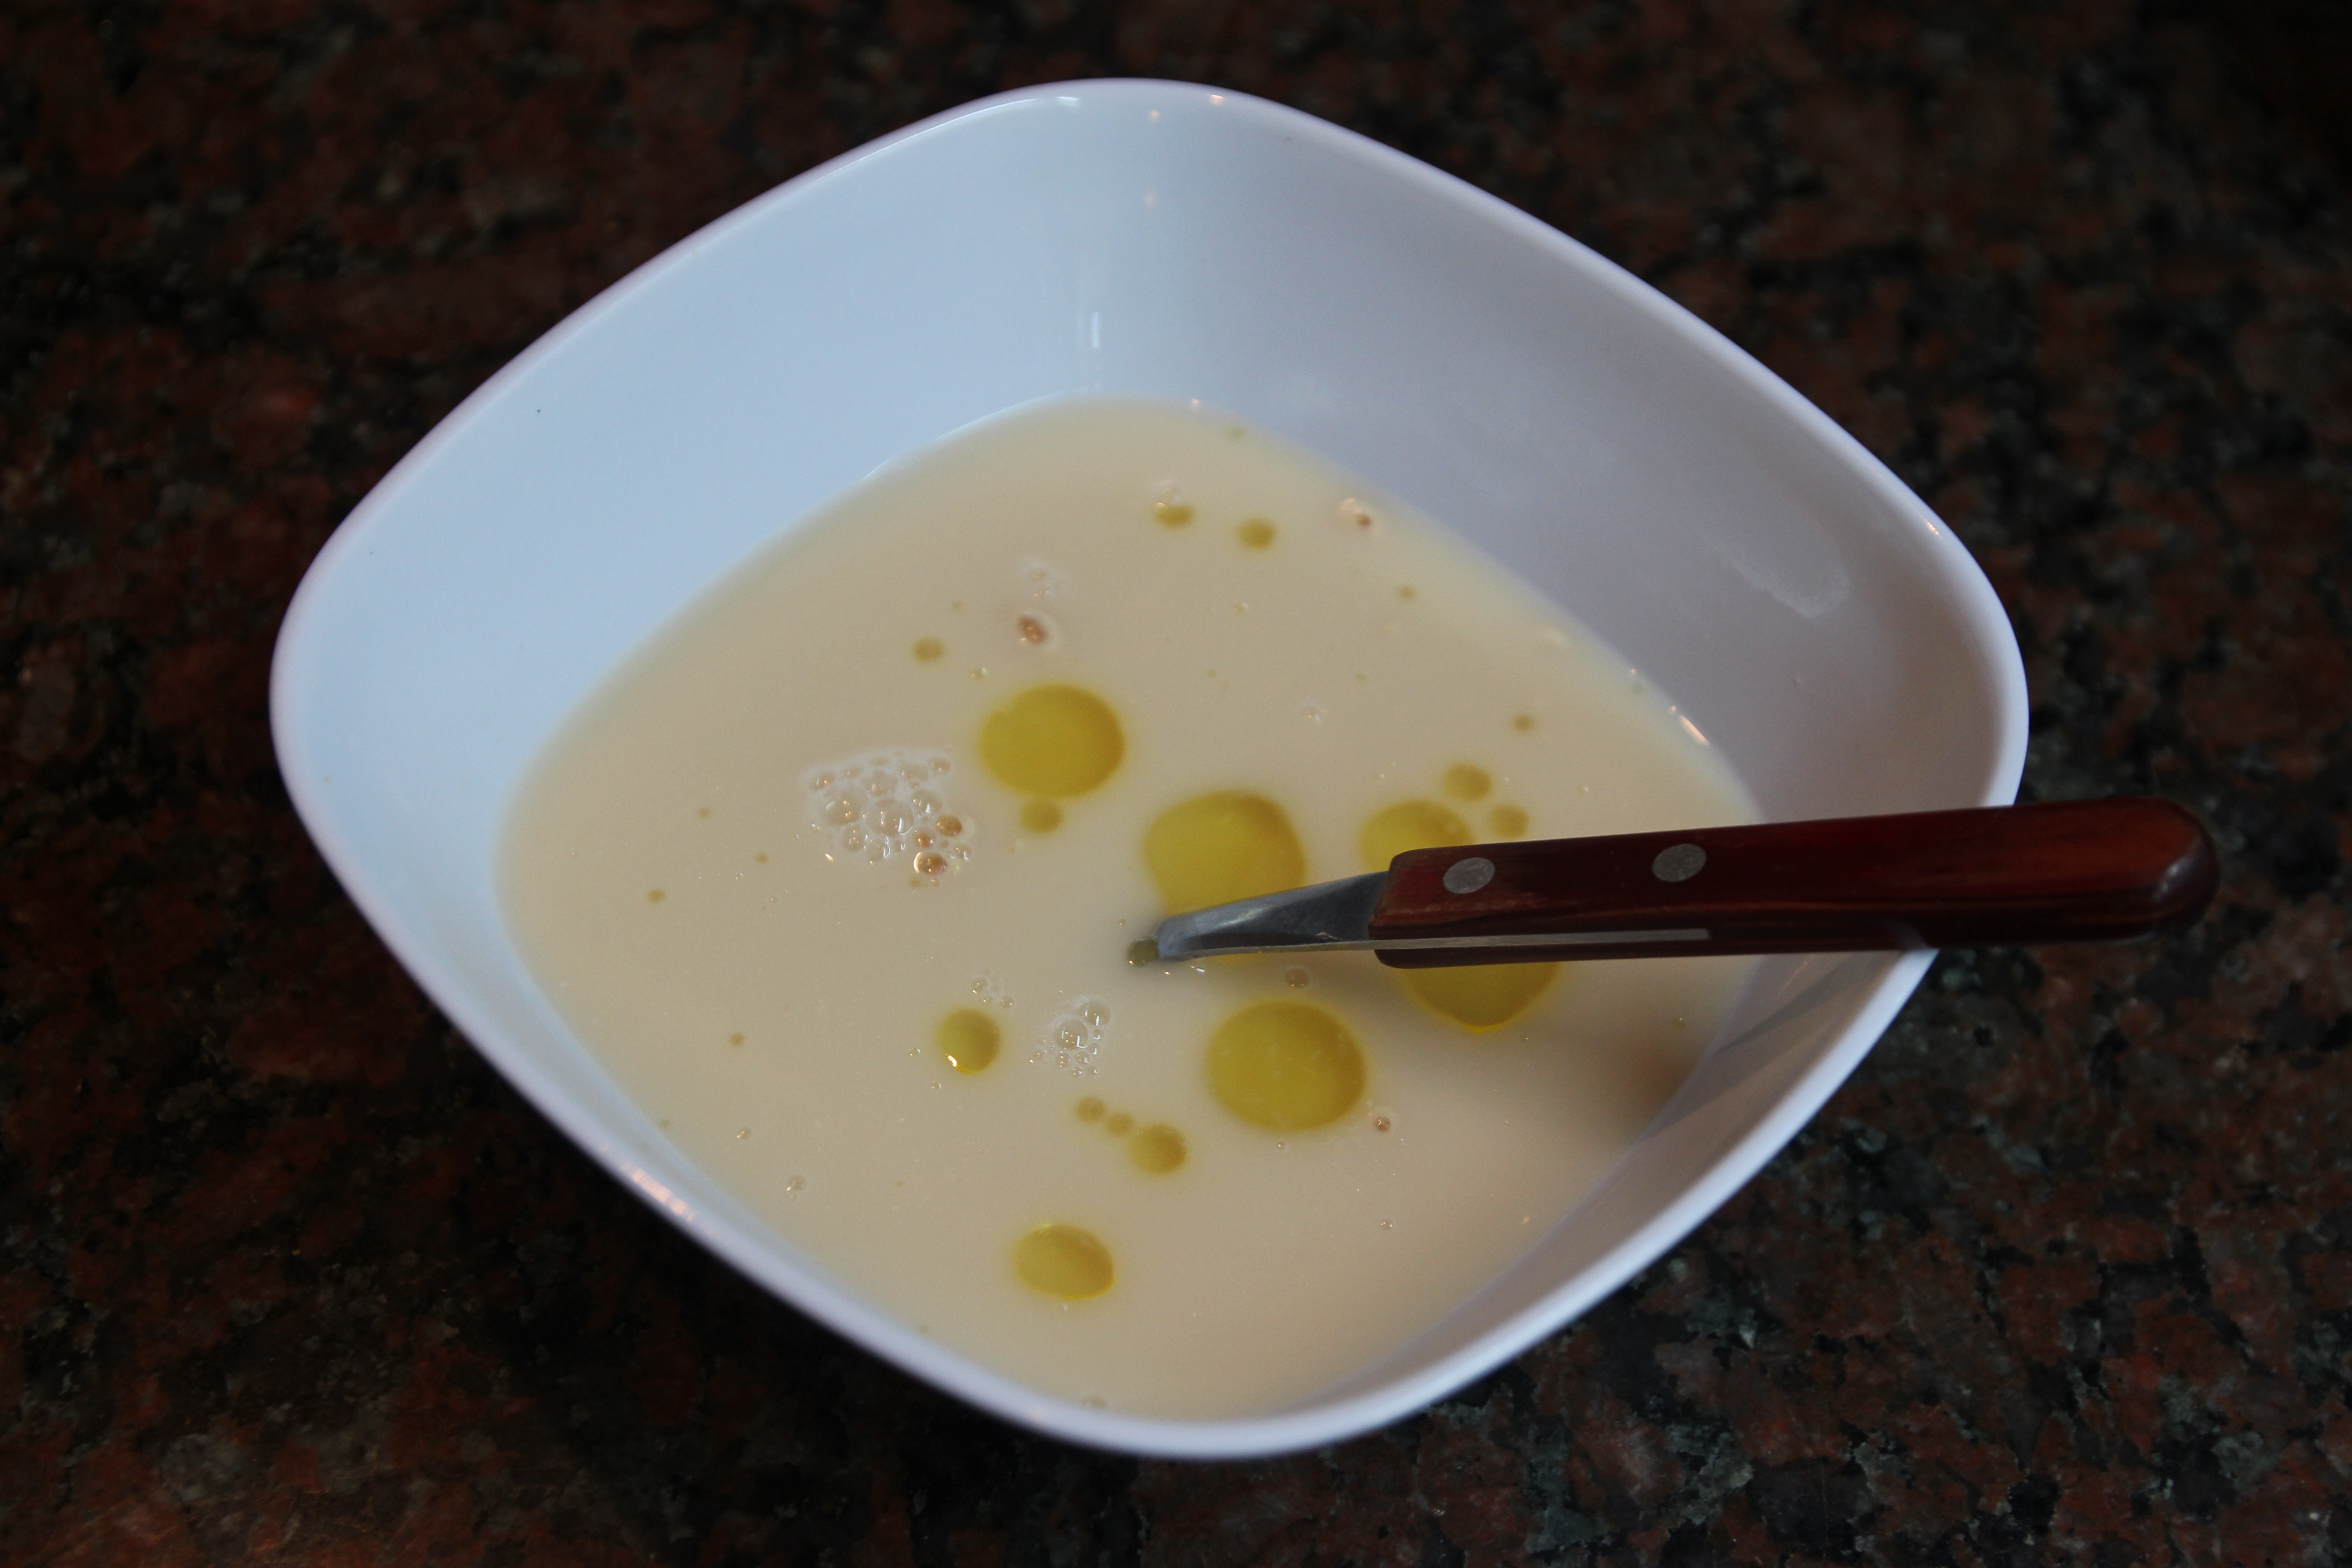
3) Once yeast is soft and frothy, add olive oil and mix
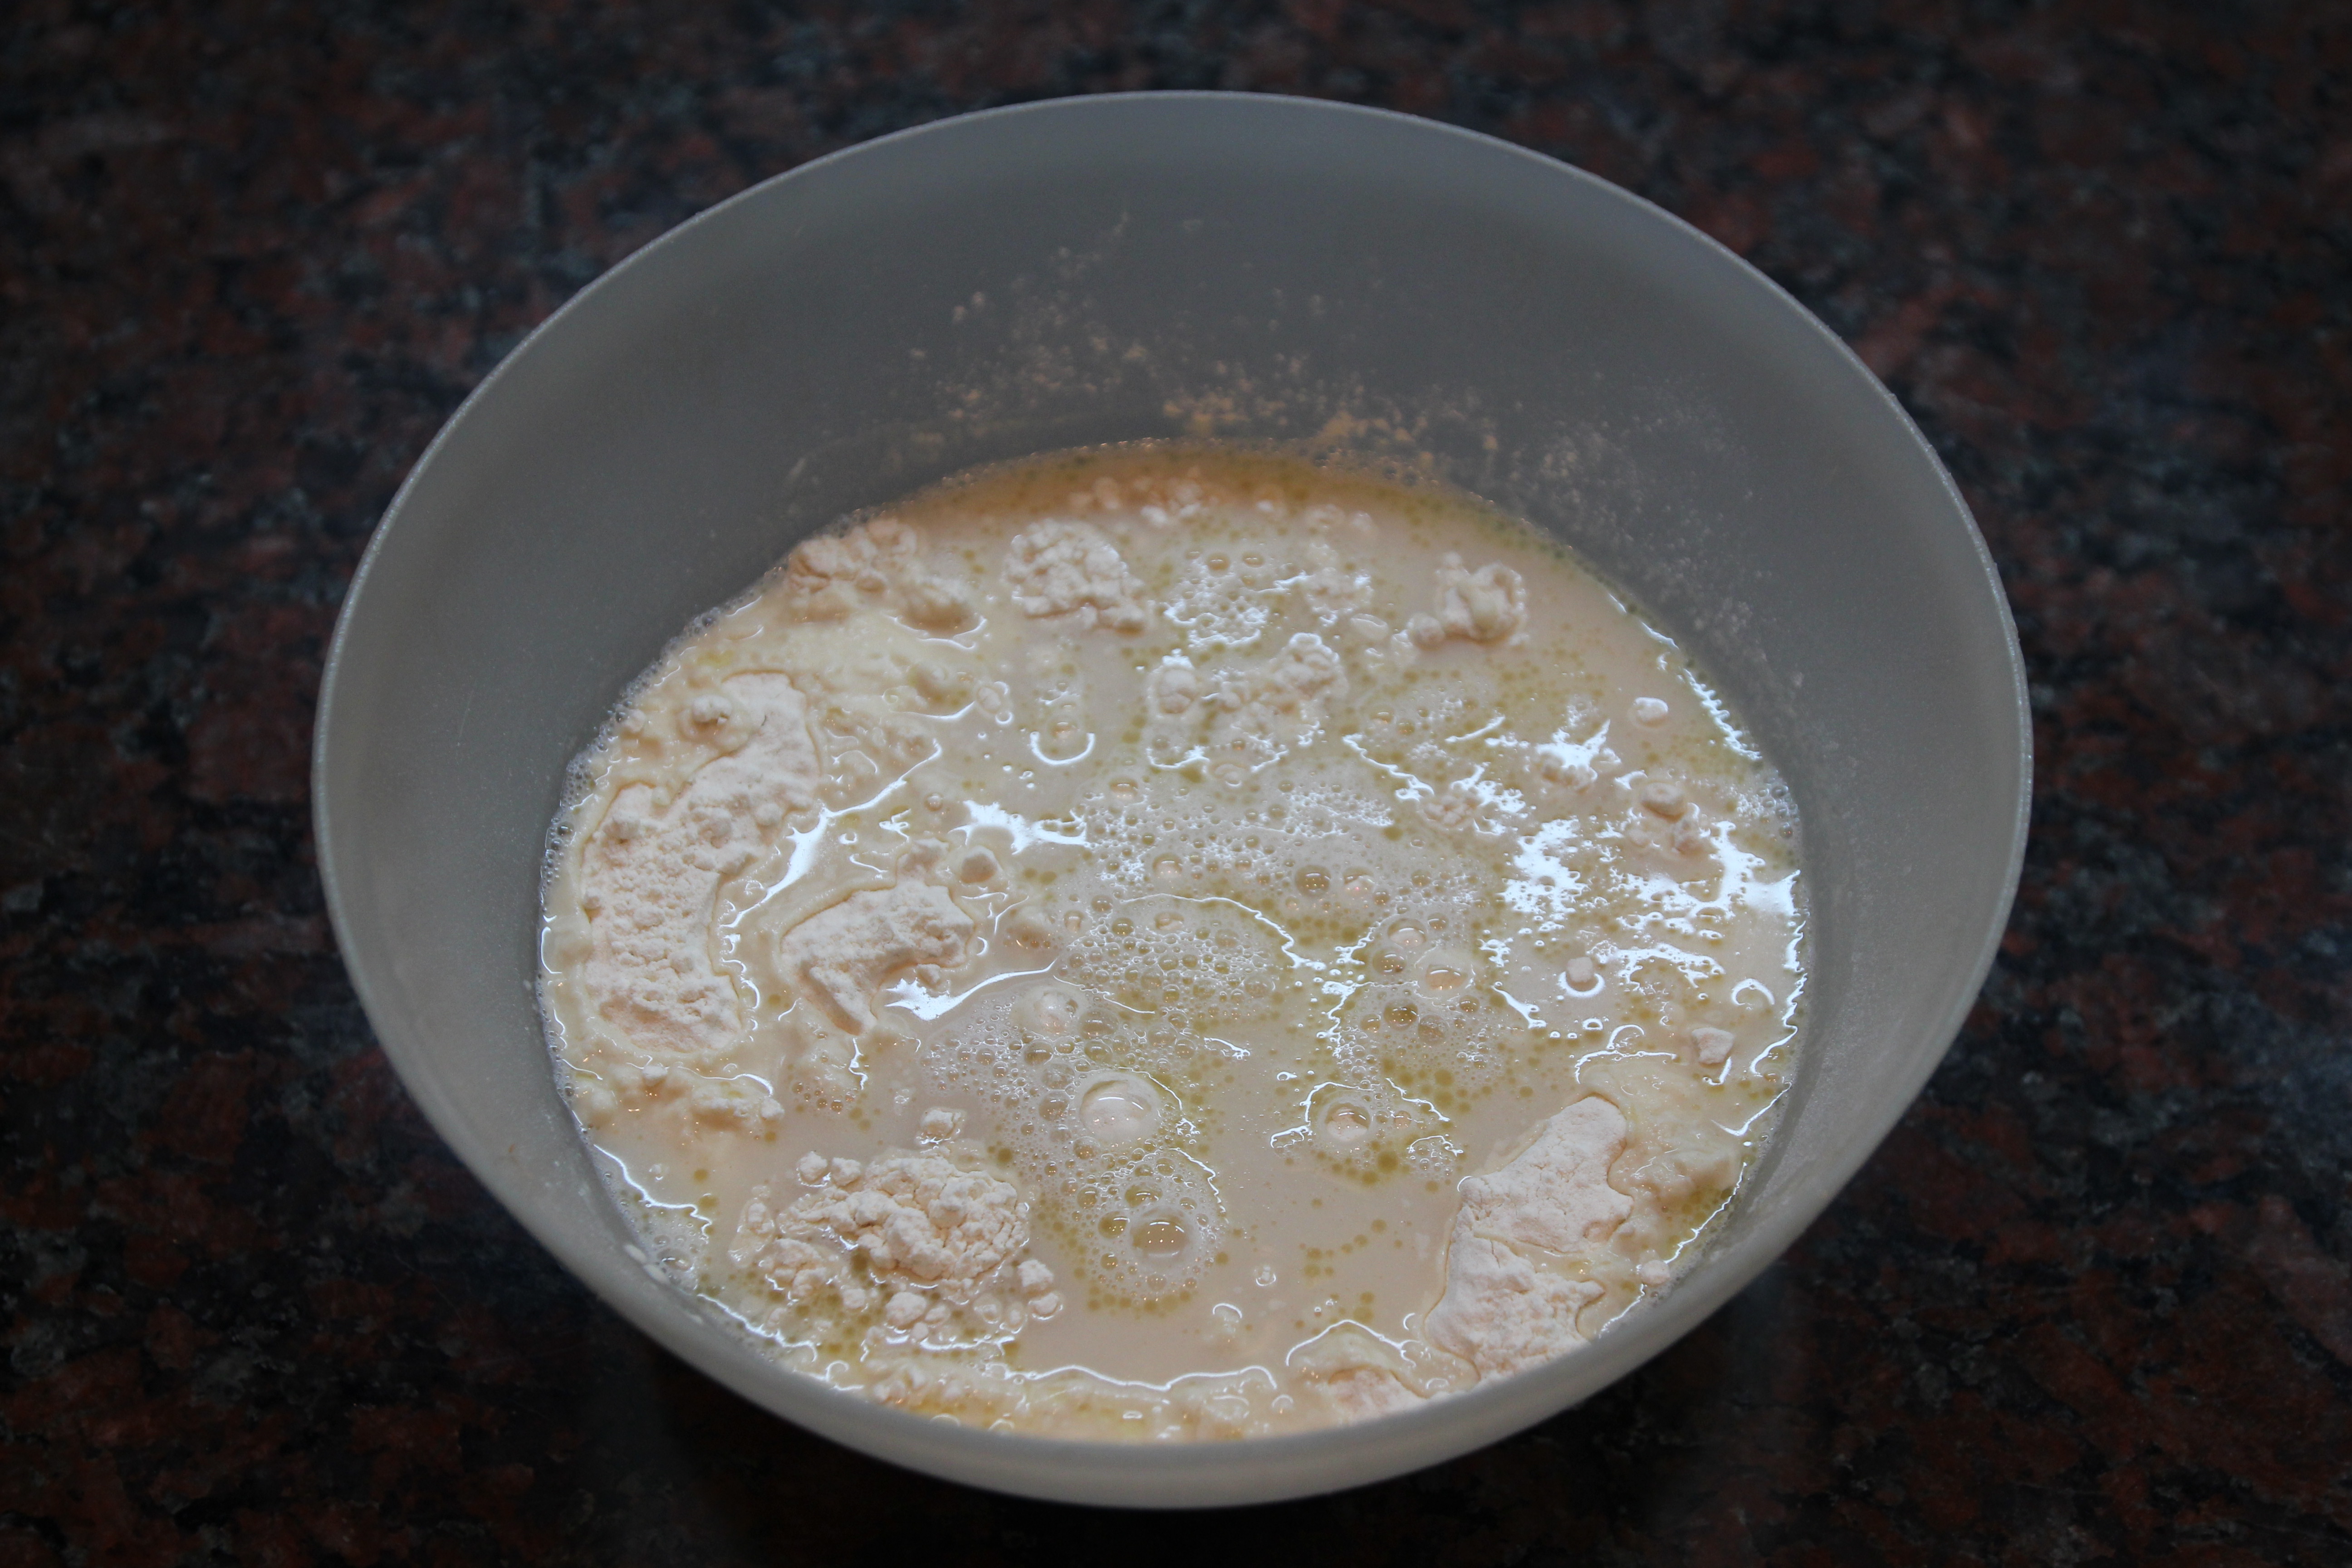
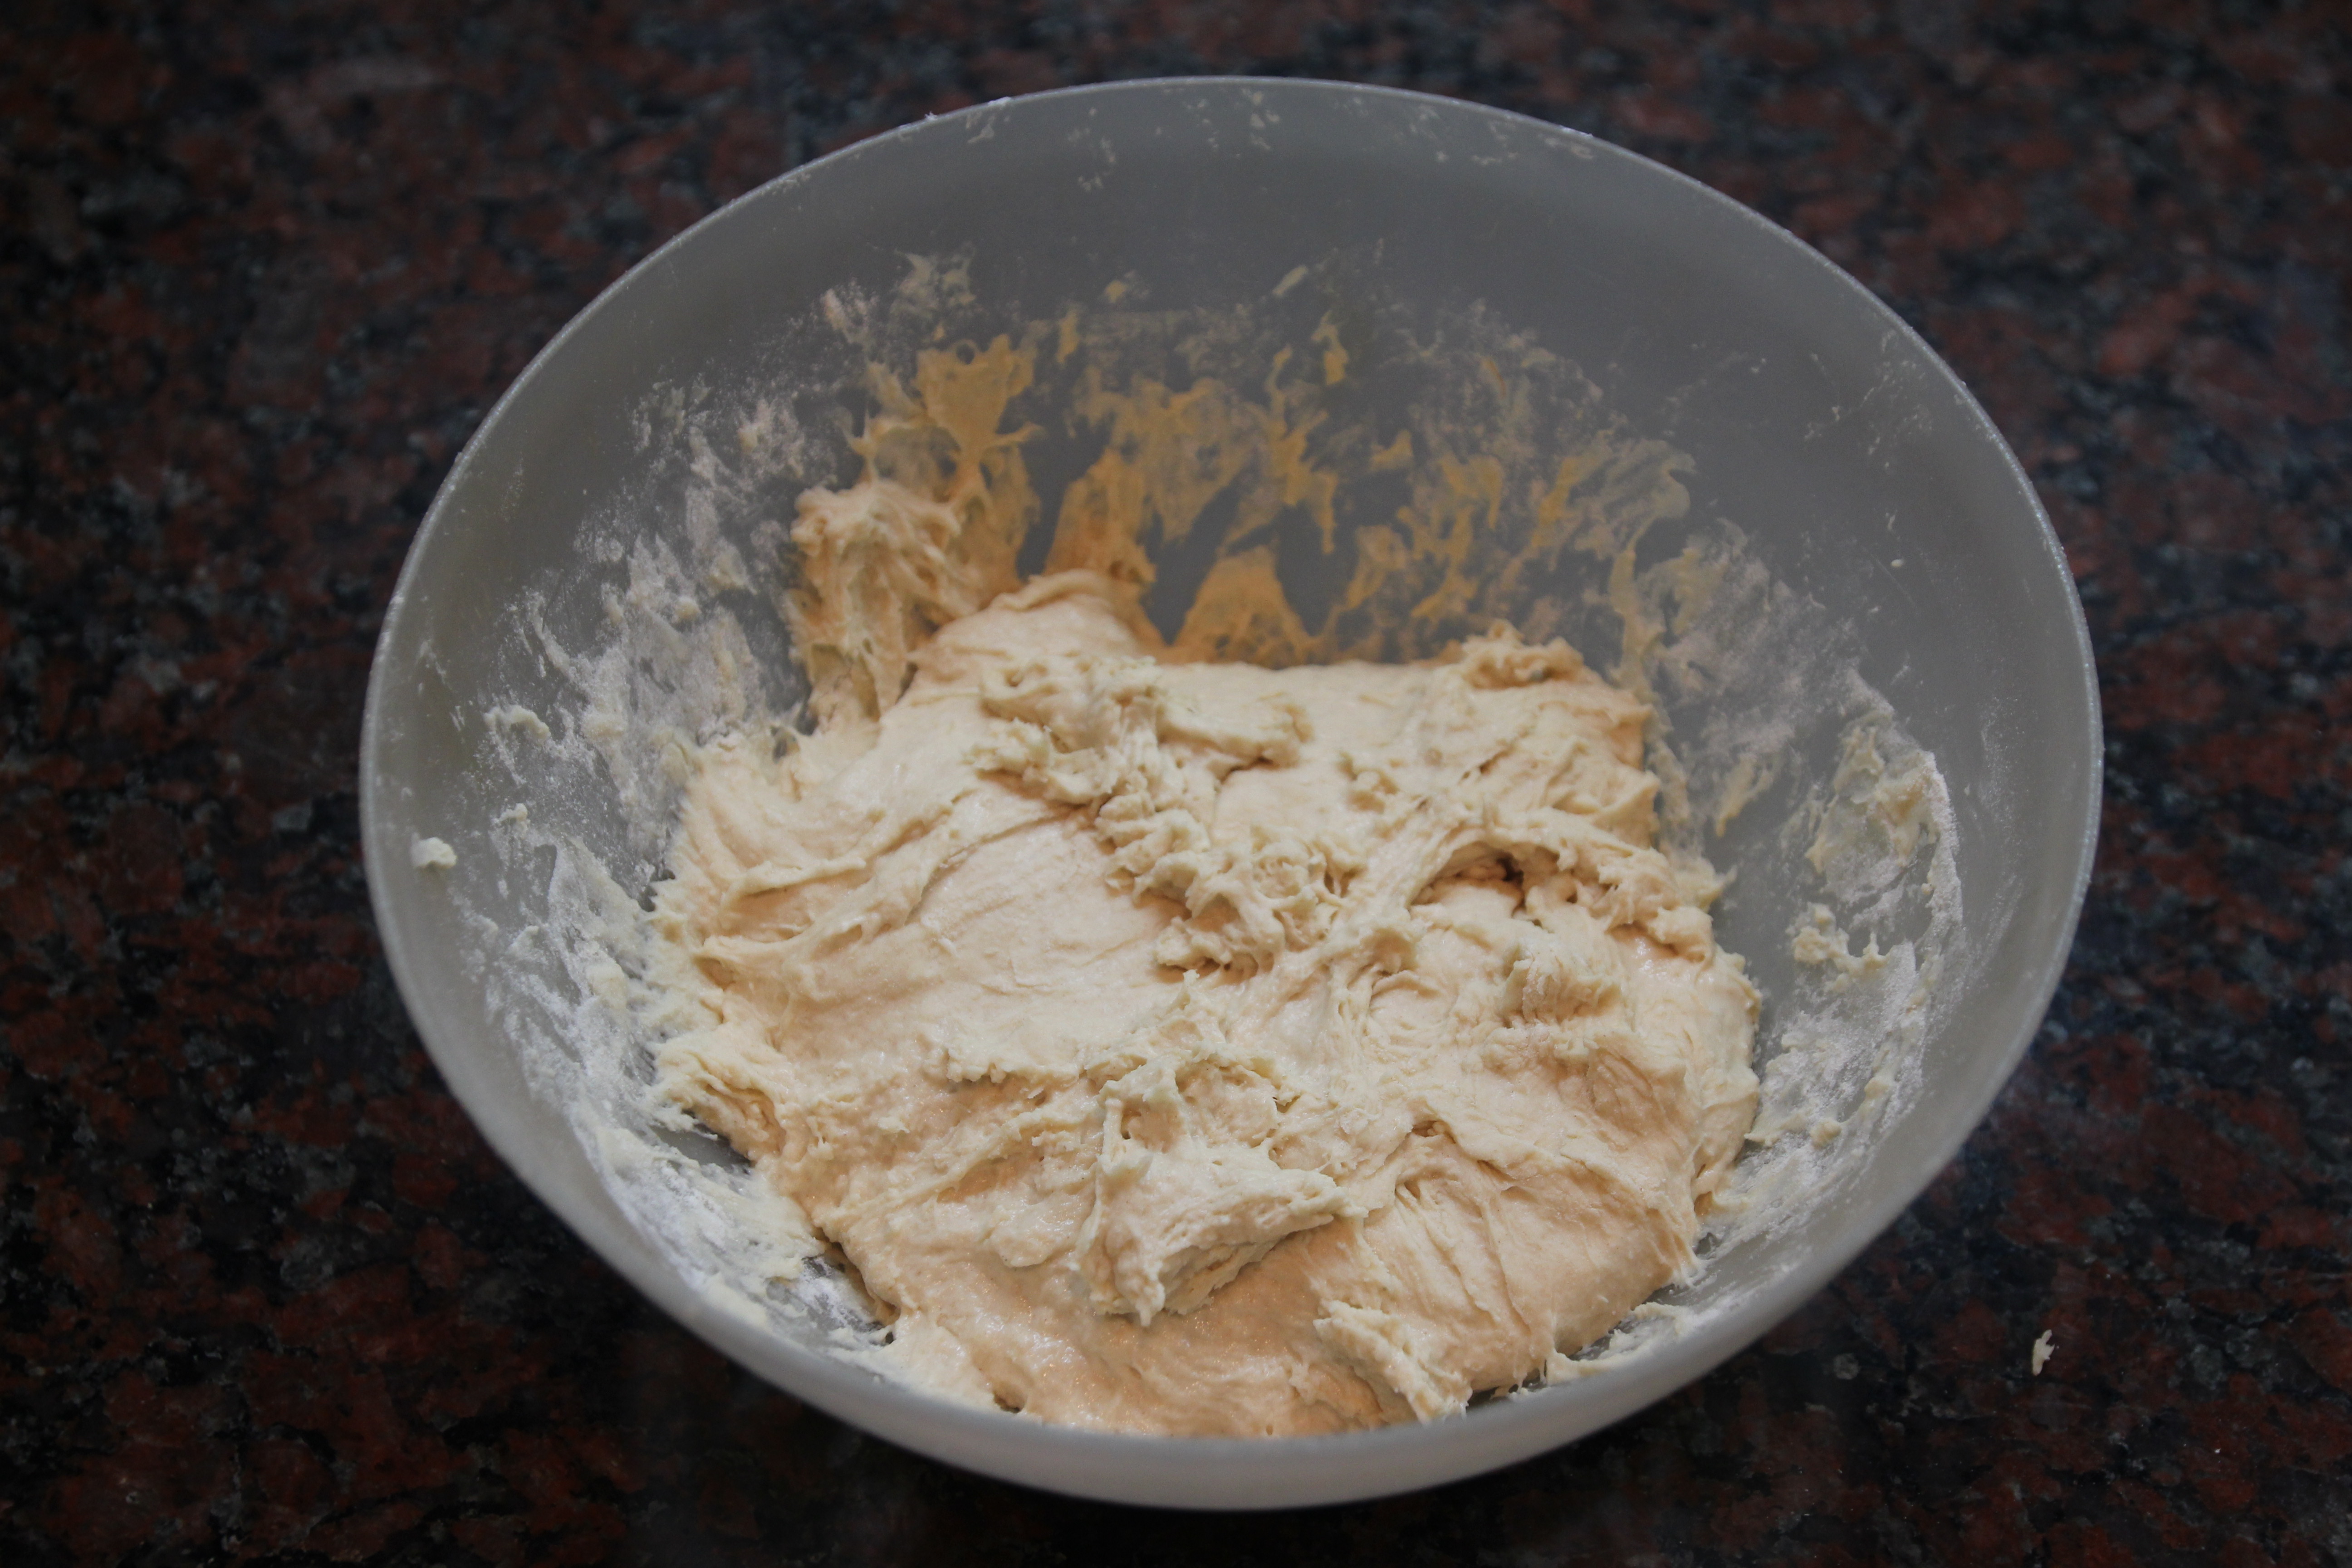
4) Add flour and salt mixture to yeast mixture
5) Knead dough for 10 minutes (dough will be soft and sticky)
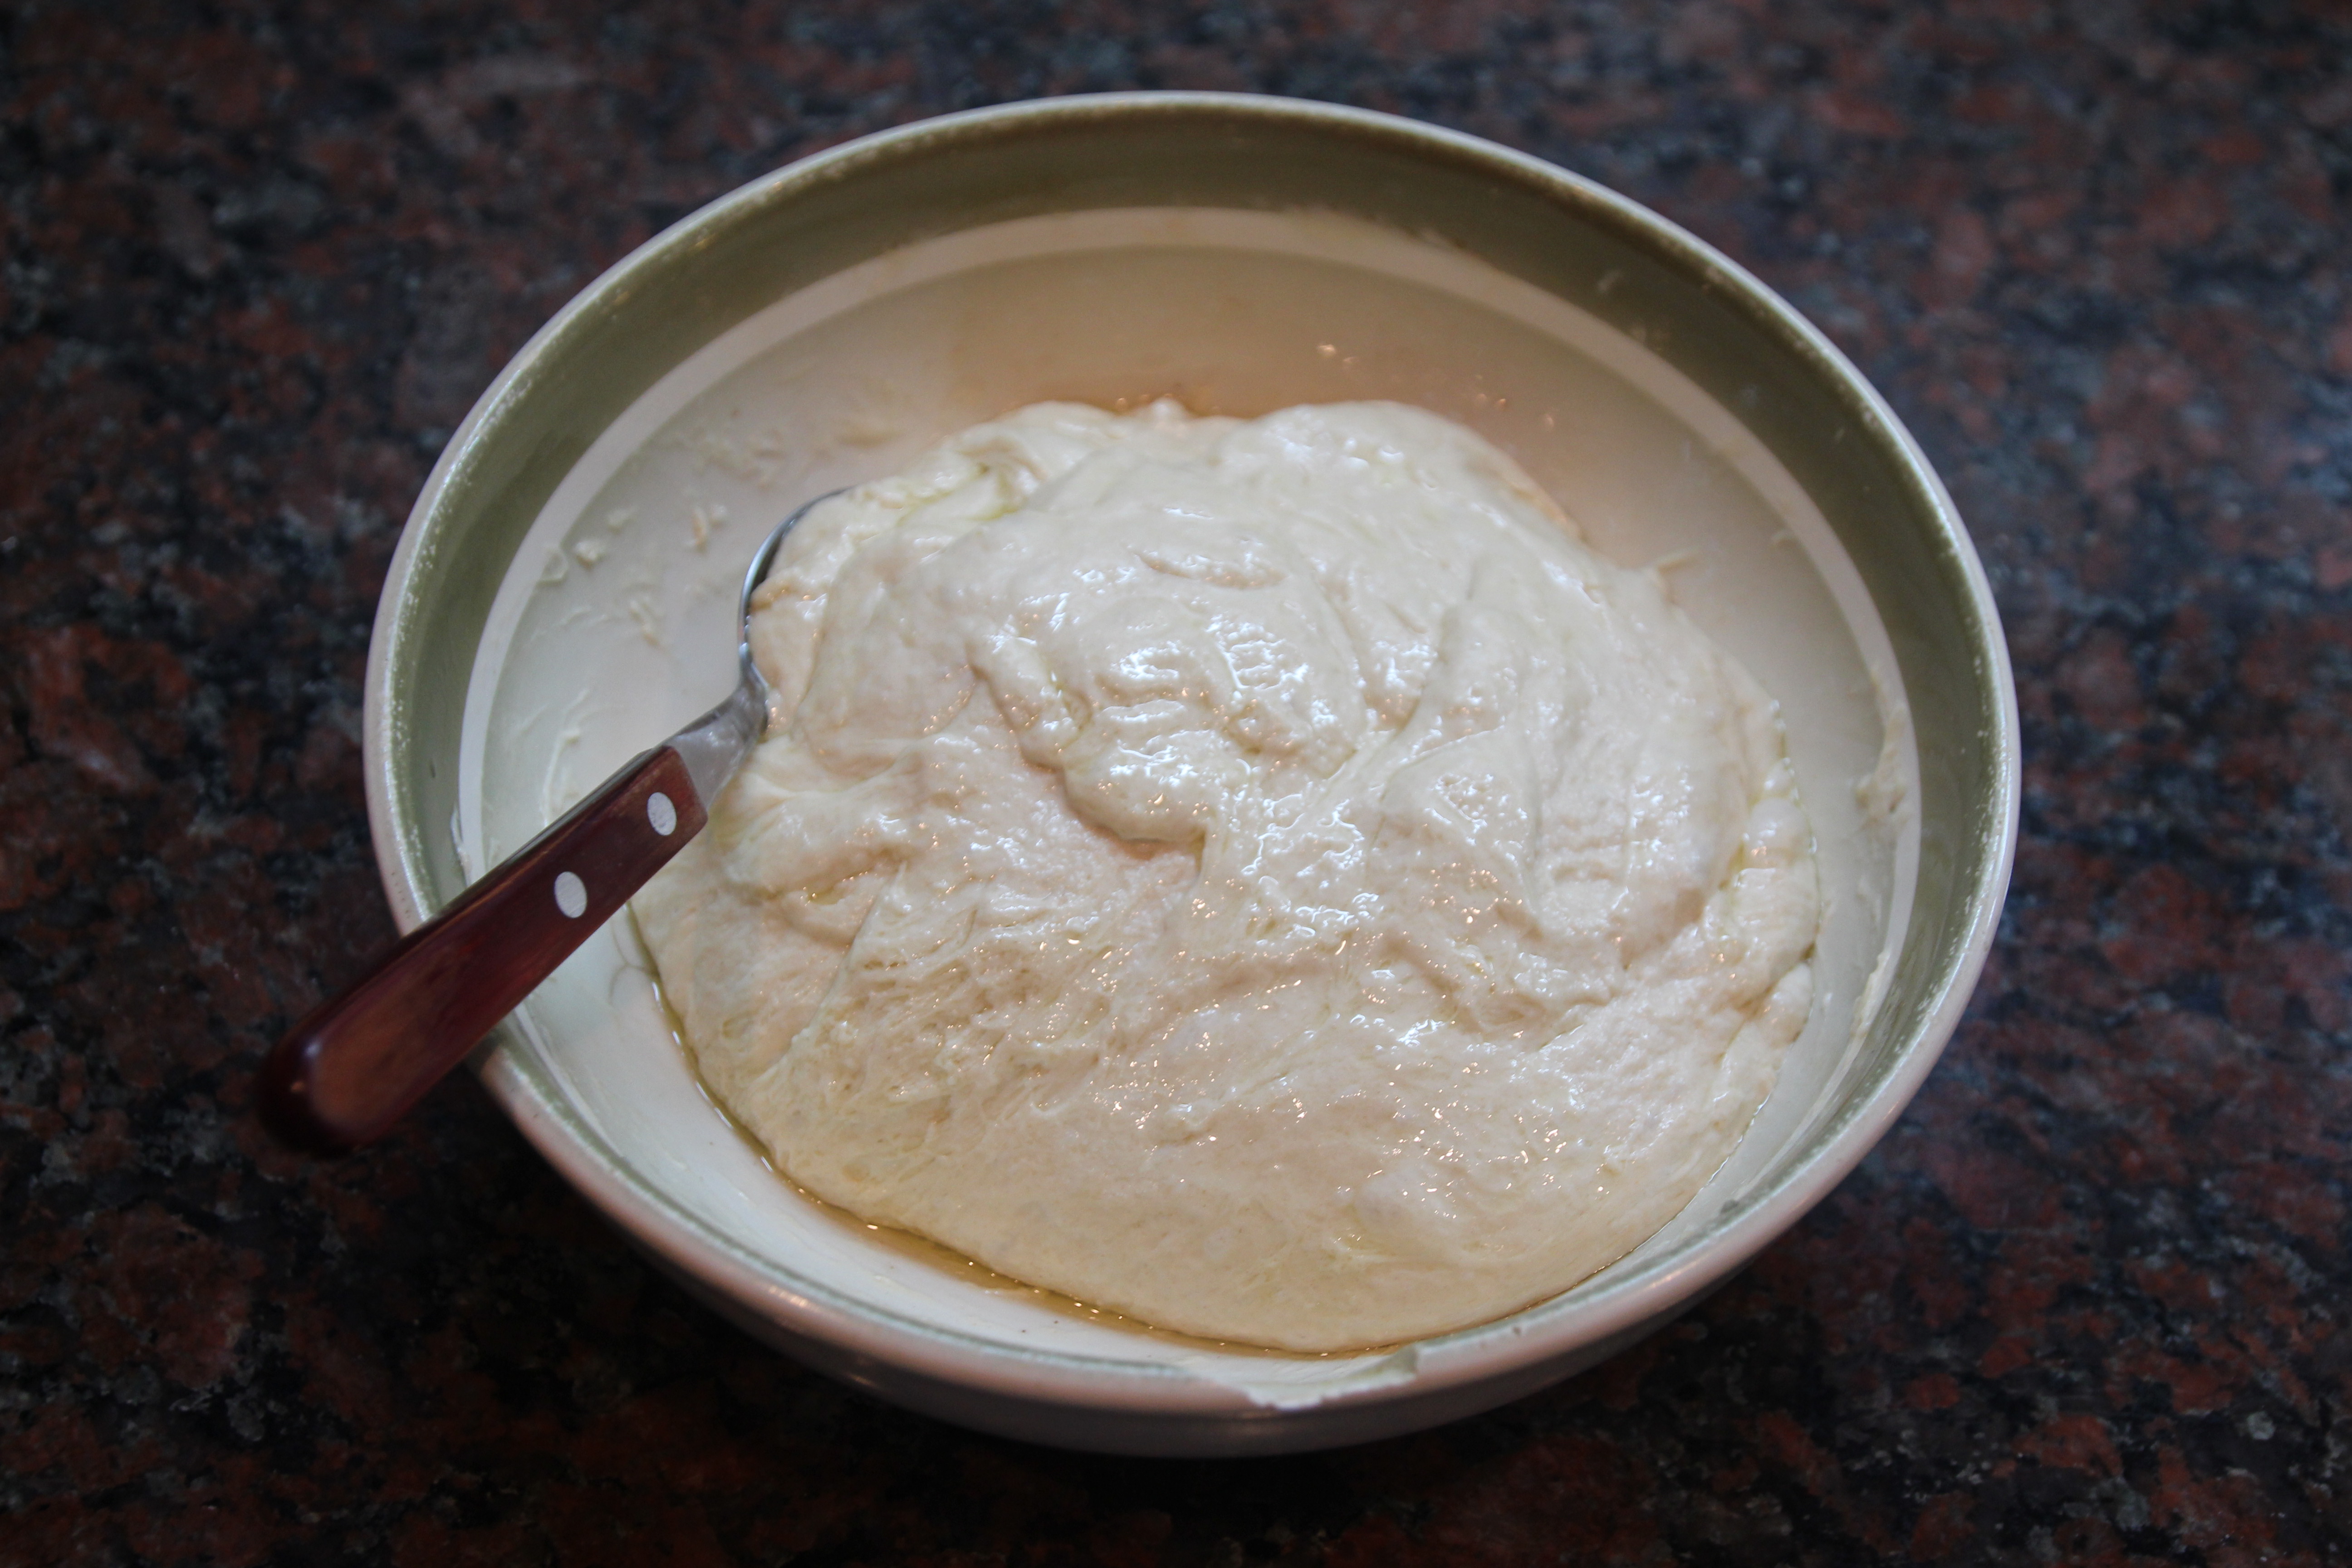
6) Pour enough olive oil to coat a bottom of a clean bowl
7) Place bread dough in bowl coating the bottom then turn it over so all of the dough is covered.
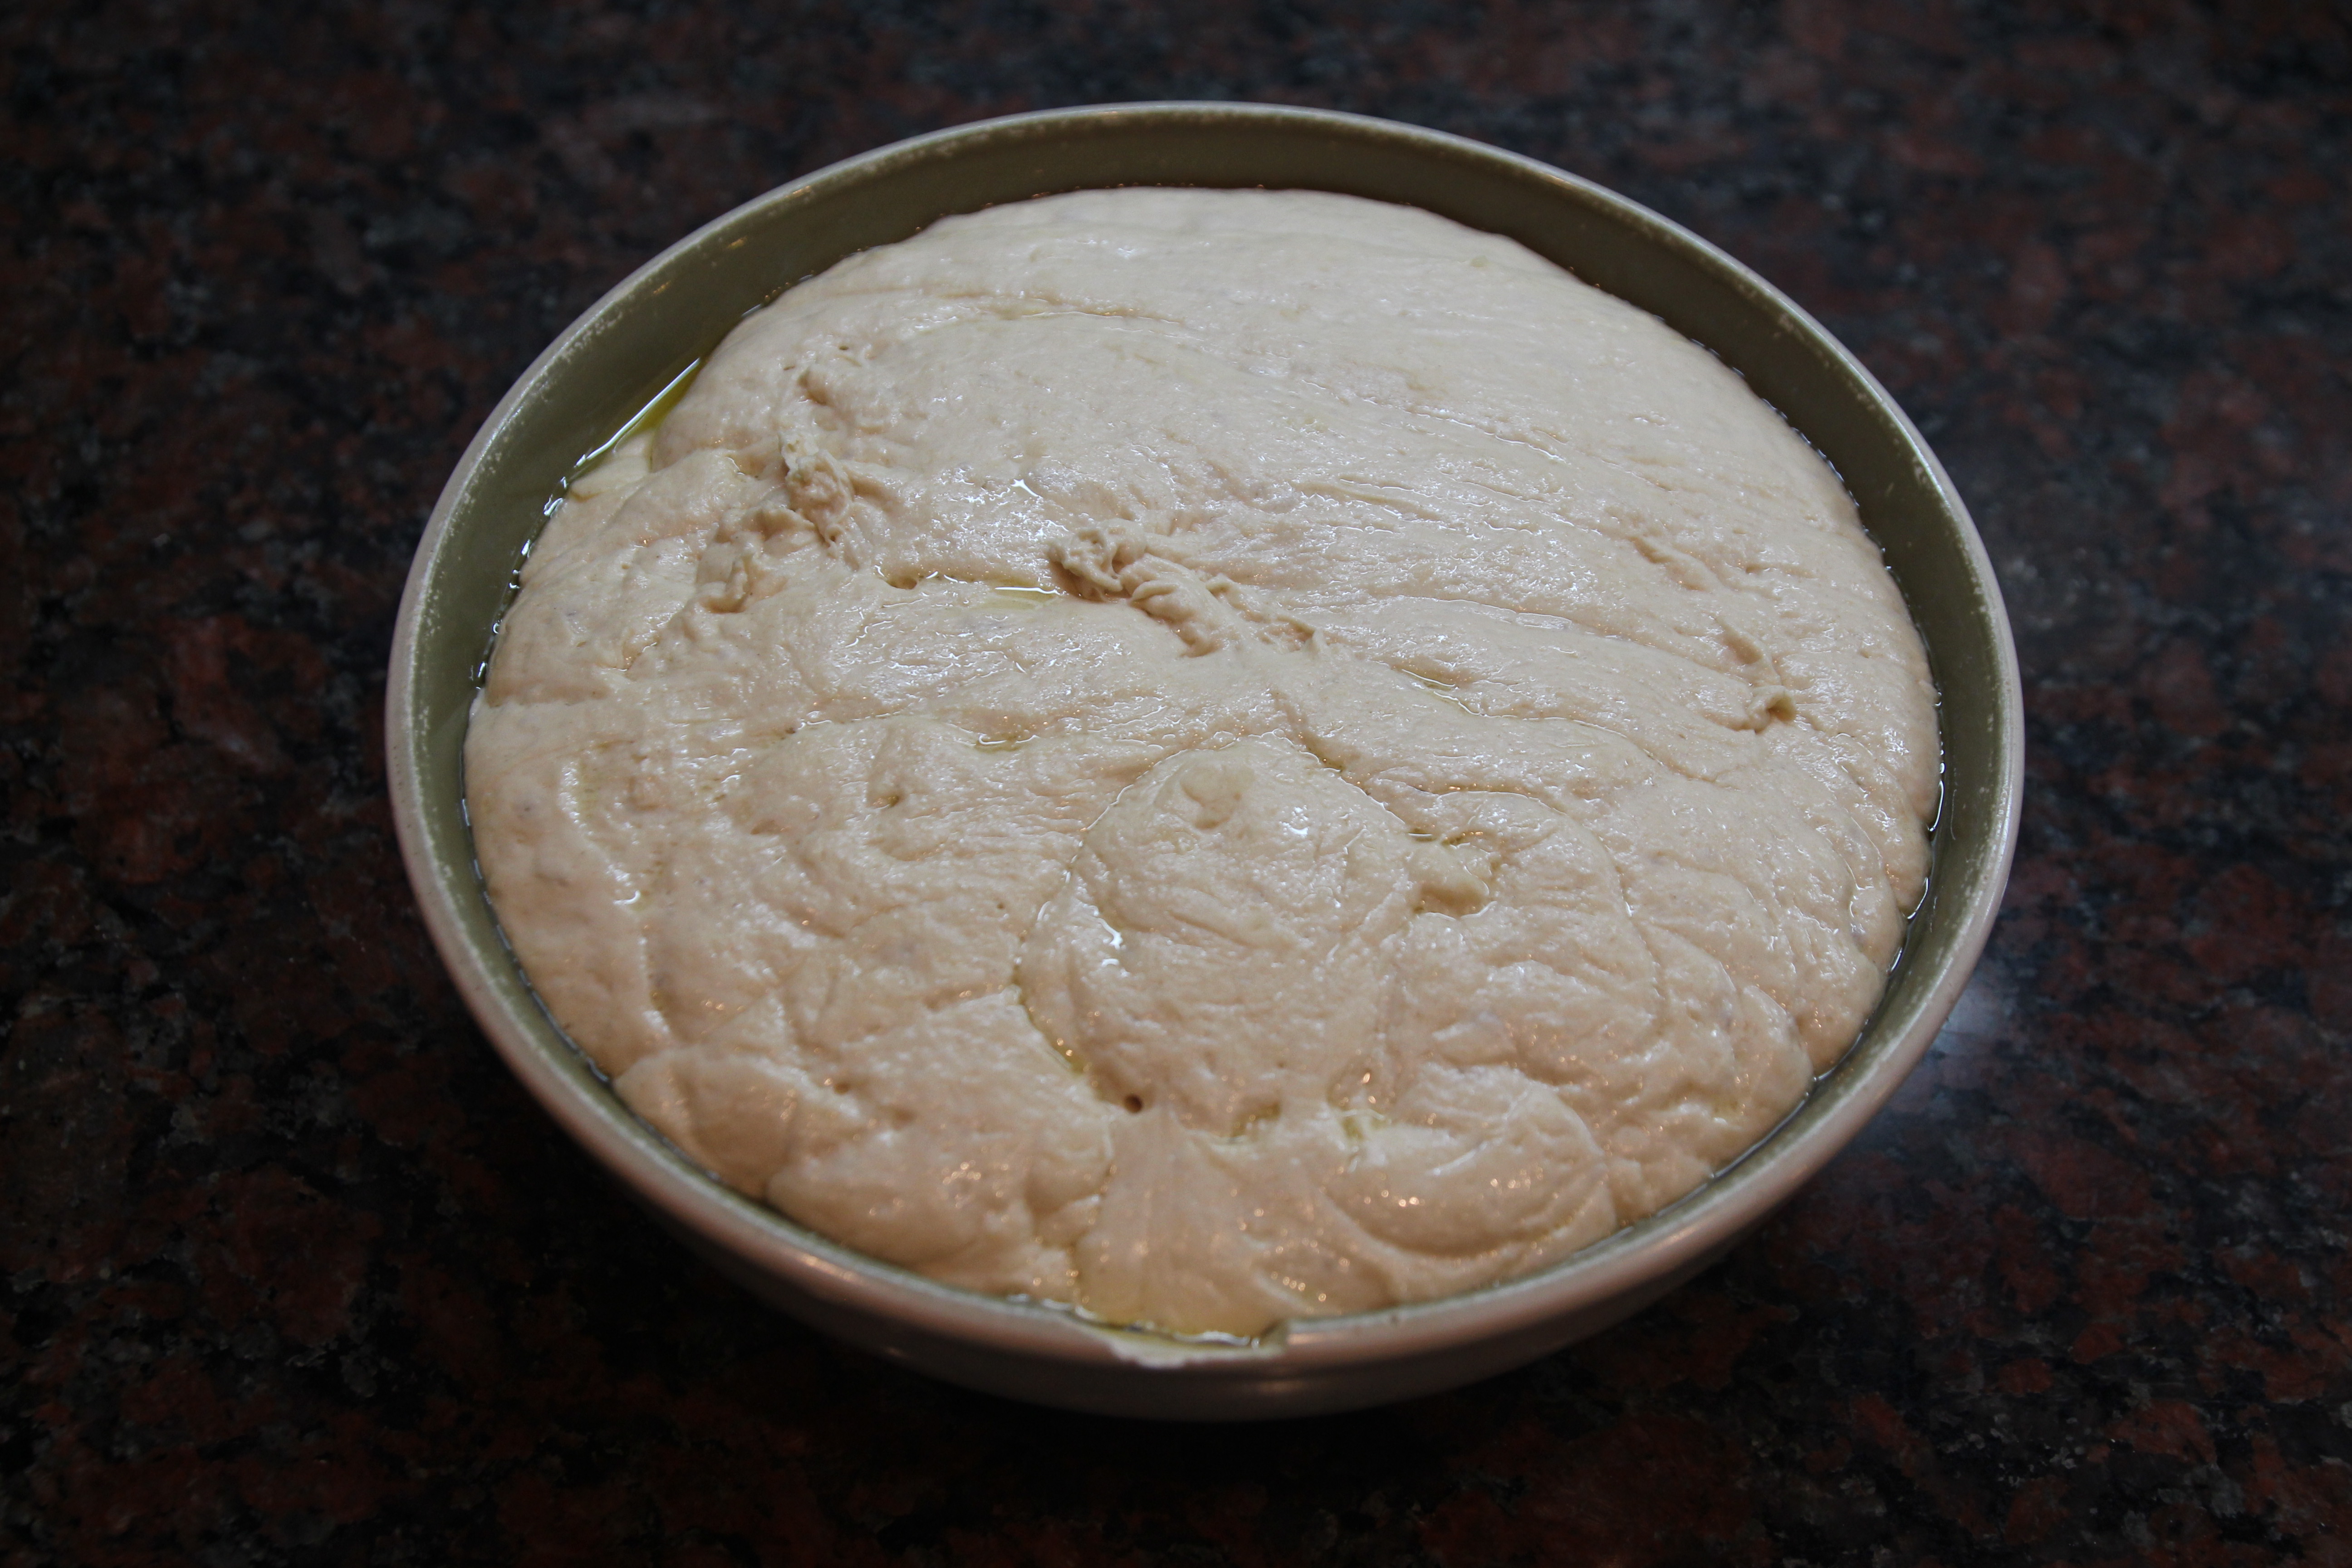
8) Cover with a clean tea towel and allow it to rise for 1 hour.
9) Punch the dough down, turn it over, cover again and allow dough to raise 40 minutes
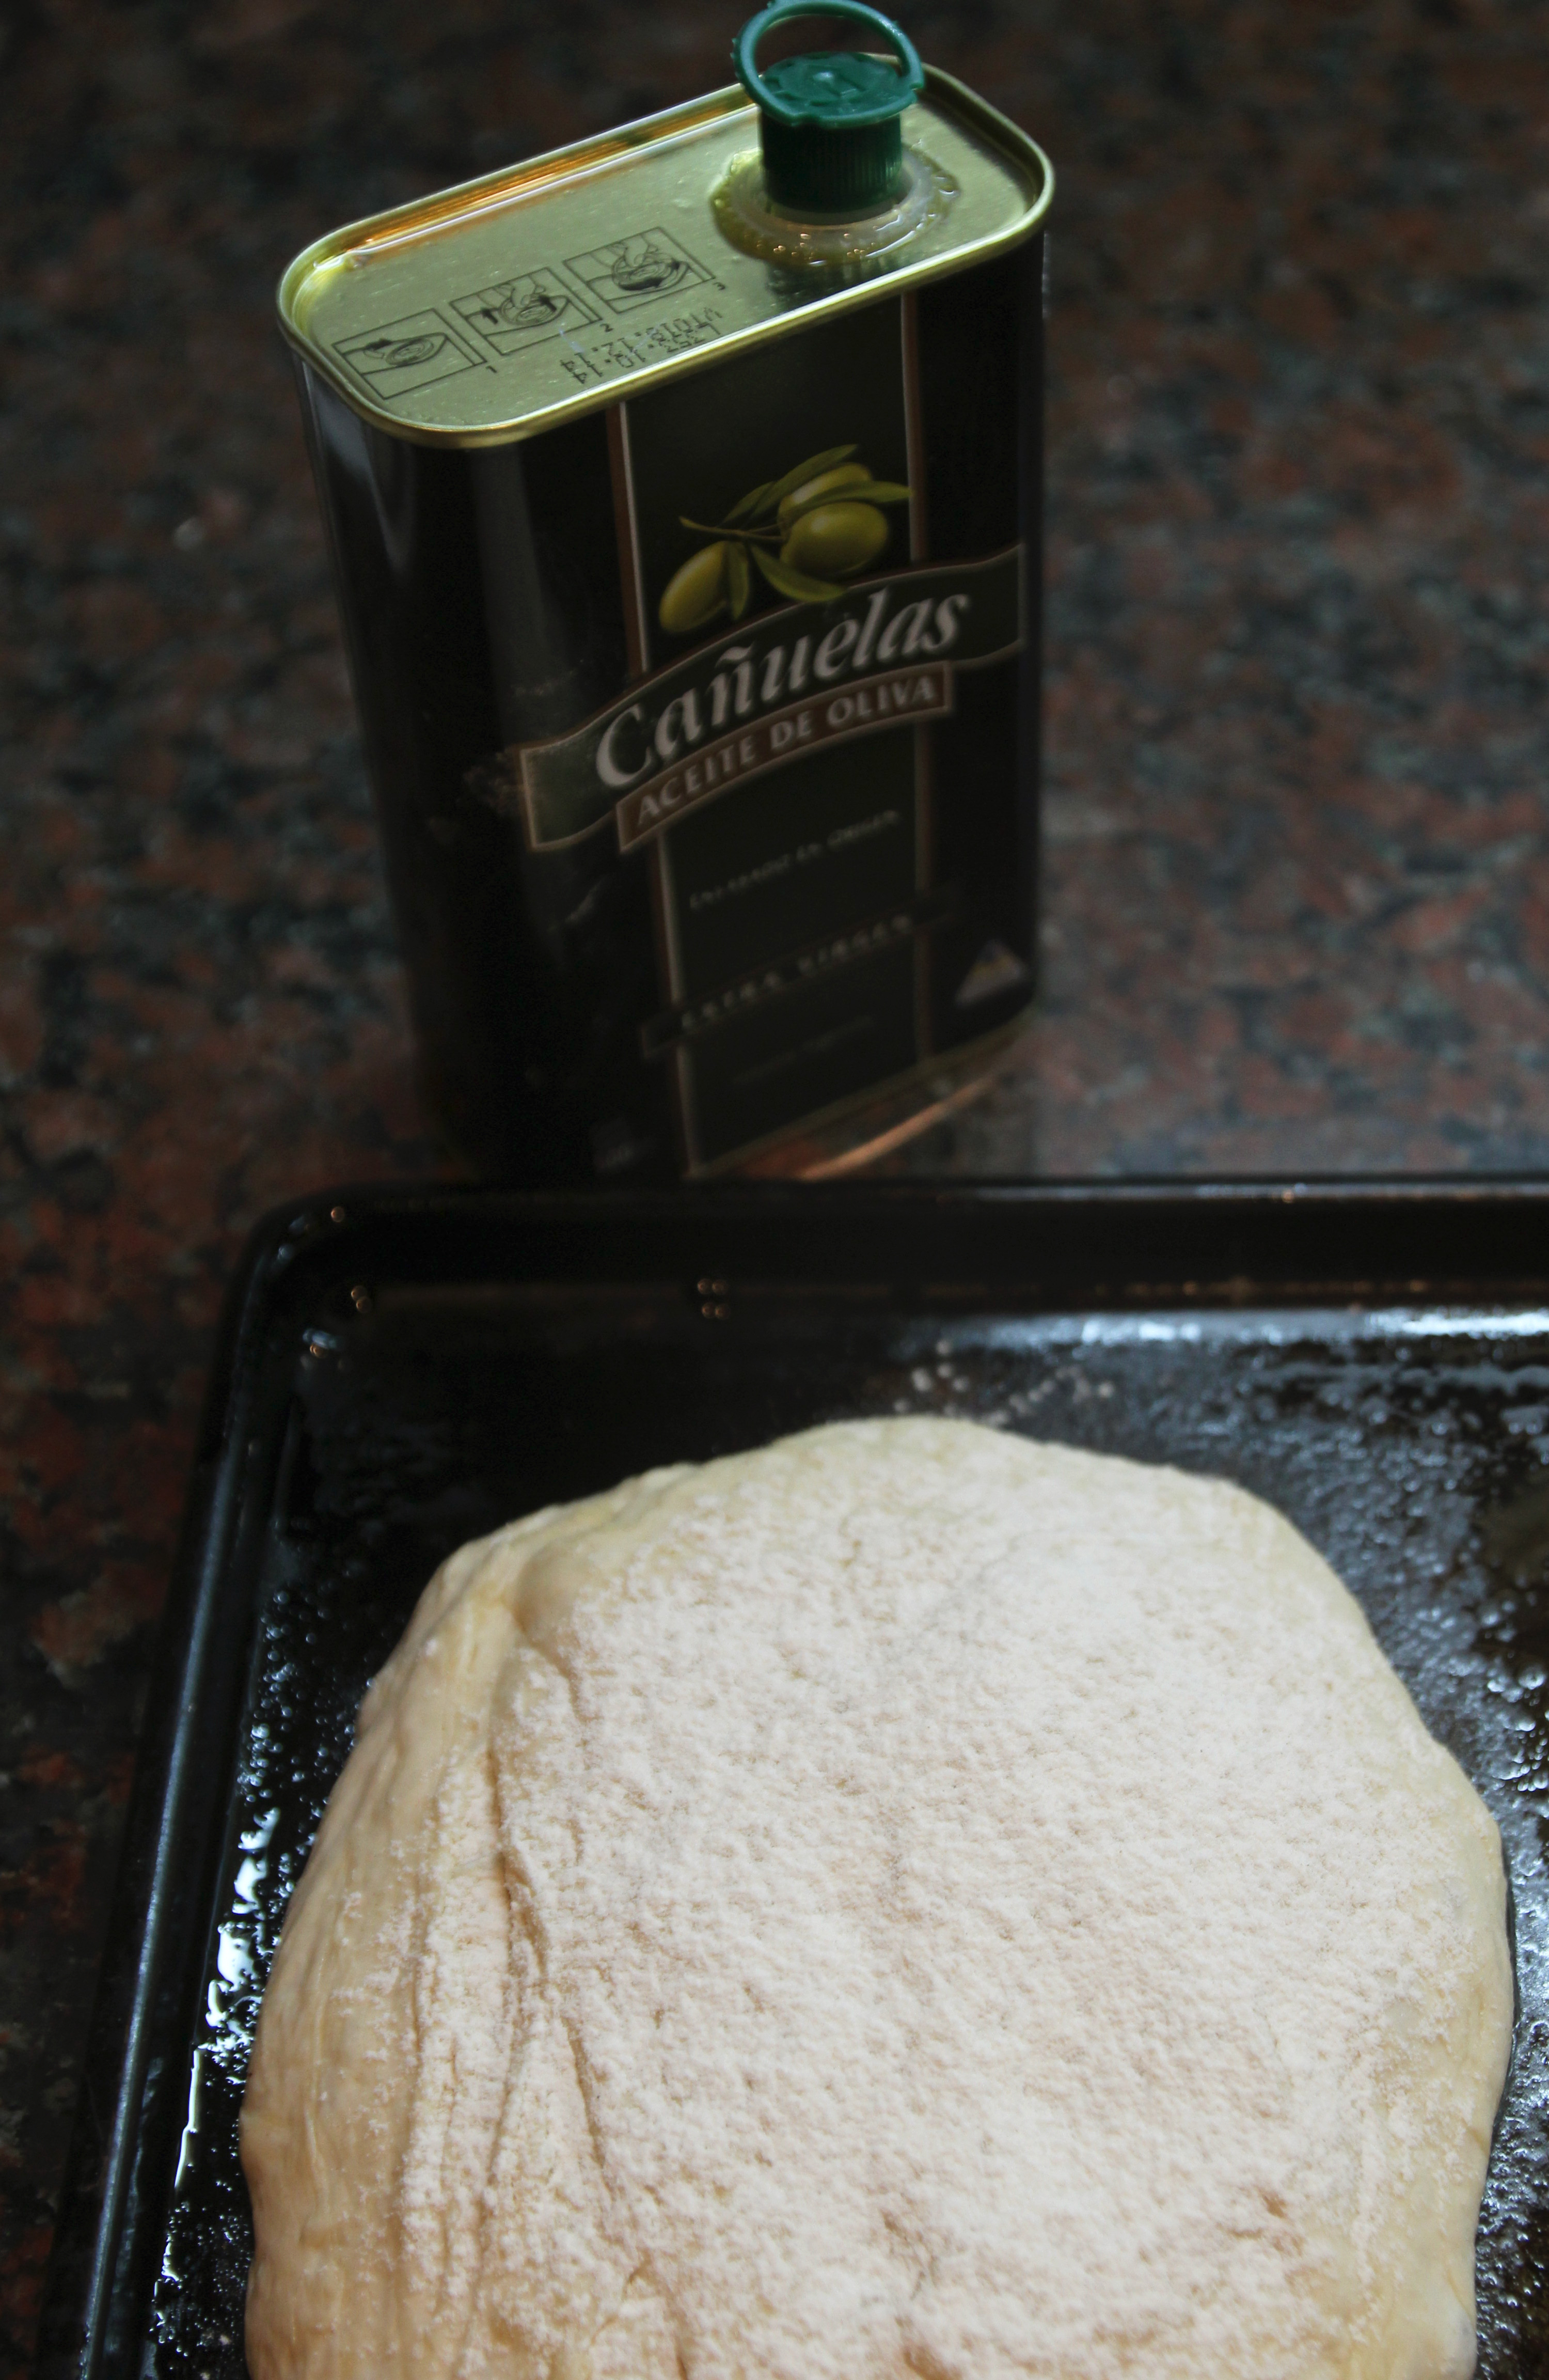
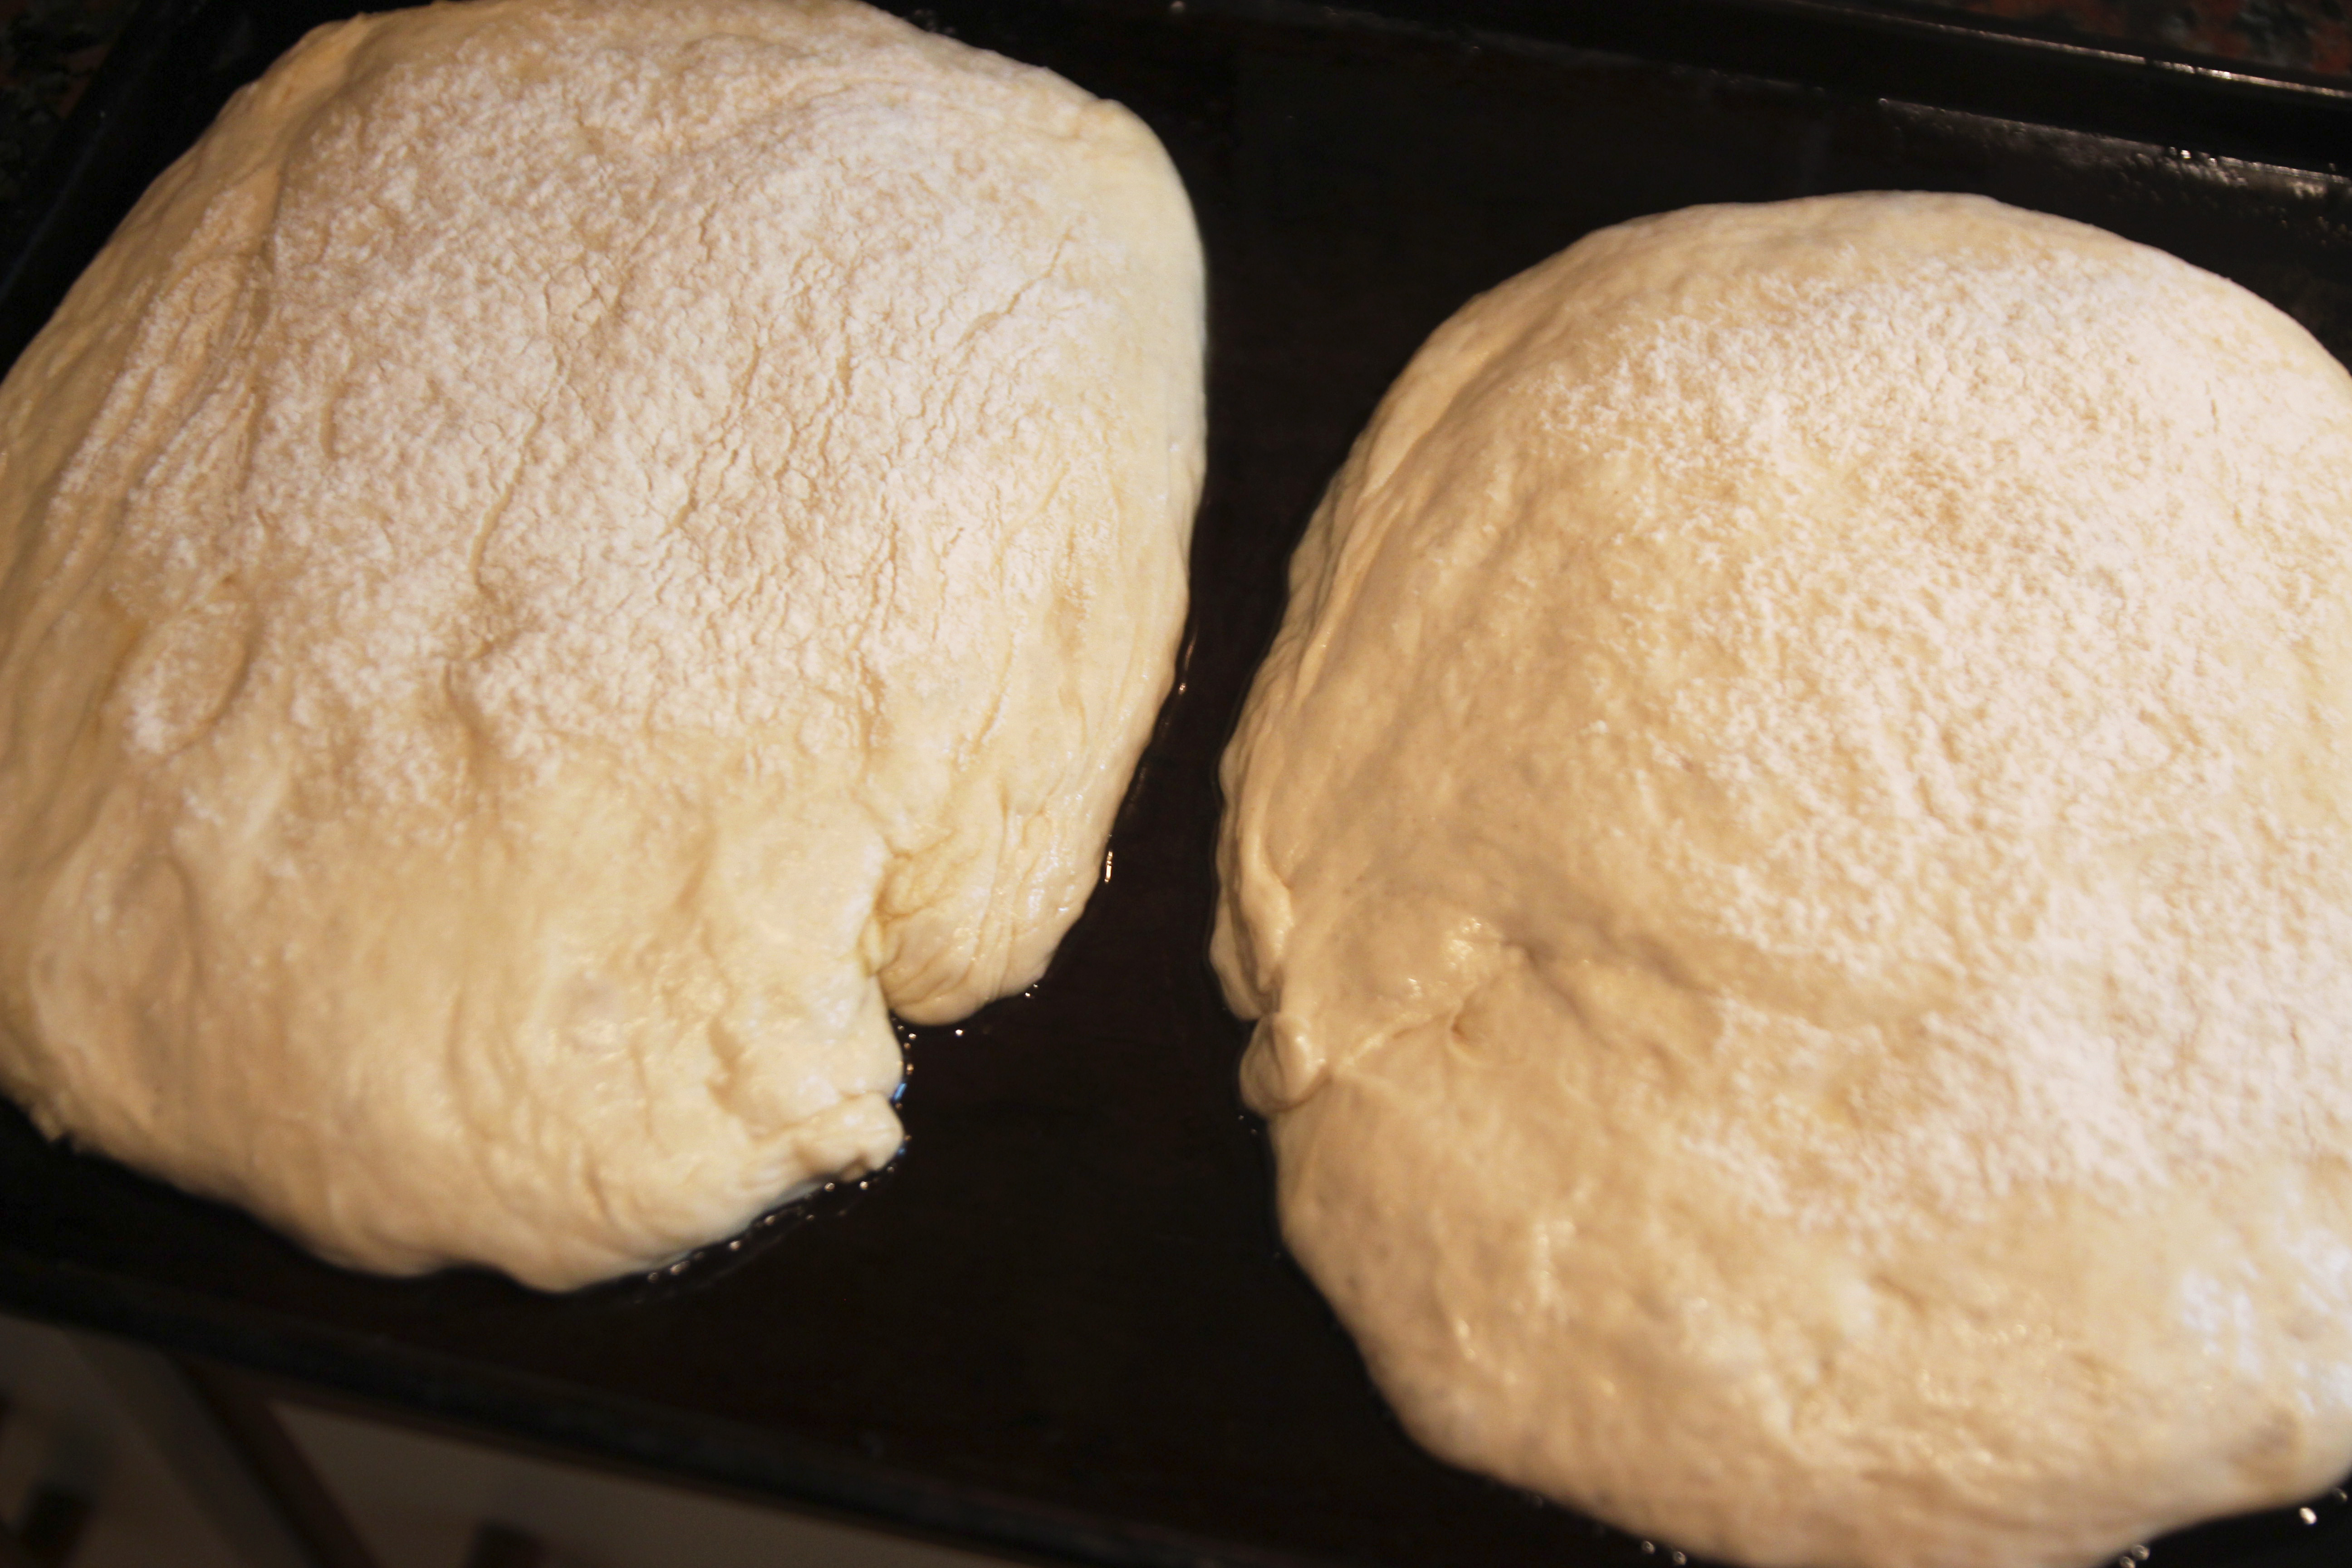
1o) After 40 minutes, turn dough out on to flour surface and split dough into 2 roughly equal pieces.
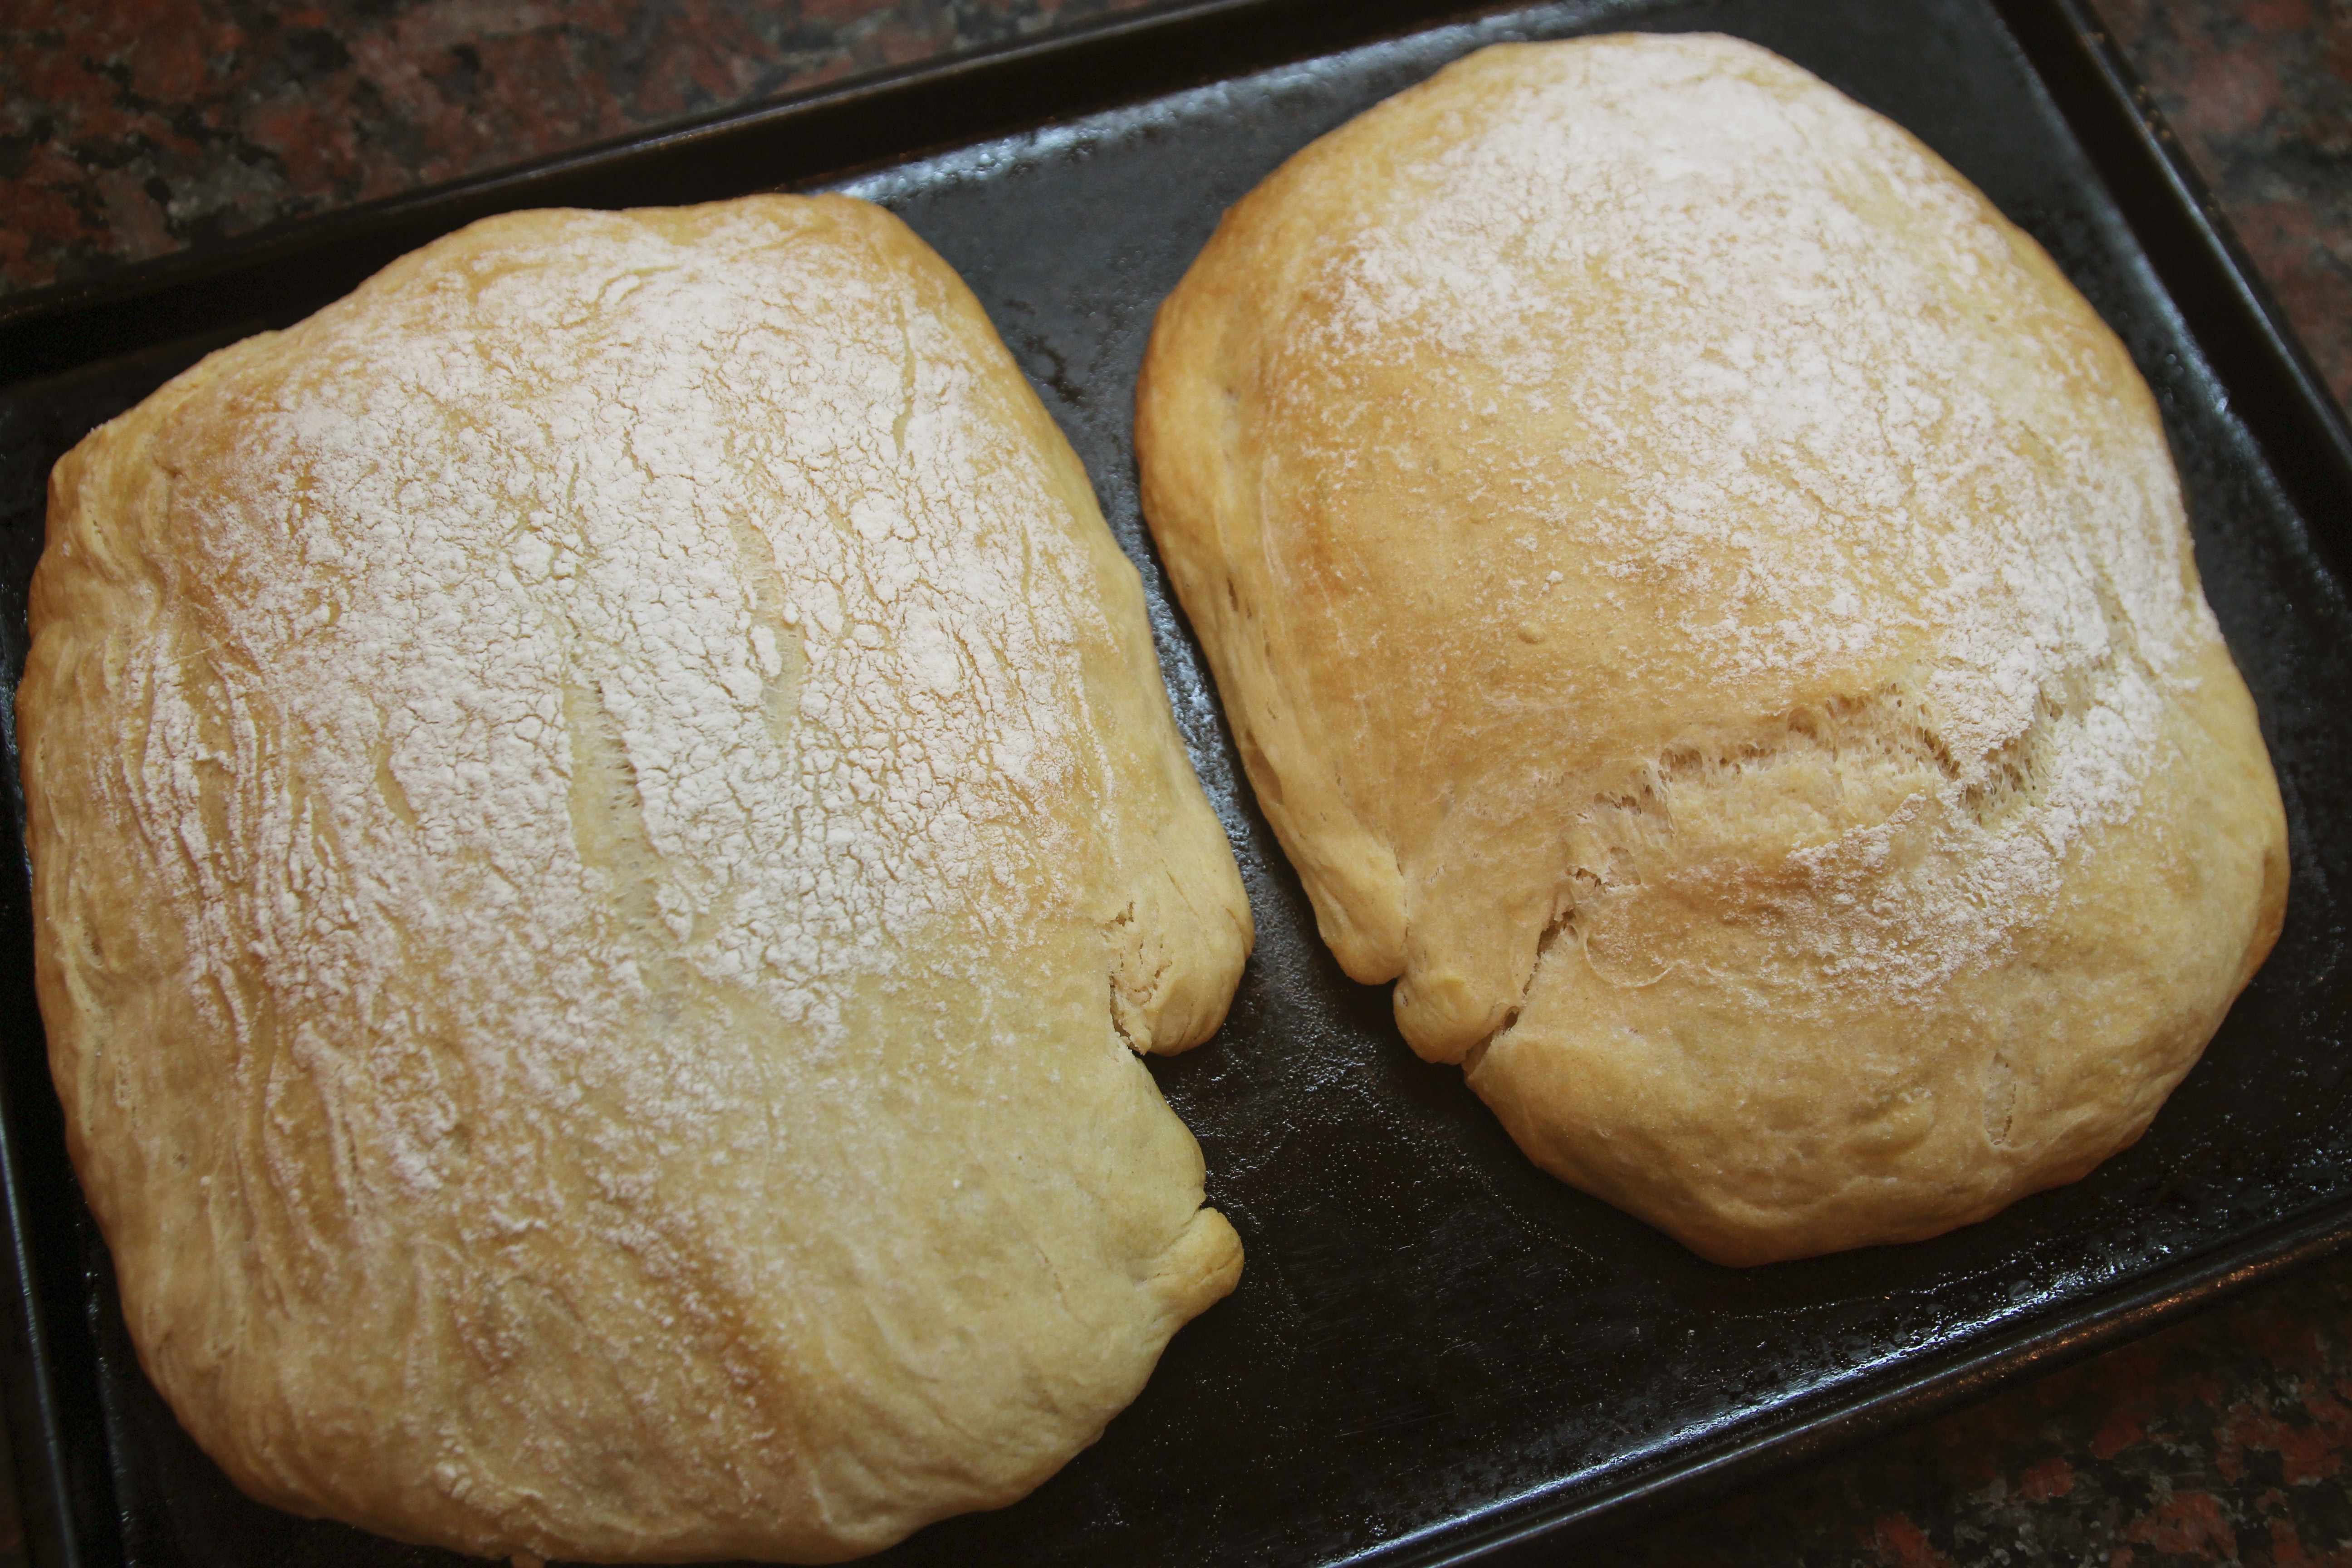
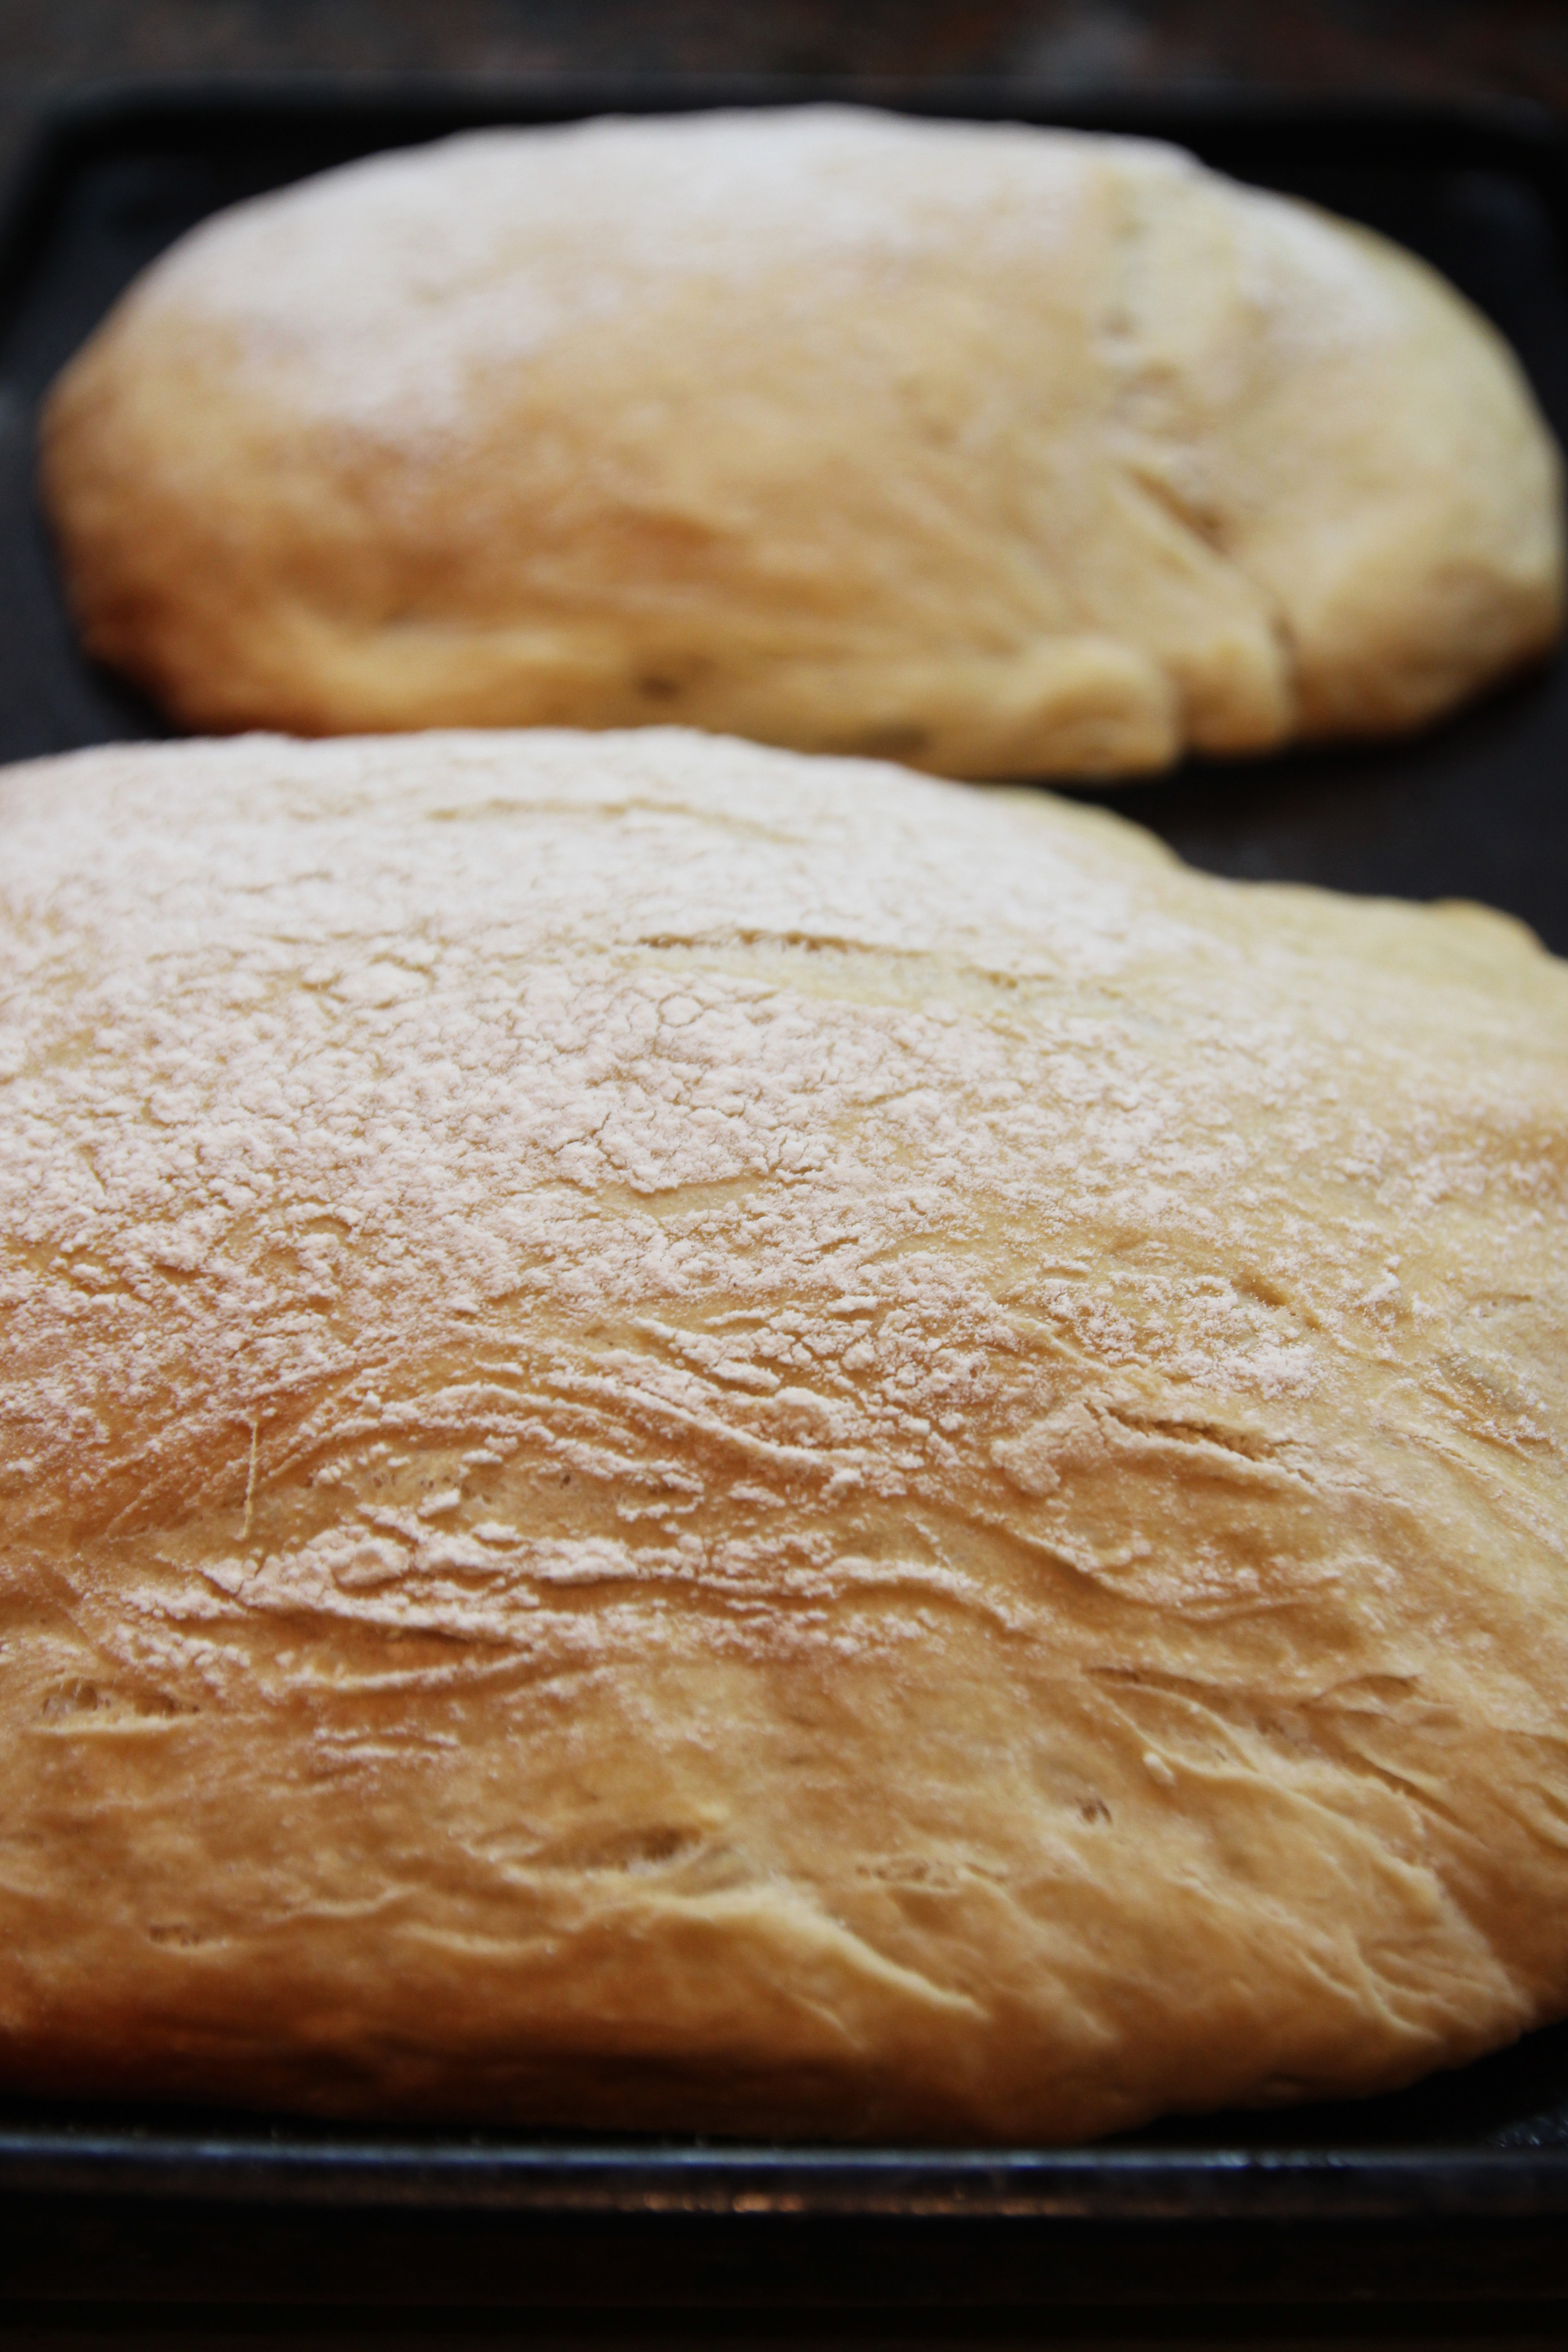
11) Shape the dough into 2 loaves, and sift flour over the tops, allowing the loaves to rise until doubles in bulk
12) Pre-heat oven to 190 deg cel
13) Once loaves have doubled in size, bake in the oven for about 30 minutes until golden and produce a hollow sound when tapped
* Note: it is perfectly fine if you find the dough very sticky. That’s the way it should be.
Add warm water to yeast, mix well, and allow yeast to soften for 10 minutes:
In another bowl, mix flour and salt together:
Once yeast is soft and frothy, add olive oil and mix:
Add flour and salt mixture to yeast mixture:
Knead dough for 10 minutes (dough will be soft and sticky):
Pour enough olive oil to coat a bottom of a clean bowl, and place bread dough in bowl coating the bottom then turn it over so all of the dough is covered:

Cover with a clean tea towel and allow it to rise for 1 hour:

Until it almost doubles in size:
Punch the dough down, turn it over, cover again and allow dough to raise 40 minutes:
After 40 minutes, turn dough out on to flour surface and split dough into 2 roughly equal pieces. Shape the dough into 2 loaves, and sift flour over the tops, allowing the loaves to rise until doubles in bulk:
Once loaves have doubled in size, bake in the oven for about 30 minutes until golden and produce a hollow sound when tapped:
Hello dear, my husband was telling me about this bread. He used to eat it a lot in Spain. He promised to make it for me but then got too busy! I decided to try ur recipe and surprise him 🙂 I used whole wheat flour and followed ur steps exactly. It turned out just soooooooo delicious! Thank u for this great recipe!
Hi Afra! So glad to hear that it turned out well! I should definitely try making it with whole wheat flour like you did too 🙂 thanks for stopping by and best of all, thanks so much for your feedback! have a great week!
Hello again, well dear I love your blog! I tried another recipe today that is the mandarin cake and again with whole wheat flour…Oh my! I loved it, I expected it to be a bit bitter because of the skin but noooooooooooo it’s just amazing and I will make it again! Thank you for the unique recipes you post 🙂
WOW! so cool that you’ve tried TWO recipes already, and even cooler that both turned out great for you!! Thanks so much for your encouragement Afra!!
You are most welcome!
My friends came over yesterday and I served the orange cake…They loved it 🙂
I want to try the other recipies as well, I’m excited about one walnut brownies recipe that you have posted…I will let you know how it turns out ‘if I don’t give birth before trying it ;)’
Ahhh! you’re going to have a baby soon! Congratulations! Well, hopefully you can try those walnut brownies before your baby arrives! If not, you can always eat them after giving birth!! sending love! xoxo, felicia
Thanks a lot Felicia…I will try to make it in the next few days! xxx
Those loaves look wonderful! I’m planning on making my own ciabatta soon but I admit I’m not really looking forward to trying to work with such a sticky dough, ha. Maybe I’ll make it when I’m at my parents’ house and let the bread machine do the kneading 🙂
Hello Bonnie! great that you dropped by!
Actually, I’ll tell you, don’t be afraid of the sticky dough! It’s just about 10 minutes of getting your hands dirty and sticky (during the kneading time). After that, it’s easy, I used a wooden spoon to punch it down after the yeast started working, and used the same wooden spoon to flip it from one side to the other!
Unless you’re planning to visit your parents soon, I suggest that you should just try making your own ciabatta (without the bread machine!) after all, half the fun is getting your hands in dough and kneading it! 😉
Hope you enjoy how it turns out!! Good luck! and if you try it, let me know how it turns out!!
Thanks for your reply! You’re right, of course, and I do love kneading bread. Maybe I’ll try it both ways!
I really appreciated your post!
I have my ciabatta daily ,since I adore this kind of bread,and the idea to obtain this result at home is kind of inviting….
(do you know that ciabatta means ” slipper” or “chancleta” ?)
Hello Anna! Nope! I didn’t know ciabatta meant slipper! Haha now that u mentioned it it sure does look like a flat slipper!! Enjoy ur day Anna! Baci!
Felicia, made me think of my nana. Her grandfather owned a bakery and I grew up listening to stories of him baking bread in the early hours of the morning. Nana was certain that heaven smells like baked bread! ha! Your photos are stunning and as always, your instructions are easy to follow. I look forward to making this ciabatta. It’s one of my favorite breads, you know. By the way, I made the breadsticks! Oh my goodness, they were yummy! The second time around, we had some left over and by the second day, they were a little hard. Not that we minded since they were crunchy and the perfect accompaniment for soup but I wanted to ask you if this has also happened to you. Please let me know! Hugs! 🙂
Hello Bella! I’m certain that Heaven smells like freshly-baked bread too! Everytime I pass by a good bakery in the works, I feel momentarily transported to heaven. Hmm, I can’t remember if the breadsticks were hard by the second day, but possibly, if you didn’t store them in an air-tight container? I suggest that the breadsticks be eaten on the same day (same hour if possible) after being baked!
And if you make this ciabatta bread too, which was ohhh so good, do note that this recipe yields two large loaves. So if you want your bread to be fresh, I’d say make just half the recipe so you don’t have to keep leftovers. Three of us finished up one loaf, so you get the point. But anyway, I made the entire recipe, and reheated the leftover second loaf in the oven about two days later (i’d stored it wrapped in a paper towel and then inside a plastic freezer bag), and it still tasted good, just a little bit drier than it was the day it was baked! I strongly suggest that you eat the bread on the same day you bake it!! (of cos, if there is leftover bread, you can always toast it in the oven with olive oil drizzled over and make croutons)!! Let me know if it works!
Well done! Lovely post – made me feel very loved…
Thanks for dropping by Michelle! And thank you soo much for your very assuring and easy-to-follow recipe! – It’s hard not to feel like your voice is guiding me when I’m working on the dough! Hope you had a good day at the farm!
You can’t give up with bread!! I know it’s tough and it gets so frustrating – but look at you and your ciabatta! That bread is not easy for most people but yours looks perfect Felicia and I bet it tasted warm and comforting. 🙂
Aww, you are the sweetest my friend. Thank god this ciabatta bread recipe worked out – not sure how many more bread failures my stomach & self-esteem could take! Have a beautiful week dear!