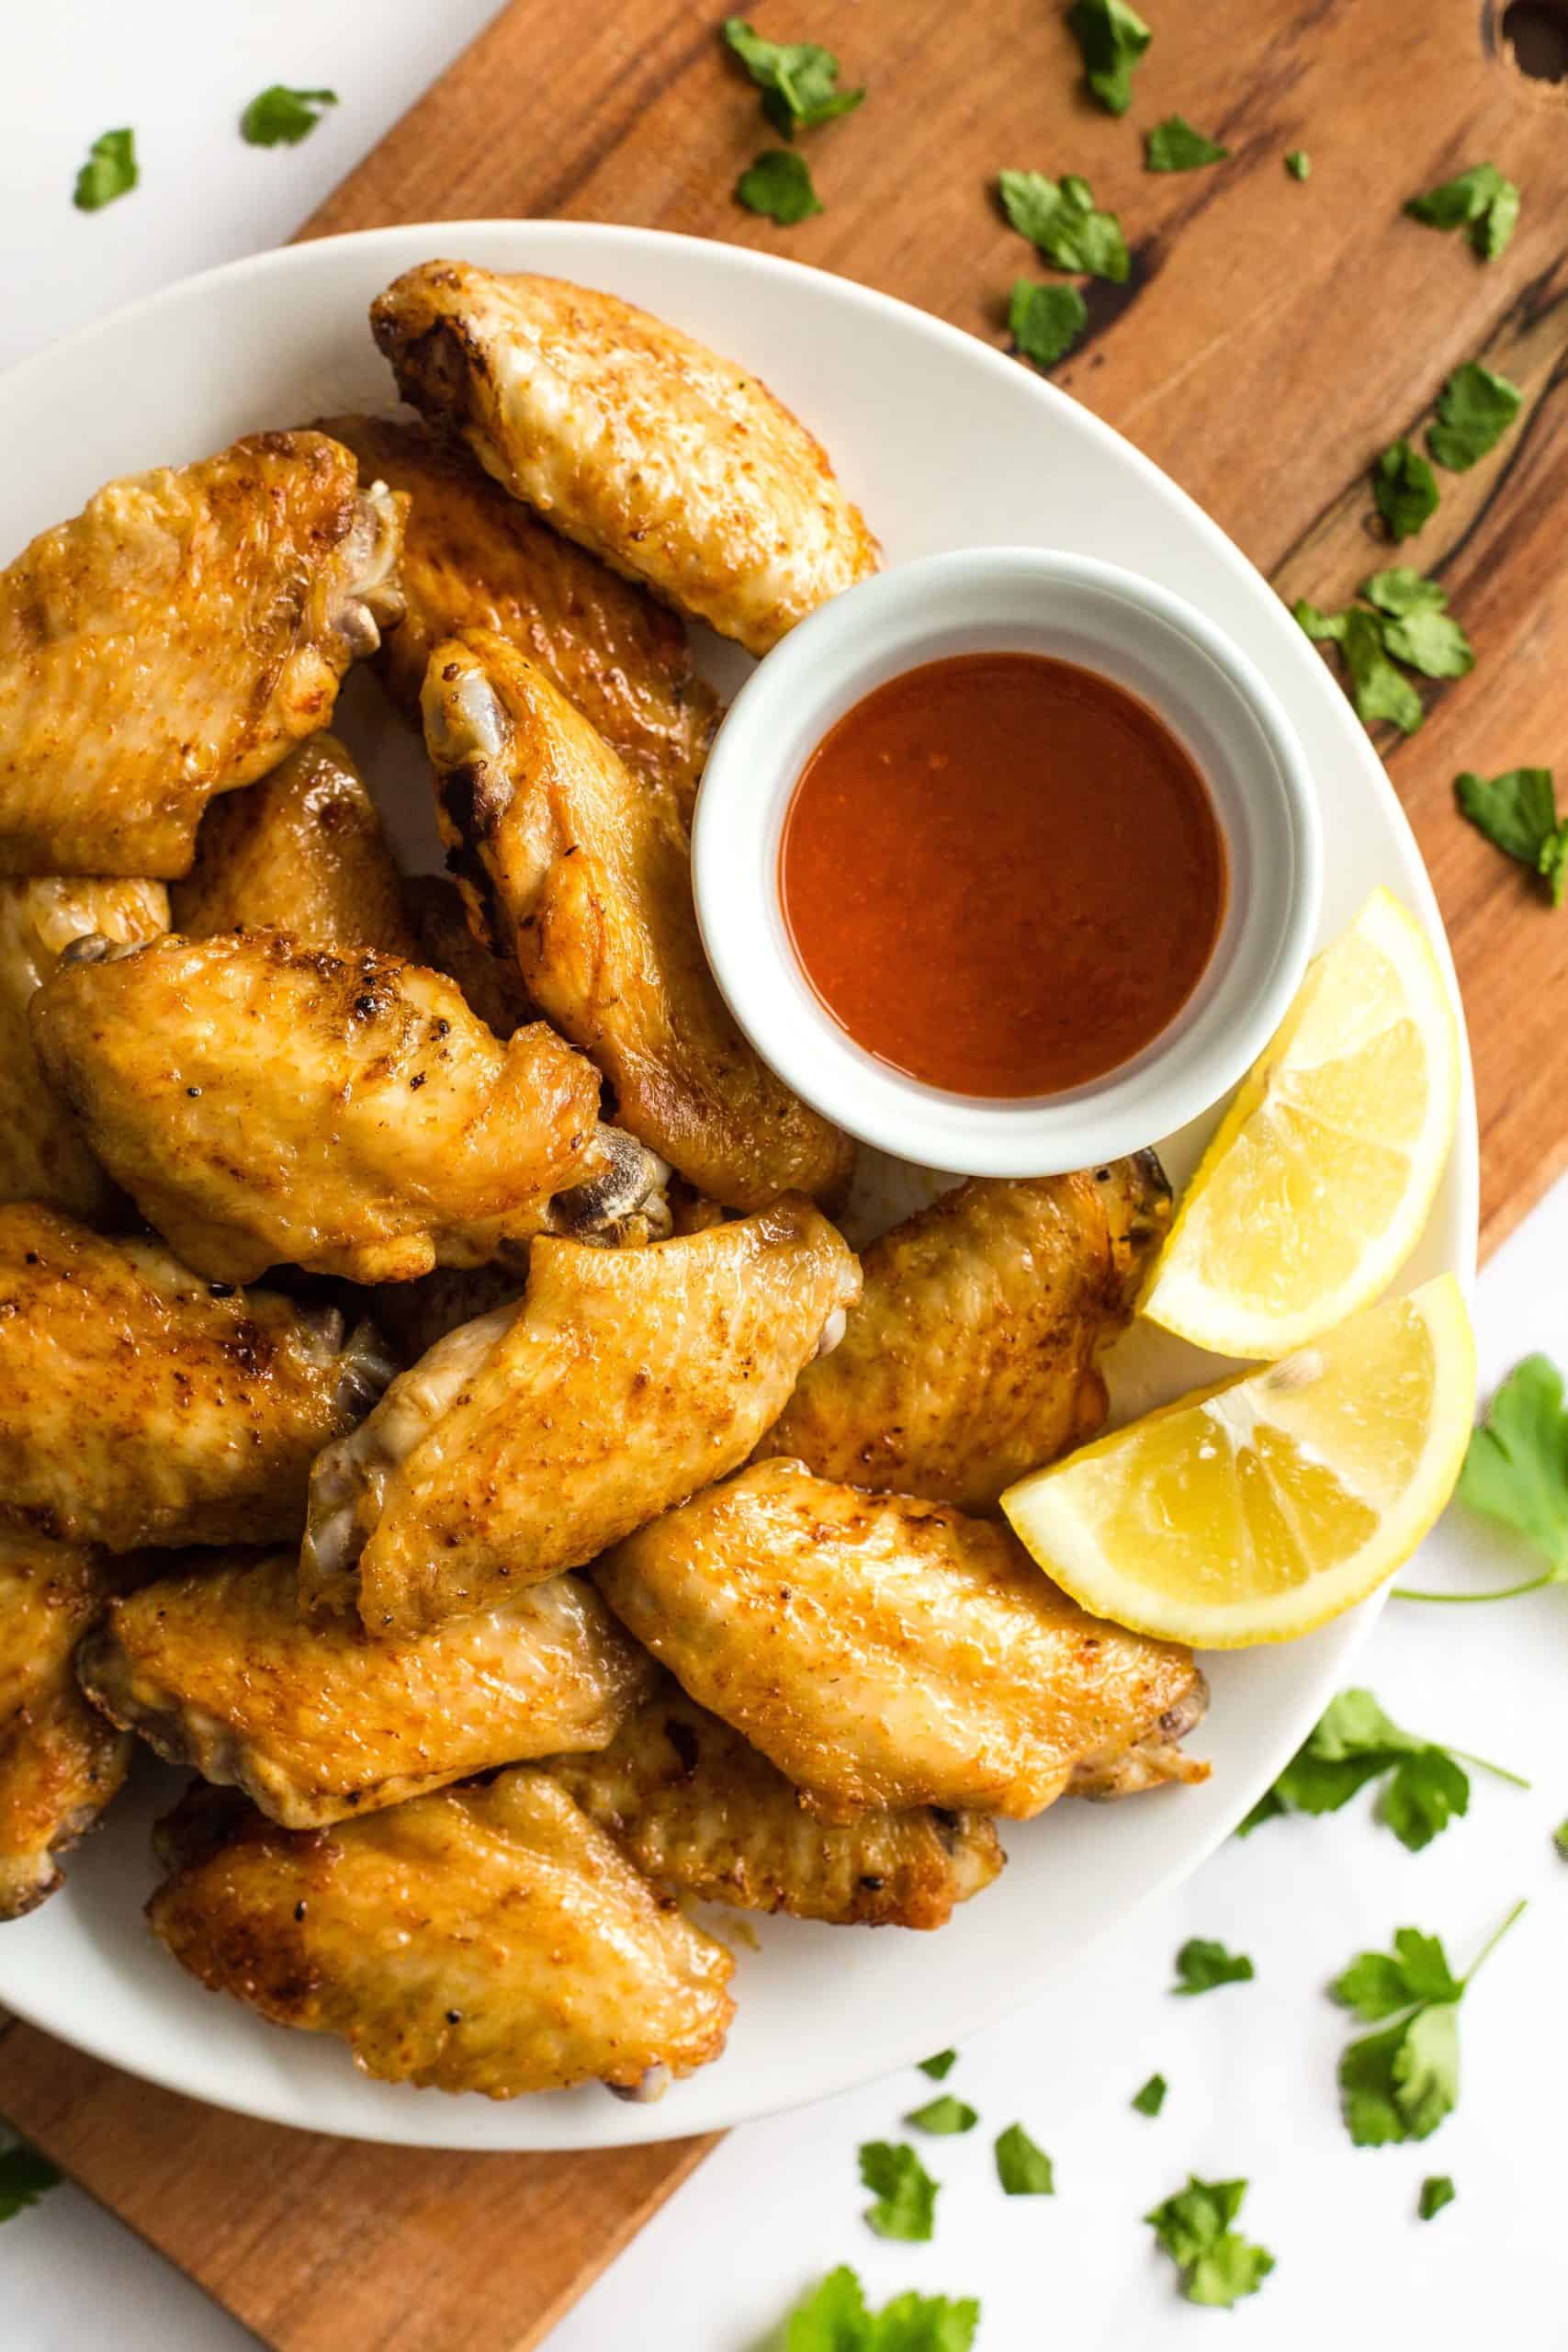
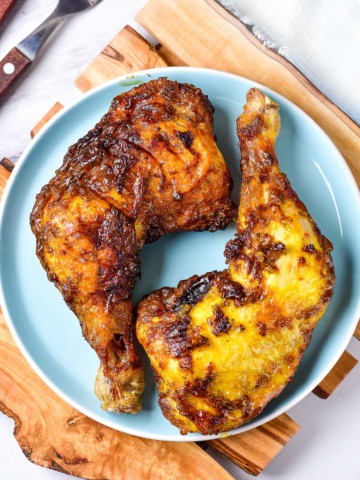
The easiest and crispiest air fryer chicken wings you’ll ever make. These are seasoned with paprika to give them a little heat, crispy outside, juicy inside, and taste so good you’ll be making them on repeat! Since they’re gluten-free, dairy-free, and paleo-friendly too, these air fryer wings make the perfect snack or appetizer. Best eaten with our homemade Sriracha chili sauce or this 5-minute easy garlic aioli.
Want to save this recipe?
Enter your email & I’ll send it to your inbox. Plus, get great new recipes from me every week!
We finally bought an air fryer!
Last year was the year of kitchen appliances (for us at least).
In a short span of a couple of months, we bought a slow cooker (I know, we were super late to the slow cooker game, and we love it – especially because this slow cooker lentil curry makes dinner such a breeze). Most recently, we finally purchased an air fryer after debating for the longest time.
We were first introduced to the concept of the air fryer two years ago when we were living in Washington D.C., and our friends Cat and Luis raved about their latest kitchen acquisition. At that time, we weren’t very convinced, but two years later, on a quest to eat better and healthier, with less oil in our foods, we decided it was time to give the air fryer a try.
What is an Air Fryer? How does it work?
Basically, an air fryer is a smaller version of the convection oven, and cooks by circulating hot air around the food using the convection mechanism.
A mechanical fan circulates the hot air at high speeds, producing a crispy layer on the food via the browning mechanisms of caramelization and the Maillard reaction.
Because of the hot air circulating, significantly less oil is required to achieve the same crispy and browning effect while air frying compared to what an oven or the deep fryer would require. Since you use very little oil, foods cooked in the air fryer are healthier compared to other methods of cooking.
The Easiest Fried Chicken Wings
When I was young, one of my favorite foods was fried chicken wings – and the best part about the wings was the crispy texture of the skin that had browned to golden perfection. Yet because I don’t like deep frying foods (it makes the house smell like a fast food restaurant, and uses copious amounts of oil), I’ve never actually made fried chicken wings at home.
When our air fryer arrived, one of the first recipes we tested was this one for air fryer chicken wings, and these turned out so good even Juan was hooked!
Why This Recipe Works:
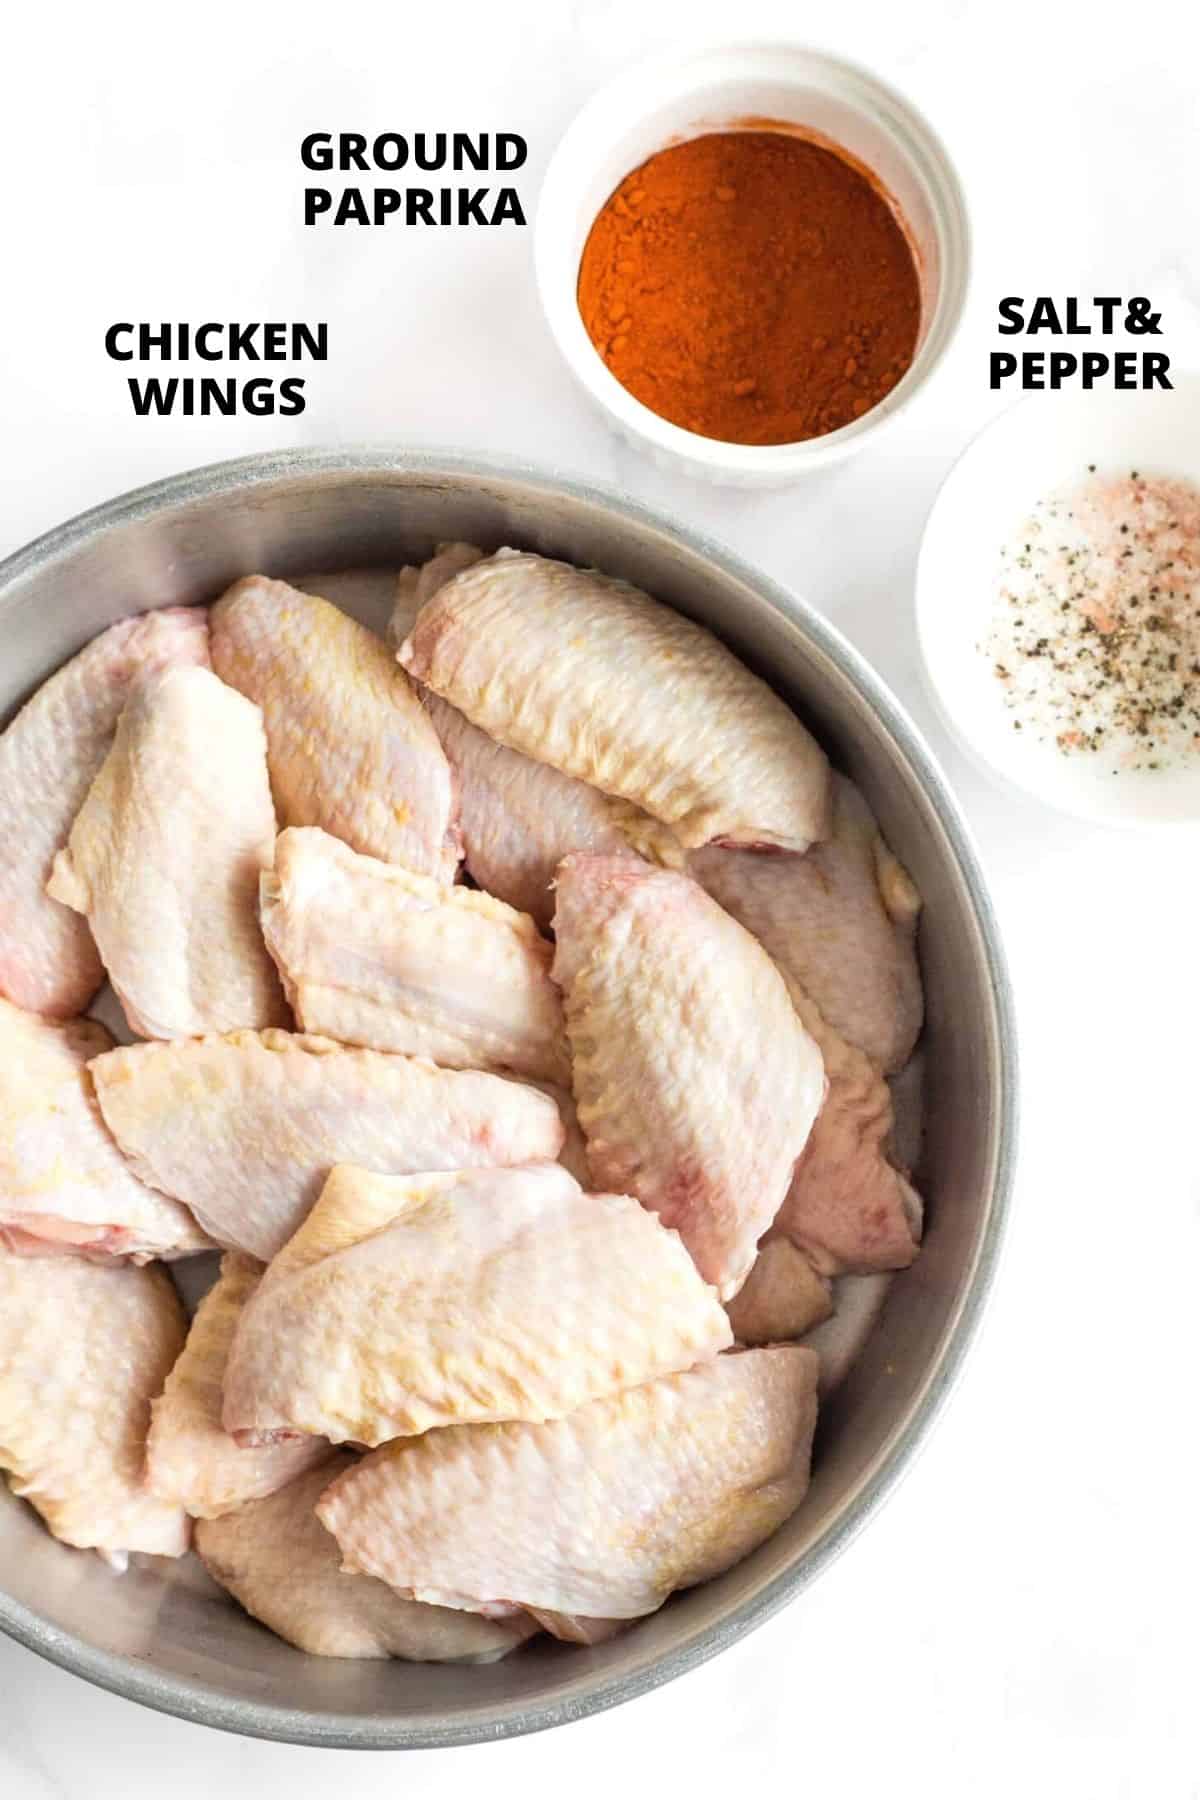
- Simple Ingredients Required: All you need are chicken wings, ground paprika (for a little heat), salt, and pepper.
- Super Easy to Make: These chicken wings are so easy with the help of the air fryer that you barely need to pay any attention to them at all. All you have to do is to flip them over halfway through, but other than that, there’s barely any hands-on time required!
- Perfect Texture: These extra crispy air fryer chicken wings have a crispy skin and are incredibly juicy inside, which makes them a great snack for football season or your super bowl party.
- Ready in No Time: You can whip these chicken wings up in literally less than 15 minutes for a small batch, and 30 minutes for a double batch.
- Totally Gluten-Free and Dairy-Free: The best part is that this air fryer chicken wings recipe is 100% gluten-free and dairy-free, which means that even those with Celiac disease or gluten or lactose intolerances can still enjoy them without any worries!
Ingredients You’ll Need:
Here’s a visual overview of the ingredients required to make the crispiest air fryer chicken wings.
(For exact measurements and quantities, please scroll down to the recipe card at the bottom of this post.)
Ingredient Notes/Substitutions:
- Chicken Wings: If you have a larger air fryer, you could use whole chicken wings and leave the entire wing intact. However, since my air fryer is rather small (slightly more than 3 quarts), I prefer to cut the wings into flats and drums. You can use both flats and drums, but I personally prefer flats and like to leave the drums for making chicken stock instead.
- Paprika/Black Pepper: I like making a simple spice rub with ground paprika and black pepper for a bit of heat. You may also use chili powder if you prefer. However, if you’re not a fan of heat, feel free to leave them out. Alternatively, feel free to add in other spices such as ground turmeric, garlic powder or even lemon pepper seasoning if you prefer.
- Salt: I used normal salt, but you may use Himalayan pink salt, or even garlic salt for extra flavor.
How to Make Air Fryer Chicken Wings (Step by Step):
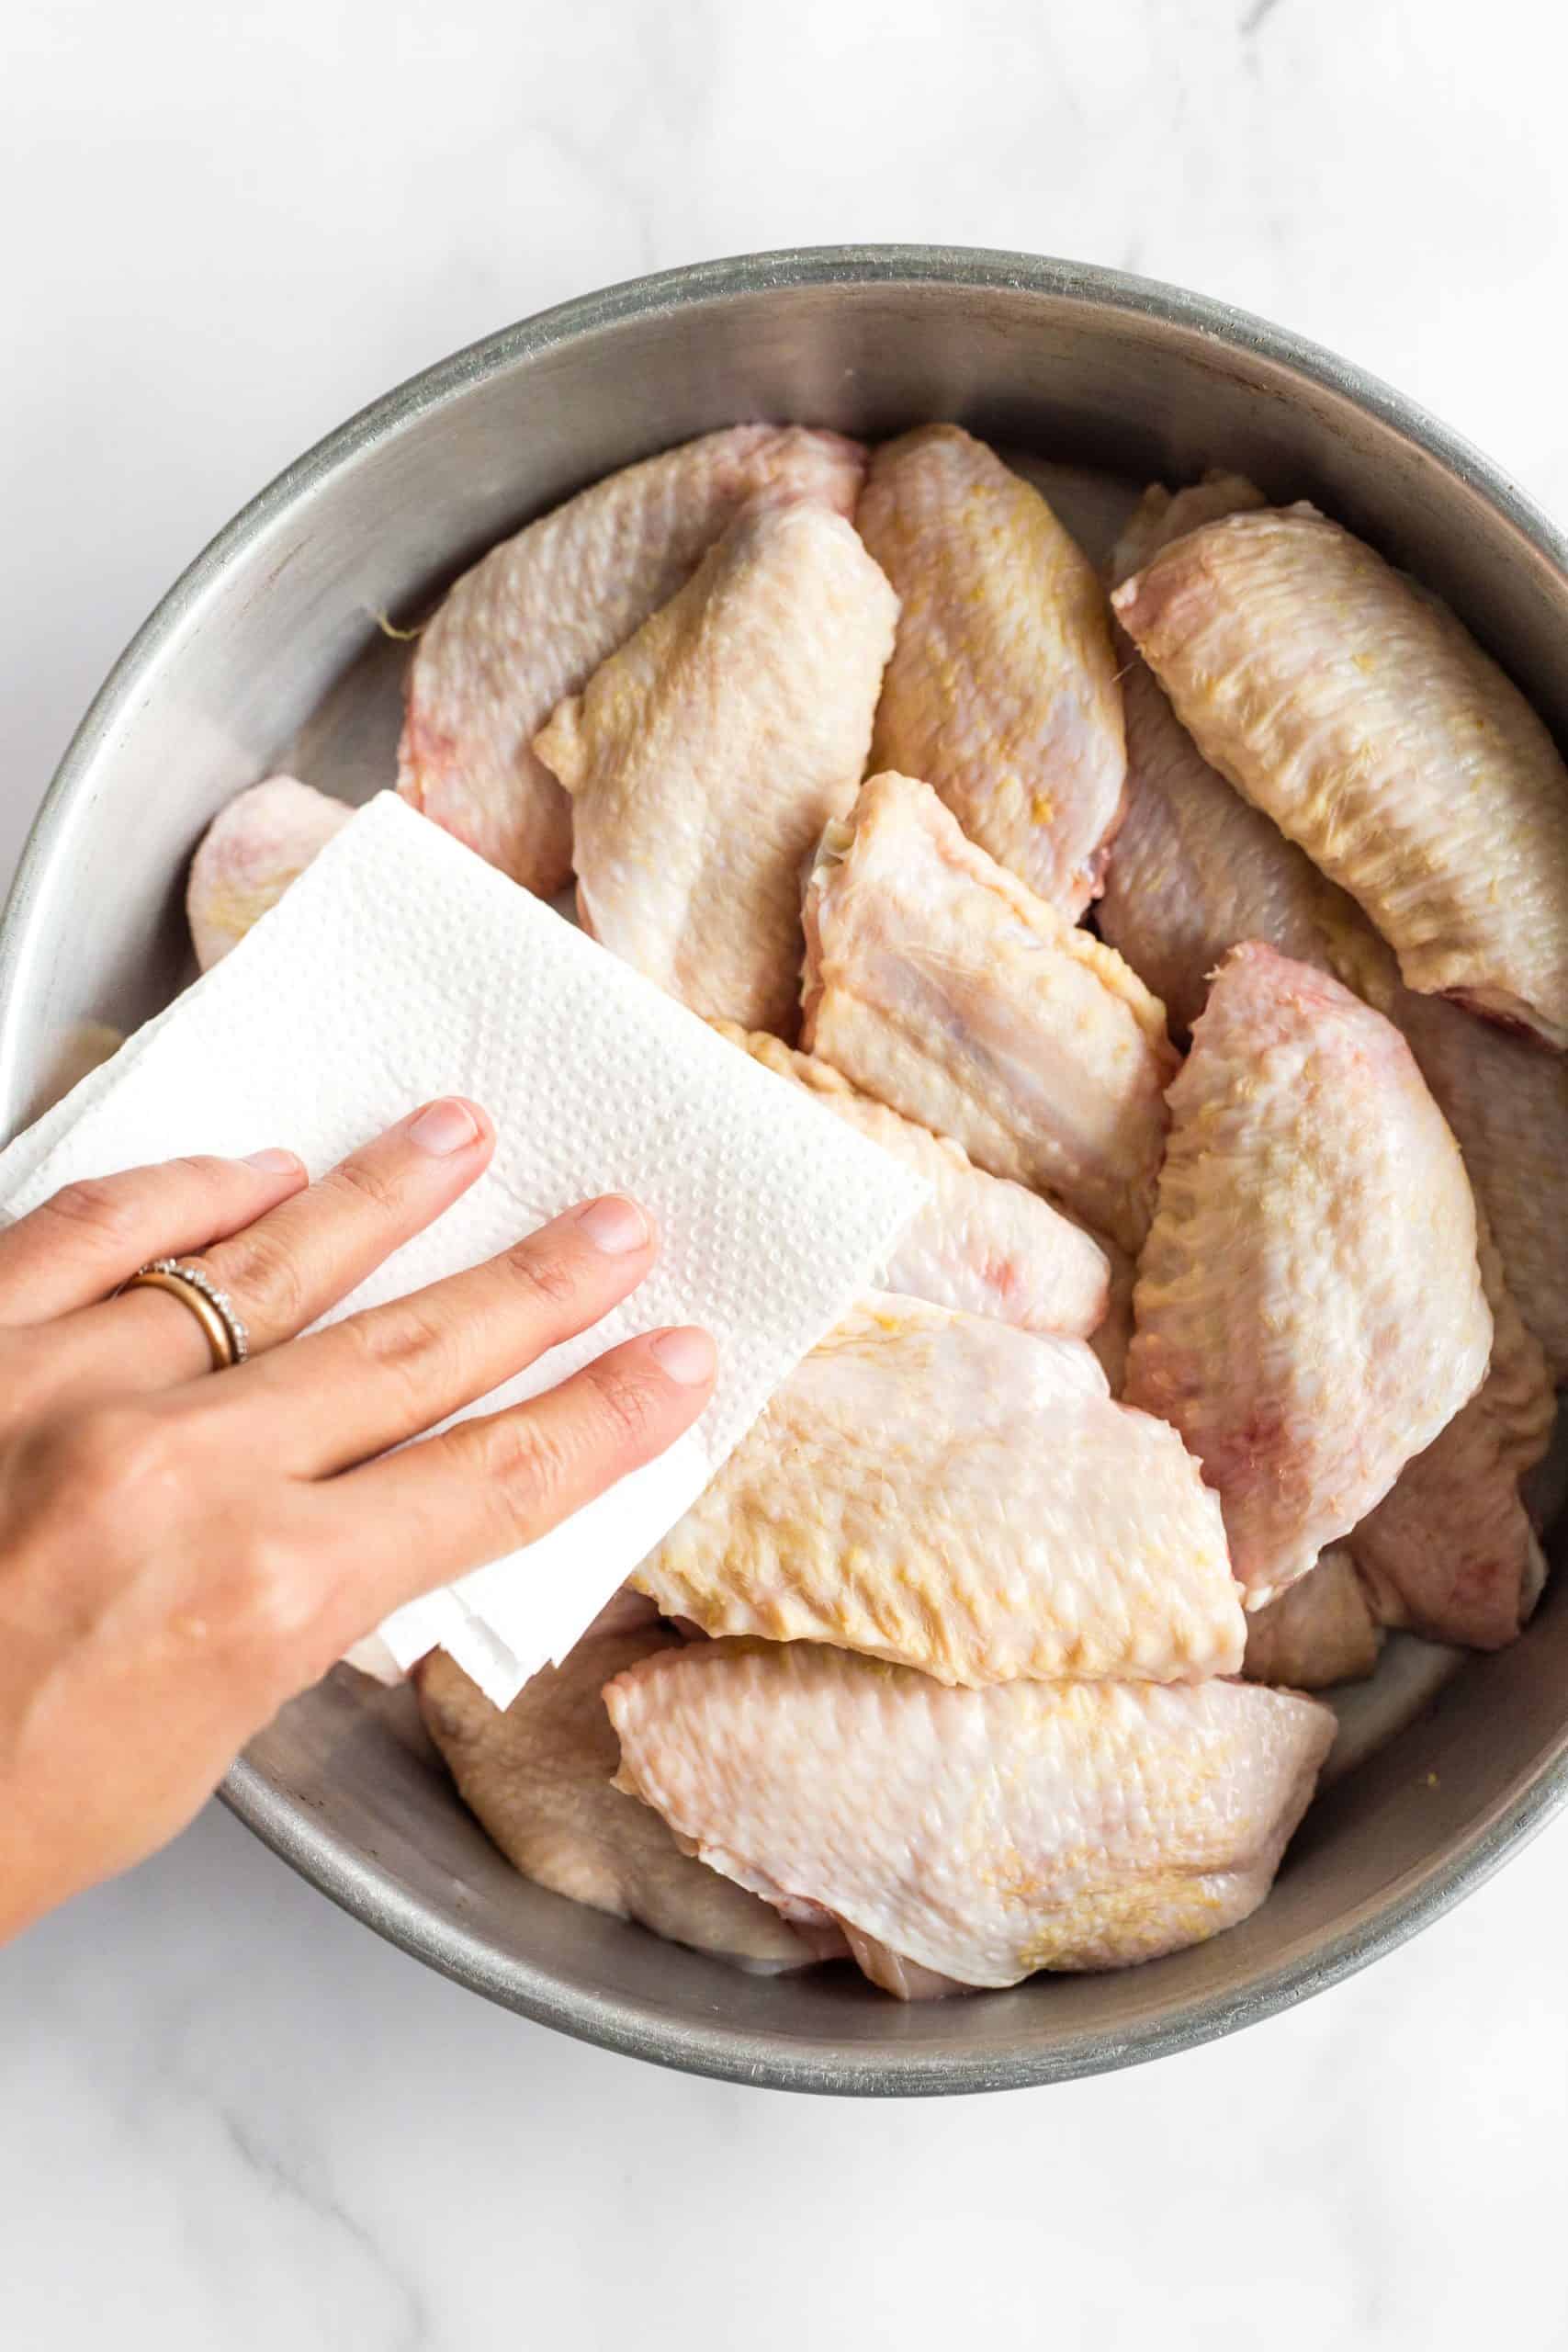
1. Pat the Wings Dry:
Use paper towels to pat the chicken wings dry before placing them in a large bowl.
(Tip: Don’t skip this step! It’ll really bring out the crispiness, and is totally worth the extra 2 minutes of time to pat the wings dry.)
2. Season the Chicken Wings
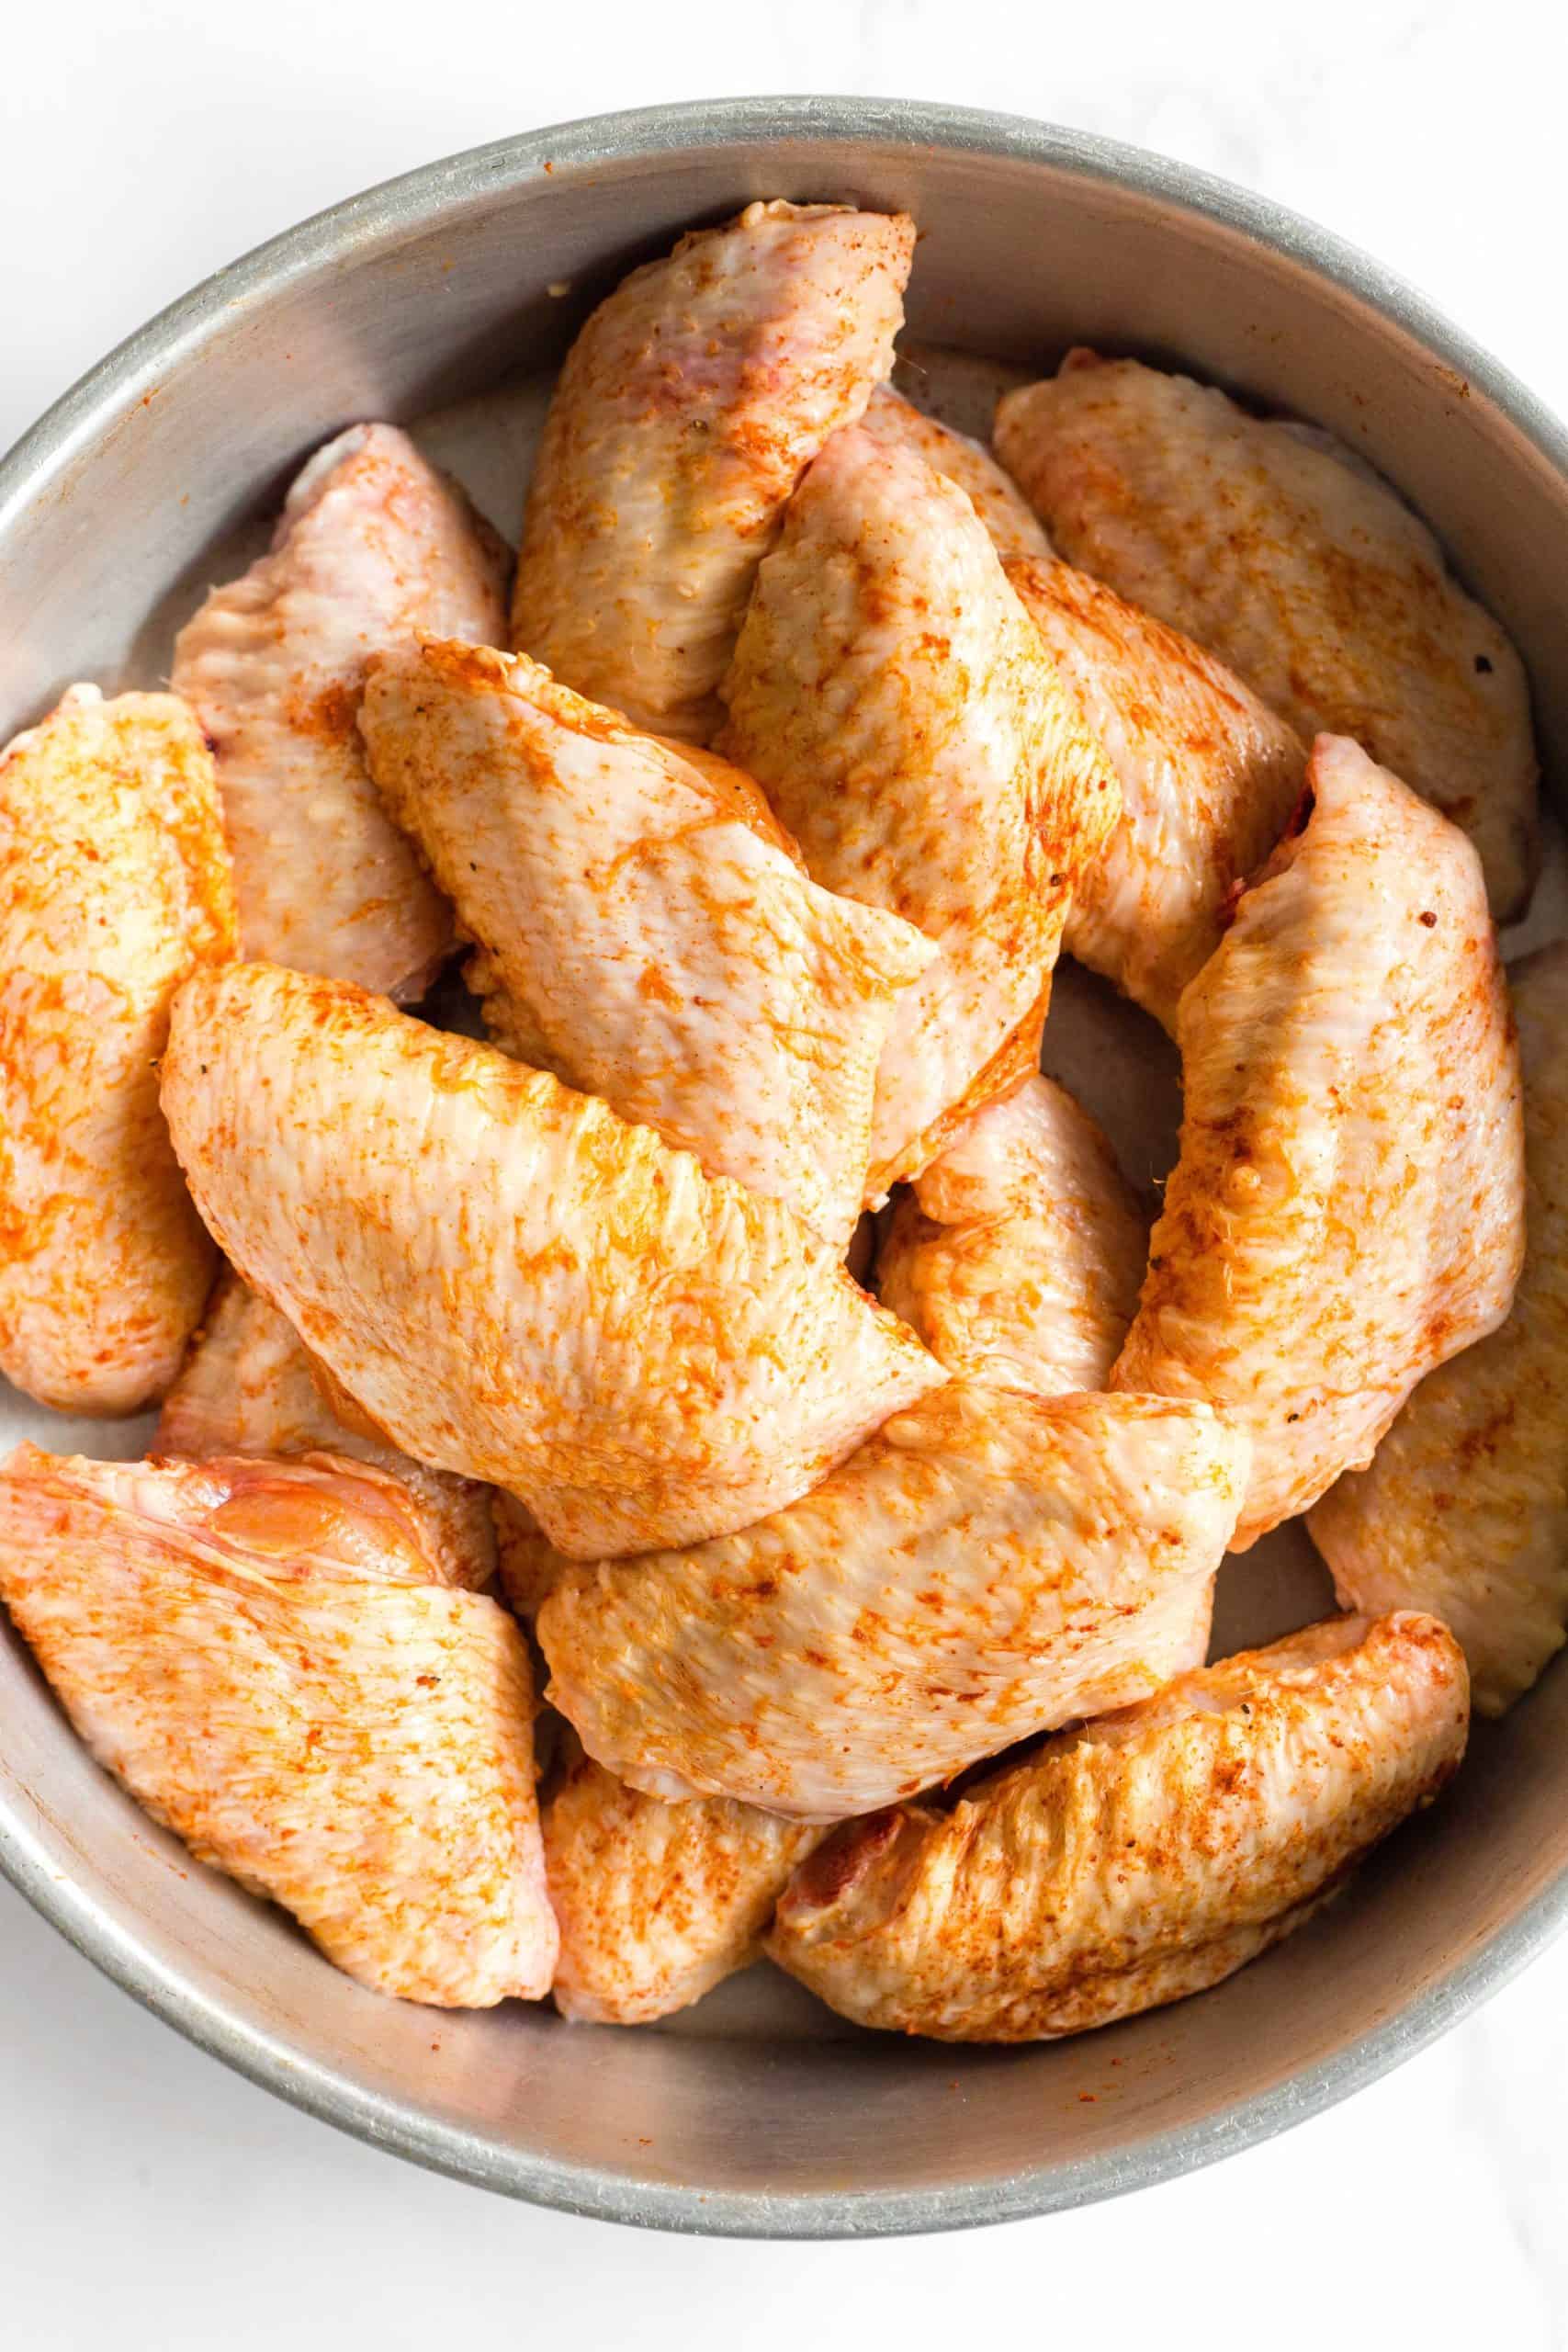
When you’ve finished patting the chicken wings dry, mix the paprika, salt and pepper together and sprinkle the mix all over the chicken wings. Use your fingers to season the chicken with the dry rub all over.
The chicken wings naturally contain fat, so we don’t need extra oil to cook them (unlike deep frying, which requires a lot of oil).
3. Grease Air Fryer Basket and Preheat:
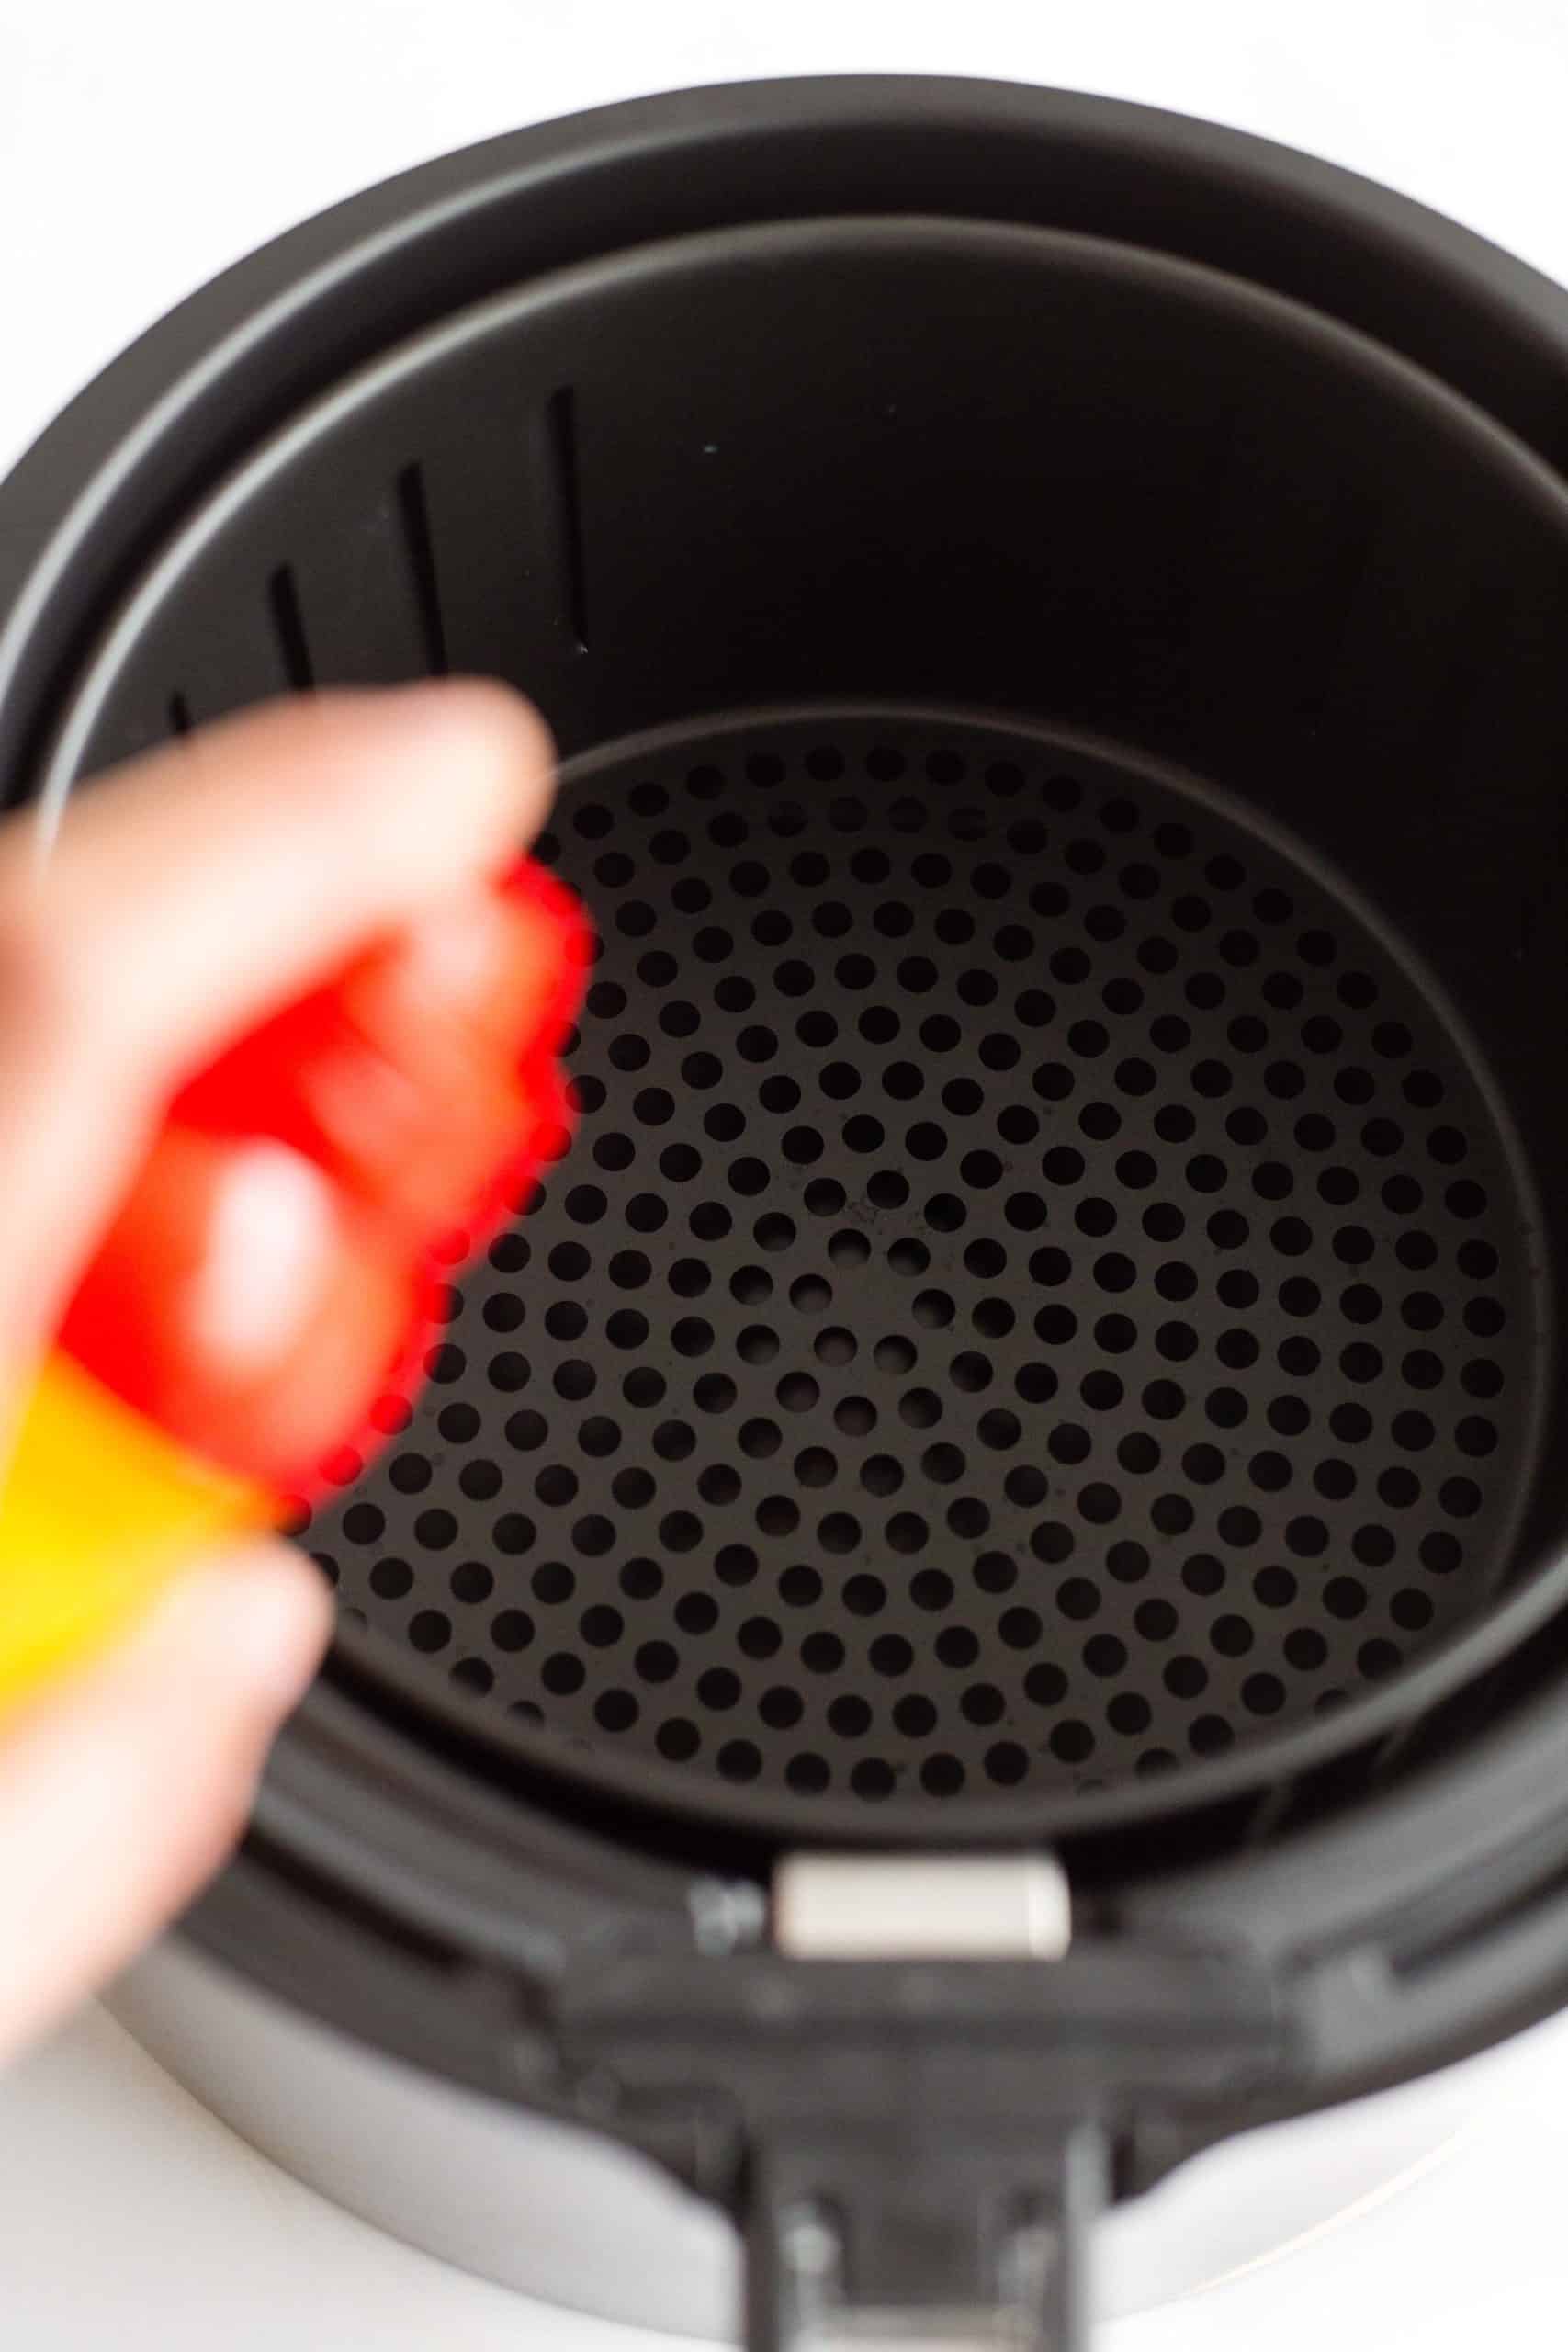
First up, spray the surface of air fryer basket with non-stick cooking spray. This is to prevent the chicken from sticking to the basket, since we’re not using oil to cook the chicken.
Once the basket has been sprayed or greased with oil, return the basket to the air fryer and set it in place. Just like you would for a normal oven, preheat the air fryer to 400F for 3 to 5 minutes before placing the chicken wings in.
4. Place Chicken Wings in Air Fryer Basket:
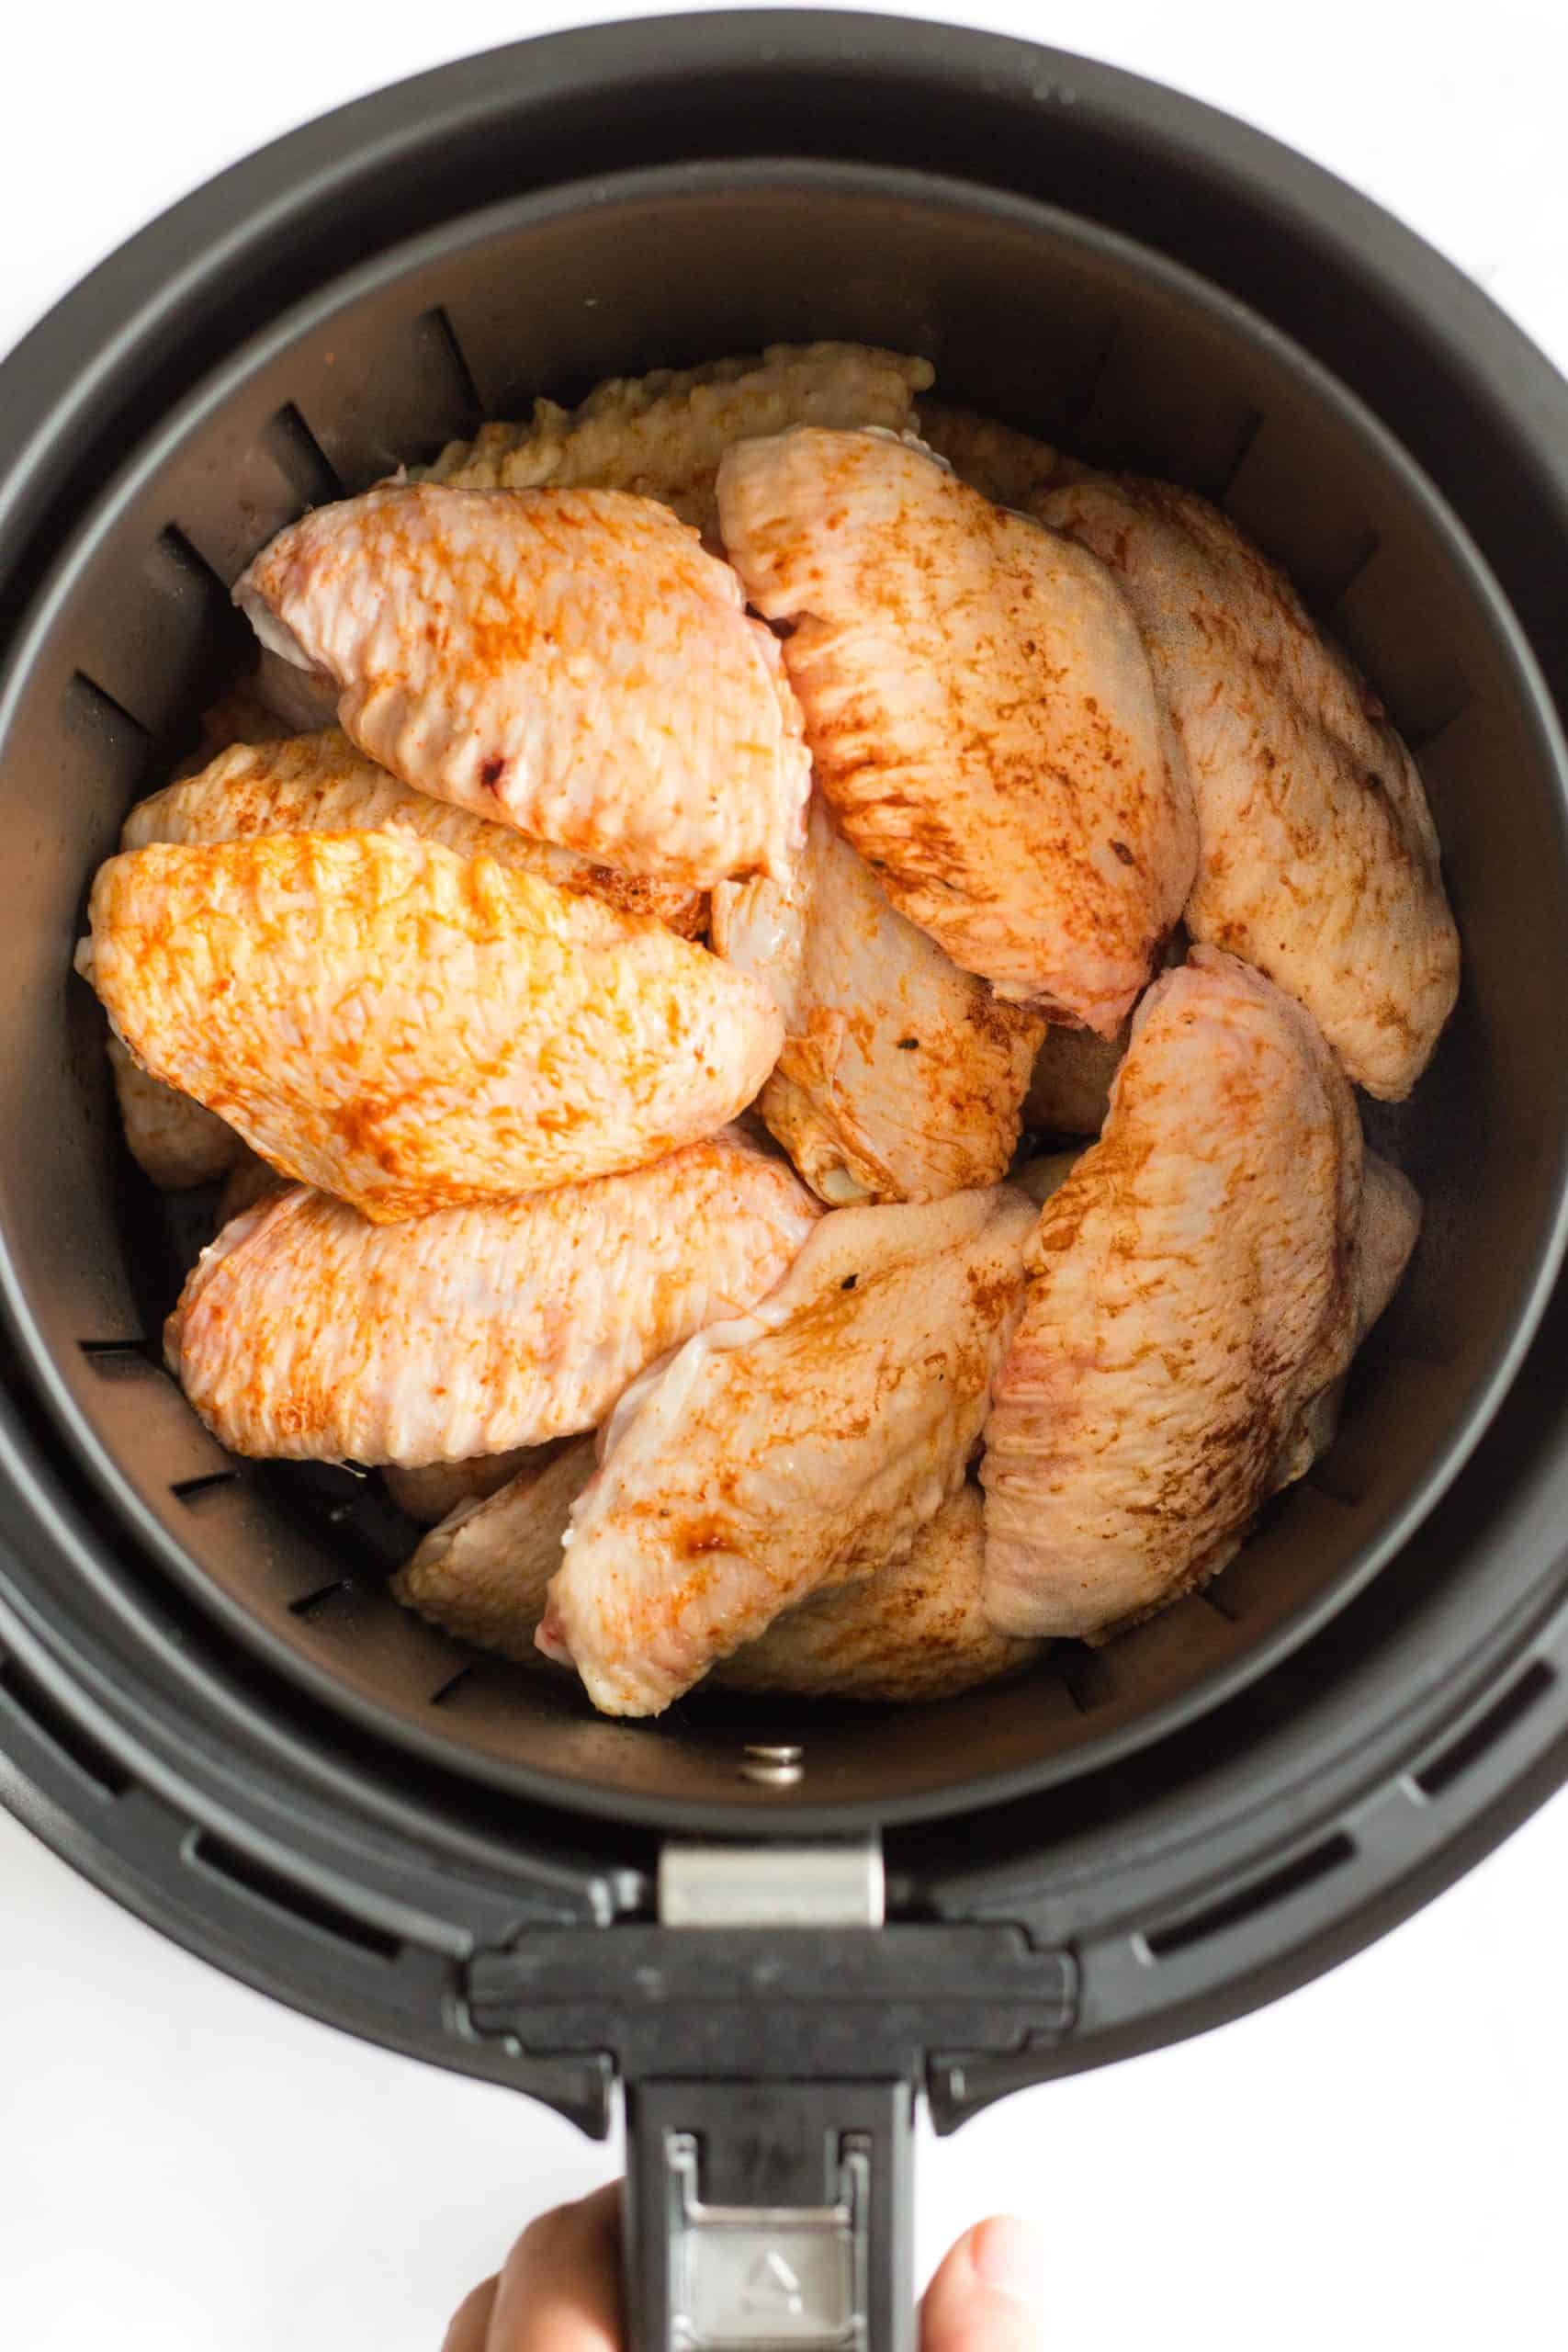
Once the air fryer has been preheated ready, place the chicken wings in a single layer (or two if necessary).
5. Cook Wings Until Crispy:
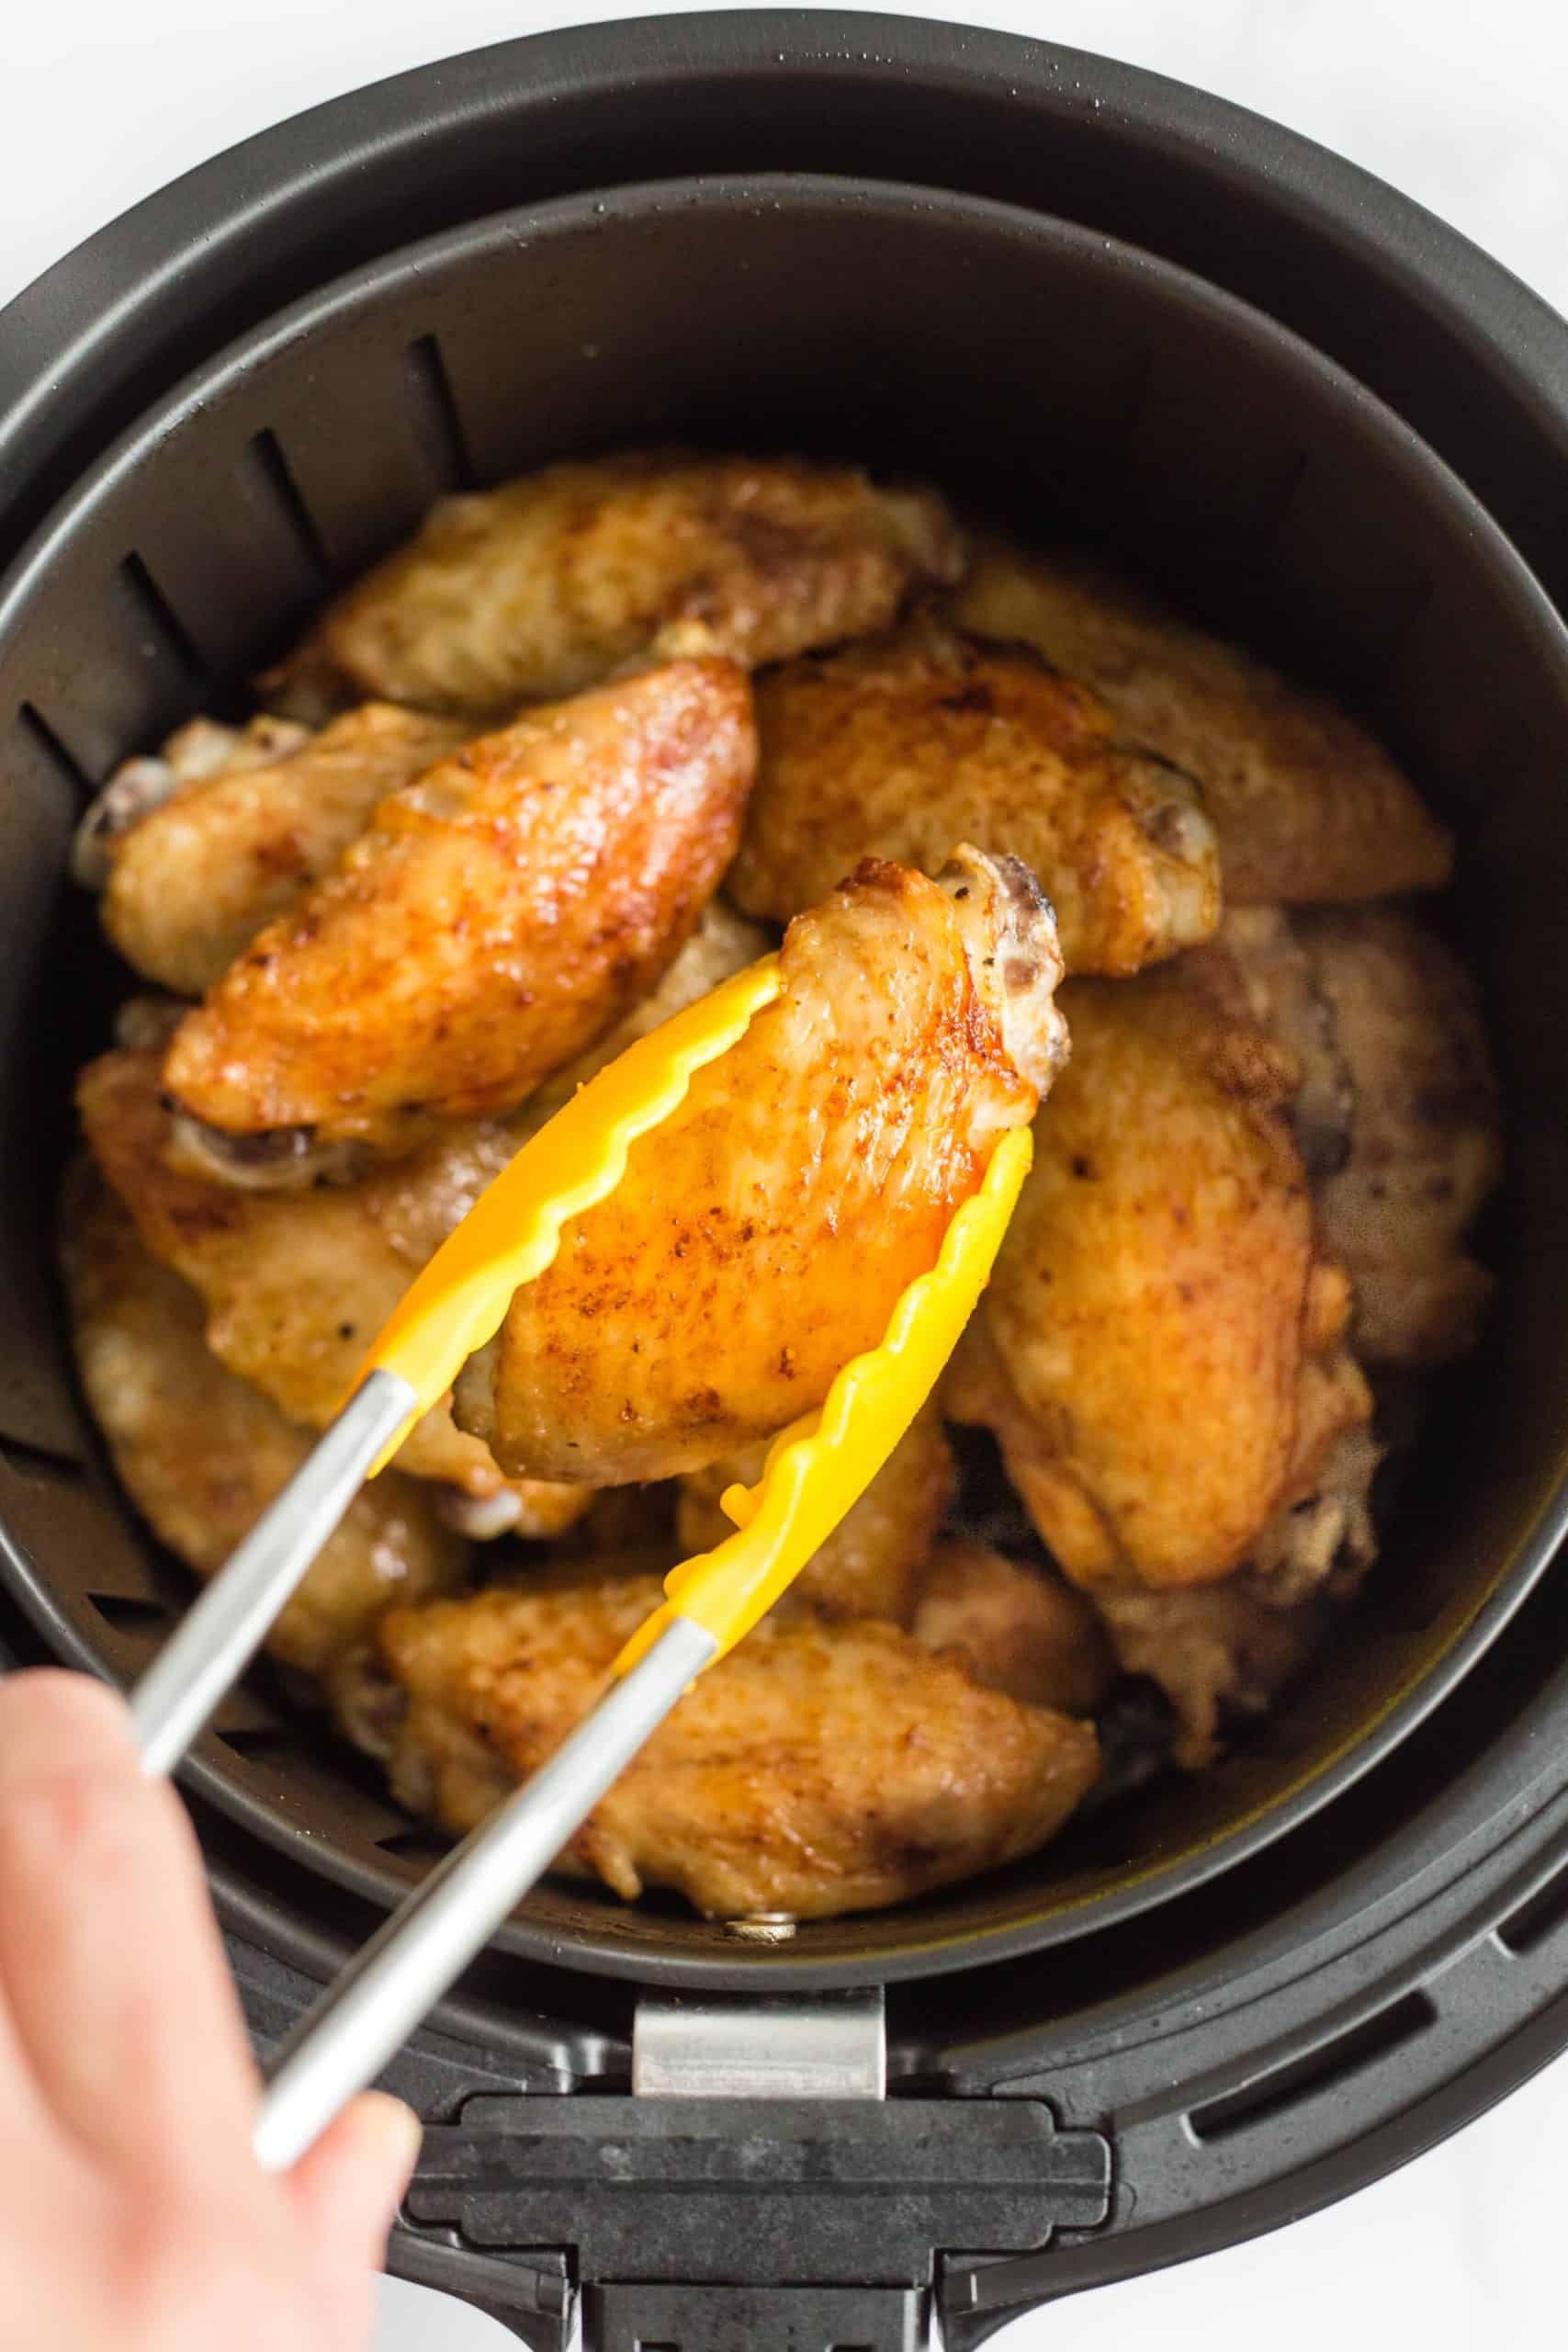
Cook for 15 minutes, flipping the wings over every 5 minutes until golden brown and crispy on all sides.
6. Serve and Enjoy!
Once the wings are golden brown and crispy all over, remove them from the air fryer basket and serve hot.
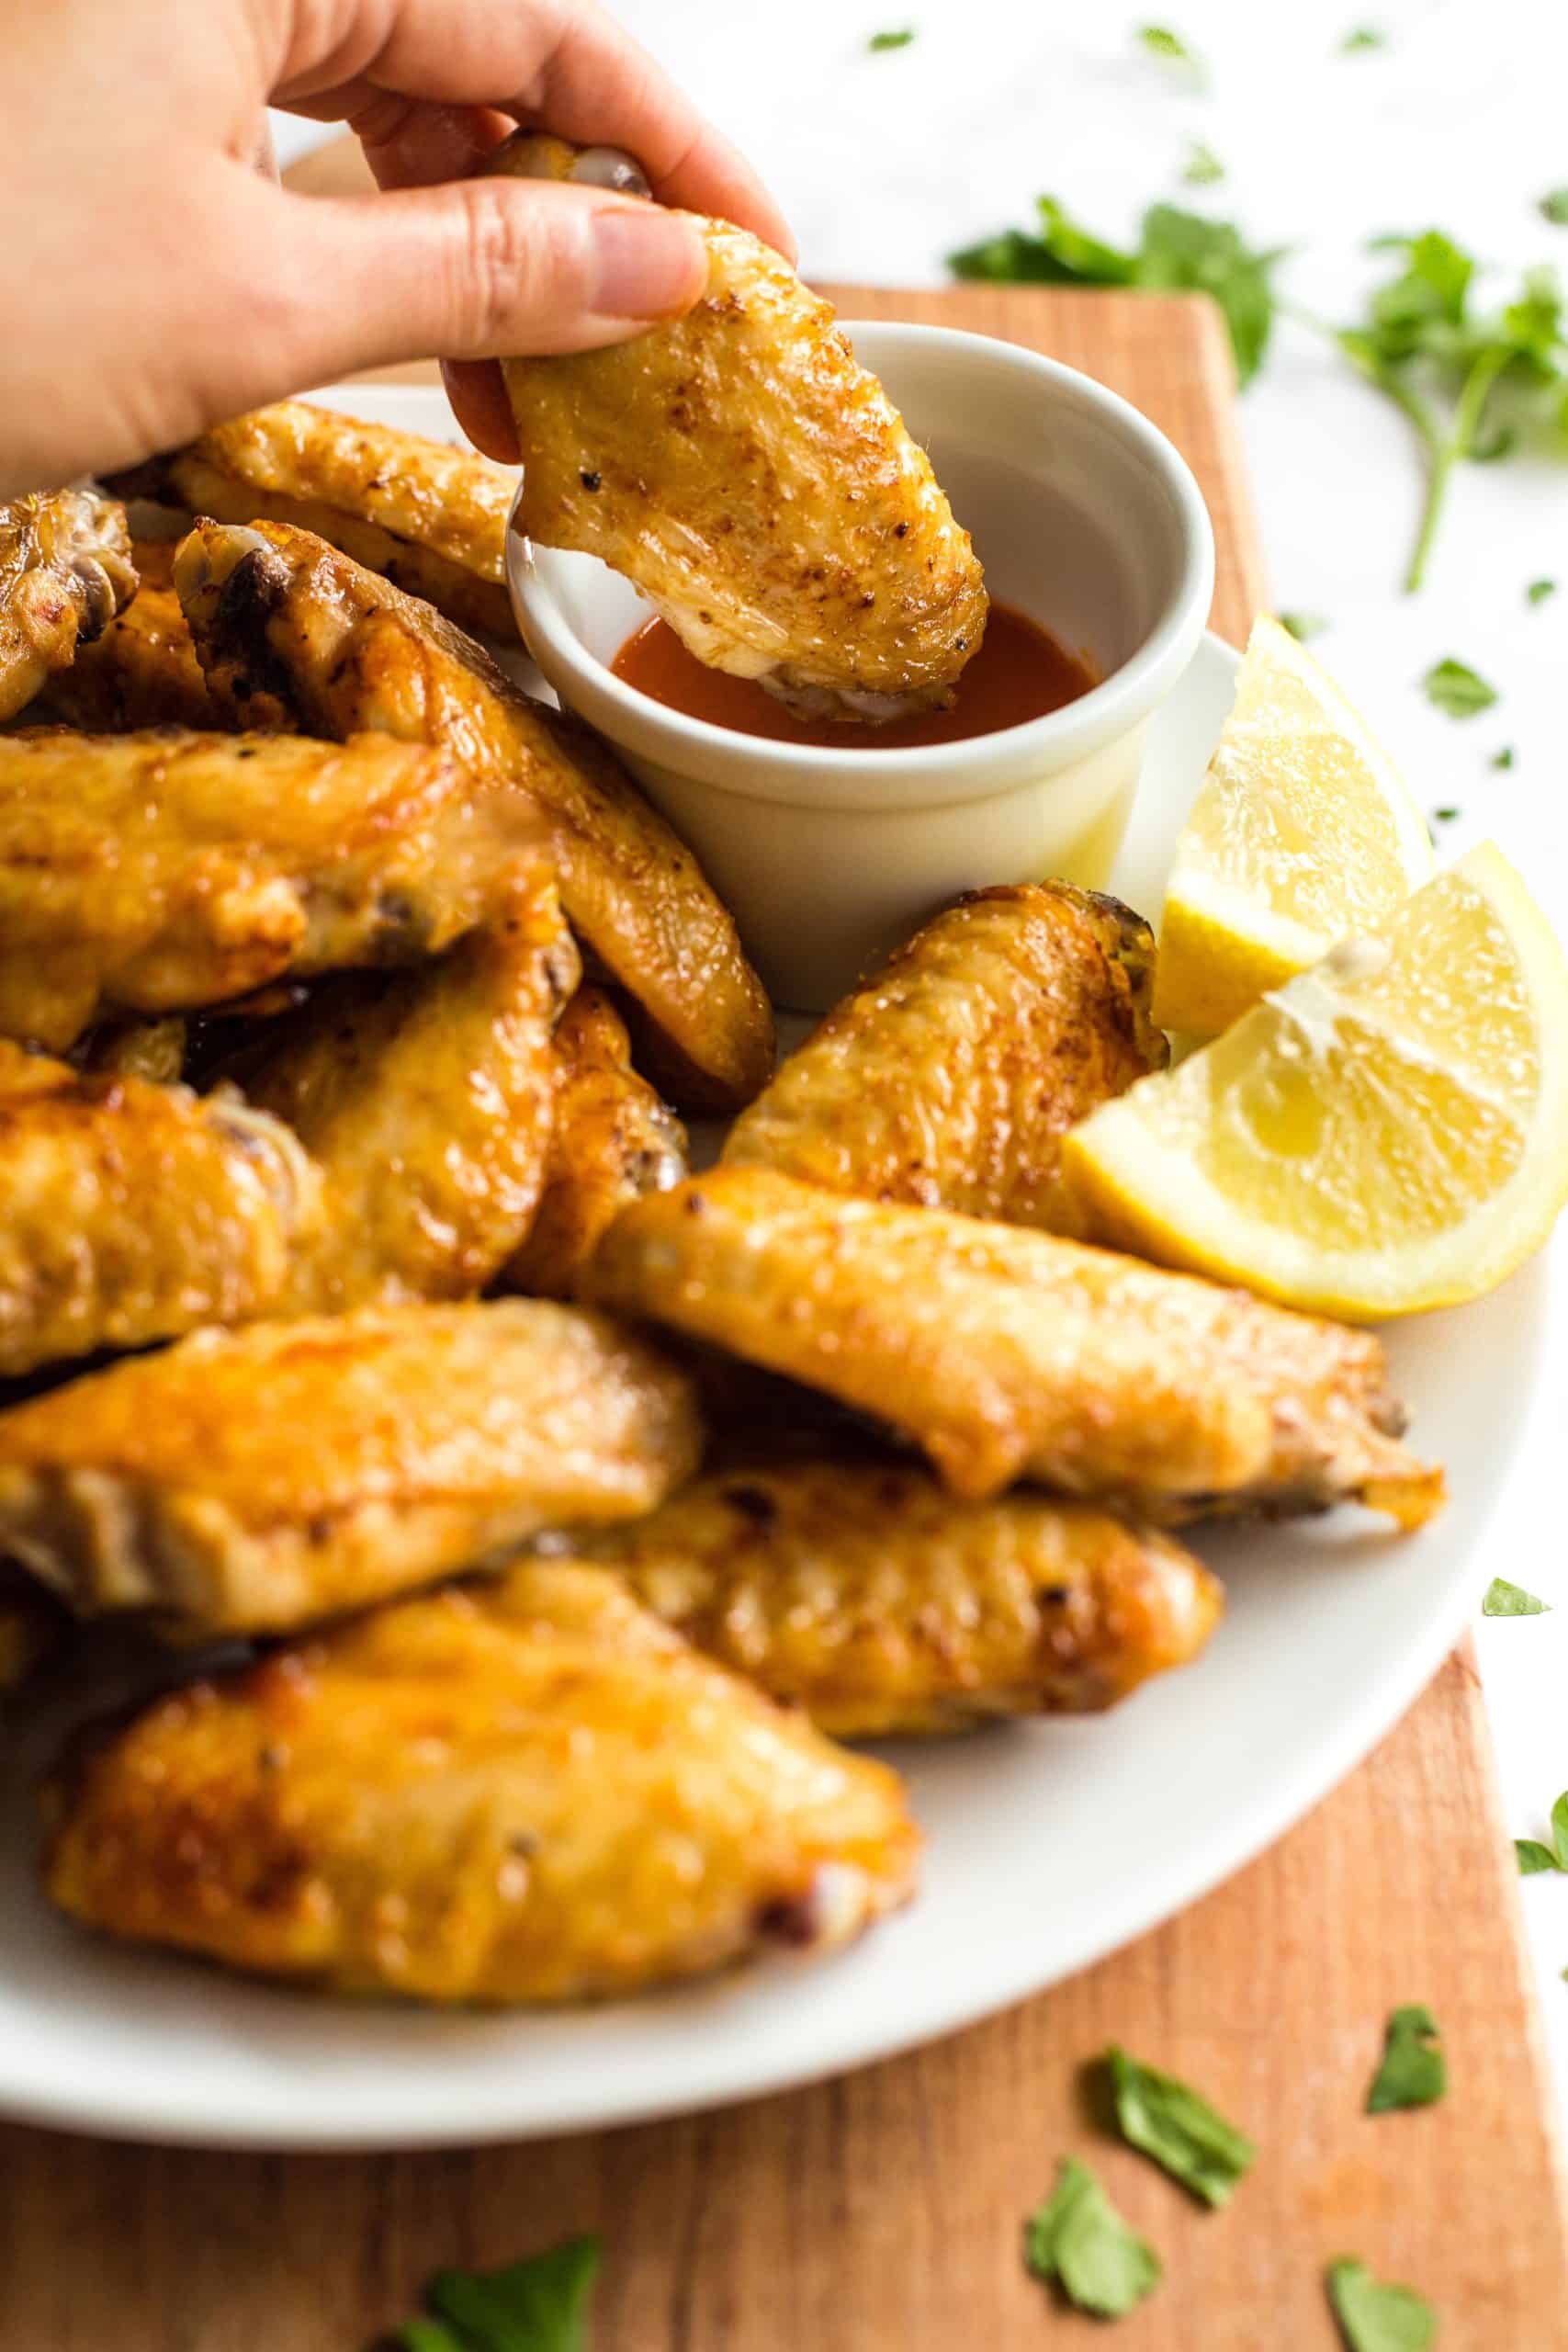
I really like to eat my chicken wings with homemade Sriracha chili sauce, this easy 5-minute garlic aioli, or even bbq sauce. However, feel free to eat them with your favorite sauce, or even eat them alone, because they’re that good! No one’s judging!
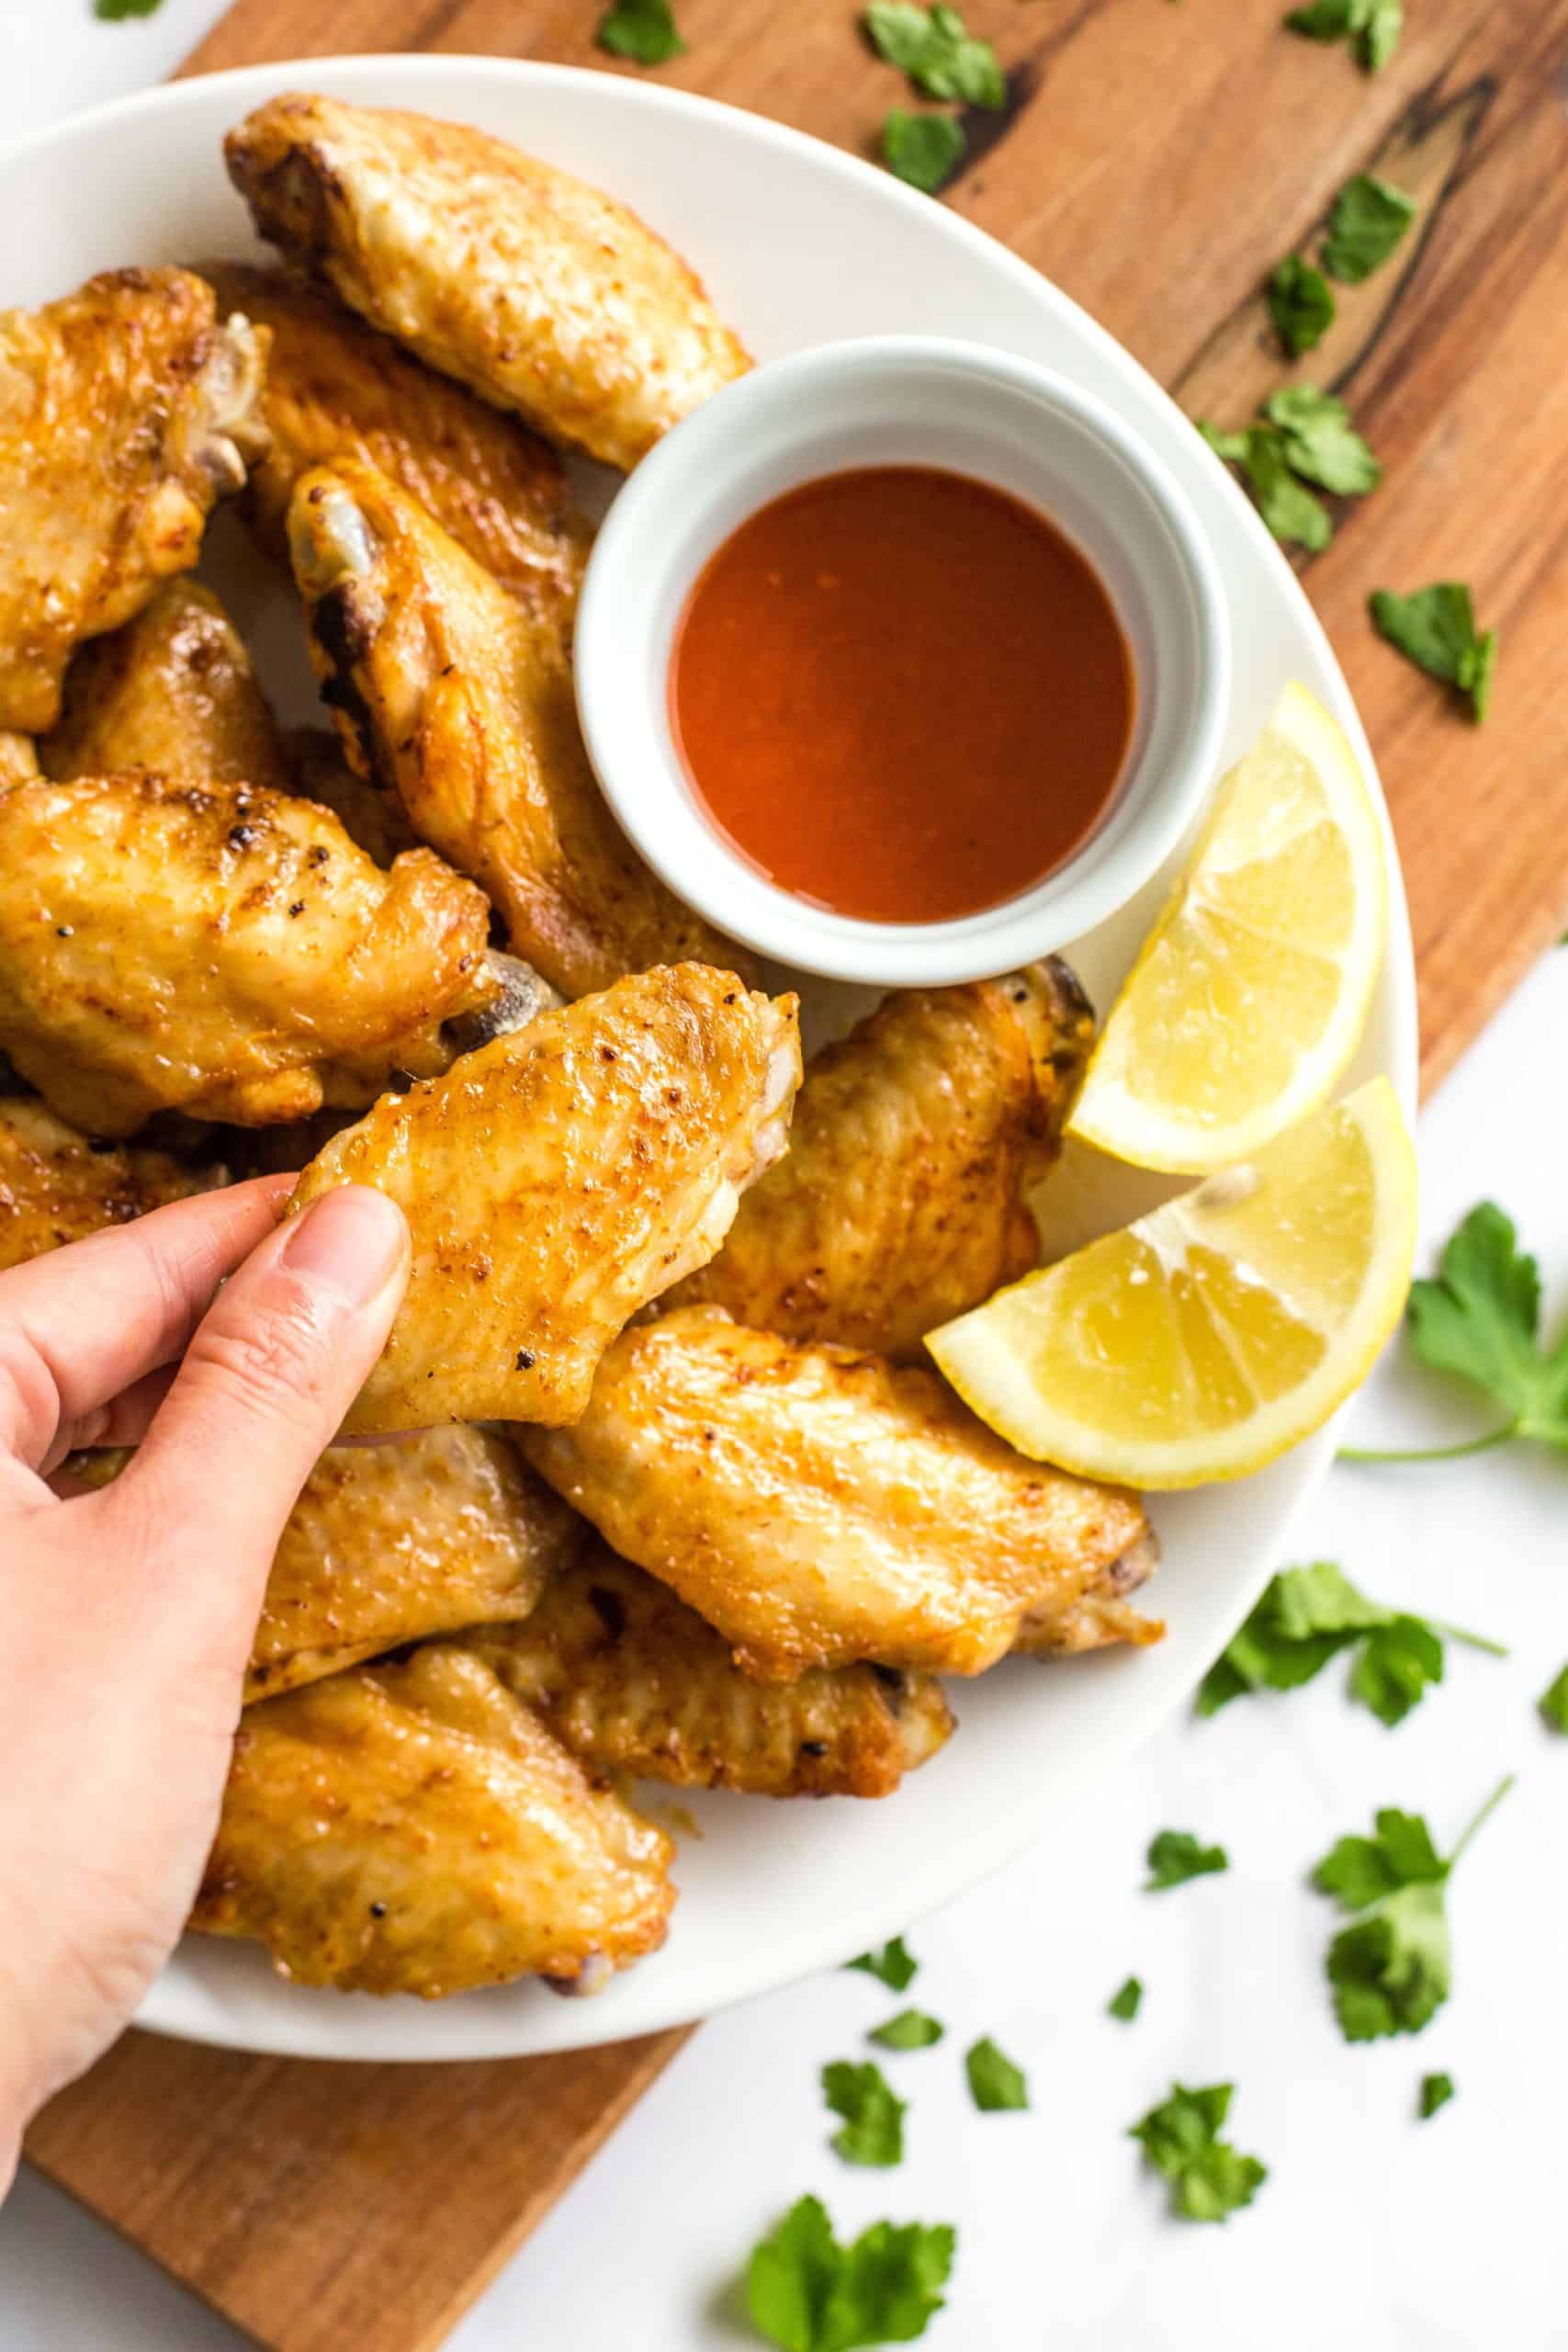
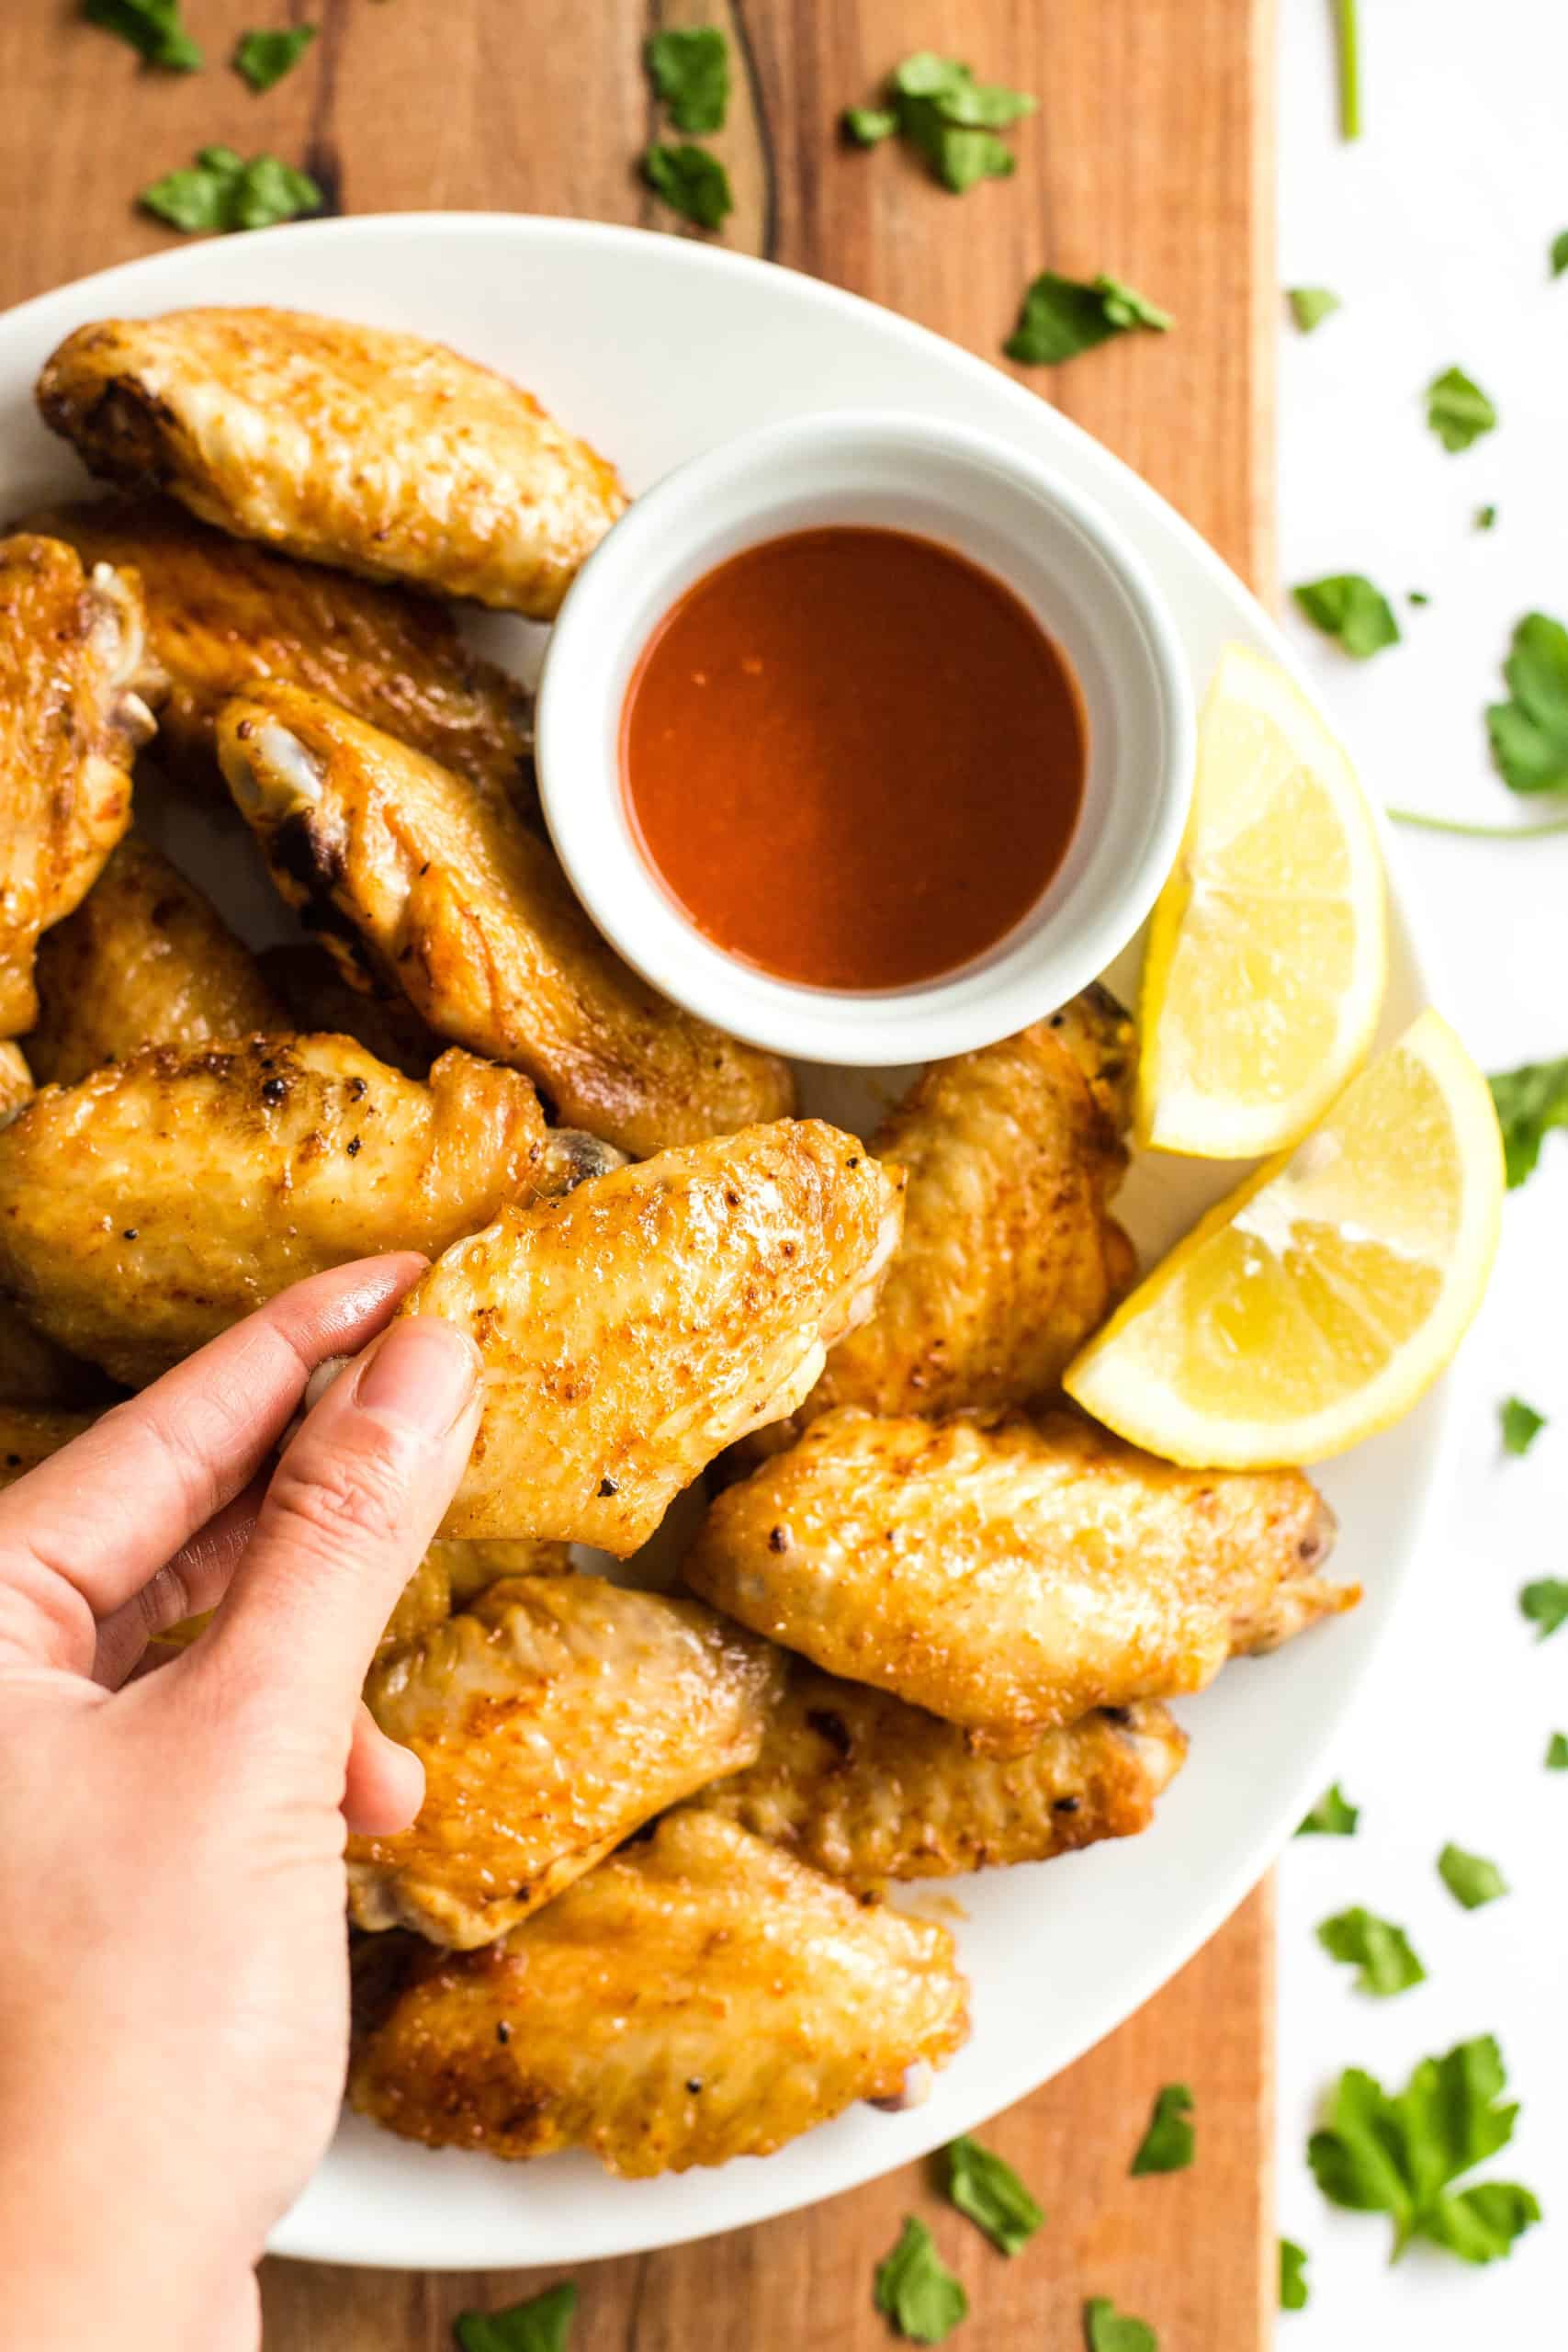
These crispy chicken wings are literally the best appetizer or snack because you can cook a batch in just 15 minutes with no oil required!
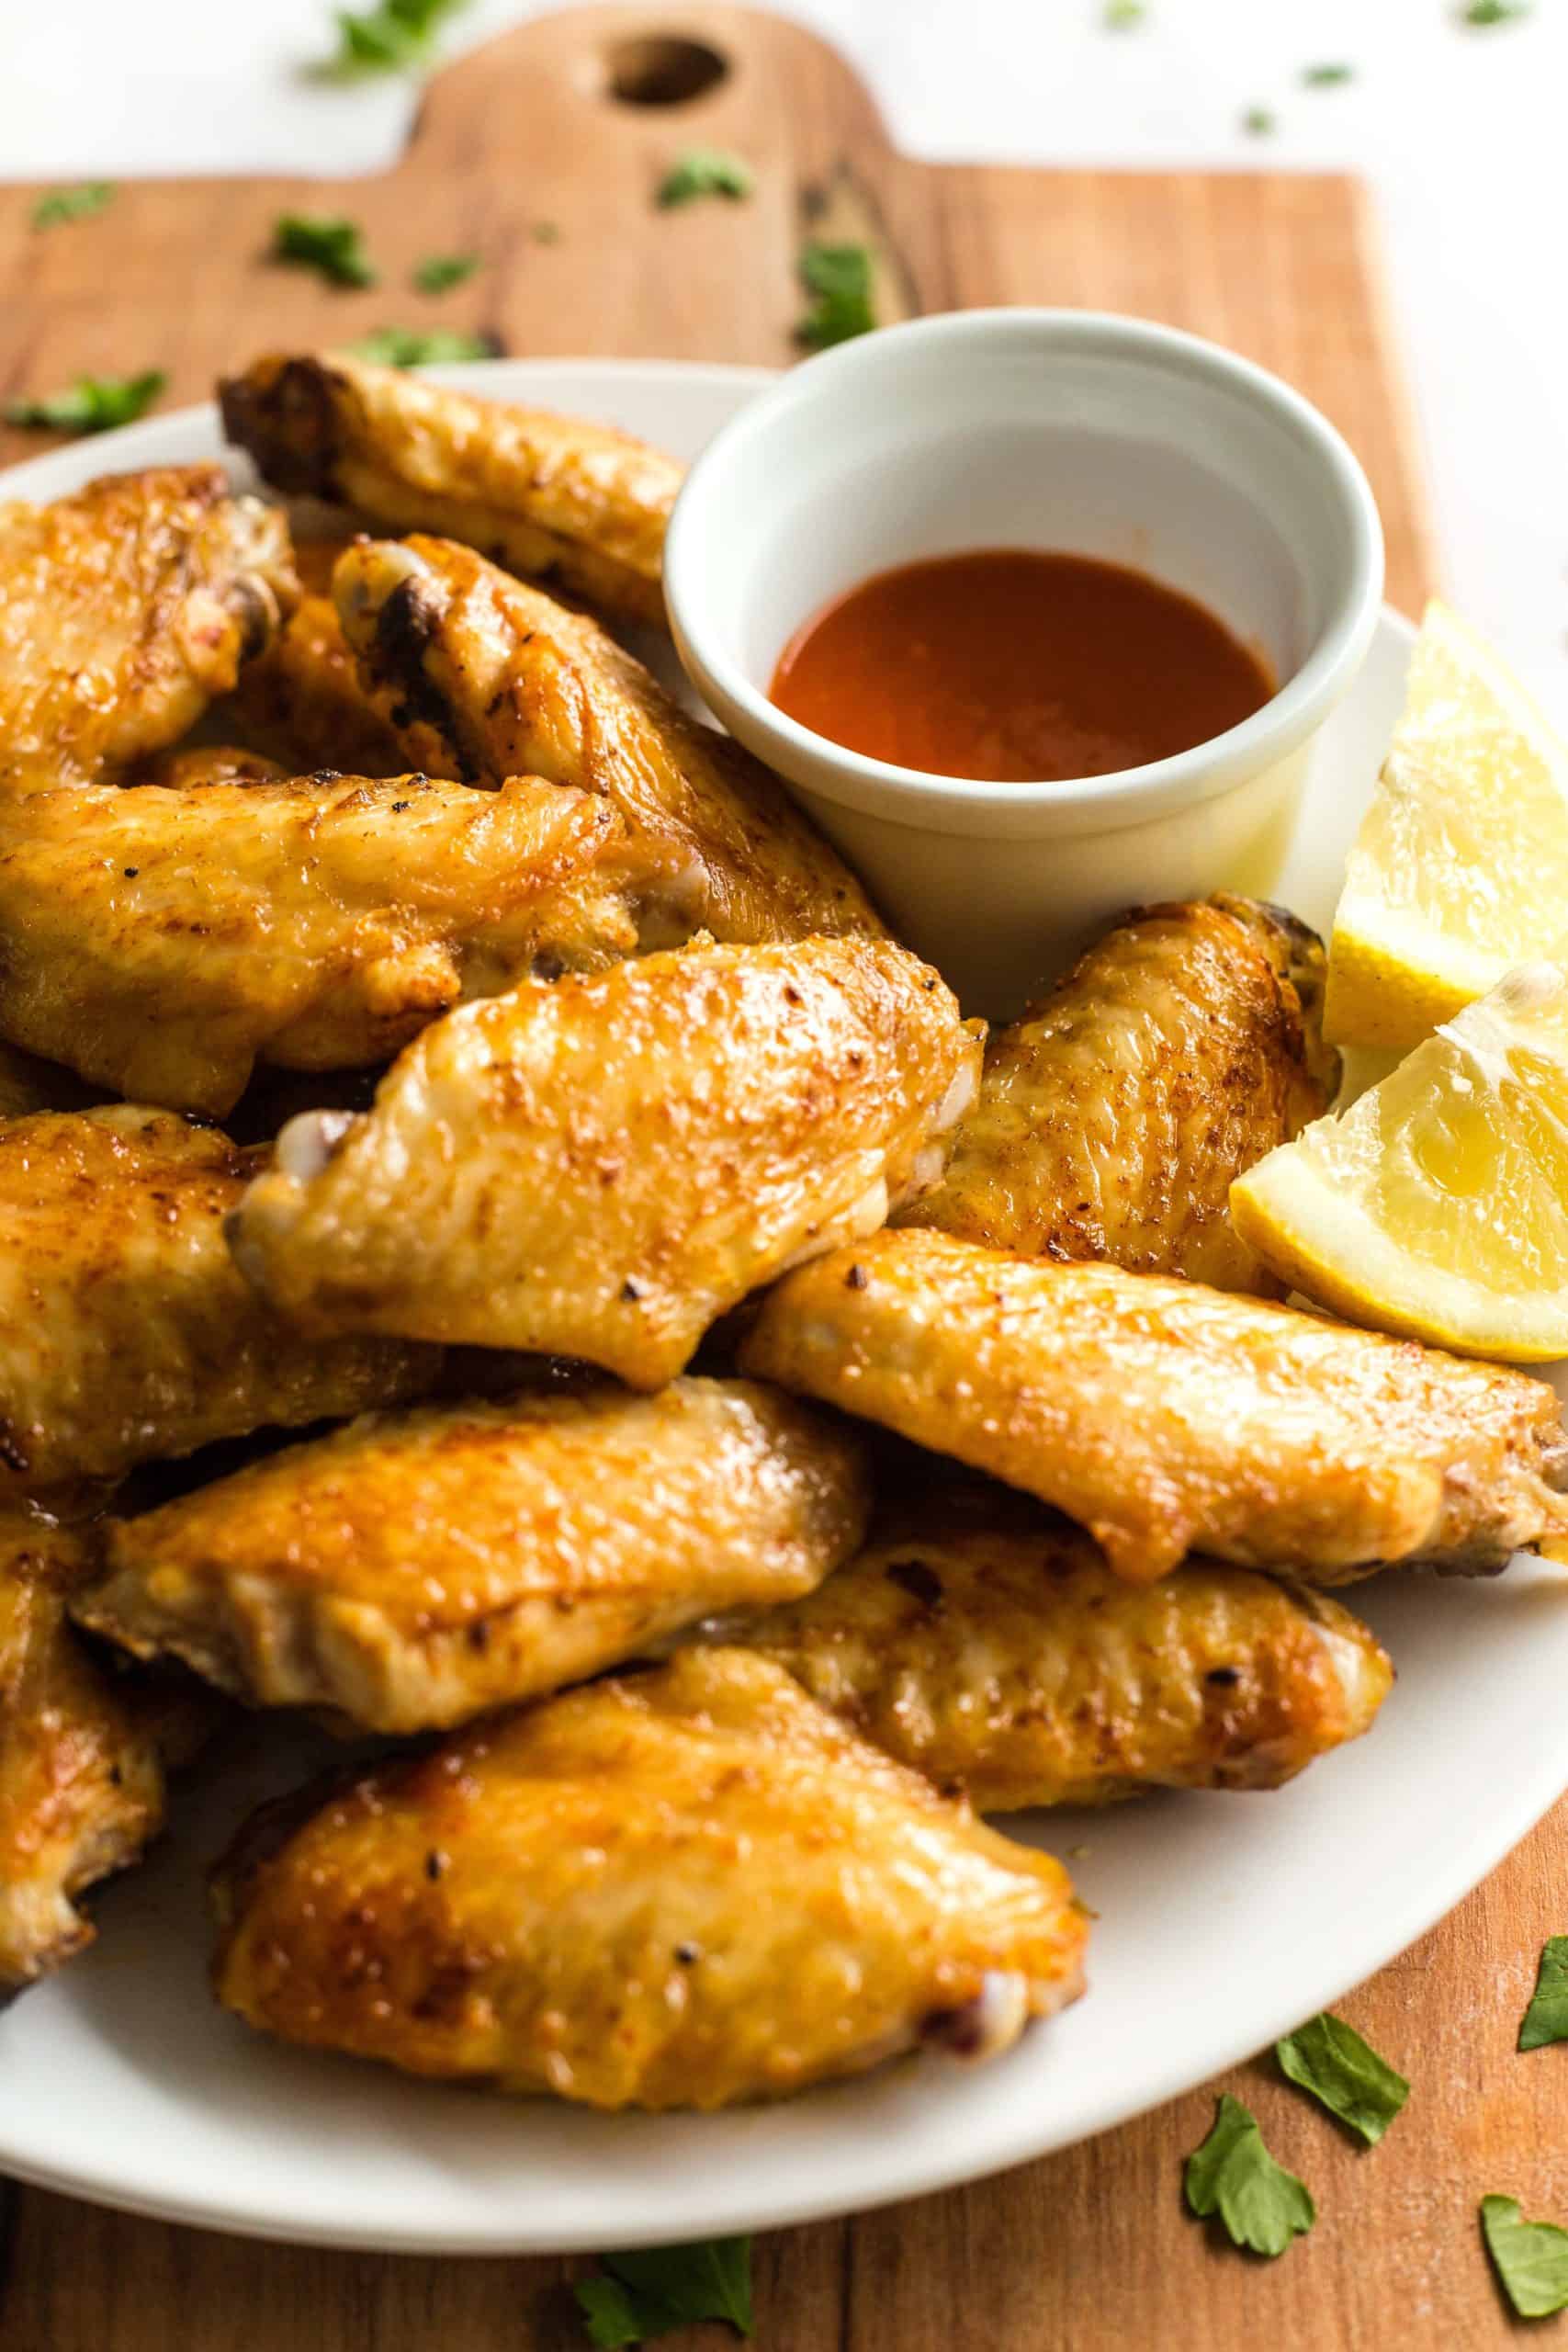
Plus, while they are incredibly crispy on the outside, these wings are still unbelievable juicy and tender inside. That’s a double whammy in my book!
Dish by Dish Tips/Tricks:
- Fresh vs. Frozen: For this air fryer chicken wing recipe, I used fresh chicken wings, but you can also use frozen chicken wings as well. Just make sure to defrost the chicken wings first before using them.
- Pat Dry for Extra Crispy Wings: As with any method of cooking, to get chicken or any meat crispy, you need to make sure to dry it of any water. For best results, make sure you don’t skip this step! It’ll really bring out the crispiness, and is totally worth the extra 2 minutes of time to pat the wings dry.
- Grease Air Fryer Basket: I recommend either spraying the air fryer basket with non-stick cooking spray or brushing it with a little vegetable oil (or olive oil) to prevent the wings from sticking to it once cooked.
- Do Not Overcrowd: Depending on the size of your air fryer, you may need to place the wings in one or two layers. I don’t suggest more than 2 layers, and I highly recommend flipping the wings every 5 minutes so that they brown and crisp evenly on all sides. (Note that the cook time for these air fryer chicken wings may vary depending on the size of your air fryer and the number of wings. As long as you check on the wings and rotate them every 5 minutes, they will be ready once they are golden brown and crispy on all sides.)
- Multiple Batches: If you plan to cook various batches for a crowd, simply place the cooked wings in the oven at 250F to keep them warm until the rest of the wings are fully cooked.
Recipe FAQs:
Once cooled, place the chicken wings in an airtight container and store in the refrigerator for up to 3 days. Simply reheat them in the air fryer at 350F for 5 minutes before eating.
If you don’t have an air fryer, simple place the seasoned wings on a wire rack and then place the rack on a large baking sheet. Bake for 30 to 40 minutes in the oven at 400F, flipping them over halfway through.
If you enjoyed this, you’ll also love these other recipes:
- Air Fryer Diced Potatoes (Gluten-Free, Vegan)
- Air Fryer French Fries (Gluten-Free, Vegan)
- Air Fryer Hasselback Potatoes (Gluten-Free, Vegan)
- Air Fryer Chicken Tenders (Gluten-Free, Dairy-Free)
- Air Fryer Plantains (Gluten-Free, Vegan)
- Air Fryer Kale Chips (Gluten-Free, Vegan)
- Air Fryer Chickpeas (Gluten-Free, Vegan)
- Air Fryer Bacon (Gluten-Free, Dairy-Free)
- Air Fryer Zucchini Fries (Gluten-Free, Dairy-Free)
Gluten-Free Air Fryer Recipes to Love:
Your Turn…
Do you own an air fryer? If you do, what is your favorite air fryer recipe? Let me know in the comments below, I’d love to hear!
P.S. If you try this recipe, I’d love for you to leave a star rating below, and/or a review in the comment section further down the page. I always appreciate your feedback. Be sure to check out my entire Recipe Index for all the recipes on the blog. You can also follow me on Pinterest, Facebook or Instagram! Sign up for my Email List to get fresh recipes in your inbox each week!
Print
Crispy Air Fryer Chicken Wings (Gluten-Free)
- Total Time: 20 minutes
- Yield: 2 servings 1x
- Diet: Gluten Free
Description
The easiest and crispiest air fryer chicken wings you’ll ever make. These are seasoned with paprika to give them a little heat, crispy outside, juicy inside, and taste so good you’ll be making them on repeat! Gluten-free, dairy-free, and paleo-friendly too, these wings make the perfect snack or appetizer. Best eaten with our homemade Sriracha chili sauce or this 5-minute easy garlic aioli.
Ingredients
- 1 pound fresh chicken wings (flats and drums only, remove the tails)
- 2 teaspoons ground paprika
- 1 teaspoon salt
- 1/2 teaspoon ground black pepper
- Fresh chopped parsley, for garnishing (optional)
- Sriracha chili sauce or garlic aioli for serving (optional)
- Fresh lemon wedges, for serving (optional)
Instructions
- Pat the Wings Dry: Pat the chicken wings dry with a paper towel, and place them in a large bowl.
- Coat Wings with Seasoning: Mix the ground paprika, salt, and pepper together and sprinkle the mix all over the chicken wings, and then use your fingers to rub the seasoning all over the chicken.
- Spray Basket with Cooking Spray and Preheat: Spray the air fryer basket with non-stick cooking spray and preheat the air fryer to 400F for 3 to 5 minutes.
- Cook Chicken Wings: Once the air fryer has been preheated ready, place the chicken wings in a single layer (or two if necessary). Cook for 15 minutes, flipping the wings over every five minutes until golden brown and crispy on all sides.
- Serve and Enjoy! Serve chicken wings hot with a sprinkle of fresh chopped parsley and our homemade Sriracha chili sauce or easy 5-minute garlic aioli.
Notes
Chicken Wings: Depending on the size of your air fryer, you could leave the entire wing intact, but since my air fryer is rather small (slightly more than 3 quarts), I prefer to cut the wings into flats and drums. You can use both flats and drums, but I personally prefer flats and like to leave the drums for making chicken stock instead.
Seasoning: I like adding ground paprika and black pepper for a bit of heat. However, if you’re not a fan of heat, feel free to leave them out. Alternatively, feel free to add in other spices such as ground turmeric, or even lemon pepper seasoning if you prefer.
Do Not Overcrowd: Depending on the size of your air fryer, you may need to place the wings in one or two layers. I don’t suggest more than 2 layers, and I highly recommend flipping the wings every 5 minutes so that they brown and crisp evenly on all sides.
Fresh vs. Frozen: I used fresh chicken wings in this case, but you can also use frozen chicken wings. Just make sure to defrost the chicken wings first before using them.
Multiple Batches: If you plan to cook various batches for a crowd, simply place the cooked wings in the oven at 250F to keep them warm until the rest of the wings are fully cooked.
This recipe was originally published in July 2020, but has since been republished to include ingredient notes, clearer instructions, and step-by-step photos.
- Prep Time: 5 mins
- Cook Time: 15 mins
- Category: Appetizers
- Method: Air Fryer
- Cuisine: American



Good morning Felicia,
Using the air-fryer to fry chicken wings is a great and healthy way to cook chicken wings and still enjoy the crispy yet tender chicken wings.
Only minimal oil is reqired and yet a lot of the chicken fat is being extracted through the frying.
We all love this dish and we have it quite regularly on our dinner table.
Have a blessed 2022 !
Love you,
Mum
Yes, love these air fryer chicken wings because they’re just so easy to make and they taste so good! 🙂
Love you very much too mummy!
Loved these! SO simple yet so delicious!
YAY! So happy to hear that Holley! Thanks for letting me know, and would love to see you around the blog again sometime soon!
Thank you very much for these great recipe!
You are most welcome!
Last week, I put an Air Fryer in my shopping basket, but half way through shopping, I put it back to the shelve – I have never seen a real life Air Fryer in action.
Thanks for your photos, I think I’ll get one and try it out myself.
Thanks for the inspiration, Felicia.
Raymond
You’re most welcome! Hope you enjoy the air fryer when you eventually get one to try it out!
Wow Felicia – you finally made it to get your air fryer.
The picture of your air-fried chicken looks so good and yummy and I am feeling hungry already!
Again thanks for your cooking tips although this is the first time you tried a new cooking appliance in your kitchen. 🙂
May God bless the works of your hands to bring Him glory always!
I love and bless you, darling!
Mum
Hi mummy! Yes, at long last we have our air fryer! And we love it. Already have so many different air fryer ideas in mind to try out and share on the blog!! 🙂