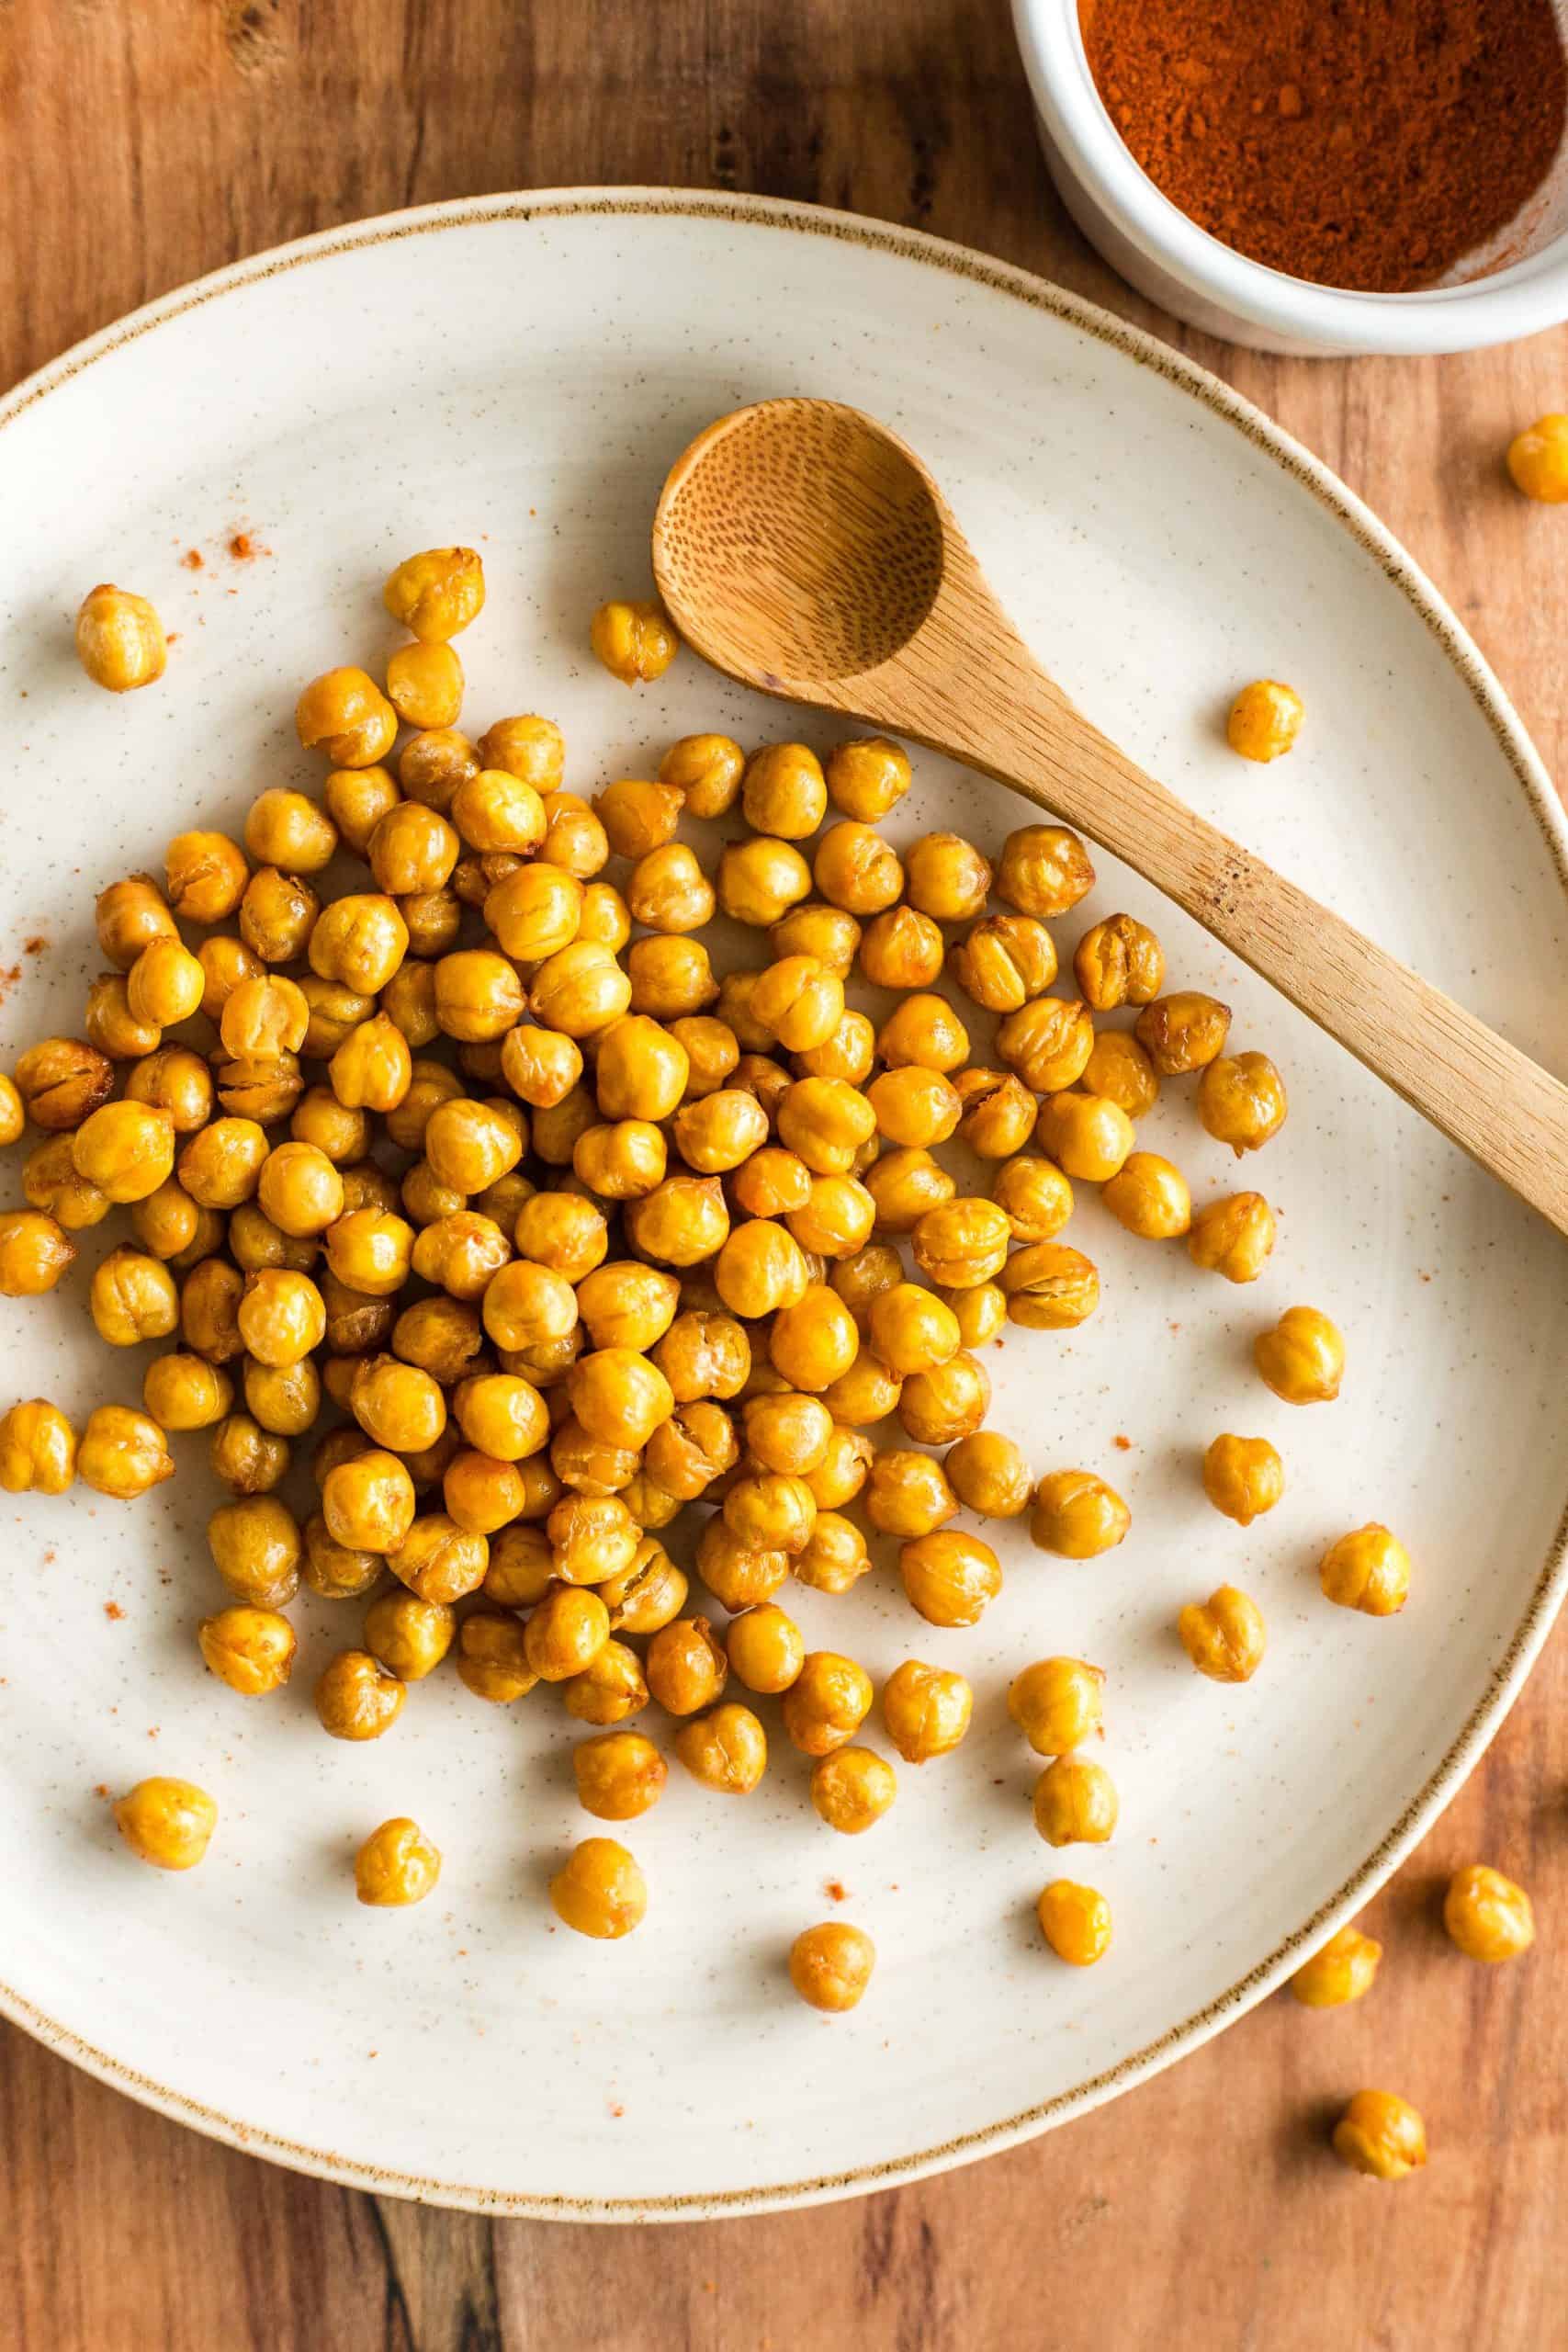
Unbelievably crispy and flavorful, these easy peasy air fryer chickpeas can be made in just 20 minutes using canned chickpeas (no need to dry or peel the skins)! These amazingly crunchy chickpeas are perfect for adding texture to salads, topping your favorite soups, or a healthy protein-rich snack! Naturally gluten-free, dairy-free and vegan, you’ll want to keep this recipe handy!

Want to save this recipe?
Enter your email & I’ll send it to your inbox. Plus, get great new recipes from me every week!
Jump to:
- My Love for the Air Fryer
- What Are Chickpeas?
- The Perfect Healthy Snack
- Why This Recipe Works:
- Ingredients You’ll Need:
- Ingredient Notes/Substitutes
- How to Cook Air Fryer Chickpeas (Step by Step)
- Dish by Dish Tips/Tricks
- Recipe FAQS:
- Other Chickpea Recipes to Enjoy:
- Gluten-Free Air Fryer Ideas You’ll Love:
- Crispy Air Fryer Chickpeas (Gluten-Free, Vegan)
My Love for the Air Fryer
Since we bought an air fryer, we’ve been floored by the incredible air fryer recipes that we can make with it.
Of all the different kitchen appliances that we’ve purchased over the years, the air fryer is definitely one of our favorites and most used (apart from the high-speed blender that no kitchen should be without!).
From our absolutely favorite air fryer French fries, to crispy air fryer chicken wings, air fryer zucchini fries, to air fryer chicken tenders, to air fryer Brussels sprouts, the amount of deliciousness that comes out of the air fryer is just endless.
And of course, we can’t forget these air fryer chickpeas.
What Are Chickpeas?
If you’ve never cooked with chickpeas before, here’s a quick lowdown on them.
Chickpeas are legumes from the Fabaceae family, and are also known as garbanzo beans, gram, or Egyptian peas.
The chickpea seeds are rich in protein, and play an important role in both Mediterranean and Middle Eastern cuisines, where chickpeas are often used to make a creamy hummus (in a pureed version of the chickpeas) or falafel (when ground into small pieces).
Chickpeas are also often used in Indian dishes such chickpea curry. When ground into flour, it’s often used to make chickpea flatbread (such as cecina or farinata in Italy, socca in France, or faina in Argentina).
Where I grew up in Singapore, chickpeas were often sold by the kachang puteh man, and is a tasty and savory snack that I tie to my childhood memories.
The Perfect Healthy Snack
To relive those memories, I’m sharing this easy chickpea recipe that can be made in your air fryer in just 20 minutes from start to finish!
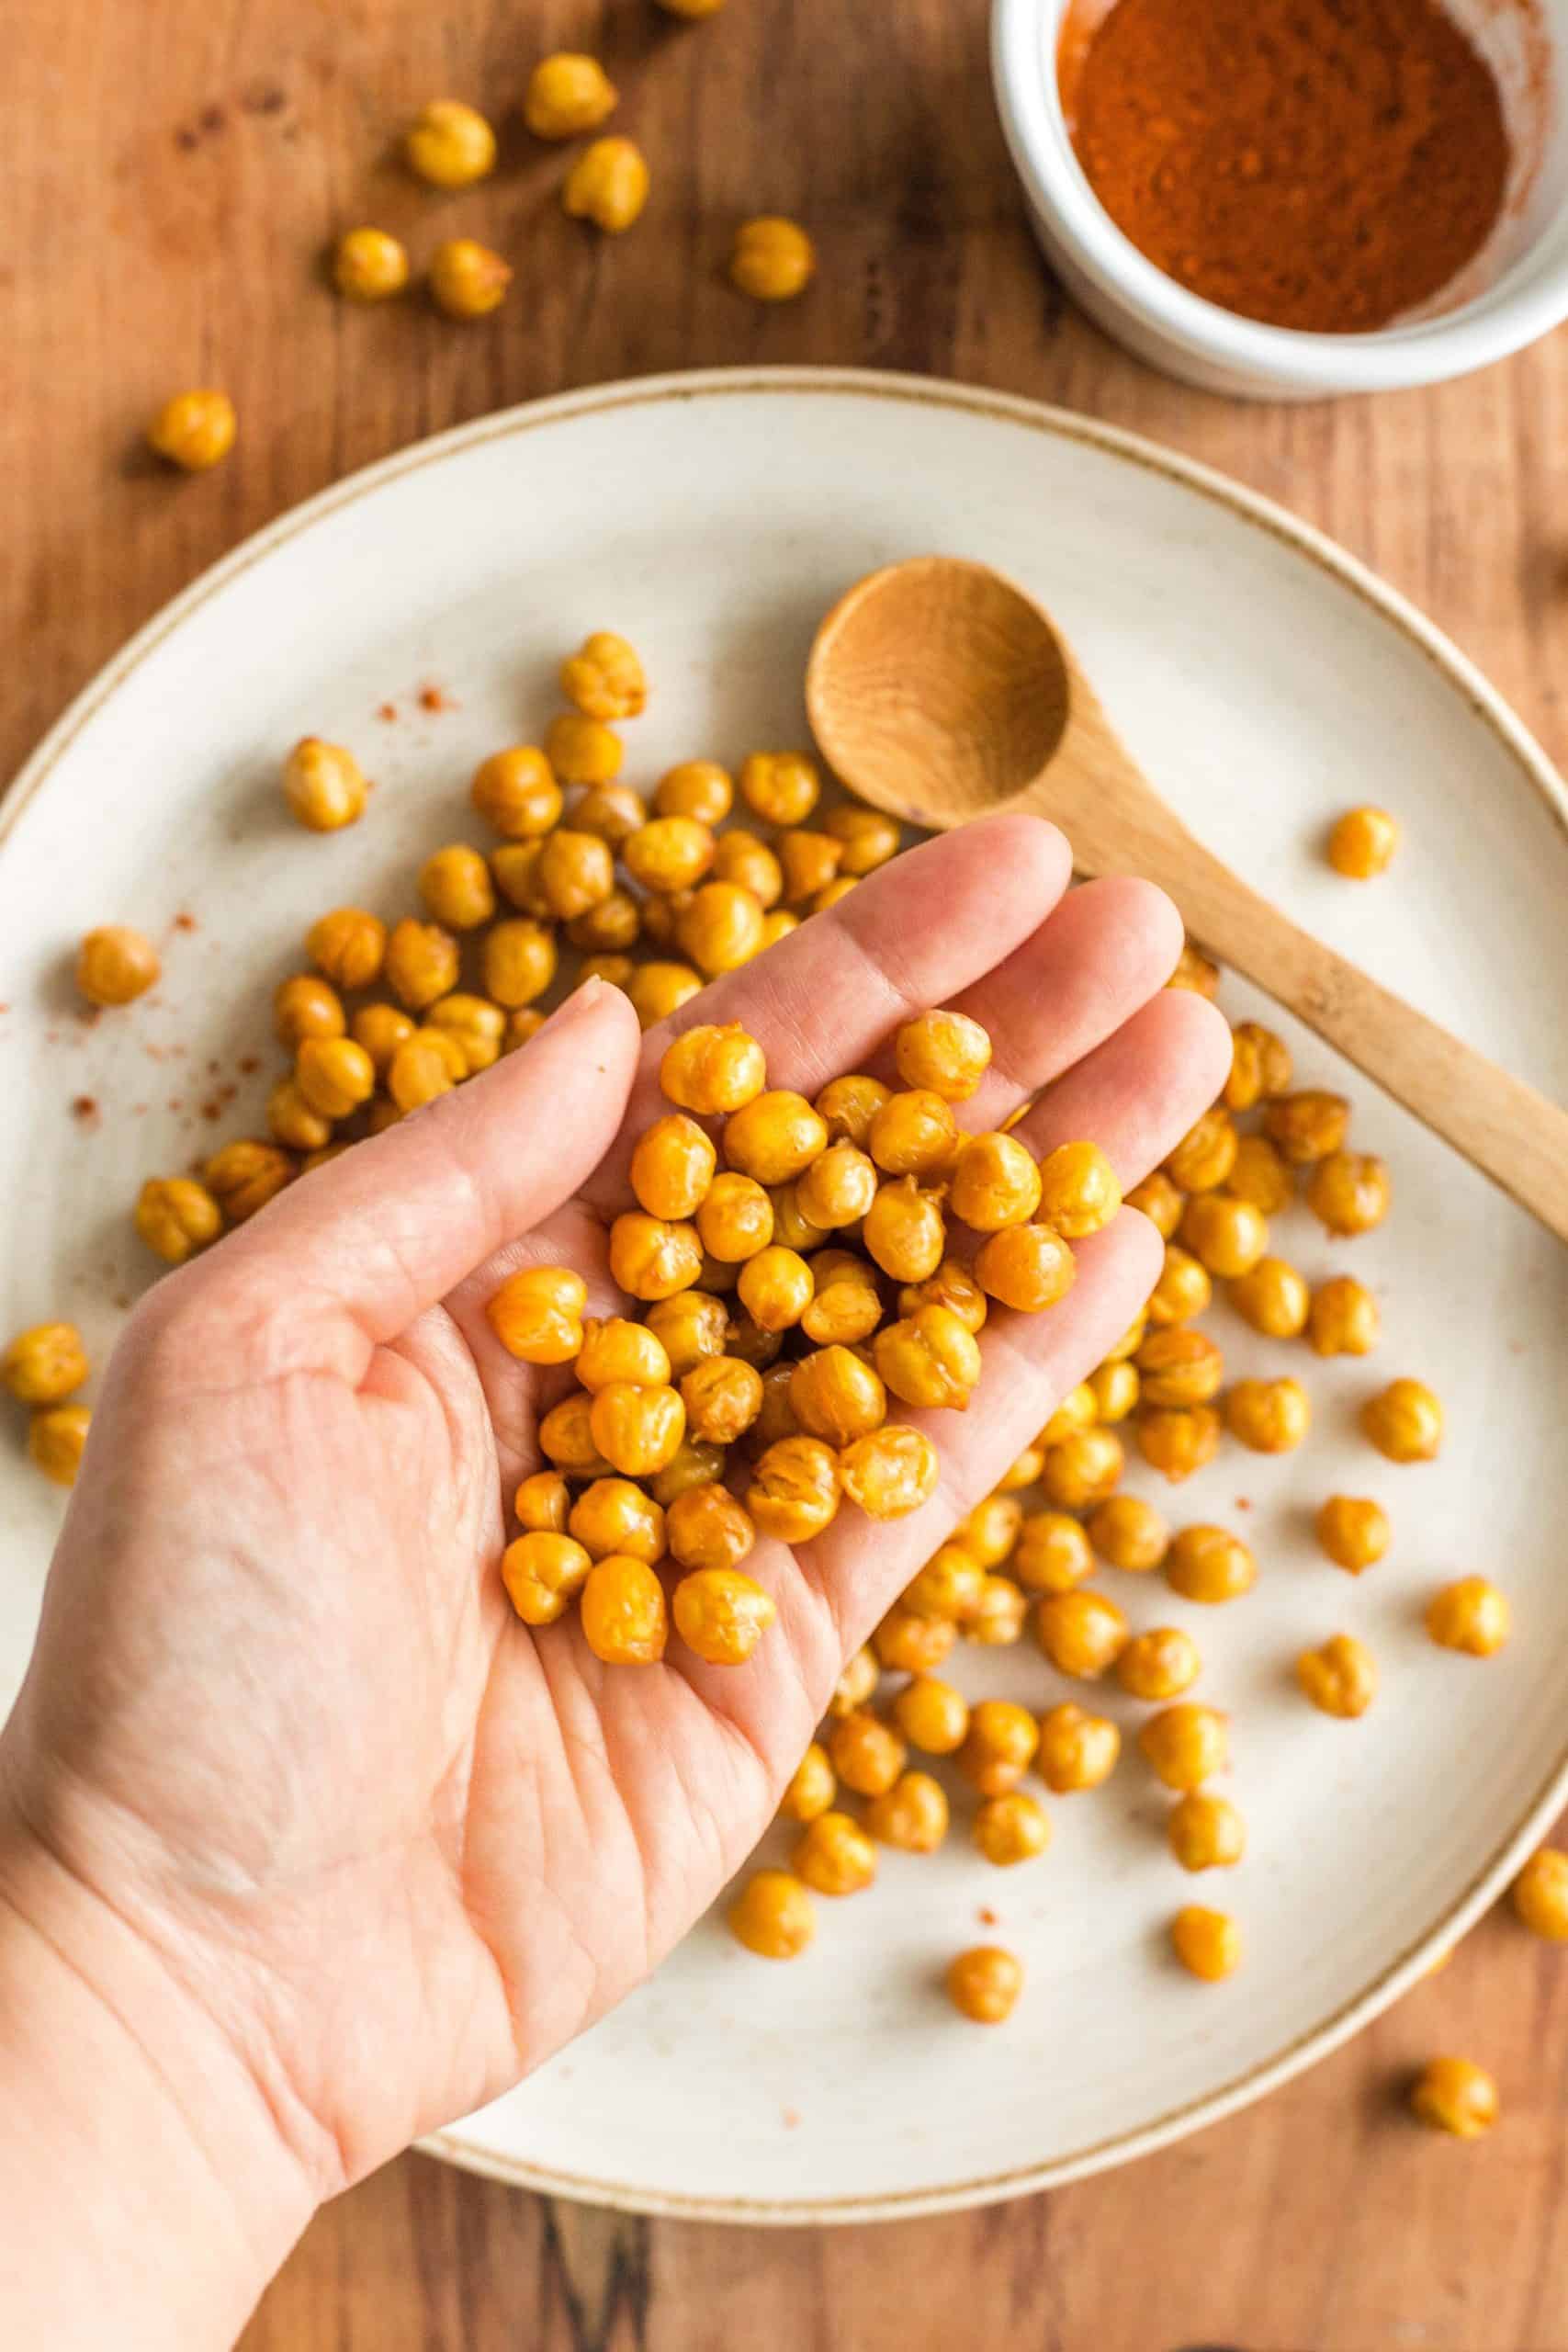
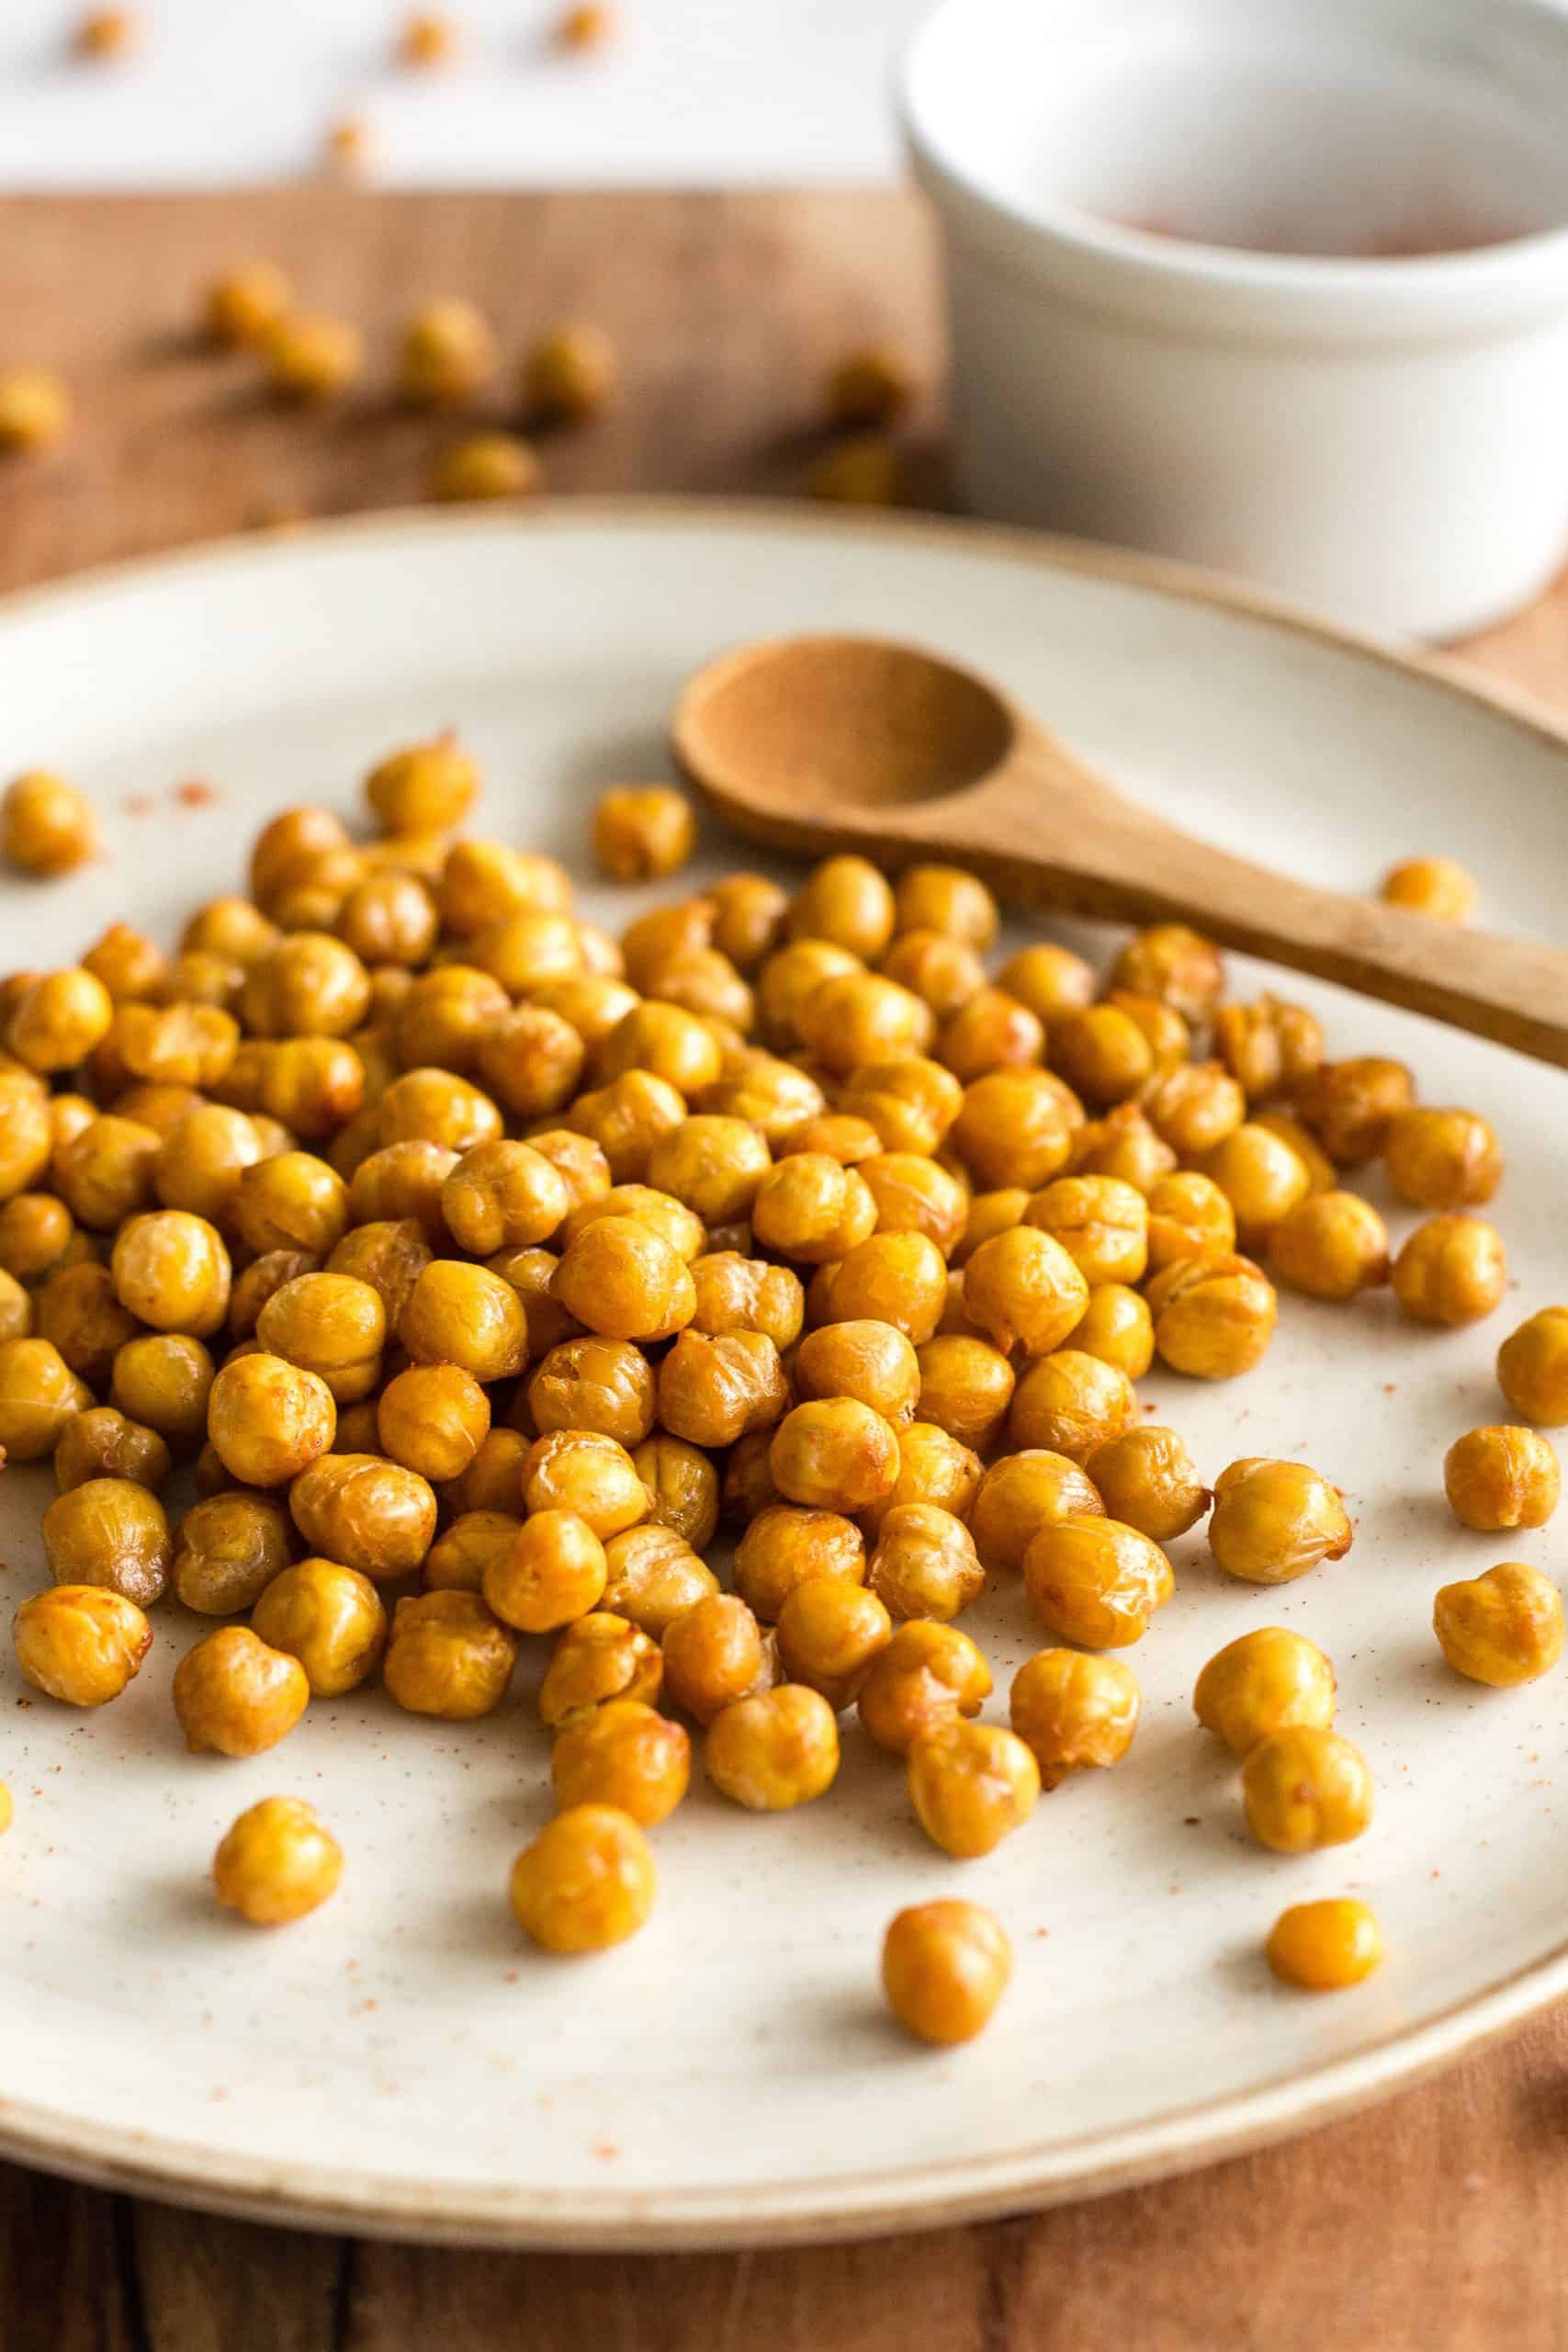
Flavored with paprika and salt, these air fryer chickpeas always turn out amazingly crunchy and tasty, and we love eating a handful of these whenever we feel hungry.
These crispy chickpeas are great for sprinkling on top of salads for some additional texture, for topping soups, or even as a healthy snack by themselves.
You can make a big batch of these for your Super Bowl party or game day gathering, and these crunchy little protein-rich chickpeas are sure to go fast!
Why This Recipe Works:
- Simple Ingredients: All you need to make this crispy snack is a handful of ingredients you might already have (and are easily accessible at your local grocery store).
- No Drying Required: With the air fryer, you don’t need dry the chickpeas before air frying them, while you definitely need to dry the chickpeas with a paper towel if you plan to roast them in the oven (an extra step that I’d rather not take)!
- Crispy Texture with Minimal Oil: Using the air fryer requires very little oil (compared to deep frying), but still produces a crispy texture that makes these chickpeas a delicious yet healthy snack. The next time you’re craving something savory, skip the potato chips and make these instead!
- Ready in No Time: This recipe requires very little prep time. Also, making chickpeas in the air fryer takes half the cooking time need to roast them in the oven, and very little oil is required! A whole batch is ready from scratch in just 20 minutes!
- Totally Gluten-Free, Dairy-Free and Vegan: The good thing is that these crispy air fryer chickpeas are 100% gluten-free, dairy-free and vegan, so even those with Celiac disease or gluten and lactose intolerances, or those simply on a gluten-free or vegan diet can enjoy them.
Ingredients You’ll Need:
Here’s a visual overview of the ingredients required to make this air fryer chickpea recipe.
(For exact measurements and quantities, please scroll down to the recipe card at the bottom of this post.)

Ingredient Notes/Substitutes
- Chickpeas: I also recommend using canned chickpeas in this case as the chickpeas are already cooked and ready to be air-fried (which makes this snack all the more convenient). However, if you prefer to cook your own chickpeas from scratch with dry chickpeas, go ahead and do so!
- Olive Oil: I used extra virgin olive oil in this recipe, but feel free to use another type of vegetable oil such as avocado oil, sunflower oil, or even coconut oil if you prefer!
- Salt: I like using finely ground pink Himalayan salt, but go ahead and use any salt that you have or prefer.
- Paprika: Ground paprika gives the chickpeas a bit of heat and color, but you can also use other seasonings such as ground turmeric, garlic powder, onion powder, black pepper or even bagel seasoning instead. You can also add a tinge of sweetness to the chickpeas by adding cinnamon sugar or pumpkin pie spice if you prefer!
How to Cook Air Fryer Chickpeas (Step by Step)
1. Preheat
Preheat the air fryer to 390F (200C).
2. Drain and Rinse
Drain and rinse the can of chickpeas (no drying required).

3. Condiment the Chickpeas
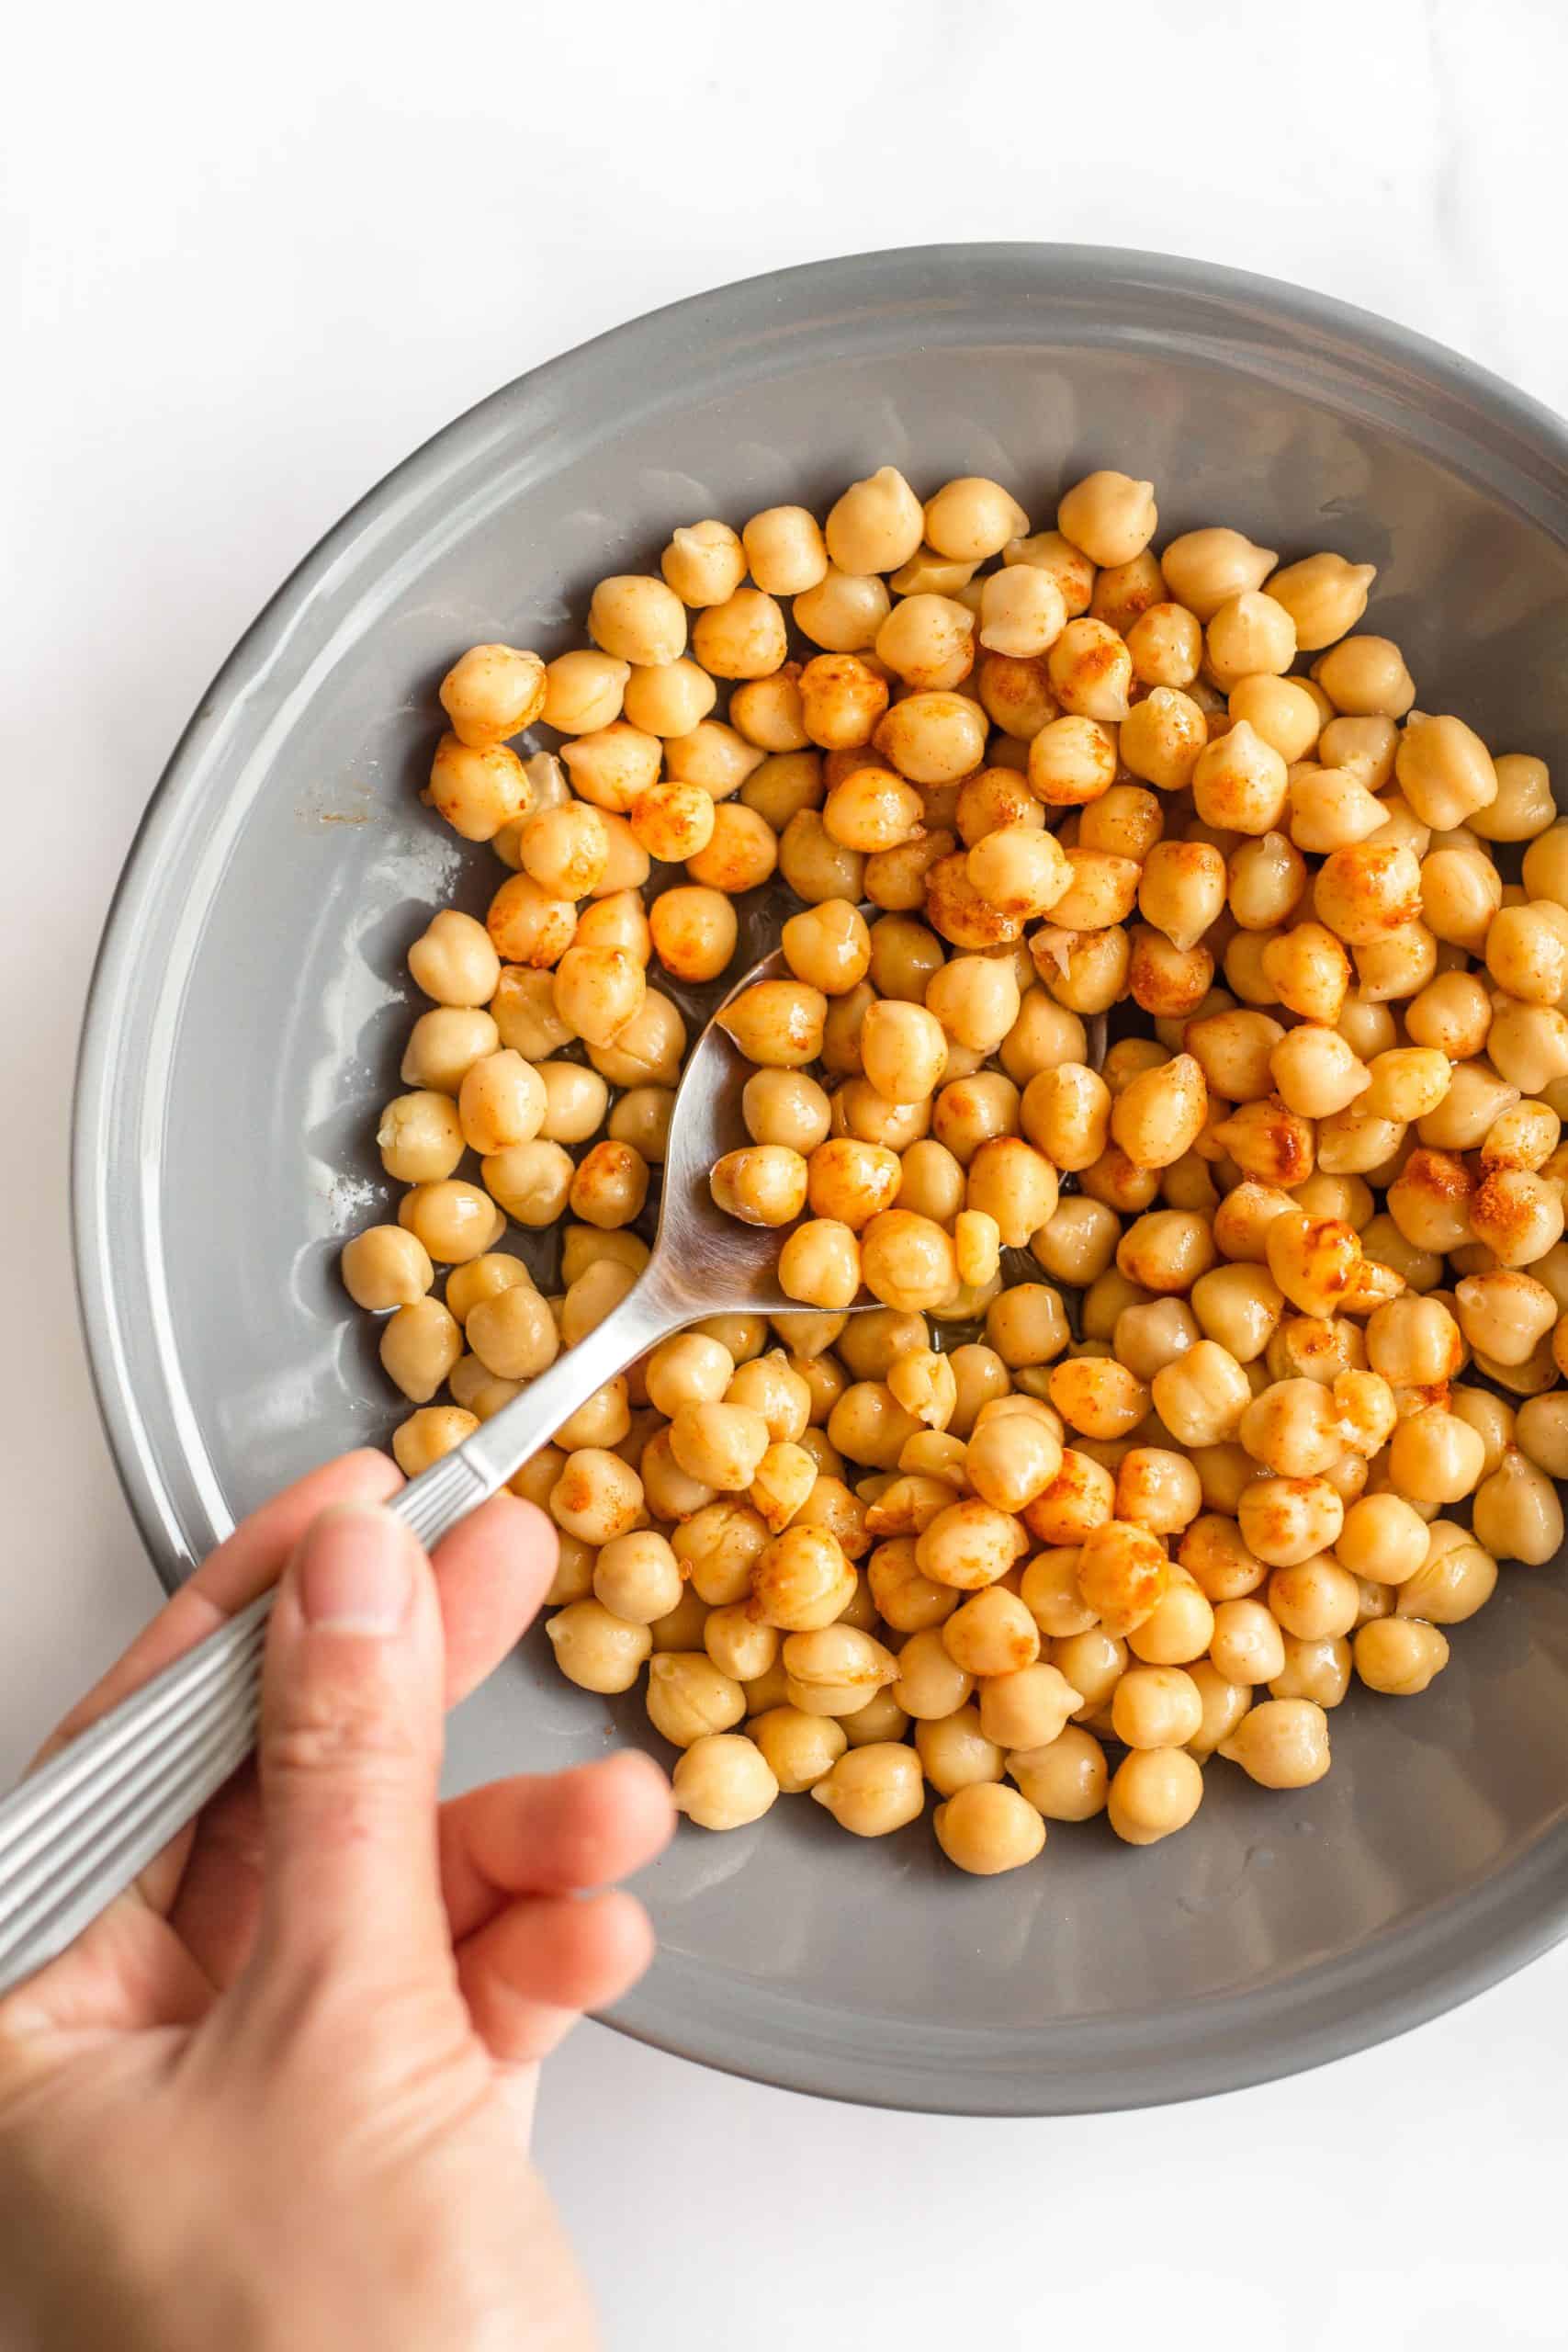
In a large bowl, toss the drained chickpeas with the olive oil, salt and paprika.
4. Cook Until Crispy
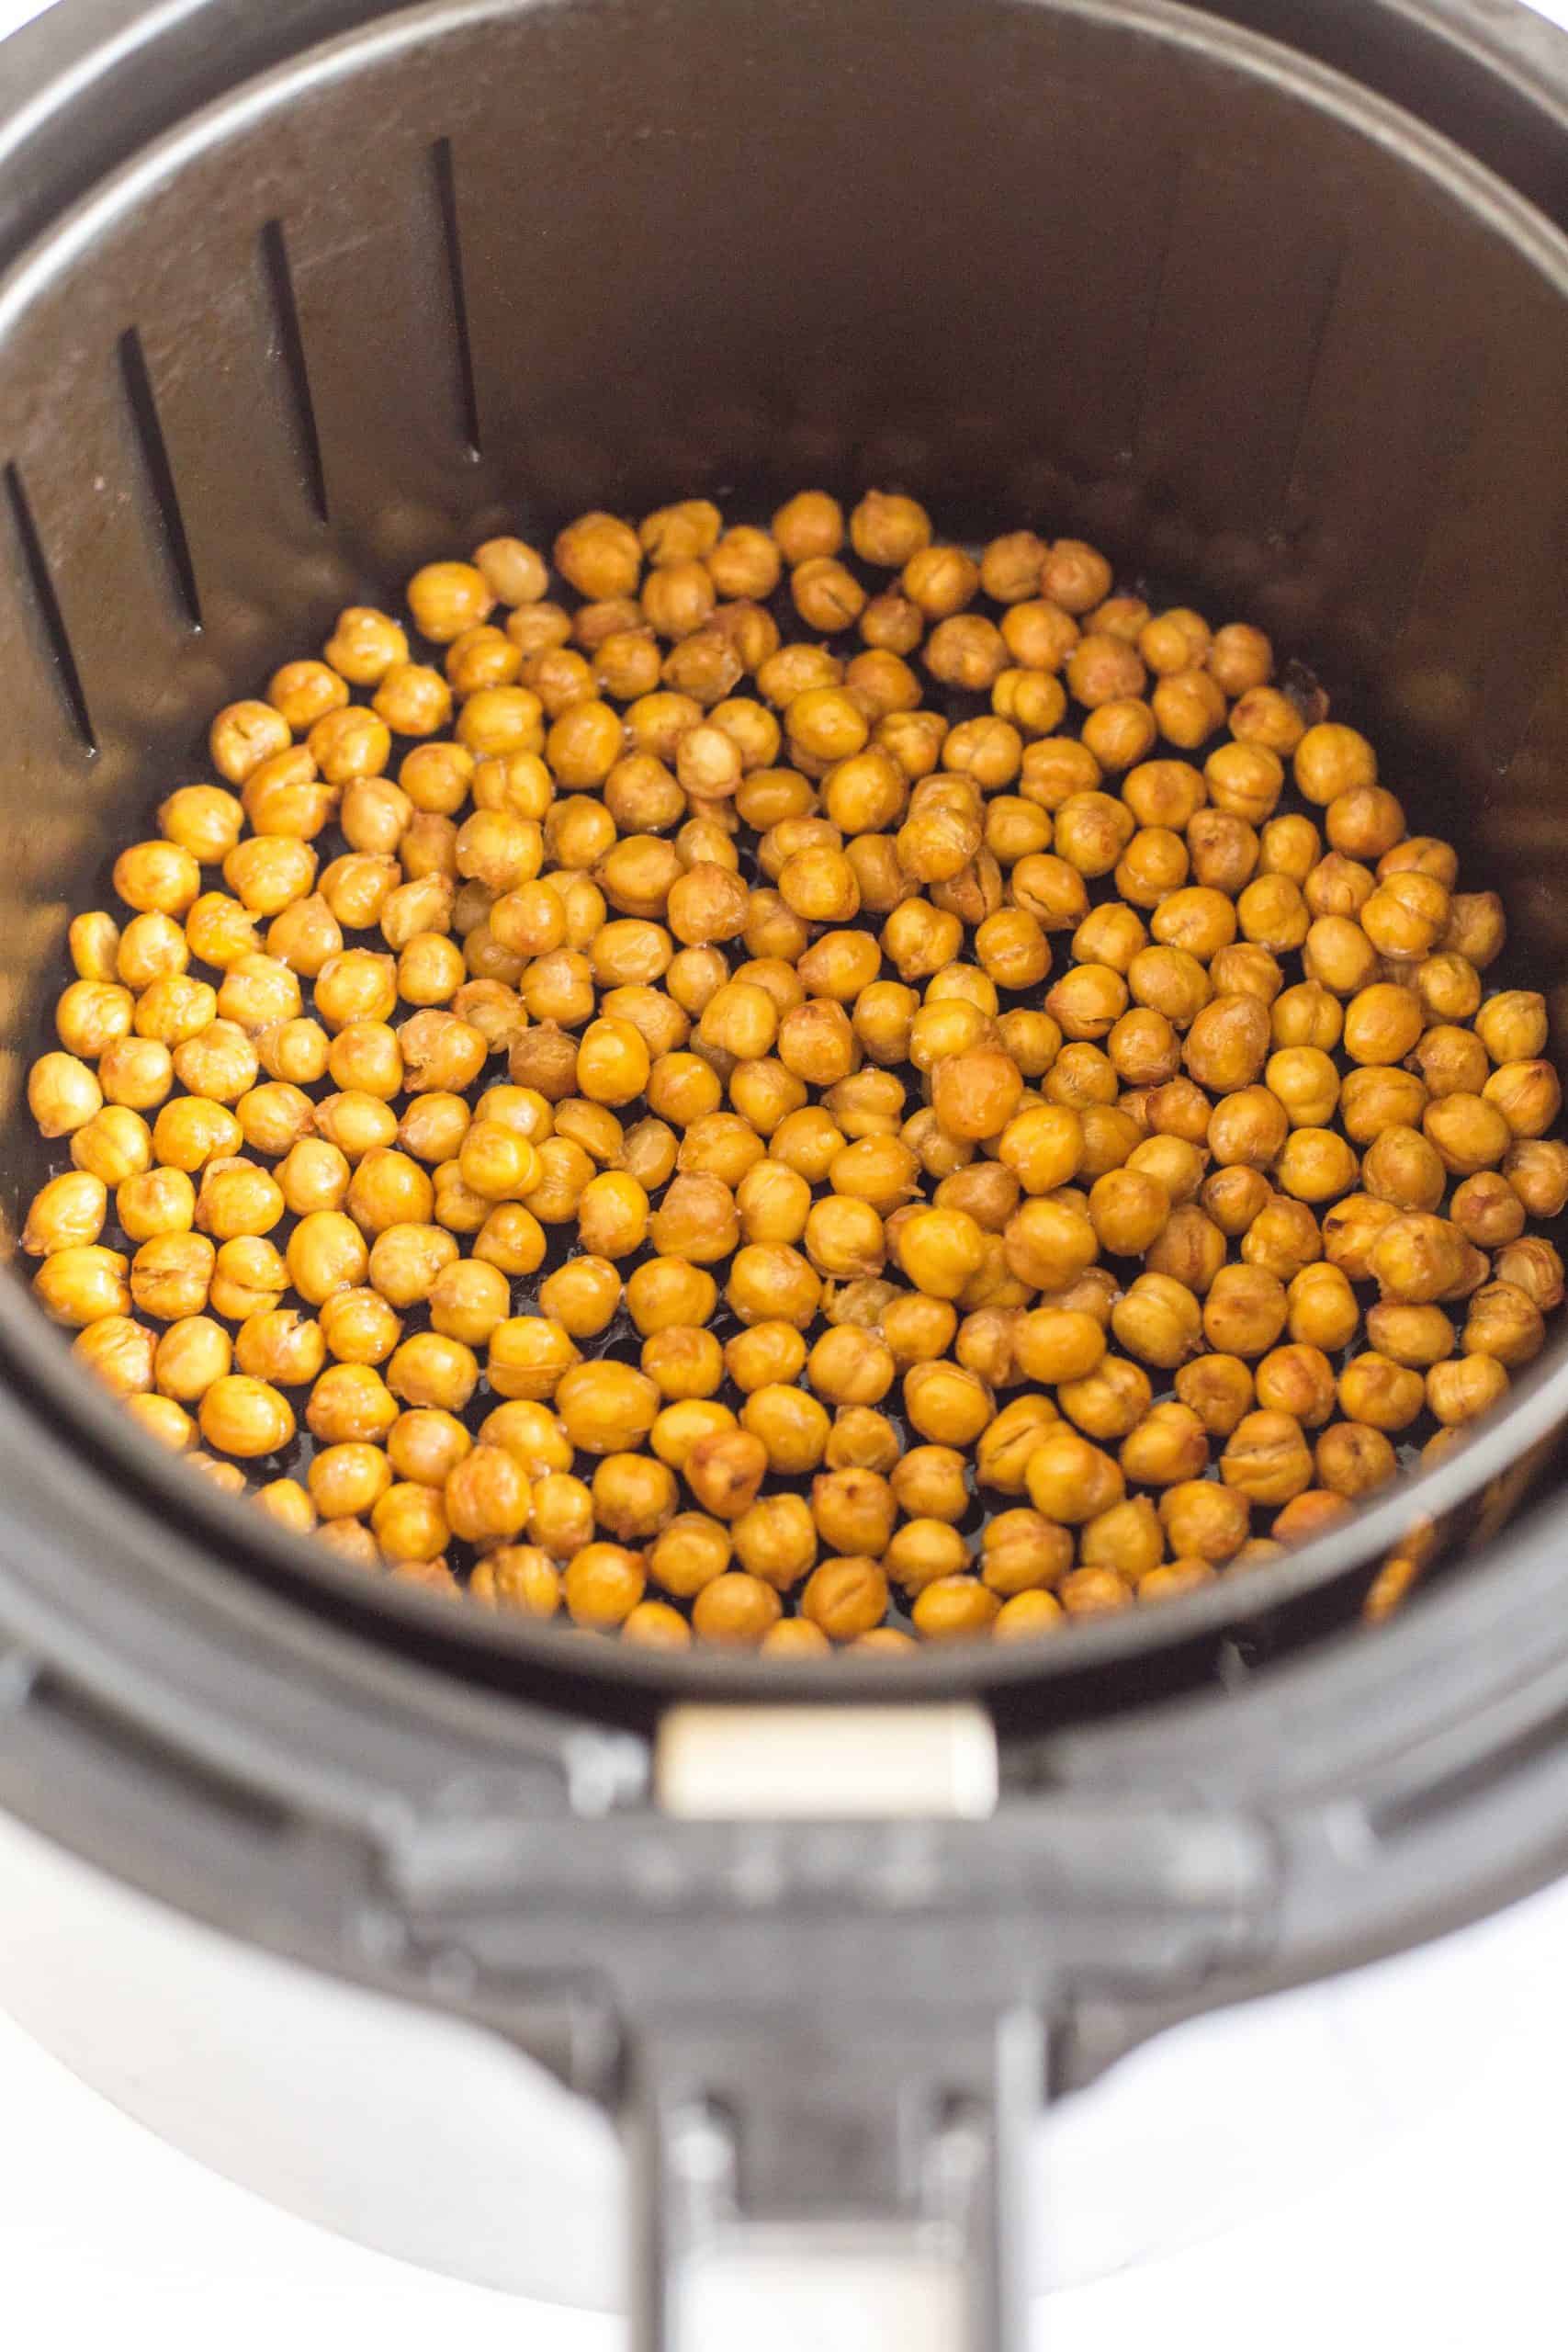
Transfer the seasoned chickpeas to the air fryer basket (making sure they are in a single layer).
Cook for 12 to 15 minutes (shaking the basket every 5 minutes) until the chickpeas are crispy enough for your liking.
5. Add More Salt to Taste
Remove from the air fryer once ready, then taste and add more salt as desired.
Dish by Dish Tips/Tricks
- No Air Fryer? Roast the Chickpeas in the Oven: If you don’t own an air fryer, no worries! You can also roast the chickpeas in the oven; it will just take a little more time and effort. Make sure to dry the chickpeas with paper towels first, and remove any loose skins. Next, spread the dried chickpeas out on a parchment-lined baking sheet, and roast them at 425F (210C) for 20 to 30 minutes, until roasted chickpeas are crispy enough for your liking.
- Seasoning Ideas (Savory): If you’re not a fan of paprika, you can also use other seasonings and spices such as ground paprika gives the chickpeas a bit of heat and color, but you can also use other seasonings such as ground turmeric, garlic powder, onion powder, black pepper or even bagel seasoning instead.
- Seasoning Ideas (Sweet):You can also add a tinge of sweetness to the chickpeas by adding cinnamon sugar or pumpkin pie spice if you prefer!
- Use as Salad Toppings: While these are great as a snack by themselves, these air fryer chickpeas are also perfect for sprinkling on your salad to give it extra crunchiness.
Recipe FAQS:
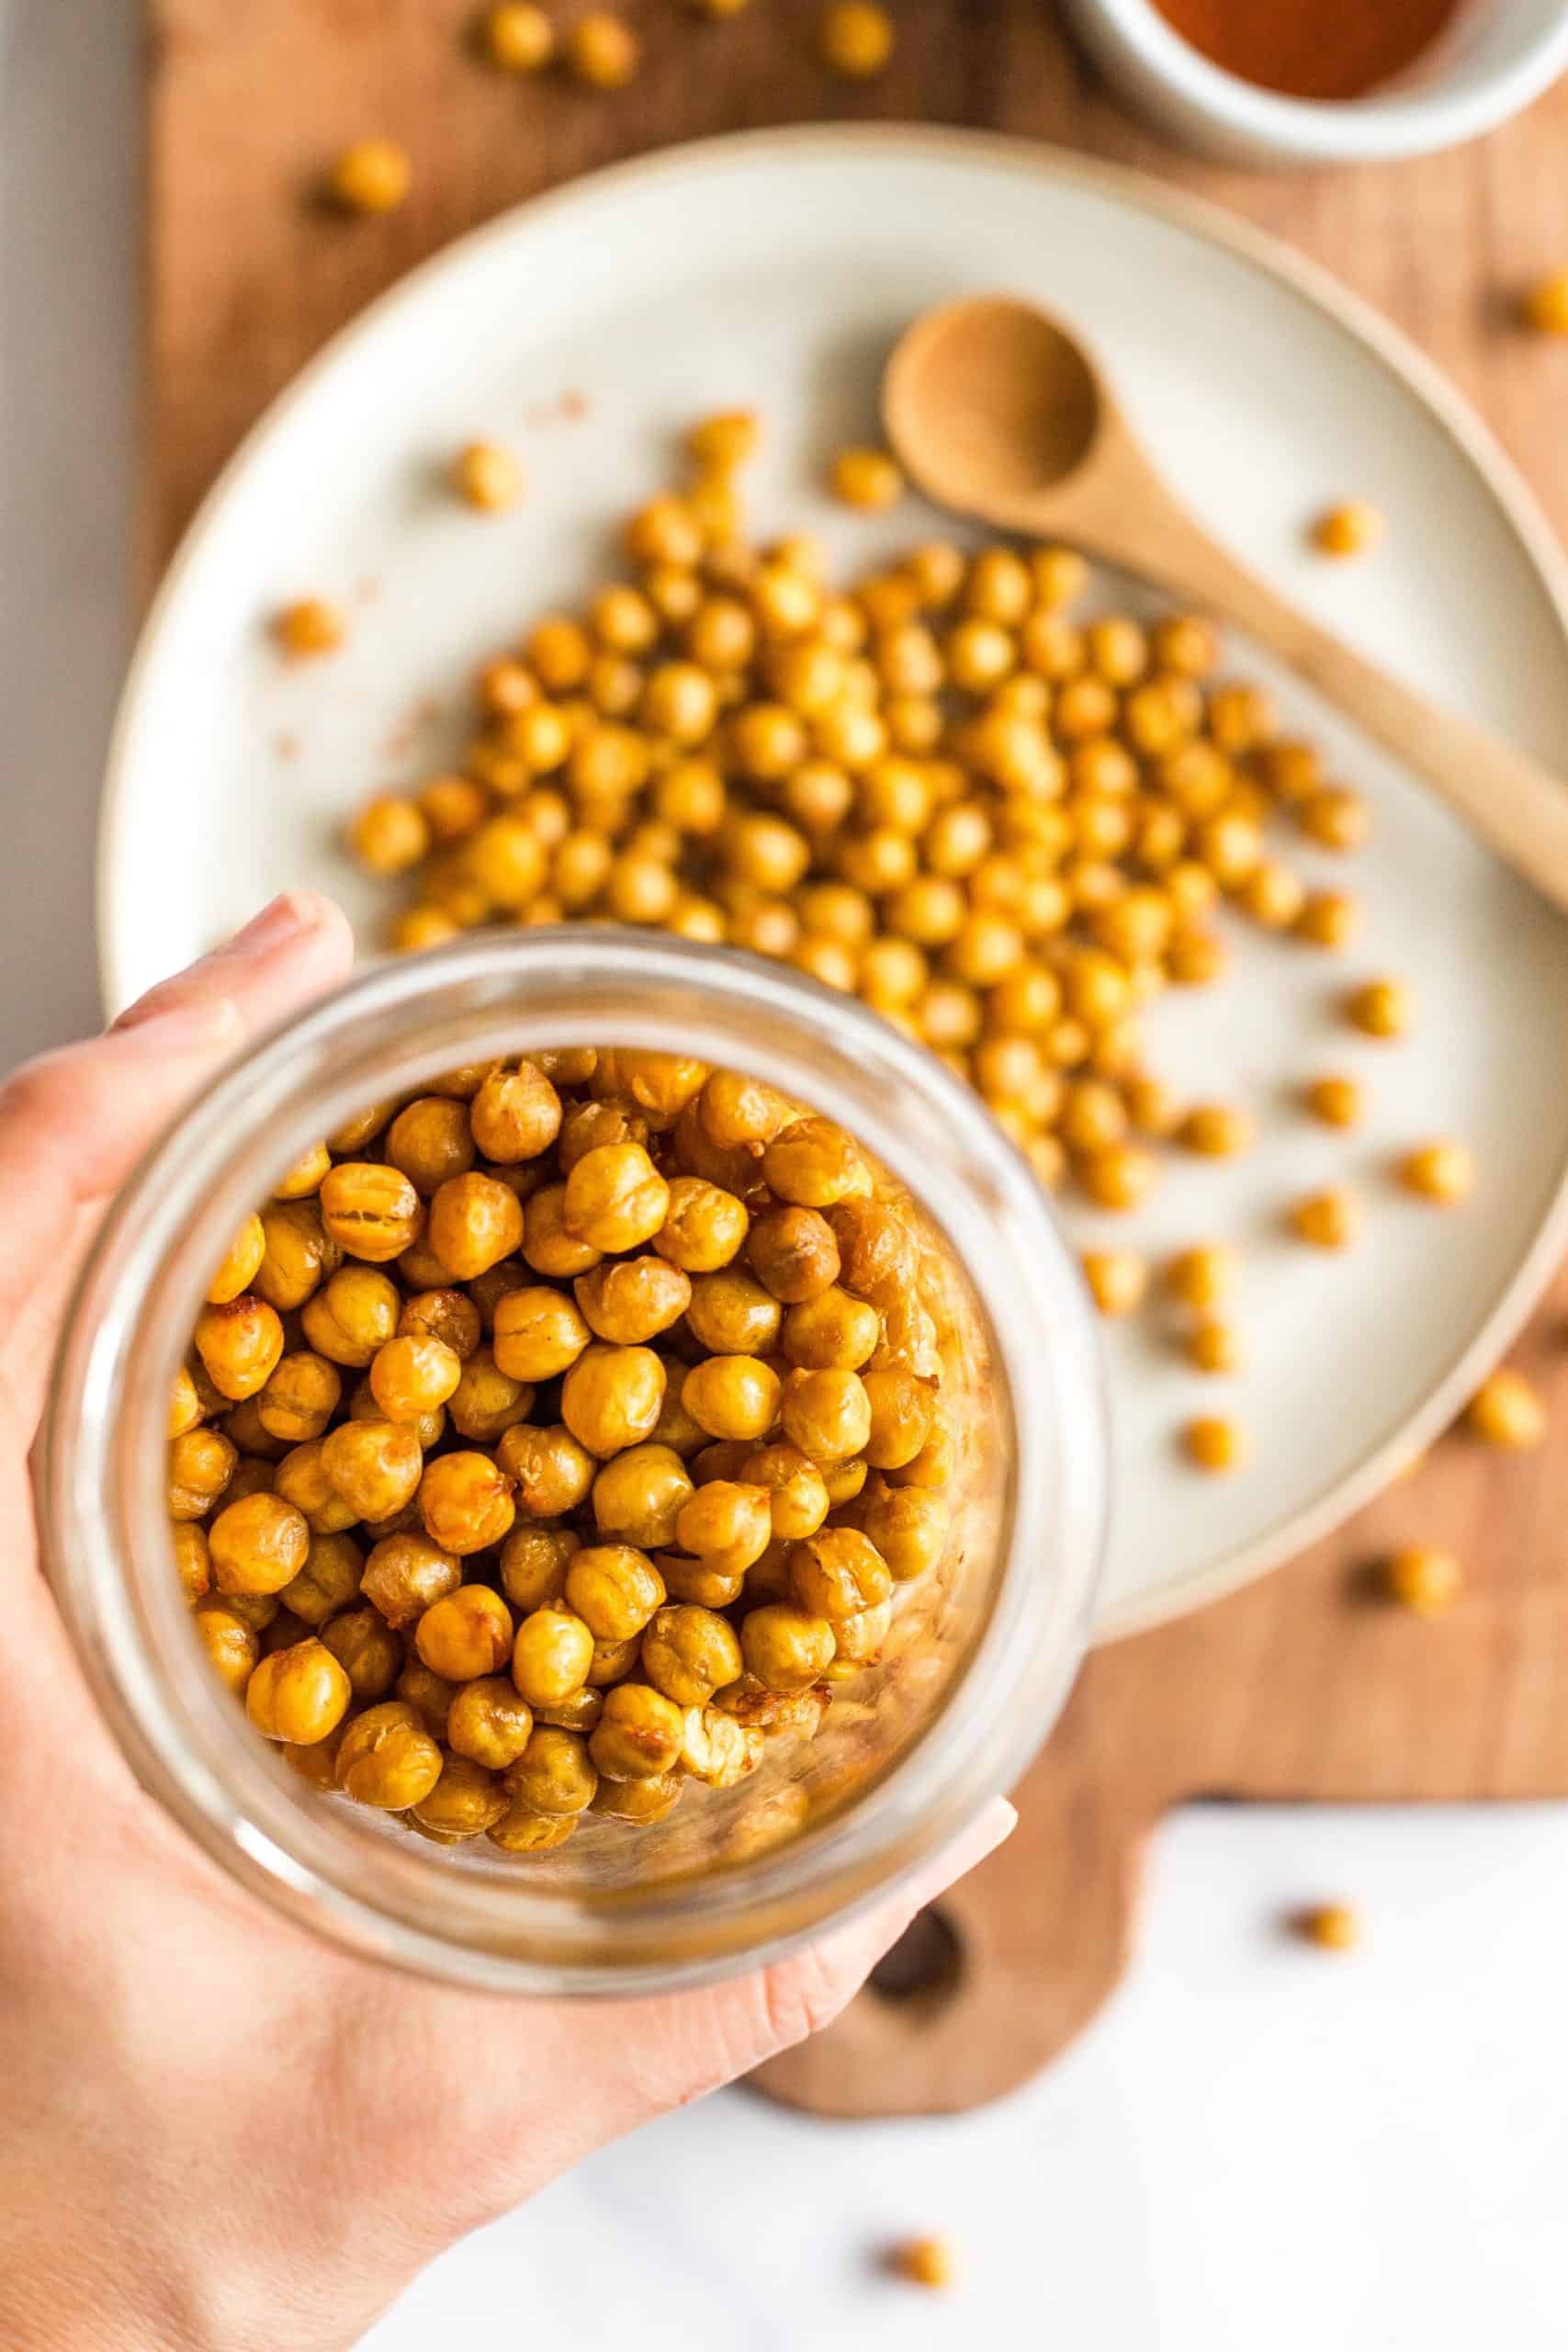
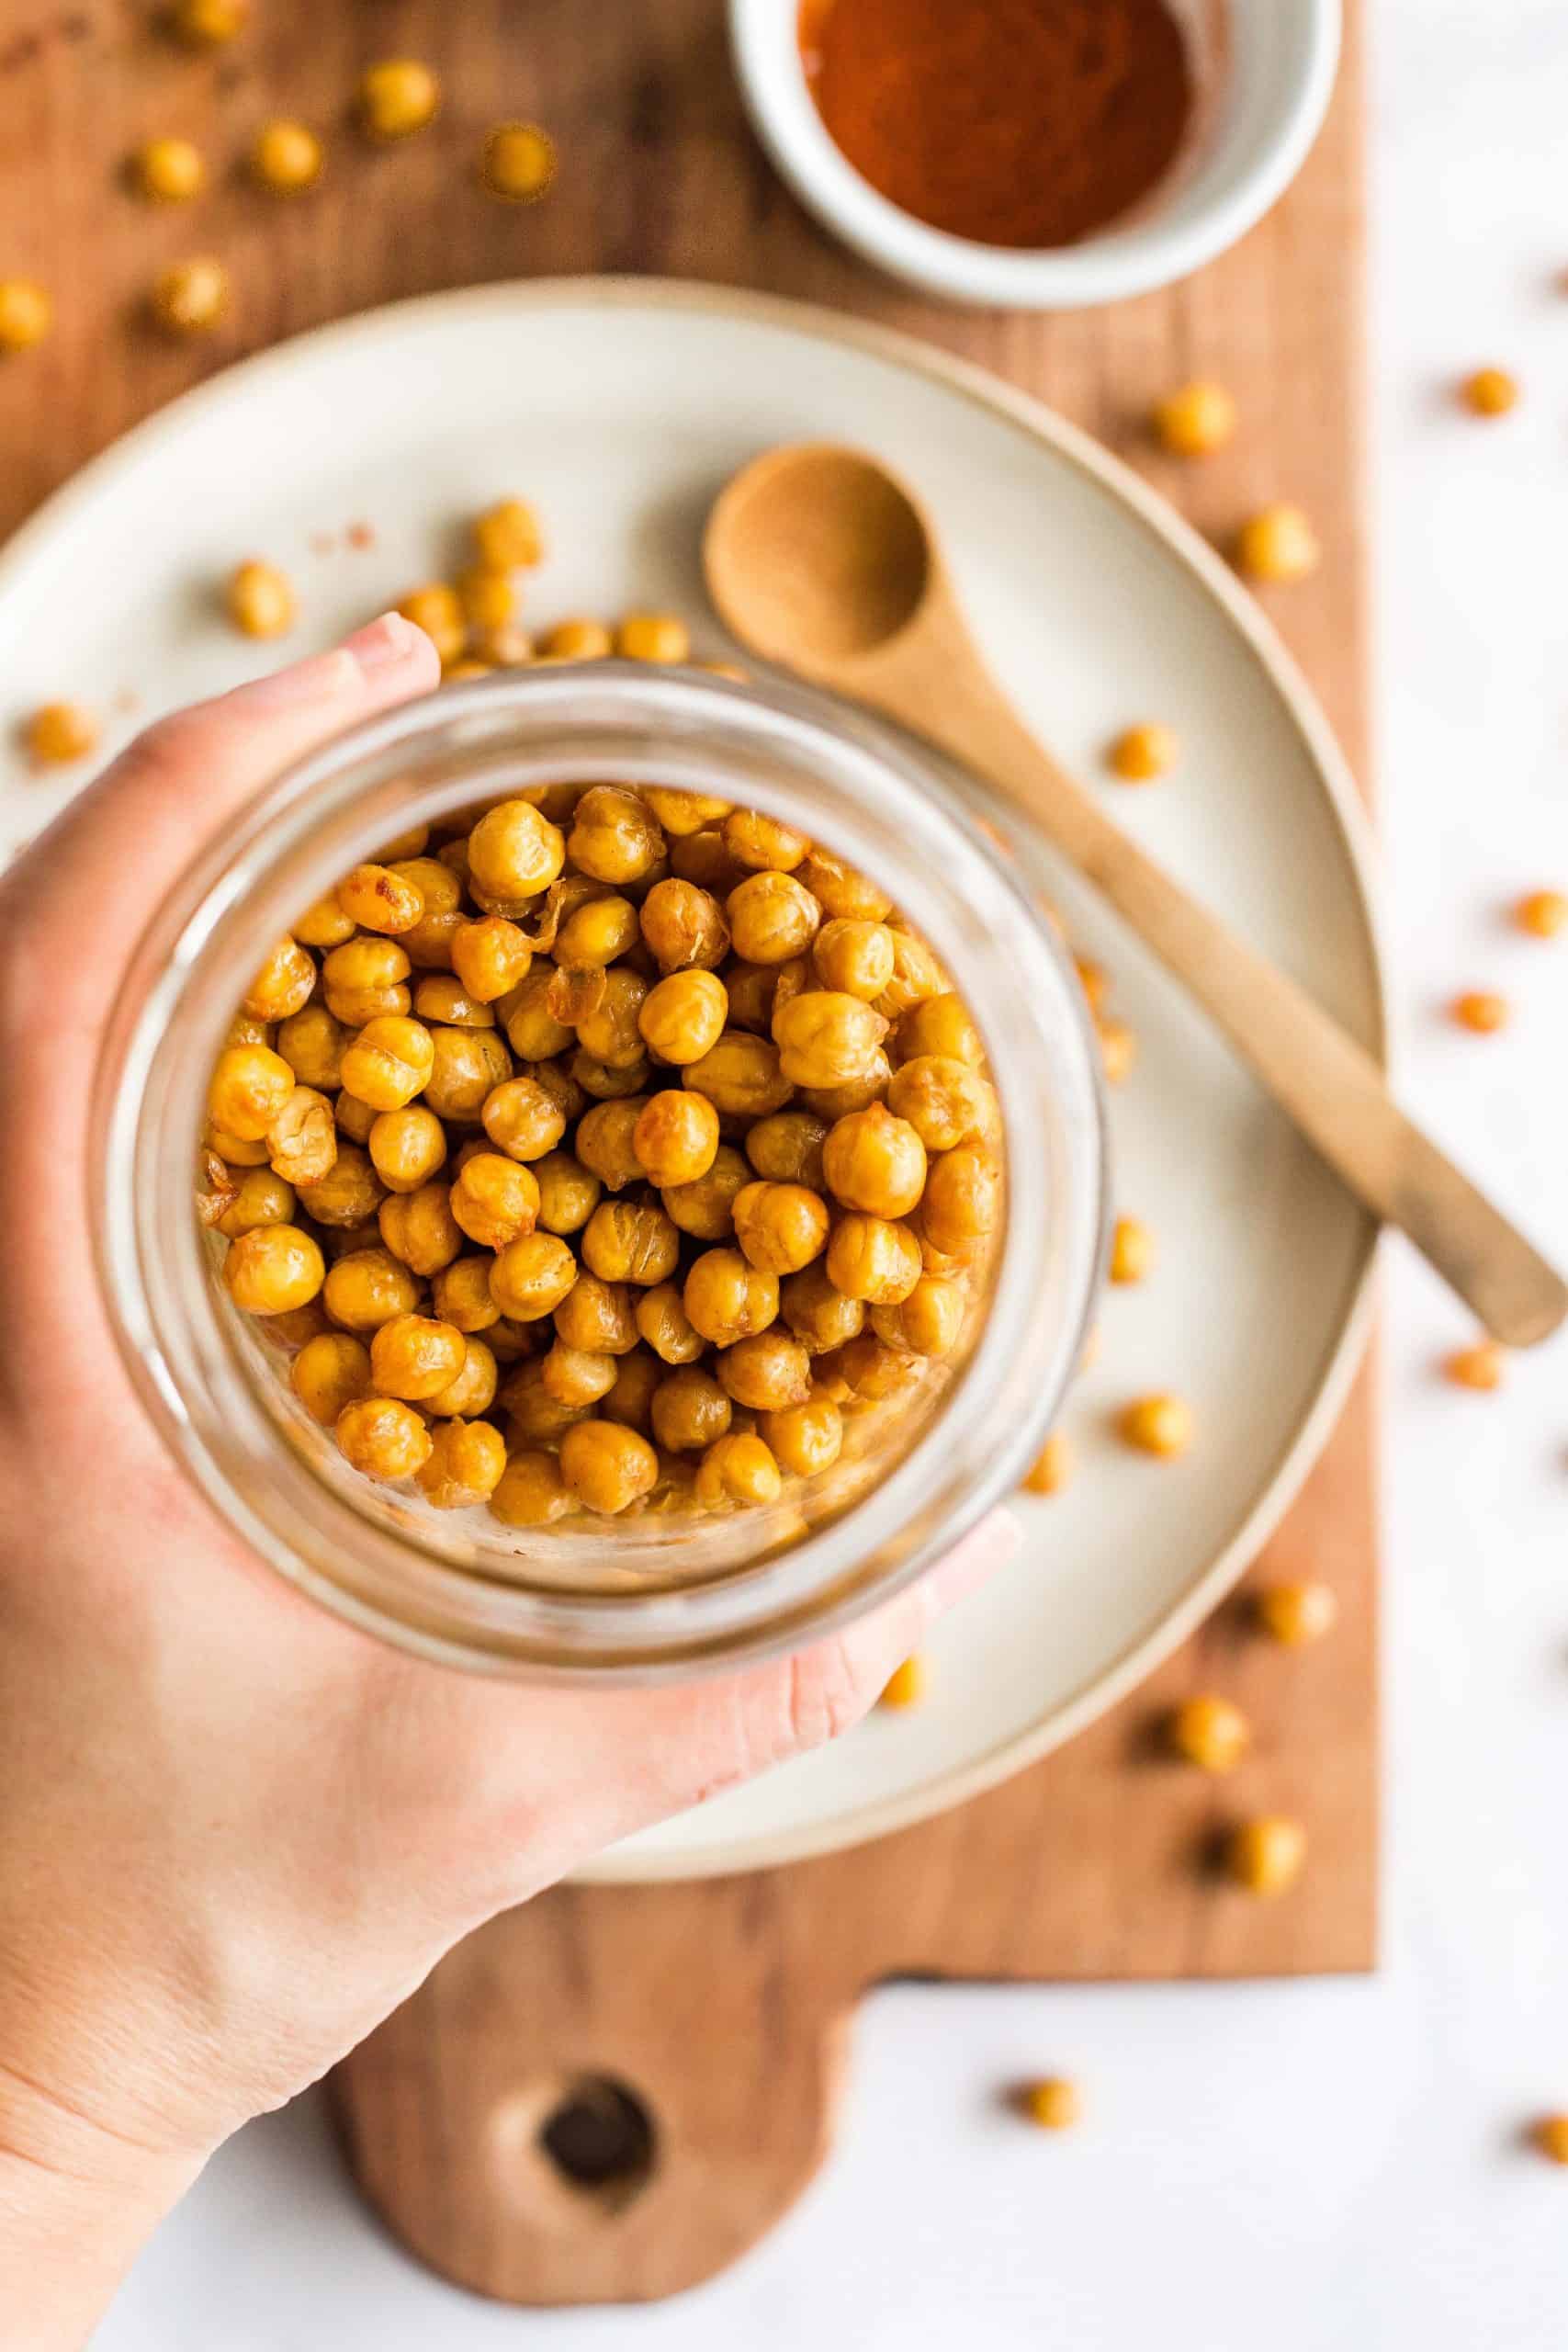
To store the chickpeas, place them in an air-tight container or mason jar at room temperature for up to 2 weeks.
This is really up to you! Personally, for this chickpea recipe I used canned chickpeas because it’s more convenient, but you can also cook your own from scratch if you prefer!

Other Chickpea Recipes to Enjoy:
- Easy Chickpea Curry (Gluten-Free, Vegan)
- Easy Creamy Hummus (Gluten-Free, Vegan)
- Chickpea Chocolate Chip Cookies (Gluten-Free, Vegan)
Gluten-Free Air Fryer Ideas You’ll Love:
- Air Fryer French Fries
- Air Fryer Diced Potatoes
- Air Fryer Hasselback Potatoes
- Air Fryer Kale Chips
- Air Fryer Plantains
- Air Fryer Zucchini Fries
- Air Fryer Brussels Sprouts
- Air Fryer Tofu
- Air Fryer Corn on the Cob
- Air Fryer Chicken Wings
- Air Fryer Chicken Tenders
- Air Fryer Bacon
P.S. If you try this recipe, I’d love for you to leave a star rating below, and/or a review in the comment section further down the page. I always appreciate your feedback. Be sure to check out my entire Recipe Index for all the recipes on the blog. You can also follow me on Pinterest, Facebook or Instagram! Sign up for my Email List to get fresh recipes in your inbox each week!
Print
Crispy Air Fryer Chickpeas (Gluten-Free, Vegan)
- Total Time: 20 minutes
- Yield: 4 servings 1x
- Diet: Gluten Free
Description
Unbelievably crispy and flavorful, these easy air fryer chickpeas can be made in just 20 minutes using canned chickpeas (no need to peel the skins)! These amazingly crunchy chickpeas are perfect for adding texture to salads, topping your favorite soups, or a healthy protein-rich snack! Naturally gluten-free and vegan, you’ll want to have this recipe on hand at all times!
Ingredients
- 1 16–oz can chickpeas, drained and rinsed
- 1 tablespoon olive oil
- 1/4 teaspoon salt + more to taste
- 1 teaspoon ground paprika
Instructions
- Preheat: Preheat the air fryer to 390F (200C).
- Drain and Rinse: Drain and rinse the chickpeas (no drying required).
- Condiment the Chickpeas: Toss the chickpeas with the olive oil, salt and paprika.
- Cook until Crispy: Transfer the seasoned chickpeas to the air fryer basket, and cook for 12 to 15 minutes (shaking the basket every 5 minutes) until chickpeas are crispy enough for your liking.
- Add Salt to Taste: Remove from the air fryer once ready, then taste and add more salt as desired.
Notes
Chickpeas: I used canned chickpeas here for convenience, but feel free to cook your own chickpeas from scratch if you prefer!
Olive Oil: I used extra virgin olive oil in this recipe, but feel free to use another type of vegetable oil such as avocado oil, sunflower oil, or even coconut oil if you prefer!
Salt: I like using finely ground pink Himalayan salt, but go ahead and use any salt that you have or prefer.
Paprika: Ground paprika gives the chickpeas a bit of heat and color, but you can also use other spices such as ground turmeric, garlic powder, onion powder or even bagel seasoning instead. You can also add a tinge of sweetness to the chickpeas by adding cinnamon sugar or pumpkin pie spice if you prefer!
No Air Fryer? Roast the chickpeas in the oven: If you don’t own an air fryer, no worries! You can also roast the chickpeas in the oven; it will just take a little more time and effort. Make sure to dry the chickpeas with paper towels first, and remove any loose skins. Next, spread the dried chickpeas out on a parchment-lined baking sheet, and roast them at 425F (210C) for 20 to 30 minutes, until crispy enough for your liking.
Storing: To store the chickpeas, place them in an airtight container or mason jar at room temperature for up to 2 weeks.
Adapted from: Sweet Peas and Saffron
This recipe was originally posted in January 2021, but has since been republished to included clearer instructions, as well as ingredient notes and substitutions.
- Prep Time: 5 mins
- Cook Time: 15 mins
- Category: Snacks
- Method: Air Fryer
- Cuisine: American



Very easy and tasty recipe
Yay! So happy to hear that!
You made me wanna buy an air fryer!
Hi Tina!! You definitely should! So many things that you can do with an air fryer 😉
Good morning Felicia,
I am now heading over to the supermarket to buy the canned chickpeas to turn them into the mouth-watering crispy healthy snack within 30 minutes by applying your simple yet marvelous recipe ! Yay 🙂
Thank you and God Bless you Darling!
Mum
Hi mummy! This is just like the Kachang-puteh we used to buy from the streets! In fact you can even use canned peas and cook them in the same way in the air fryer, or any other canned legumes will work just as well!! Send me a pic later when you make it!