Delicious gluten-free fried chicken that is bursting with taste, crispy on the outside and tender on the inside. This flavorful recipe crowd pleaser is perfect for lunch, dinner or even an appetizer! This Southern fried chicken recipe is totally dairy-free too!

Want to save this recipe?
Enter your email & I’ll send it to your inbox. Plus, get great new recipes from me every week!
Jump to:
- Crispy Fried Chicken
- Why This Recipe Works:
- Ingredients You’ll Need:
- Recipe Notes + Substitutions
- How to Make Gluten-Free Fried Chicken (Step by Step):
- Dish by Dish Tips/Tricks
- Recipe FAQs:
- What to Serve with Fried Chicken:
- Other Gluten-Free Chicken Recipes You’ll Love:
- Gluten-Free Fried Chicken (Dairy-Free)
Crispy Fried Chicken
Traditional fried chicken, which is also known as Southern fried chicken, is basically pieces of chicken that have been coated in a flour or batter (that is seasoned with herbs and spices), and then deep-fried in oil.
By coating the chicken in flour or a batter, a protective breading is formed on the outside, resulting in a crisp coating on the exterior once cooked, while maintaining a tender and juicy texture of the chicken meat on the inside.

Why This Recipe Works:
- Simple Ingredients: The ingredients required for this gluten-free dairy-free fried chicken recipe are easily accessible at the local grocery store (nothing fancy required!).
- Easy to Make: Coating the chicken in the gluten-free flour mixture, dairy-free buttermilk and once again in the flour mixture is easy, and then all you need to do is deep-fry the coated chicken strips until crispy!
- Totally Gluten-Free and Dairy-Free: The best part is that this Southern fried chicken recipe is 100% gluten-free and dairy-free, which means that even those with Celiac disease or with gluten or lactose intolerances can enjoy them without issues!

Ingredients You’ll Need:
Here’s a visual overview of the ingredients required for this crispy gluten-free fried chicken recipe.
(For exact measurements, please scroll down to the printable recipe card at the bottom of this post.)

Recipe Notes + Substitutions
- Chicken Fillets: I used boneless skinless chicken breast for this recipe, but you may also use chicken wings, chicken thighs or chicken drumsticks if you prefer.
- Buttermilk: To keep this recipe dairy-free, I’ve used dairy-free buttermilk. If the buttermilk is too thick, you can thin it out by adding a bit of filtered water and mixing it well. To make your own buttermilk, combine 1/2 cup of unsweetened non-dairy milk (such as almond milk, cashew milk, rice milk, coconut milk etc) and 1/2 tablespoon of fresh lemon juice. Mix and let the mixture sit for a few minutes before using. If you are not lactose-intolerant, go ahead and use normal buttermilk instead.
- Gluten-Free All-Purpose Flour: I recommend using a good-quality gluten-free all-purpose flour blend that is made up of lighter flours/starches as well as xanthan gum (such as a rice flour, tapioca starch, corn starch or potato starch). I do NOT recommend using a gluten-free flour blend that uses heavier flours (such as garbanzo bean flour) as that will result in a denser texture for the coating.
- Xanthan Gum: If your gluten-free flour blend does not have xanthan gum, make sure to include 1/4 teaspoon of xanthan gum, which is the replacement for gluten in gluten-free flours and helps to bind the ingredients together.
- Vegetable Oil: You can use your favorite oil for this (sunflower oil, canola oil, corn oil, avocado oil, olive oil etc).
- Spices and Herbs: I used a mix of chili powder, granulated garlic (garlic powder), granulated onion (onion powder), dried thyme and dried oregano to flavor the chicken. However, feel free to use the spices or herbs you prefer (such as dried parsley, dried rosemary, ground cayenne pepper, ground paprika, black pepper, etc).
How to Make Gluten-Free Fried Chicken (Step by Step):
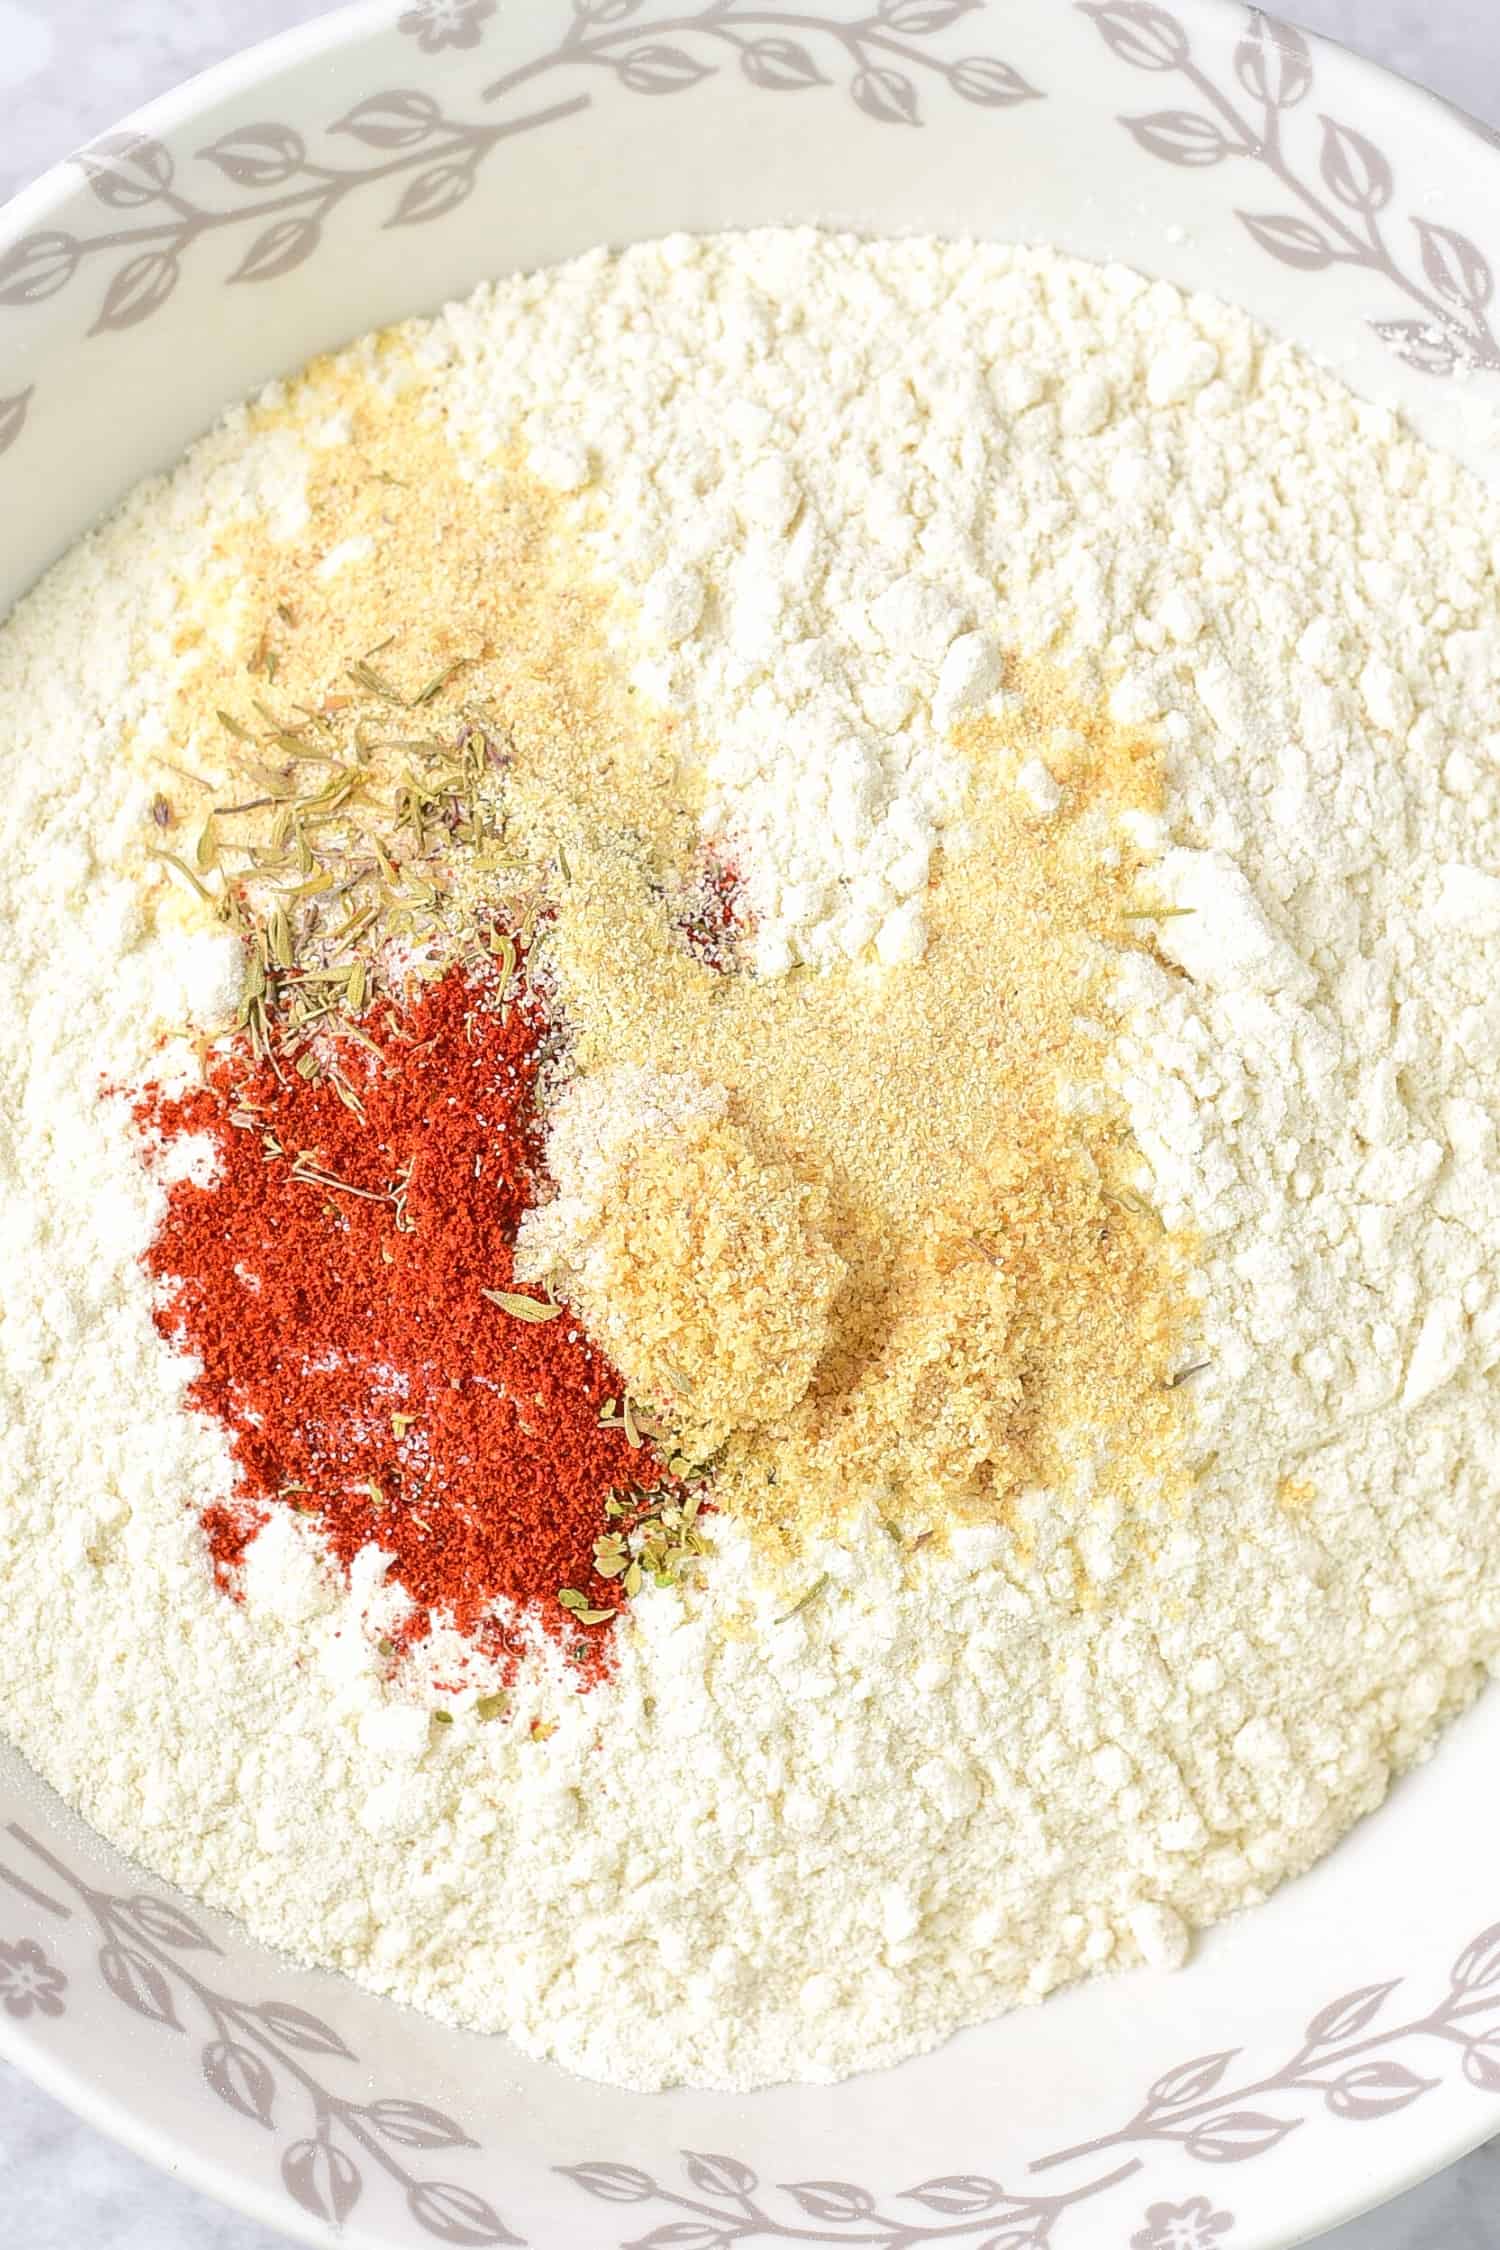
1. Combine Dry Ingredients
In a large but shallow bowl, combine the dry ingredients together – gluten-free all-purpose flour, salt, spices and herbs.
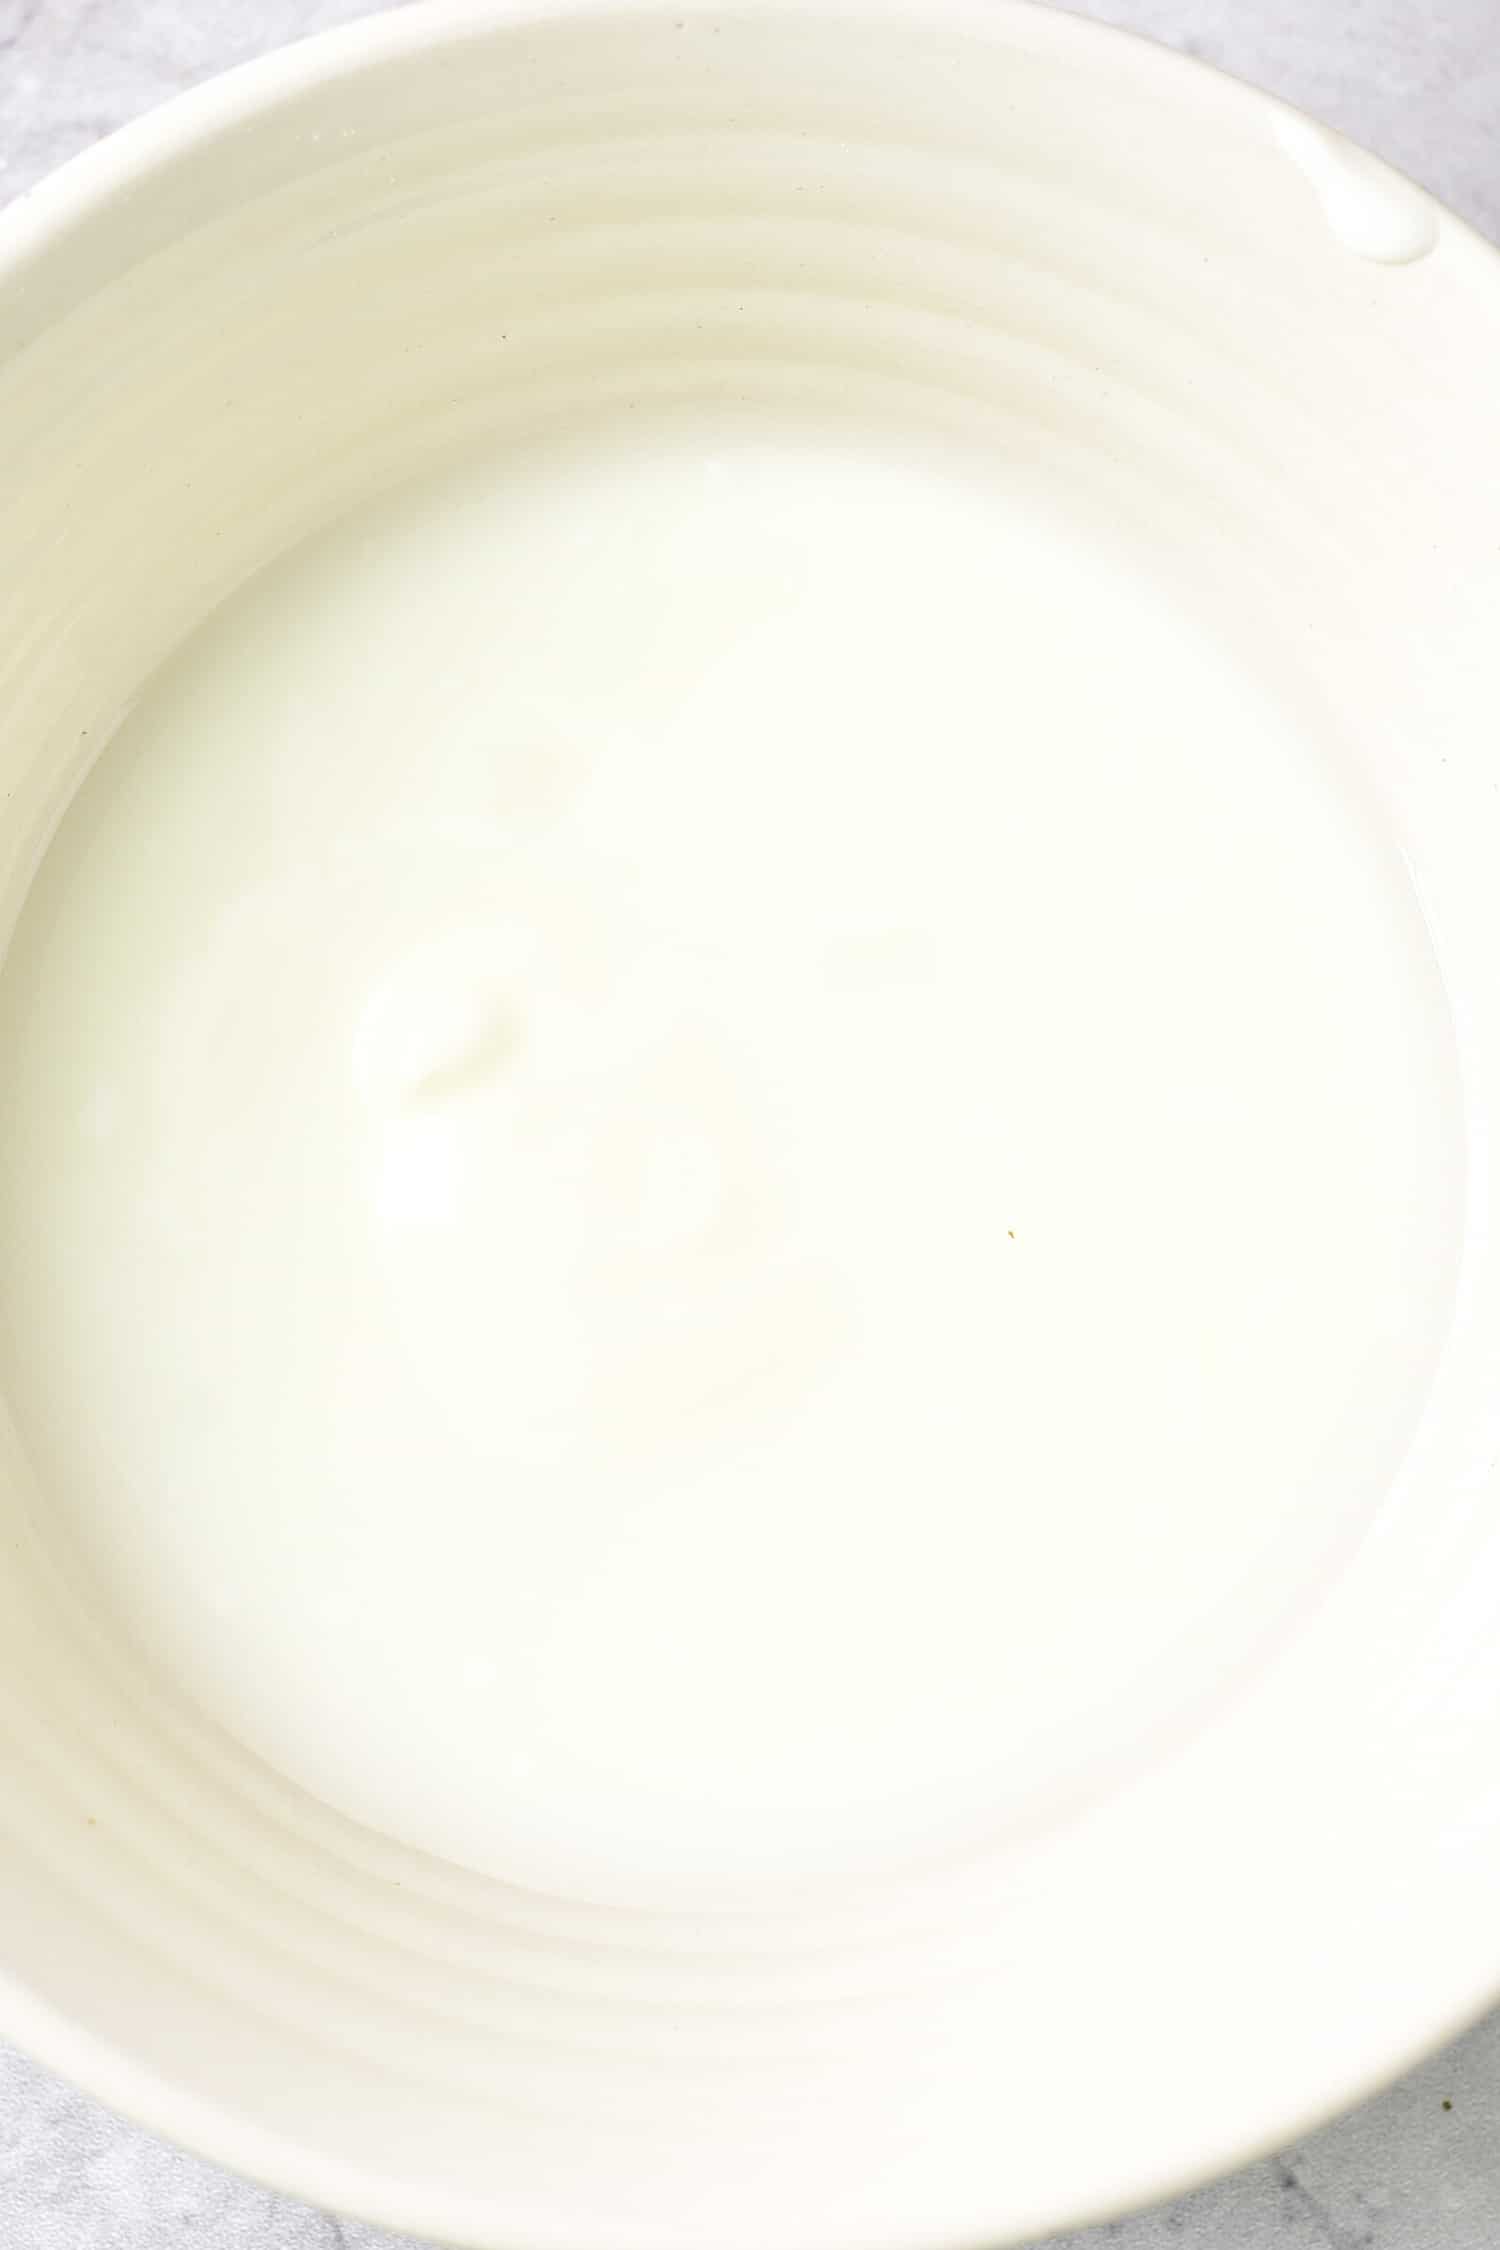
2. Prepare Dairy-Free Buttermilk
Place the dairy-free buttermilk in a large bowl. If needed, thin the buttermilk with water (if the buttermilk is too thick) to get the consistency of a thick milk.
To make your own dairy-free buttermilk, combine 1/2 cup of non-dairy milk with 1/2 tablespoon fresh lemon juice, then mix and let sit for a few minutes before using.
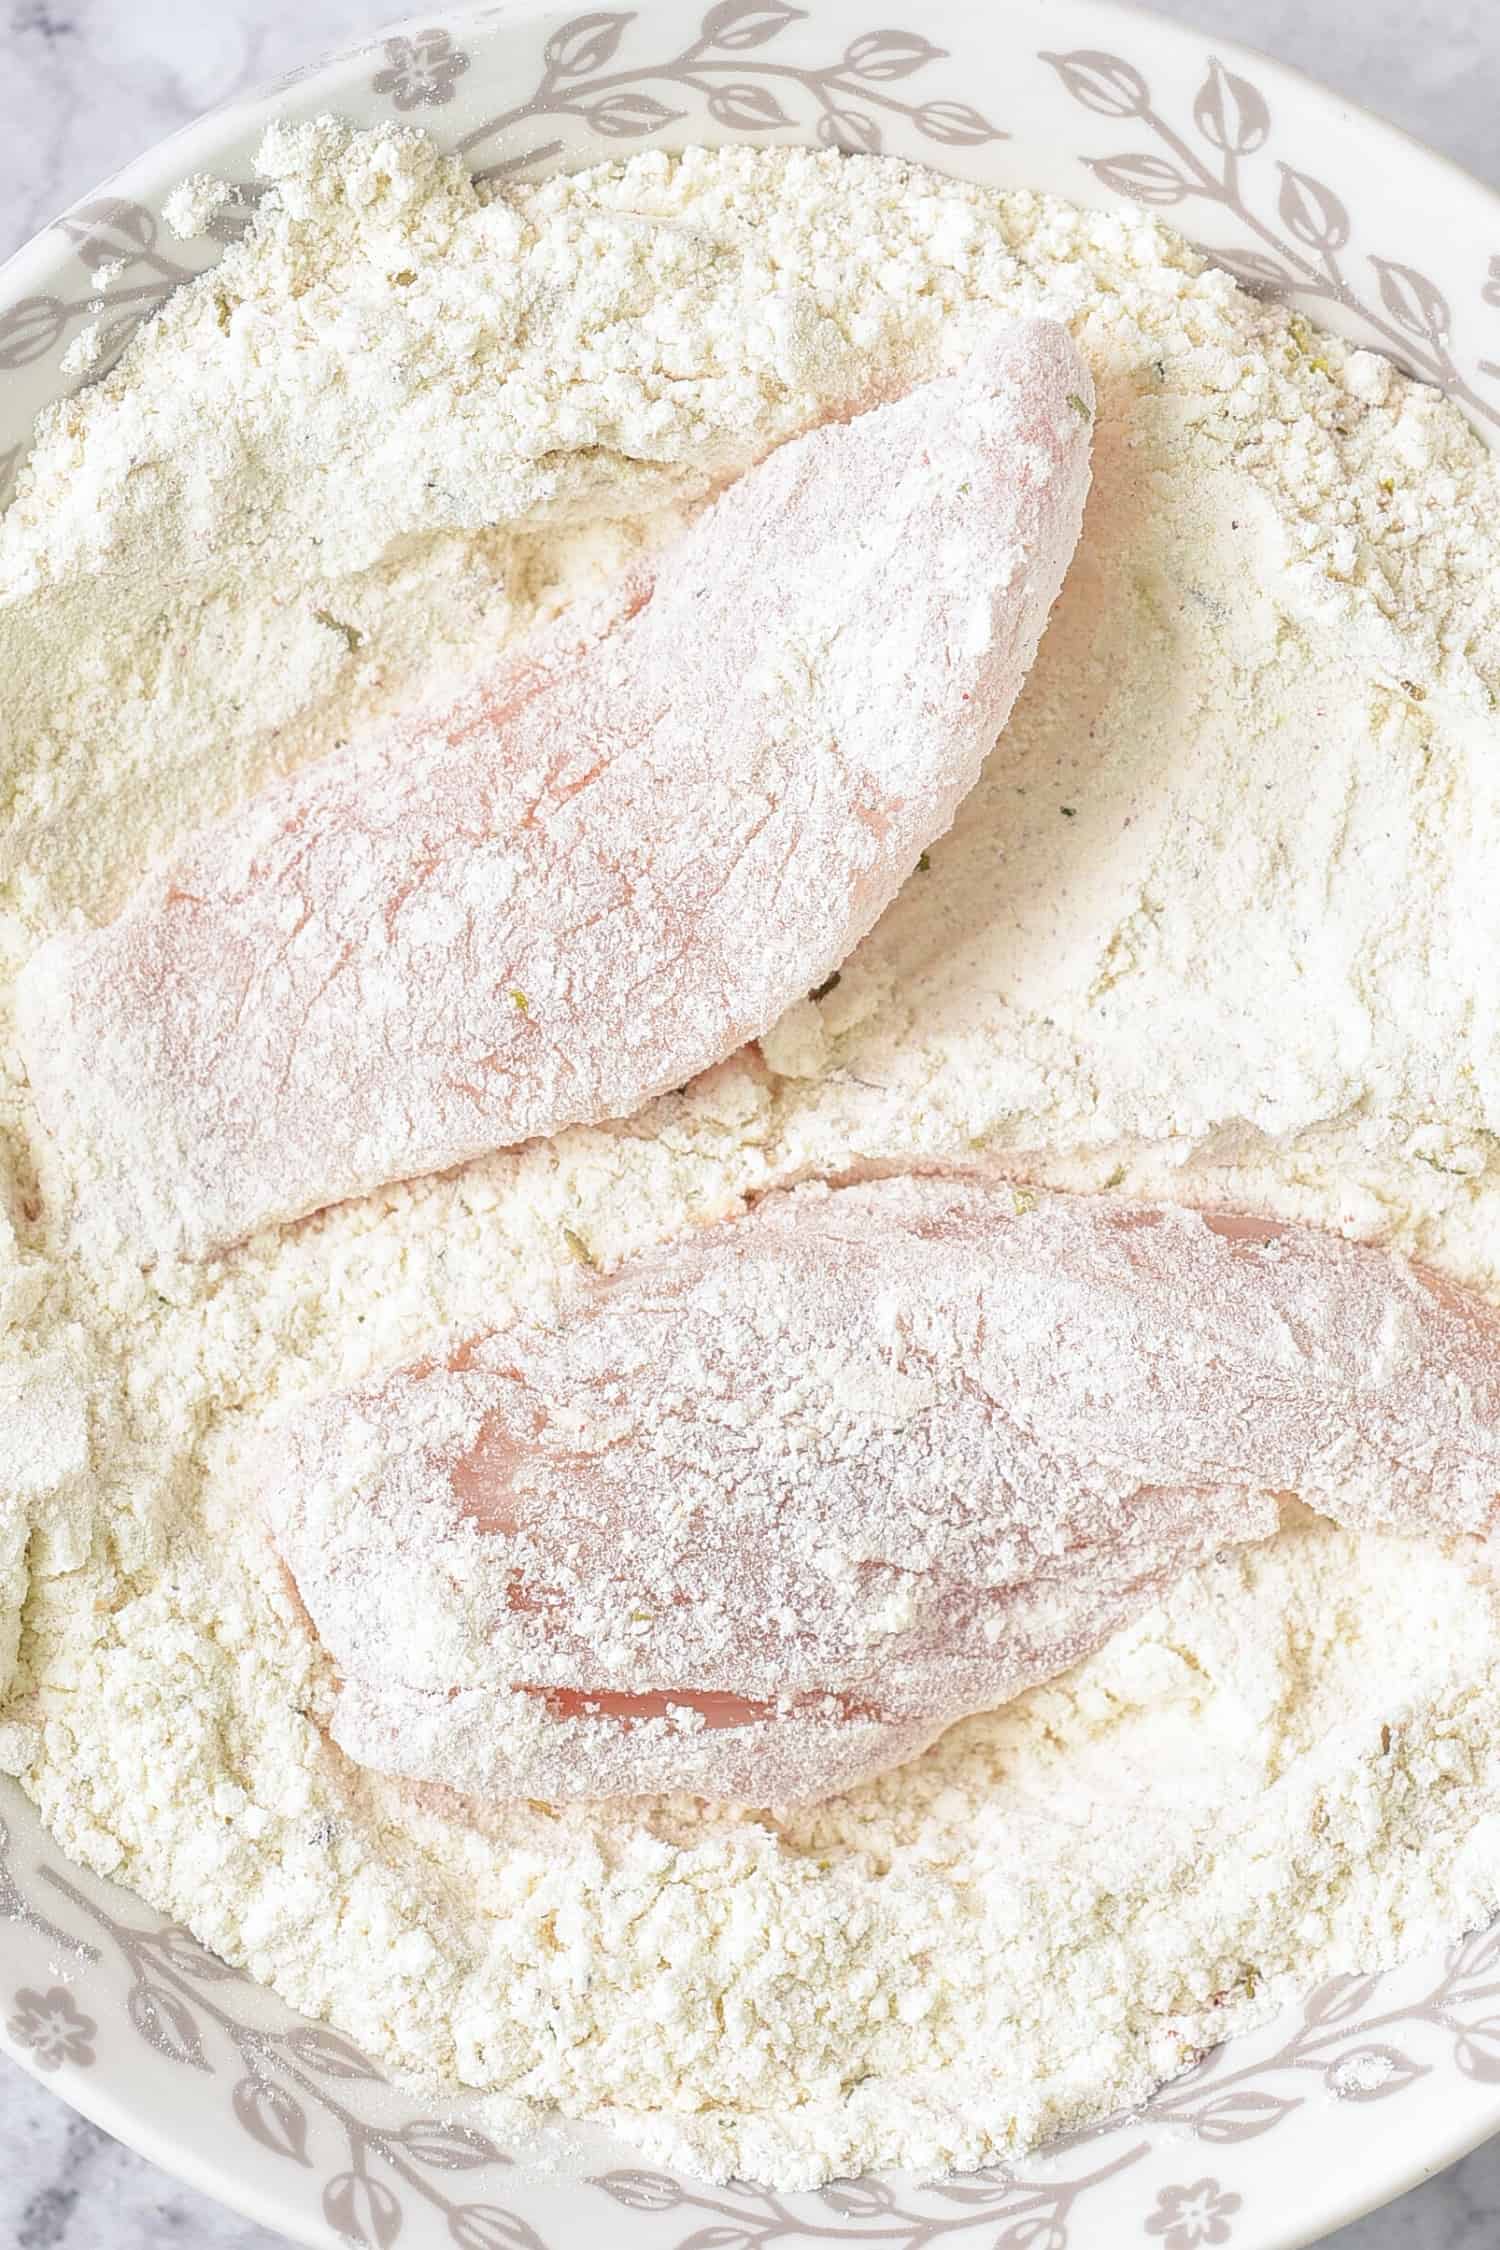
3. Coat Chicken Strips in Flour
Roll the strips of chicken fillet on all sides in flour and shake off the excess.
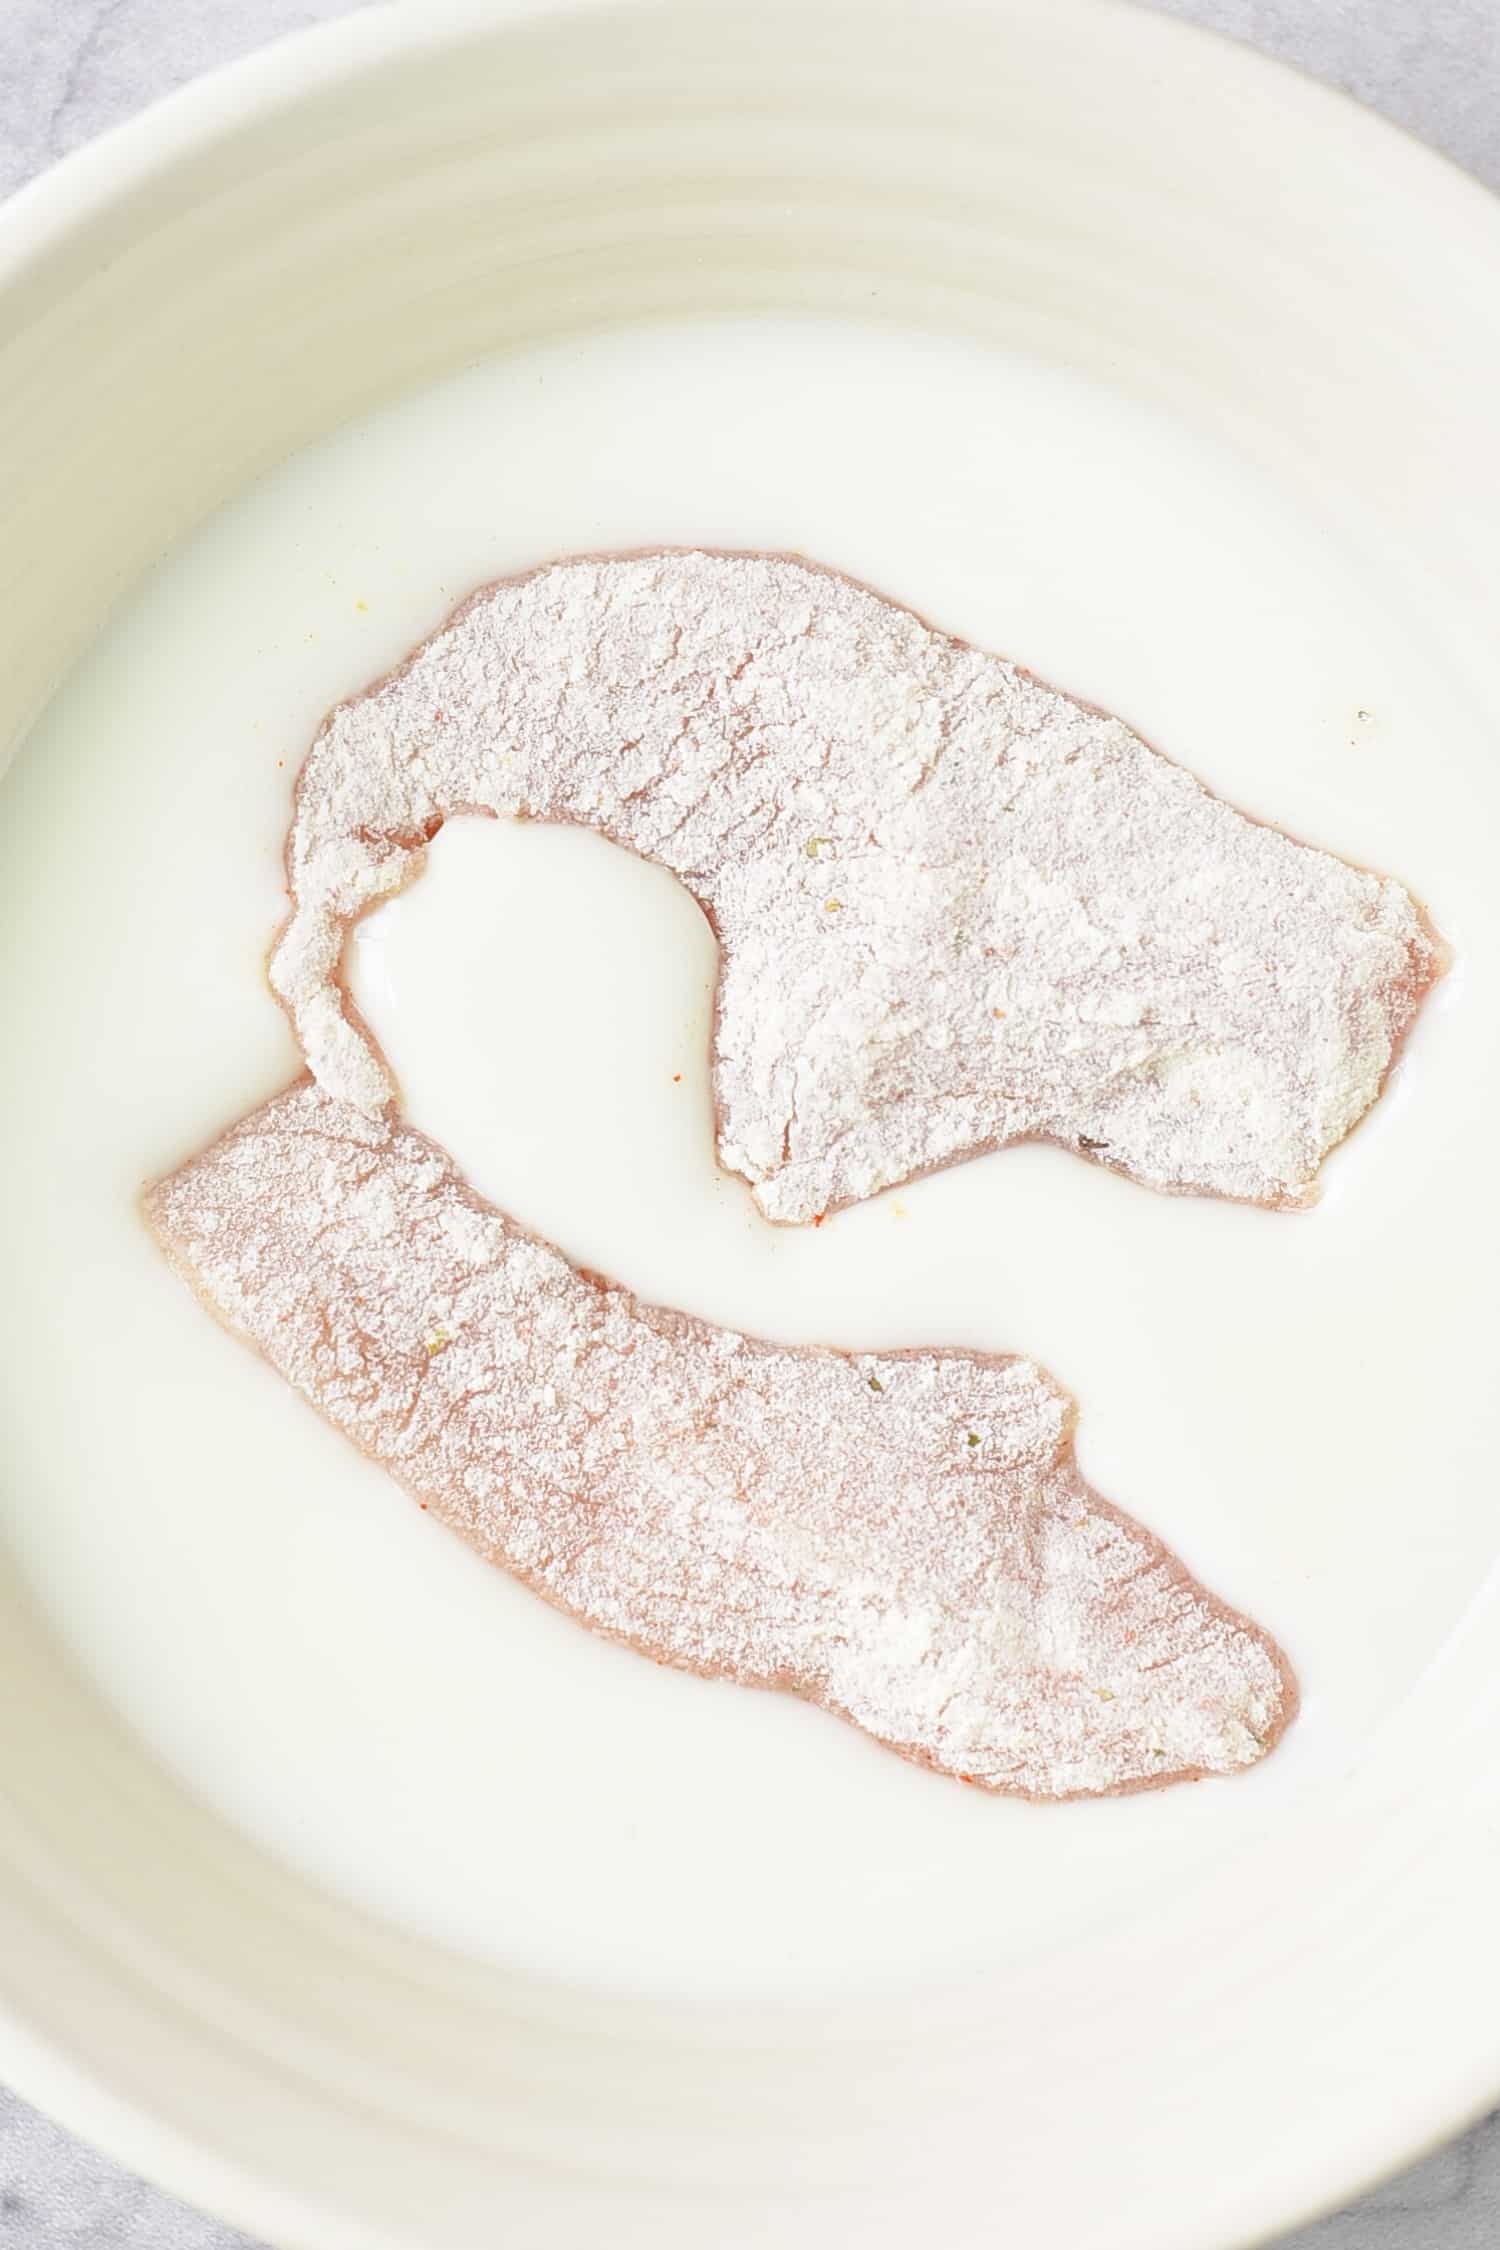
4. Dip Chicken in Buttermilk
Dip the chicken strips in the dairy-free buttermilk until they are completely covered.
5. Coat Chicken in Flour Again
Coat the chicken strips again in the flour mixture to make a shell.

6. Let Chicken Rest
Lay the floured chicken strips on a wire rack on top of a baking sheet and let them sit for 10 minutes.
(This is best done so that any excess flour drops off and the flour coating does not fall off the chicken during frying.)

7. Heat Oil
As chicken is almost done resting, pour 2-3 inches of frying oil into a medium or large pan and heat the oil to 350F (check the oil temperature by using a kitchen thermometer).
8. Fry Chicken
Using kitchen tongs, transfer the floured chicken fillet to the hot oil for frying. Cook, turning, until the color of the flour coating is golden brown, about 6-7 minutes.
(NOTE: Don’t add too many chicken pieces to the pan all at once, as the temperature of the oil will drop too much and the coating may also be damaged).

9. Soak Up Excess Oil
Place the fried chicken pieces on a wire rack and use up paper towels to soak up any excess oil. After 5 minutes, the crispy gluten-free dairy-free chicken can be served and enjoyed.

Dish by Dish Tips/Tricks
- Don’t Crowd Chicken: When deep-frying the chicken pieces, make sure you don’t overcrowd the pot. This is important as the temperature of the oil will drop too much and the coating may also be damaged.
- Soak Up Excess Oil: Make sure to soak up any excess oil from the fried chicken with paper towels.
Recipe FAQs:
Traditionally, wheat flour (which contains gluten) is used for coating fried chicken, so the fried chicken available at restaurants or fairs usually contain gluten – and hence are not safe for Celiacs or those with gluten intolerances – unless the fried chicken is specifically said to be gluten-free.
This gluten-free fried chicken is best enjoyed after cooking and while still hot and crispy. If you have leftover fried chicken strips, store them in an airtight container for up to 3 days. The chicken coating will not be crispy after being in the refrigerator, but you can reheat the fried chicken in the oven or air fryer until they are crispy again before serving.

What to Serve with Fried Chicken:
- Cinnamon Sweet Potato Fries (Gluten-Free, Vegan)
- Air Fryer Green Beans (Gluten-Free, Vegan)
- Crispy Potato Wedges (Gluten-Free, Vegan)
- Easy Garlic Aioli (Gluten-Free, Dairy-Free)
- Honey Mustard
Other Gluten-Free Chicken Recipes You’ll Love:
P.S. If you try this recipe, I’d love for you to leave a star rating below, and/or a review in the comment section further down the page. I always appreciate your feedback. Be sure to check out my entire Recipe Index for all the recipes on the blog. You can also follow me on Pinterest, Facebook or Instagram! Sign up for my Email List to get fresh recipes in your inbox each week!
Print
Gluten-Free Fried Chicken (Dairy-Free)
- Total Time: 50 minutes
- Yield: 4 servings 1x
- Diet: Gluten Free
Description
Delicious gluten-free fried chicken that is bursting with flavor, crispy on the outside and tender on the inside. Perfect for lunch, dinner or even an appetizer! This Southern fried chicken recipe is totally dairy-free too!
Ingredients
- 1 1/2 pounds chicken fillets, cut into 3-4″ strips
- 1/2 cup dairy-free buttermilk
- 1/4 cup filtered water, if necessary to thin the buttermilk
- 1 cup gluten-free all-purpose flour
- 1/4 teaspoon xanthan gum (omit if your gluten-free flour blend already includes it)
- 1/2 teaspoon salt
- 1/3 teaspoon chili powder
- 1/3 teaspoon granulated garlic
- 1/3 teaspoon granulated onion
- 1/3 teaspoon dried thyme
- 1/3 teaspoon dried oregano
- Vegetable oil for frying, amount necessary
Instructions
- Combine Dry Ingredients: In a large mixing bowl combine the dry ingredients together – gluten-free all-purpose flour, salt, spices and herbs.
- Mix Buttermilk with Water: Mix dairy-free buttermilk with water to make it a little thinner (if the buttermilk is too thick).
- Coat Chicken Strips in Flour: Roll the strips of chicken fillet on all sides in flour and shake off the excess.
- Dip Chicken in Buttermilk: Dip the chicken strips in the dairy-free buttermilk until they are completely covered.
- Coat Chicken in Flour Again: Coat the chicken strips again in the flour mixture to make a shell.
- Let Chicken Rest: Lay the floured chicken strips on a wire rack and let them sit for 10 minutes. This is best done so that any excess flour drops off and the flour coating does not fall off the chicken during frying.
- Heat Oil: As chicken is almost done resting, pour 2-3 inches of frying oil into a medium or large pan and heat the oil to 350F (check temperature using kitchen thermometer).
- Fry Chicken: Using kitchen tongs, transfer the floured chicken fillet to the hot oil for frying. Cook, turning, until the color of the flour coating is light brown, about 6-7 minutes. (NOTE: Don’t add too many chicken pieces to the pan all at once, as the temperature of the oil will drop too much and the coating may also be damaged).
- Drain Excess Oil: Place the fried chicken pieces on a wire rack to drain excess oil. After 5 minutes, crispy chicken can be served and enjoyed.
Notes
Chicken Fillets: I used skinless, boneless chicken fillets for this.
Buttermilk: To keep this recipe dairy-free, I’ve used dairy-free buttermilk. If the buttermilk is too thick, you can thin it out by adding a bit of filtered water and mixing it well. To make your own buttermilk, combine 1/2 cup of unsweetened non-dairy milk (such as almond milk, cashew milk, rice milk etc) and 1/2 tablespoon of fresh lemon juice. Mix and let the mixture sit for a few minutes before using. If you are not lactose-intolerant, go ahead and use normal buttermilk instead.
Gluten-Free All-Purpose Flour: I recommend using a good-quality gluten-free all-purpose flour blend that is made up of lighter flours/starches (such as a rice flour, tapioca starch, corn starch or potato starch). I do NOT recommend using a gluten-free flour blend that uses heavier flours (such as garbanzo bean flour) as that will result in a denser texture for the coating.
Xanthan Gum: If your gluten-free flour blend does not have xanthan gum, make sure to include 1/4 teaspoon of xanthan gum, which is the replacement for gluten in gluten-free flours and helps to bind the ingredients together.
Vegetable Oil: You can use the vegetable oil you prefer (sunflower oil, canola oil, corn oil, etc).
Spices and Herbs: I used a mix of chili powder, granulated garlic, granulated onion, dried thyme and dried oregano to flavor the chicken. However, feel free to use the spices or herbs you prefer instead.
Storing: This fried chicken is best enjoyed after cooking and while still hot and crispy. If you have left over fried chicken strips, store them in an airtight container for up to 3 days. The chicken coating will not be crispy after being in the refrigerator, but you can reheat the fried chicken in the oven or air fryer until they are crispy again before serving.
- Prep Time: 10 mins
- Resting Time: 10 mins
- Cook Time: 30 min
- Category: Main Dish
- Method: Stovetop
- Cuisine: American






Leave a Reply